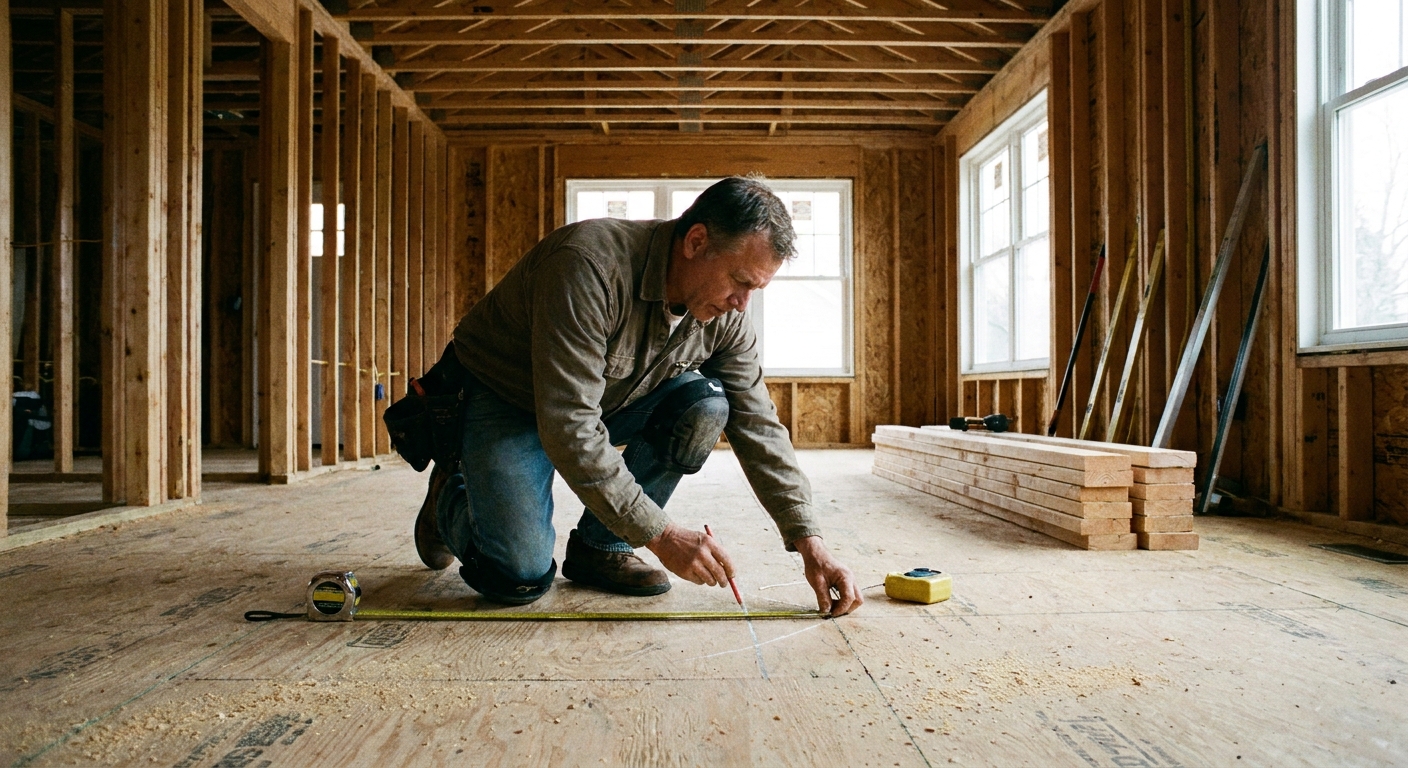
I grew up sweeping sawdust in a little shop where the rule was simple: measure twice, cut once. Out in the real world of framing and repairs, I would add a second rule: support first, then cut. When termites chew up studs, the temptation is to start ripping drywall and yanking lumber. On a load-bearing wall, that is how you turn a repair into a structural problem.
This guide walks you through a method I have used in remodels to temporarily shore a load-bearing wall and swap out compromised studs with minimal demolition. The goal is simple: keep the loads where they belong while you replace the bad wood, then tie everything back together so the wall works like it should.
Before you touch a stud: stop the termites
Replacing studs without addressing termites is like installing new flooring over a leak. You may not be the one doing the pest treatment, but you should be confident it is handled before you close the wall.
- Get active infestation treated by a licensed pest pro if needed.
- Remove wet conditions that invited termites in the first place (leaks, wet crawlspace, poor drainage).
- Plan for a clear inspection path. In areas where inspections are common, keep documentation of treatment and repairs.
Is it load-bearing? Do not guess
If the damaged studs are in a non-bearing partition, the job is dramatically simpler. If the wall is load-bearing, you need to shore it correctly.
Quick field clues
- Joists or trusses end on the wall or lap over it.
- Wall runs perpendicular to ceiling joists in a conventional framed house.
- Multiple stories above or a roof load lands over that line.
- It lines up with a beam, post, or foundation wall below.
In remodel situations, loads can be weird. If you cannot clearly trace the load path, bring in a structural engineer or experienced contractor. It is money well spent.
If you want a deeper look at what makes a wall load-bearing during changes, see my guide on how to frame a load-bearing wall in a remodel.
How much damage is too much?
You are looking for two things: section loss and crushing at bearing points.
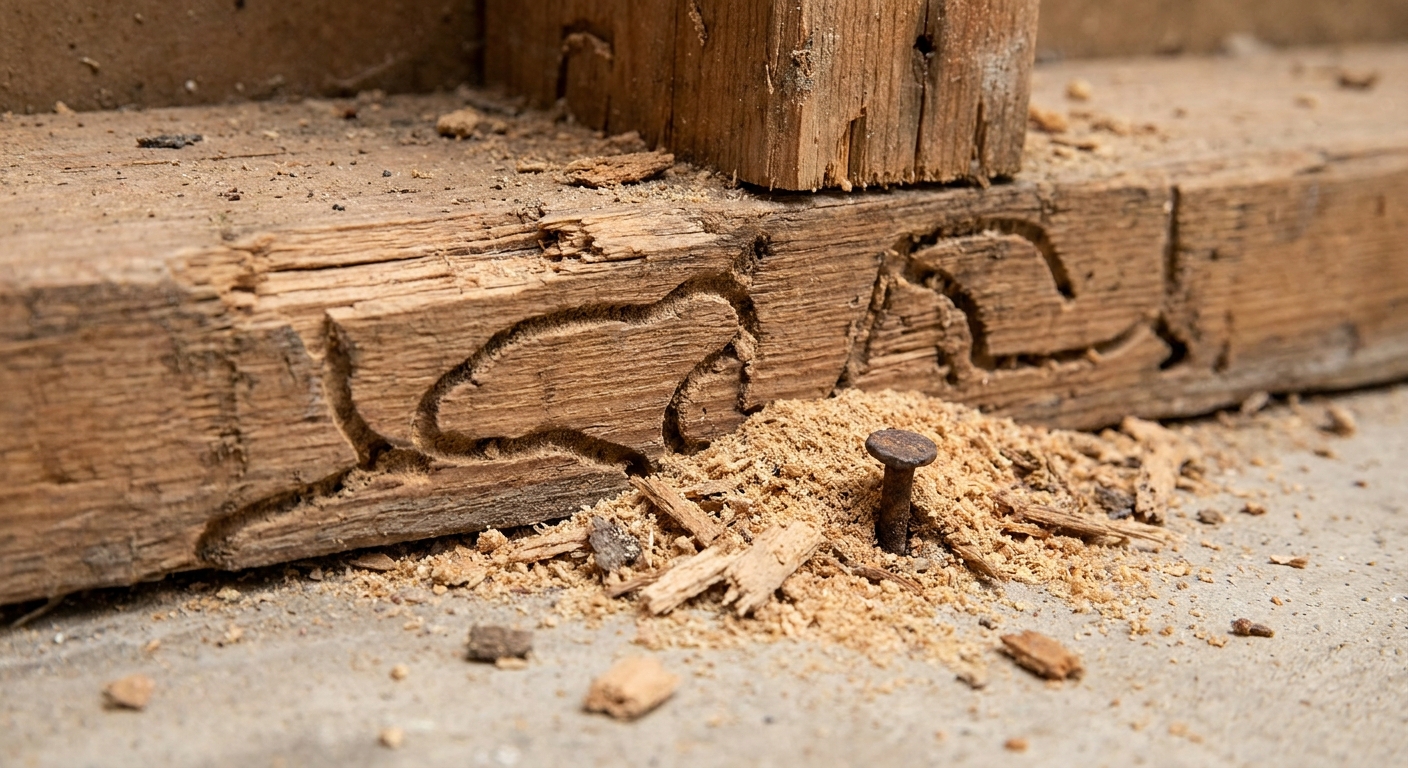
- If a stud is soft, hollowed, or missing a big chunk, replace it.
- If the stud is compromised right under a top plate, header, or point load, treat it as urgent.
- If multiple studs in a row are damaged, assume the wall is no longer sharing load the way it was designed to.
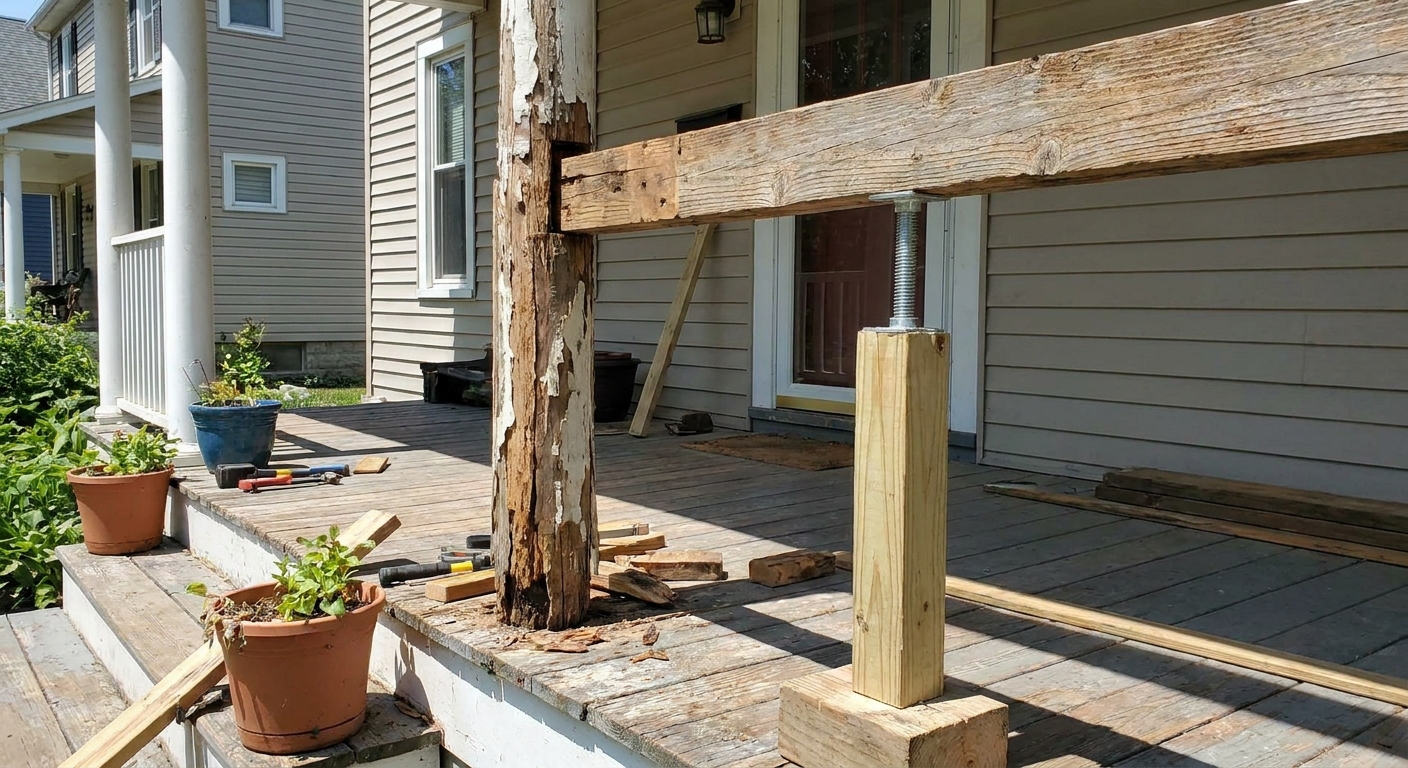
Termite galleries can hide behind paper-thin faces. Probe with an awl or screwdriver. If it sinks easily or the wood breaks like a cracker, do not trust that stud.
Tools and materials I use
- 2x4s or 2x6s for temporary support wall (match existing framing where practical)
- Construction screws or 16d nails for temporary wall assembly
- Adjustable screw jacks or pairs of shims (optional but helpful)
- Reciprocating saw with wood and metal blades
- Oscillating multi-tool (nice for clean drywall cuts)
- Hammer, pry bar, cat’s paw
- Level, tape, chalk line
- Stud material for replacement (typically kiln-dried 2x4 or 2x6)
- Structural screws or nails for fastening new stud
- Wood preservative or borate treatment for adjacent framing if recommended by pest pro
For nailers, I have strong opinions, but both styles work fine here. If you want the pros and cons, I broke it down in cordless vs pneumatic framing nailers.
Open the wall with a tight cut
If you are trying not to “tear down the wall,” you still need enough access to do proper structural work. I usually open a strip wide enough to expose:
- the damaged stud from bottom plate to top plate
- the stud bays on each side (so you can fasten and inspect)
- the plates (so you can confirm condition and connections)
In finished spaces, I prefer to cut drywall in clean rectangles so it patches easily. Remove baseboard carefully so you can reuse it.
If you suspect the bay has wiring or plumbing, slow down and plan ahead. I like to shut off power to the circuits in that wall. If there is any chance you are into supply or drain lines, shut water off too.
Check the plates too
If the bottom plate is damaged, replacing a stud alone is not the fix. The load has to land on sound wood. In that case you may be looking at sections of plate replacement, which can still be done in pieces, but it changes the plan.
Temporary support wall
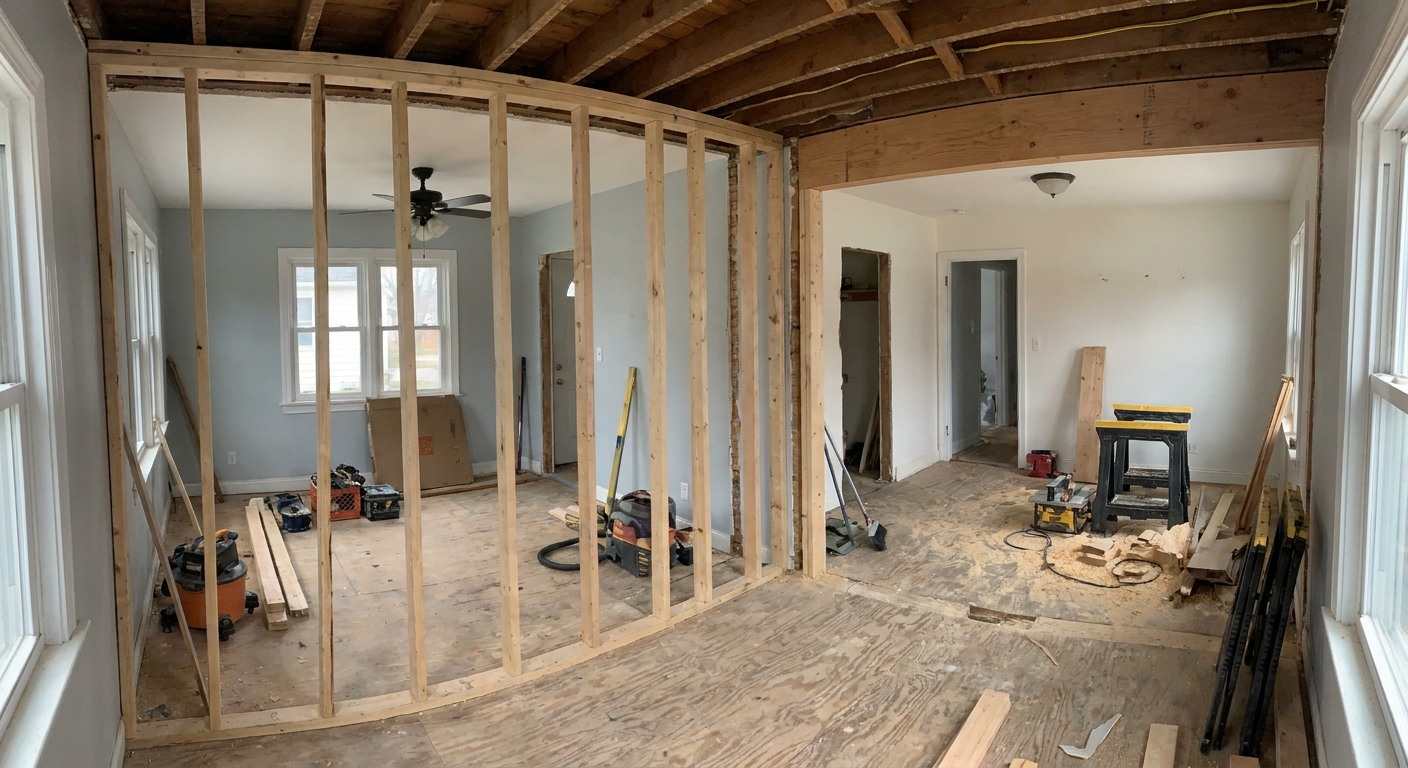
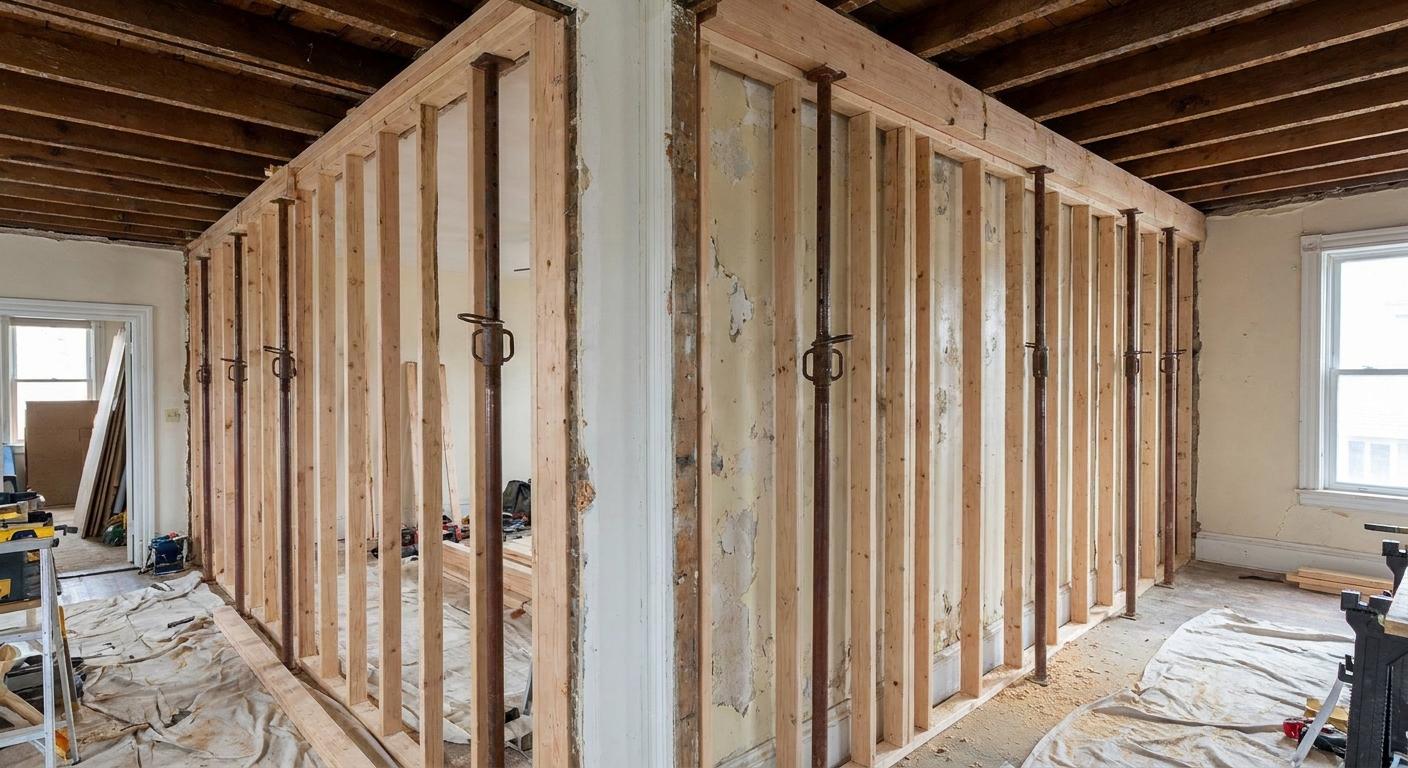
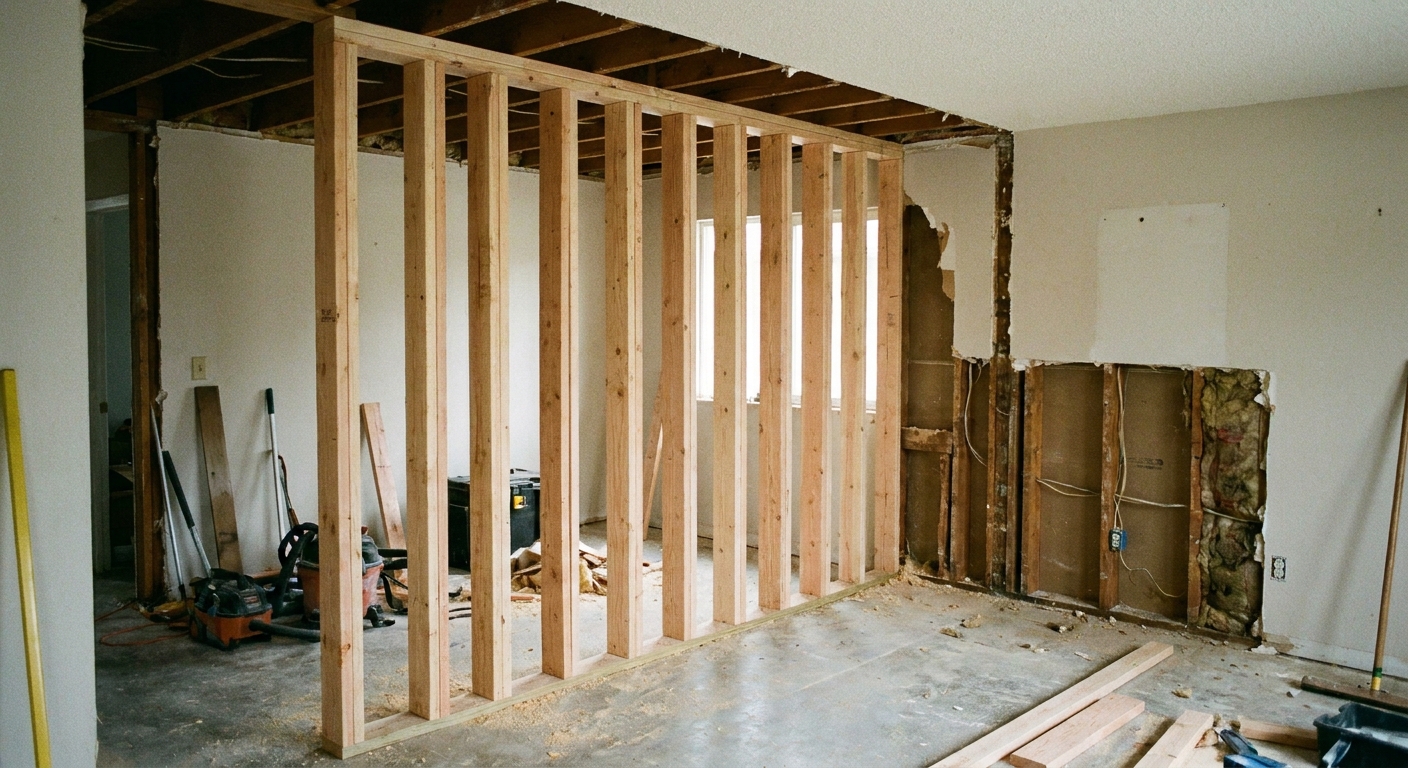
When the wall is load-bearing, the safe approach is to create a temporary shoring wall parallel to the existing wall, tight enough to carry the load while studs are out.
Place it right
- On the same side you opened if possible, so you can work freely.
- About 2 to 3 feet away from the existing wall is typical, but the real rule is: close enough to fit, far enough to swing tools.
- Directly under structure above (ceiling joists, beams, truss bottom chords), not just under drywall.
- Over solid support below. A shoring wall needs a load path down too. On a wood floor, try to land it over joists or close to a bearing line. On a slab, you are typically fine. If you cannot tell what is under you, stop and verify before you load it.
Build it
- Snap a line on the floor parallel to the wall.
- Cut a bottom plate and fasten it to the floor. On finished flooring, I use screws and protect the surface as needed.
- Cut a top plate to match.
- Measure for studs so they install snug. The goal is tight contact with no visible gaps at the top or bottom.
- Set studs 16 inches on center as a common starting point. Go tighter if loads are heavy, spans above are long, multiple studs are coming out, or an engineer or experienced GC tells you to.
- Bring it snug to the ceiling framing. If the ceiling is uneven, use pairs of shims or adjustable jacks to get uniform contact.
Tip from the field: You are trying to take the weight, not jack the house up. Any preload should be minimal and deliberate. If you crank hard enough to lift the ceiling, you can crack finishes or disturb tile. Take the load gently.
Swap the stud and keep the load path
Once the load is carried by the temporary wall, you can remove and replace studs one at a time. If multiple studs are damaged in a row, I still prefer a one-by-one approach unless an engineer specifies otherwise.
Step 1: know what that stud does
- Regular stud: carries uniform wall load.
- King stud or jack stud: supports a header at a window or door.
- Stud under a point load: might align with a beam, girder truss, post, or concentrated load above.
If you are working near openings, review how loads transfer around doors and windows. My article on structural headers for wide window openings helps you think through what you are looking at.
Step 2: cut fasteners cleanly
Studs are typically end-nailed and or toe-nailed into plates, depending on access and how the wall was framed. I use a recip saw to cut nails at the top and bottom, then pry the stud out. If wiring or plumbing runs through the bay, slow down and protect it.
- Use a metal blade if you are cutting through nails, straps, and clips.
- An oscillating tool is great for controlled cuts when you cannot risk nicking a pipe.
Step 3: pull the stud and inspect what it touched
Pull the stud and inspect:
- top plate for crushing, checks, or termite damage
- bottom plate for rot or termite galleries
- neighboring studs for hidden section loss
- connectors and fasteners for corrosion (common in coastal areas, crawlspaces, and anywhere moisture has been an ongoing issue)
If you find widespread damage, stop and reassess. Sometimes “a few studs” turns into a bigger framing repair, and that is better discovered now than after patching drywall.
Step 4: install a full-height replacement
I prefer full-length stud replacement from bottom plate to top plate whenever I can. It restores the load path in the simplest, strongest way.
- Measure the exact stud length. In old houses, it might not be a standard 92-5/8 inch wall. Measure in the bay you are repairing.
- Cut the new stud square. A crowned stud gets installed crown-out, same as new framing.
- Dry fit the stud. It should tap in snug without lifting the top plate.
- Fasten top and bottom with nails or structural screws. Match existing fastening where practical.
- Add toenails if that is how the wall was framed, especially if access for straight nailing is limited.
Step 5: restore what you had to cut
If you cut any straps, let-in bracing, hold-down hardware, or other connectors, replace them with approved connectors and fasteners. This is one place where “close enough” is not good enough. If you are in a seismic or high-wind area, hardware continuity matters.
Braced and shear walls
Some load-bearing walls do double duty as braced or shear walls. If you see any of the following, slow down and treat the wall as part of the lateral system until proven otherwise:
- plywood or OSB sheathing nailed to studs (often with a tight nail pattern)
- let-in 1x diagonal bracing
- metal strap bracing
- hold-downs, long anchor bolts, or heavy corner hardware that looks more serious than basic framing
You can still repair termite damage in these walls, but you need a plan to restore the bracing and fastening pattern. If the damage is in a braced panel area, near corners, or next to big openings, this is a good time to bring in an engineer or a contractor who does structural repair regularly.
What if a full stud will not fit?
Sometimes a stud bay is trapped by wiring, cabinets, or a tight ceiling condition. When a full-height stud is not possible, you have a few options, but these are the situations where it is smart to slow down and get experienced eyes on the structure.
Option A: sister a stud (limited cases)
If the stud is only lightly damaged and still mostly intact, a full sister stud can be installed alongside it, bearing on the same plates. The key is that the sister has to actually take load, which means tight bearing at the top and bottom.
If you need a refresher on sistering concepts, my floor-focused guide still translates well to wall members: how to sister floor joists.
Option B: segmented repair (engineer territory)
A segmented stud repair is essentially a structural splice. If the wall is load-bearing, near openings, under a point load, or part of a braced or shear line, I treat this as code and engineer territory. Most of the time, the better answer is figuring out how to get a full-height stud in, even if it means a bit more access.
If you do end up in a situation where a segmented repair is approved, it needs solid bearing at the cut, tight alignment, and fastening that is specified for that splice. This is not a “do what feels solid” step.
When to pull the shoring
Do not rush the last step. Before you back off the temporary wall:
- Confirm every replaced stud is tight to both plates.
- Confirm fasteners are installed, not just one or two “for now.”
- Confirm any cut connectors, straps, and blocking are restored.
- Look up and down the wall line for anything that shifted while it was open.
Then loosen jacks or pull shims slowly. Listen for popping or movement. A little settling noise can be normal. Sudden movement is a stop sign.
Close the wall the right way
Before drywall goes back:
- Mark stud locations on the floor or adjacent surfaces so the drywall crew has targets.
- Add blocking now if you want future-proofing for grab bars, cabinets, or TV mounts. I like to do it while the wall is open. My approach is here: strategic in-wall blocking.
- Replace insulation and consider air sealing if appropriate for your assembly.
If this wall is between floors or connects to an attic, check whether fire blocking was disturbed and restore it. Fire stopping is not glamorous, but it matters. Here is my guide: fire blocking in residential framing.
Mistakes I see
- Skipping shoring on a load-bearing wall. If the wall is carrying load, shore it. Period.
- Building a temporary wall that is not truly tight. If it is loose, it is decorative, not structural.
- Forgetting the load path below. A shoring wall needs solid support under it, not just whatever flooring happens to be there.
- Assuming the plates are fine. Termites love plates because they are close to moisture sources.
- Replacing one stud while ignoring the rest of the bay. Damage is often wider than the obvious spot.
- Not restoring connectors and bracing. Those pieces are part of the wall’s job, especially in wind and seismic zones.
FAQ
Can I replace a stud without removing drywall?
Usually not if you want a real structural repair. You need access to confirm bearing at the plates and to fasten properly. Small, neat openings patch better than a big tear-out later.
Do I need permits?
Often, yes, if you are repairing structural framing in a load-bearing wall. Rules vary by city and county. In some areas, termite and structural repairs can trigger inspections even when it is a repair in kind, especially if you are touching braced walls, shear walls, or anything tied to anchors and hold-downs.
Should I use pressure-treated lumber for replacement studs?
Inside a dry wall cavity, standard kiln-dried framing is typical. Pressure-treated wood is used where wood contacts concrete or where codes require it. If the area has chronic moisture, address the moisture first, then choose materials that match code and the assembly.
What if the bottom plate is damaged too?
That is a different repair. You may need to support loads and replace sections of plate in pieces, sometimes involving anchor bolts, hold-downs, or sill work. If the damage is widespread at the base, it is a good moment to consult a pro.
Final word
Studs are simple pieces of wood, but they are part of a load path that does not care about your schedule. Take the time to shore the wall, replace studs with full bearing when you can, and restore every connection you disturbed. That is how you fix termite damage without turning your living room into a full gut remodel.
If you want more repair-focused walkthroughs, I keep the Home Repair guides organized here: Home Repair.