

I have lost count of how many times I have opened up a wall or ceiling and found the same crime scene: a plumber needed a little more room, an electrician chased a wire, and a perfectly good stud or joist got turned into Swiss cheese. Sometimes you can shrug it off. Sometimes you are staring at a real load path problem.
This is structural first aid. The goal is not to make the lumber pretty again. The goal is to restore a safe load path without guessing. I will walk you through how I assess over-notched and drilled framing members and the repair moves that actually put strength back where it belongs.
One important guardrail up front: “Rules of thumb” help you triage, but your local code, the member manufacturer (especially for engineered products), and your inspector’s expectations are the real boss. When the damage is serious or the loads are high, I would rather overreact and get an engineer or inspector involved than roll dice with someone’s floor.
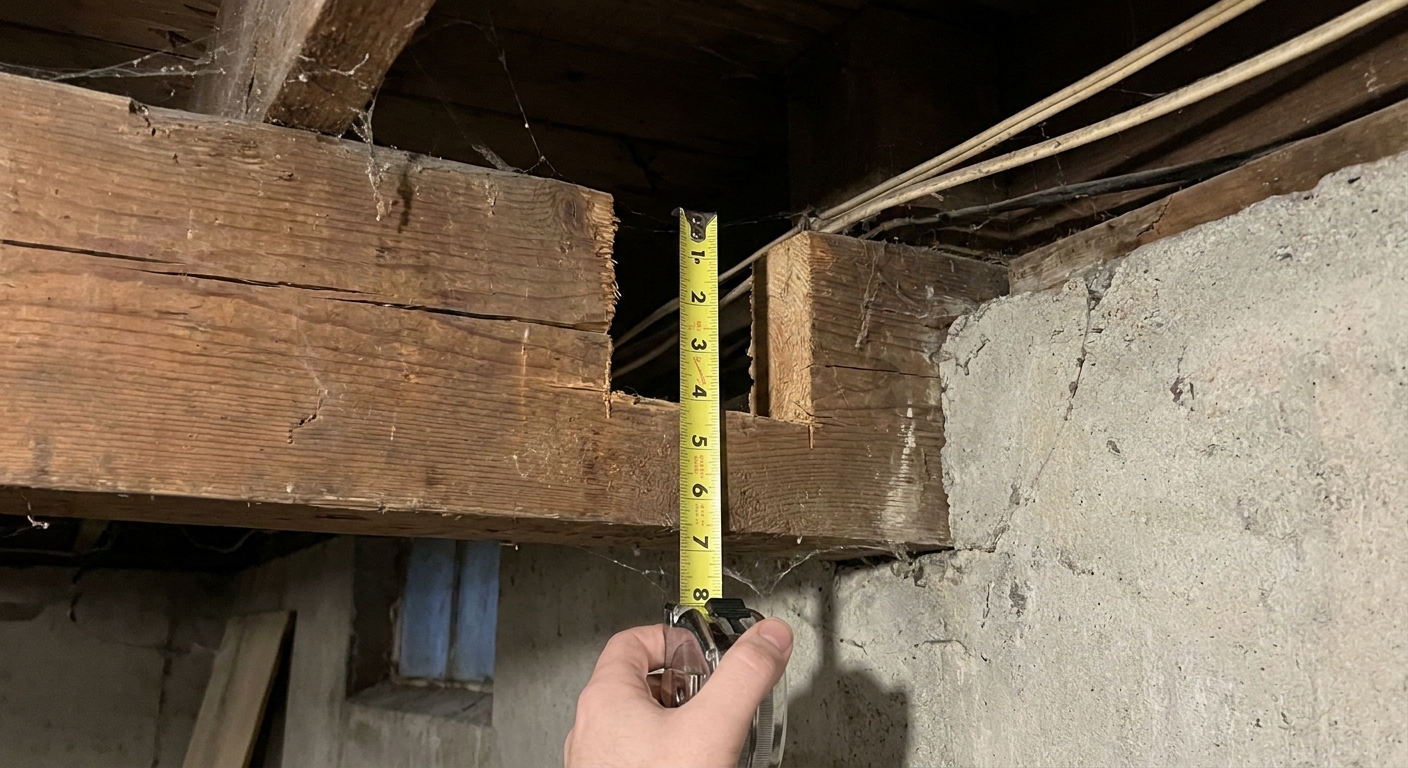
Before you repair: identify the job
The same notch can be harmless in one place and dangerous in another. First, figure out what the cut piece is responsible for.
- Load-bearing wall studs carry roof, floor, or beam loads down to the foundation. Damage here matters more.
- Nonbearing studs mostly hold drywall, cabinets, and keep walls straight. Still worth fixing, but the urgency is different.
- Floor joists are bending members. Notches and holes change how they resist bending and shear.
- Rim joists, beams, headers, trusses, and engineered I-joists follow different rules. If you are looking at any of those, slow down and verify requirements before cutting or patching.
If you are already in the “load-bearing” category and the cut is substantial, I treat it like a structural repair by default. If you need a refresher on how loads move through a remodel wall, my approach is laid out in How to Frame a Load-Bearing Wall in a Remodel.
Red flags
You do not need to be an engineer to recognize the situations that deserve extra caution. Here is what gets my attention immediately:
- Any notch or hole near a support in a joist, meaning close to a beam, wall, or girder line. As a practical jobsite trigger, I get serious anytime it is within a couple of feet of a bearing point, but your code and the specific span matter.
- Notches on the bottom of a joist out in the span. That bottom edge is where tension lives.
- Large holes or notches that line up across multiple joists or studs, which can create a weak line.
- Cracks radiating from the cut or any splitting that runs with the grain.
- Visible sag, bounce, or a new slope in the floor above.
- Crushed drywall corners, stuck doors, or popping trim near a damaged wall stud.
- Any modification to engineered members (I-joists, LVLs, trusses) without the manufacturer’s detail.
One more: if the wood is not sound (rot, insect damage, heavy water staining, punky fibers), treat it as a different repair problem. A “notch repair” in compromised wood is like putting a new tire on a bent rim.
Quick assessment
I am going to keep this practical. Codes vary, but the logic behind the limits is consistent: the closer you get to the ends of a joist, the more shear matters; the closer you get to midspan, the more bending matters. For studs, the issue is reducing cross-section in a member meant to carry compression, plus the fact that real walls often see some bending from eccentric loads and notches.
Typical code baselines (verify locally)
People expect numbers, so here are typical baseline concepts you will see in residential code language, without pretending one paragraph replaces your local requirements:
- Studs: boring and notching limits are tighter for bearing walls than nonbearing walls, and protective nail plates are required when wiring or piping is close to the stud face.
- Joists: end notches, midspan notches, and bored holes each have different limits. In general, midspan notches are the ones that get you in trouble fast, and holes are usually expected to stay away from the top and bottom edges.
- Engineered members: the manufacturer’s hole charts and repair details are the rules. If you do not have them, stop and get them.
Studs: what usually crosses the line
For conventional wood studs, building codes set limits on how much can be notched or bored and still be considered acceptable. As a jobsite rule, if a stud looks like it lost a big chunk of its width, assume it needs reinforcement or replacement.
- Notches get risky quickly, especially on load-bearing walls or at corners and openings.
- Bored holes become a structural problem when they are oversized, too close to an edge, or clustered.
- Any stud that is both notched and drilled in the same area is a repair candidate in my book.
Solid-sawn joists: safer zones vs danger zones
- Top edge notches are sometimes acceptable near the ends, but the depth matters.
- Bottom edge notches out in the span are a common failure starter.
- Holes should stay away from the top and bottom edges. Think of the joist like a beam where the middle zone is friendlier for penetrations.
If you want a deeper explanation of what joist types can handle, and why engineered members behave differently, see Dimensional Lumber vs Engineered I-Joists for Floor Framing.
Step 1: make it safe
If you see a severe notch or a joist that is cracked or sagging, do not “finish the drywall and hope.” If the area is accessible, I like to reduce risk before I start repair work.
- For a joist repair, consider temporary shoring under the affected area. A few adjustable posts and a beam can take the stress off while you sister or add reinforcement.
- For a wall stud repair, do not remove more material. If the wall is bearing and the stud looks compromised, adding temporary support during the repair is cheap insurance.
Also, do the unglamorous safety steps. If you are working near wiring, shut off the circuit. If plumbing is in the way, shut off the water. If there is gas nearby, do not improvise. A structural fix is not worth turning into an emergency call.
If you are unsure whether a wall is bearing, the safest path is to treat it like it is until proven otherwise.
Step 2: document the damage
When I am deciding between sistering, scabbing, or replacing, I measure and photograph everything. It keeps you honest and it helps if you need to talk with an inspector, engineer, or a tradesperson who made the cut.
- Member size and species stamp if visible
- Span and support locations (for joists)
- Distance from the notch or hole to the nearest support
- Notch depth and length, or hole diameter
- Edge distance: how close the hole is to the top or bottom of the joist, or the edge of a stud
- Any cracks, splits, or fastener blowouts
- Wood condition: rot, water damage, insect damage
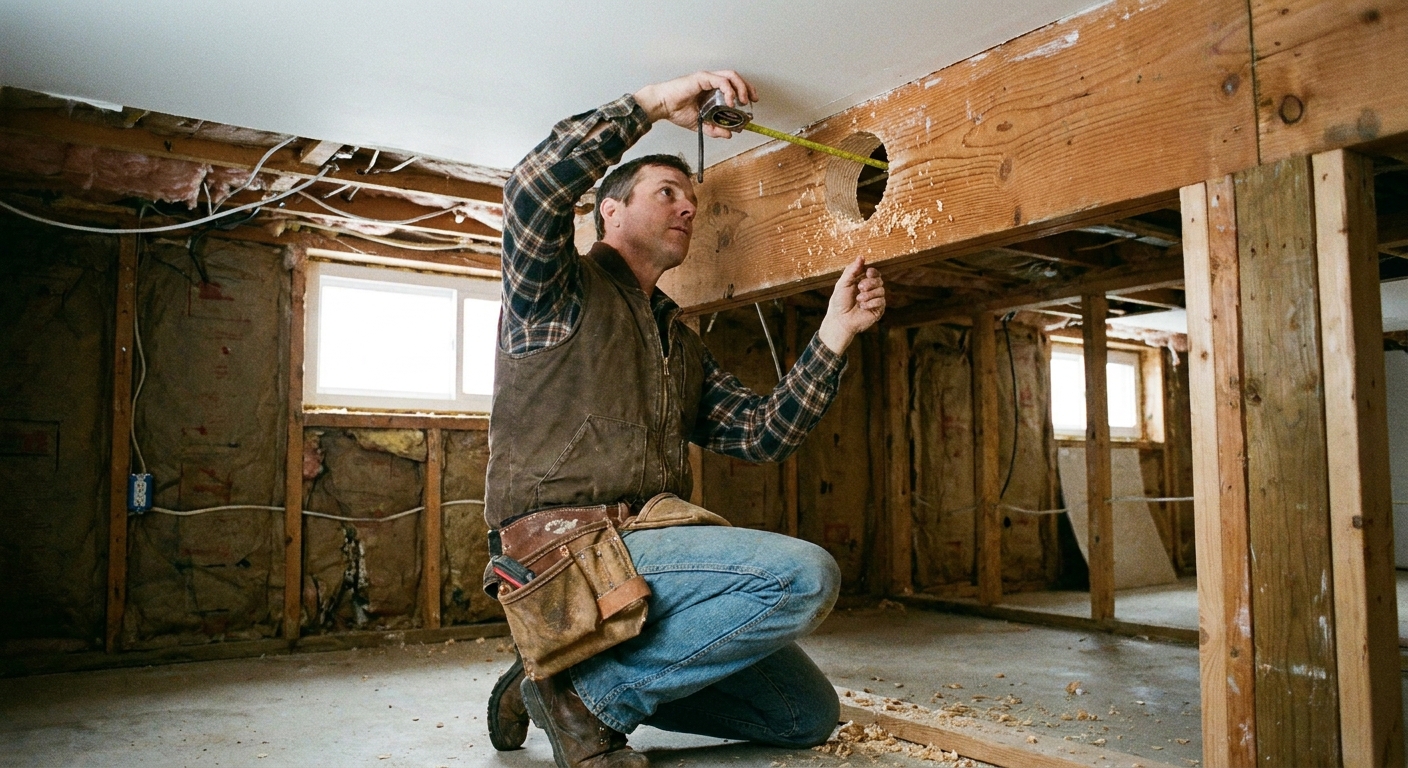
Stud repairs
Studs mostly get into trouble through compression issues like buckling and crushing, but a deep notch can also introduce bending in a stud that was never meant to act like a skinny beam. Your repair should re-establish a continuous, straight load path from top plate to bottom plate and keep drywall from acting like a structural bandage.
Option A: replace the stud
If the stud is badly notched, split, or chewed up near an end, replacement is the cleanest fix.
- Relieve load if necessary (especially under beams or point loads).
- Cut nails at plates, remove the damaged stud, and install a new stud tight to both plates.
- Toenail or use appropriate connectors per your situation.
Option B: sister a stud
If plumbing or wiring makes replacement a headache, sistering is my next pick. The idea is simple: add a full-length stud alongside the damaged one so the new stud can carry the load.
- Use the same size lumber as the existing stud.
- Make sure the sister stud is tight to both top and bottom plates. No gaps. Shims are fine if you do it deliberately.
- Fasten the studs together with a consistent pattern. Nails or structural screws in straight lines at regular spacing work better than a handful of random fasteners. If the wall is heavily loaded, follow an approved detail.
Option C: scab plates or stud shoes
Metal stud shoes and repair plates can work well for certain notches and bores, especially when the notch is on the edge of a stud and you cannot add a full sister due to space. The key is using a listed product and installing it exactly as the manufacturer calls for.
When the damage is near electrical cables, do not forget nail protection plates. They do not restore strength, but they keep drywall screws from creating the next emergency.
Joist repairs
With floor joists, I think in two buckets: bending strength (midspan issues) and shear strength (near supports). Most deep end notches are shear problems. Most bottom notches in the middle are bending problems. The repair approach changes based on which one you are fighting.
Option A: sistering a joist
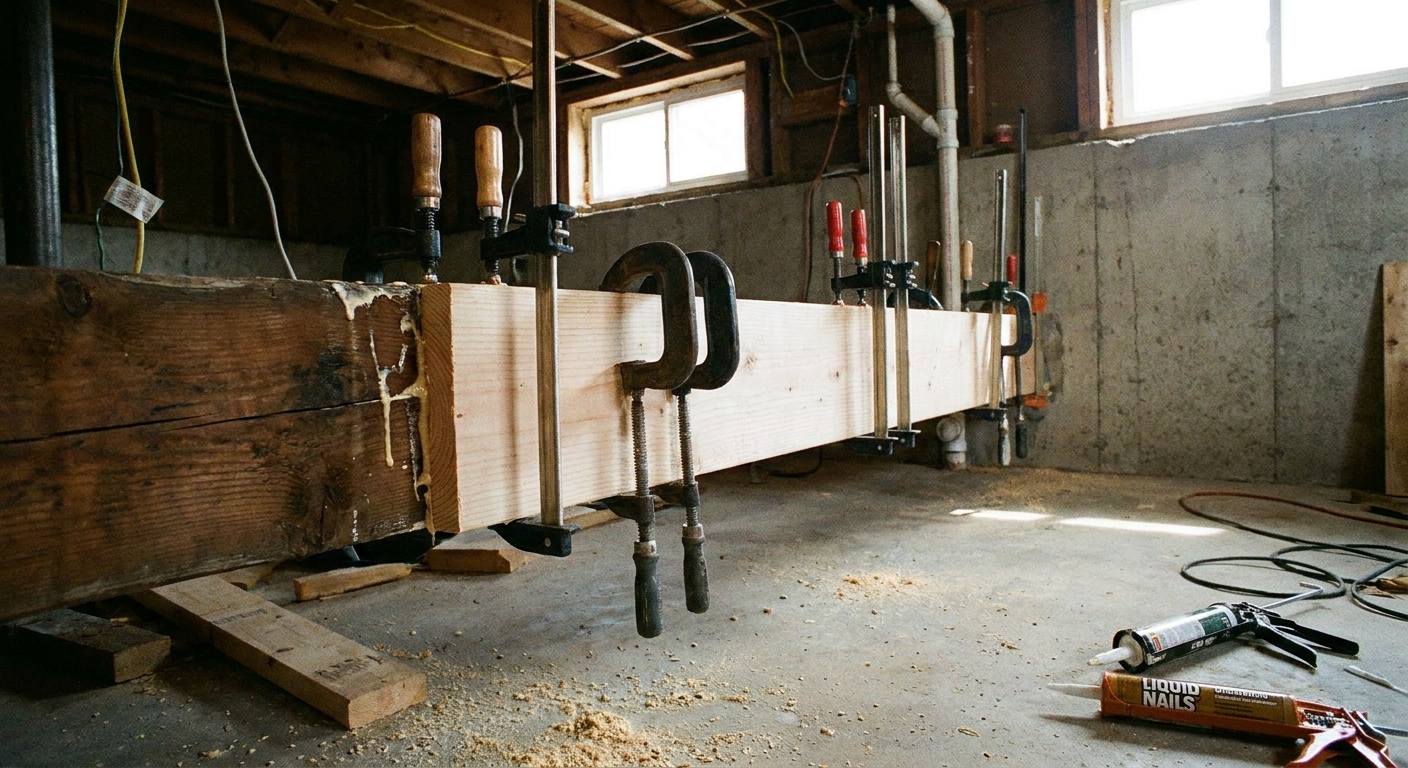
If I can get a full-length sister in, I do. A sister joist works because it adds section and provides an alternate path for loads.
- Best: sister from bearing to bearing, sitting on the same supports as the original.
- Good: sister that extends well past the damaged area, properly fastened and supported as needed. In the real world, I aim for a sister that covers the entire damaged zone plus a generous run on both sides. If you cannot get meaningful length past the cut, do not pretend fasteners alone make it “like new.”
- Use construction adhesive on the face if you can get good contact, then clamp or jack tight and fasten.
- Fastening matters. Use straight rows and consistent spacing, and pick fasteners that are rated for structural wood connections. If you are unsure, follow an engineer or manufacturer detail rather than guessing.
If your subfloor is still open, you can also prevent future movement and squeaks while you are there. I cover that mindset in Prevent Floor Squeaks Before the Subfloor Goes Down.
If you want a dedicated walkthrough on the sistering process itself, see How to Sister Floor Joists.
Option B: engineered reinforcement
For certain end-notch problems, steel reinforcement plates or straps can help, but only if the design and fasteners match the forces involved. This is where I am quick to involve an engineer or follow an approved detail. A random piece of flat steel with drywall screws is not a repair.
Option C: add support
Sometimes the smartest “repair” is to make the joist’s job easier.
- Add a beam and posts beneath the damaged zone if you have a basement or crawl space layout that allows it.
- Add a bearing wall below, properly framed and supported.
Shortening the effective span reduces bending demand dramatically, but it is not free. Reactions at the new supports go up, and posts often need real footings. Do not assume a random post on a thin slab or bare soil is automatically OK.
Option D: partial sister or scab
Partial sisters can work, but they are easy to do wrong. If you cannot reach the supports with your sister piece, you are relying heavily on the fasteners and the quality of the fit. In my experience, partial sisters are best reserved for lighter situations or when backed up by an engineer-approved fastening schedule.
What not to do
- Do not fill a notch with wood putty or epoxy and call it structural. Some epoxies are great for rot repairs in certain contexts, but that is a different problem than restoring a beam section after a chunk was removed.
- Do not slap plywood scraps on one side with a few screws and assume it is reinforced. Plywood gussets can be engineered to work in some cases, but “a scrap and some deck screws” without an approved detail is usually more comfort than capacity.
- Do not notch more to make it look cleaner. A “pretty” notch can be a deeper notch.
- Do not ignore fireblocking when you open walls. If you remove material or open cavities, restore fireblocking to keep your assembly safe and code compliant. See Fire Blocking in Residential Framing.
Working with other trades
On remodels, I try to get ahead of this before anyone drills a single hole. On repairs, the diplomacy matters because you still need the job finished.
- Mark “no drill” zones on joists and studs in advance when walls are open.
- Offer routes that are easier than cutting structure, like soffits, chases, or dropping below a beam where it is acceptable.
- Use protection plates anywhere a bore gets close to the face of a stud.
If you are building a soffit to keep mechanical runs out of your framing members, that approach is covered in How to Frame a Kitchen Soffit to Hide Ductwork or Plumbing.
When to call an engineer
There is a point where “carpenter confidence” becomes gambling. I bring in an engineer or follow an approved detail when:
- The member is engineered (I-joist, LVL, truss, floor truss).
- A notch or hole is close to a support and clearly oversized.
- There is cracking, splitting, or signs of ongoing movement.
- The damage is at a concentrated load, like under a post, point load, or beam pocket.
- The repair needs steel, special connectors, or you cannot access enough length to sister properly.
- You are adding posts or a new beam and are not 100 percent sure about footings, point loads, or what is below.
Good repairs are specific, not generic. An engineer’s sketch can turn a stressful problem into a straightforward punch list.
Close it up right
Once the structure is back in good shape, I like to close things up in a way that prevents the next trade from repeating the same damage.
- Add nail plates where wires or pipes are close to faces.
- Restore fireblocking and draftstopping as required.
- Take a final set of photos before insulation and drywall.
FAQ
Is a drilled joist always a problem?
No. Holes placed in the right zone, sized reasonably, and kept away from supports can be fine. The trouble starts when holes are too big, too close to the top or bottom edge, or clustered, especially near bearings.
Can I just add blocking between joists to fix a notched joist?
Blocking helps with joist rotation and load sharing, but it usually does not replace lost section in the damaged joist. I treat blocking as a supporting player, not the main repair.
What if the damaged stud is in a corner and I cannot fit a sister stud?
Corners get tight. Depending on the layout, you might be able to add a stud on the room side, use an approved stud shoe or plate, or rebuild the corner framing. If you are already opening corners, it is worth understanding corner options like California Corners vs Solid Corners so you do not box yourself in again.
Do I need a permit for this type of repair?
Often, yes, especially if you are altering load-bearing framing or adding a beam, post, or wall below. Local rules vary. When in doubt, I ask the building department before closing the wall.
Preventing repeat damage
I grew up sweeping sawdust in a woodshop where “measure twice, cut once” was not a slogan, it was survival. Structural repairs are the same lesson in a harsher language. You can fix a lot of bad cuts, but it is always easier to plan the route for pipes and wires before anyone gets trigger happy with a hole saw.
If you are in the middle of a remodel and trying to keep the whole process straight, the broad roadmap lives in the Home Repair guide.