I grew up hearing “measure twice, cut once,” but old houses taught me a second rule: support first, then cut. A sagging window header is usually a slow-motion structural problem. The window gets sticky, drywall cracks show up at the corners, trim starts opening up, and one day you put a level on the head casing and realize the whole opening has settled.
This guide walks you through the safest way I know to handle it in an older home: build a temporary support wall to take the load, open the wall carefully, remove the failing header, and upgrade it the right way so the fix actually holds.
Know what a header does
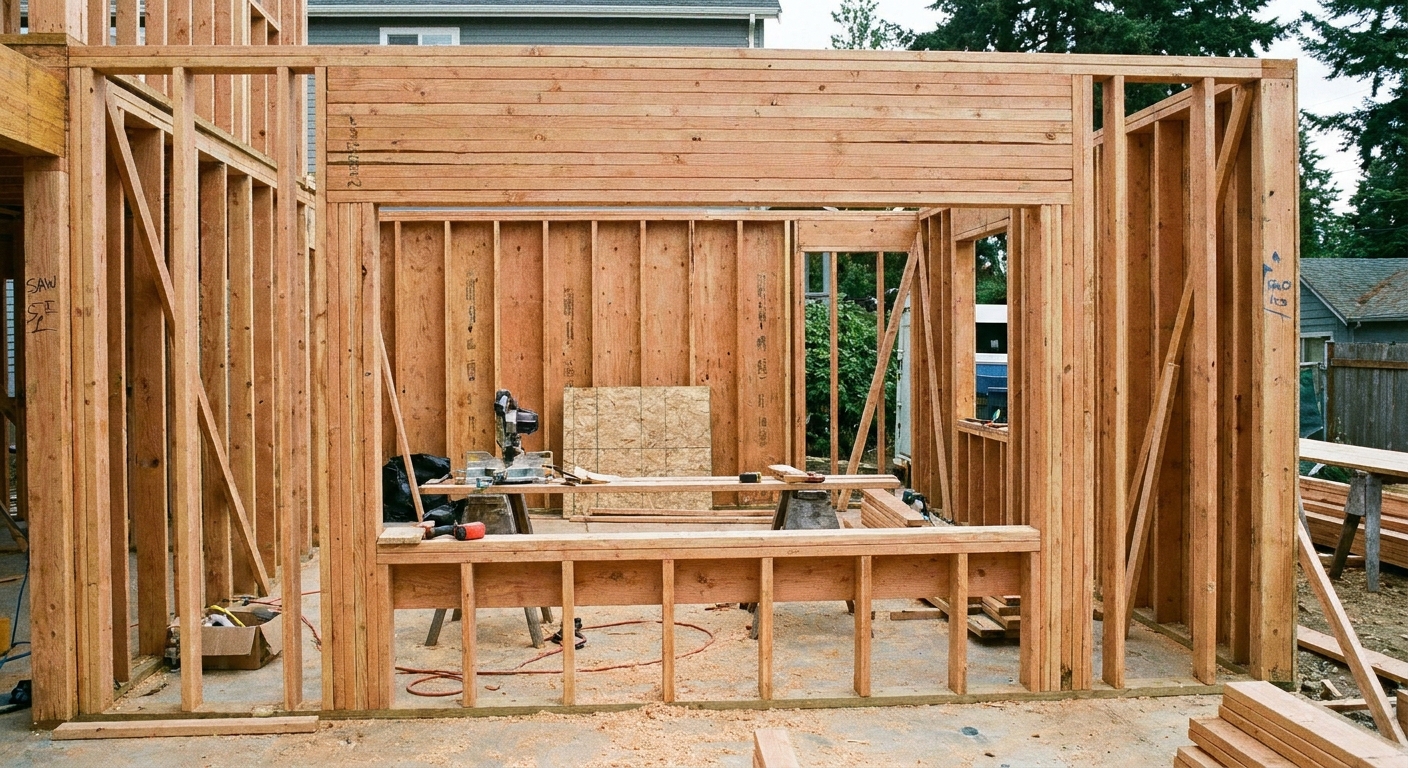
A header is the beam over a window or door that carries the load from above and transfers it to the jack studs (or trimmers) on each side. When a header sags, it is rarely “just cosmetic.” In older homes I see a few repeat offenders:
- Undersized header for the span or load (common after a window was widened).
- Rot or insect damage from years of small leaks.
- Crushed jack studs or missing jacks, especially in remodels.
- Poor bearing where the header ends are not sitting fully on the jacks.
- Long-term settlement that finally shows up at openings.
Before you commit to surgery, confirm you are fixing the right problem: a header can look guilty when the real issue is a sagging floor above, a roof issue, or a rotten sill under the window.
DIY vs pro work
I am all for capable DIY work, but I am also a fan of sleeping well at night.
Call a structural engineer or qualified contractor if:
- The opening is in a two-story bearing wall or supports roof point loads.
- The wall is braced (shear wall) and you are in a high wind or seismic region. Even a “nonbearing” opening can be part of the lateral bracing system.
- You see major rot, termites, or crushed framing extending beyond the opening.
- The header is supporting concentrated loads like a ridge beam post, girder, or stair landing above.
- You are changing the opening size.
- Your ceiling framing runs parallel to the wall and you cannot support directly under joists or trusses without building a proper strongback or beam. That is not a guess-and-go situation.
Typically DIY-friendly scenarios:
- A single window in a one-story wall where the framing is conventional and accessible.
- The problem is clearly an undersized or cracked header, with solid studs on both sides.
Also, do not ignore the paperwork. In many areas, structural repairs in a bearing wall require a permit and inspection, even when you are not changing the opening size. It is worth checking before you open anything up.
Codes and spans vary by location. For header sizing basics, I keep this header guide bookmarked and I still verify against local requirements.
Quick checks first
1) Confirm it is load-bearing
A window header in an exterior wall is often bearing, but not always in every design. Signs the wall is bearing include: ceiling joists or roof framing running perpendicular and bearing on that wall, a second story above, or a roof load landing there.
2) Look for wiring, plumbing, and hazards
Older walls can hide knob-and-tube wiring, abandoned lines, and odd framing. Shut power off to the area and use a non-contact tester. If you are not comfortable with electrical, get help.
And treat dust like it is guilty until proven innocent. Older homes can have lead paint on trim and asbestos-containing materials in some plaster systems, texture coats, or older joint compounds. If you suspect either one, follow your local safety guidance before you start cutting.
3) Find the real sag
Use a 4 or 6 foot level on the window head trim, then check the drywall line above the window. Measure from the window head to the ceiling at both sides. If the wall above has a pronounced dip, plan on a little controlled jacking later, but keep expectations realistic. You are not trying to “lift the house,” you are trying to remove load so you can swap the beam.
4) Plan for time and mess
Even a clean header swap usually means opening at least a couple stud bays, making dust, and doing a real drywall patch. If you go in expecting a one-hour “sneak repair,” the house will correct your attitude.
Tools and materials
- Stud finder, tape measure, level, framing square
- Utility knife, oscillating multi-tool or drywall saw
- Reciprocating saw with wood and metal blades
- Hammer, flat bar, cat’s paw
- Drill and bits, impact driver
- Two adjustable lally columns or screw jacks (optional but helpful)
- 2x4s (or 2x6s) for temporary wall studs and plates
- Fasteners: structural screws or nails for temporary wall, framing nails or screws for rebuild
- New header material (built-up dimensional lumber or engineered lumber)
- Jack studs (trimmers) and king studs if replacing
- Shims, construction adhesive (optional), metal connectors if required
If you are deciding between nailers, I have a full rundown on cordless vs pneumatic framing nailers, but for tight remodel work I often end up using screws for control and a nailer where I have room.
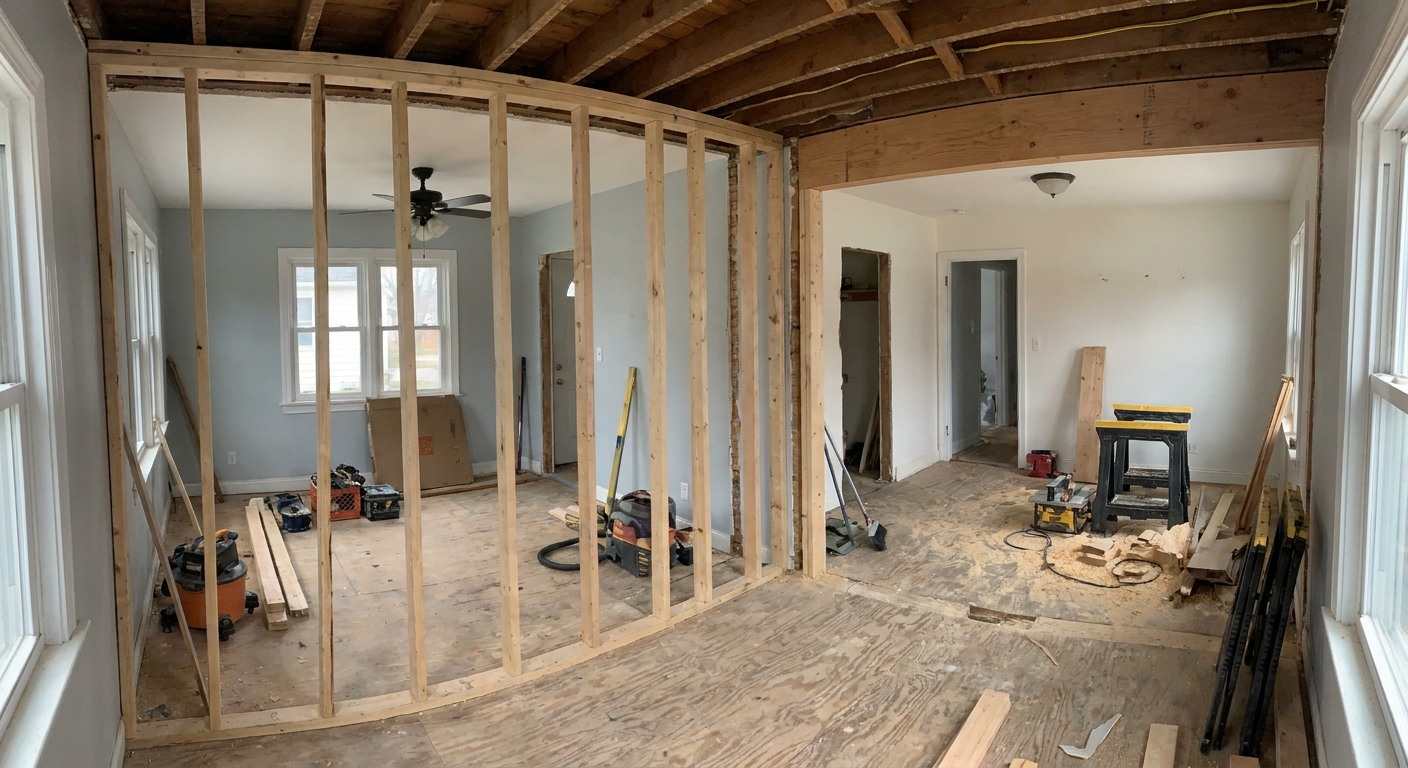
Build the temporary support wall
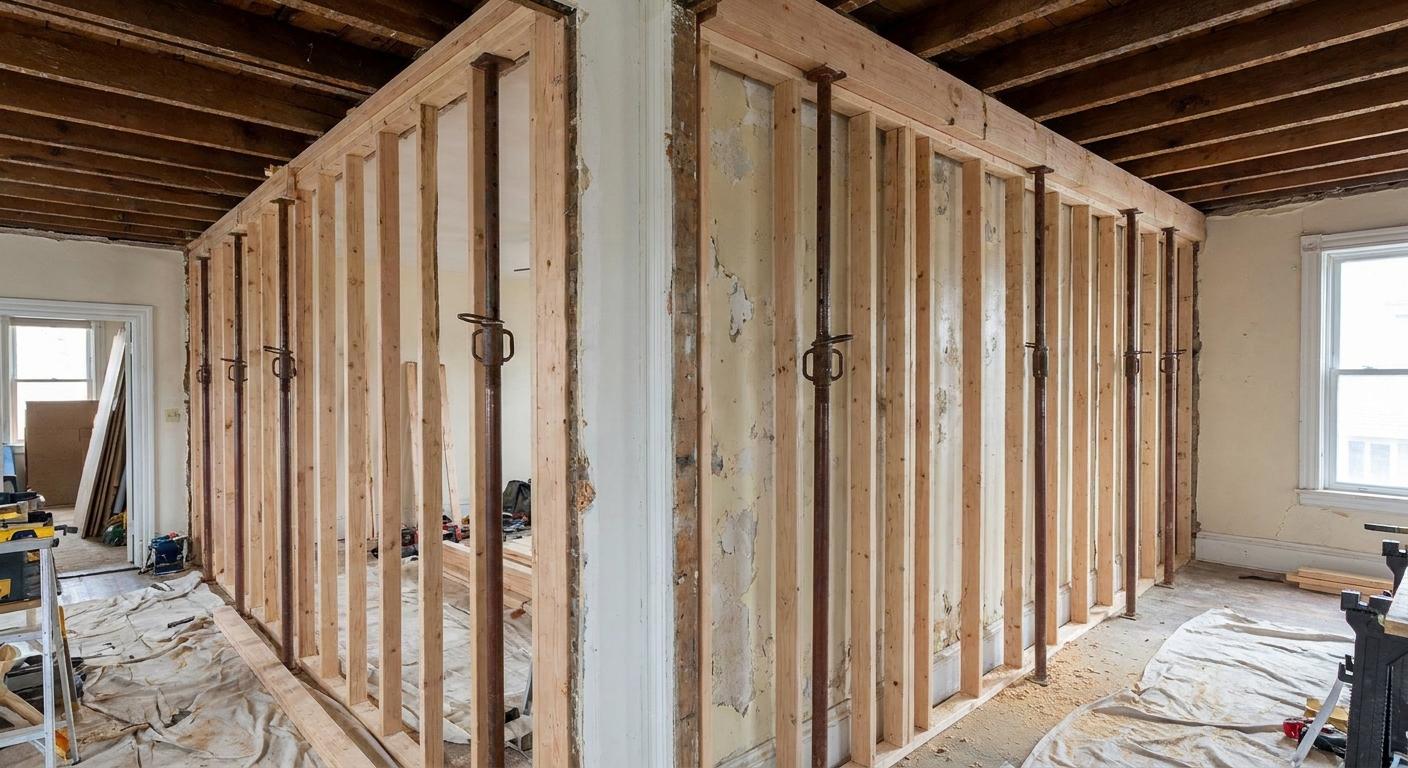
This is the heart of the job. The idea is simple: build a snug, straight temporary wall under the ceiling framing so the load bypasses the window wall while you work.
Step 1: Pick the location
Build the temporary wall about 2 to 3 feet back from the window wall, on the room side. That gives you working space at the opening while keeping the support close enough to carry the load path.
Make sure your support wall is actually supporting structure, not just ceiling finish. Ideally, the top plate lands directly under ceiling joists or trusses. If the joists run parallel to the wall and you cannot catch them, stop and rethink the plan. That is where a properly designed strongback or beam setup comes in, and it is a good time to bring in a pro.
Also make sure the temporary wall lands on solid structure below. A slab is straightforward. Over a crawlspace or basement, try to align it over a joist and ideally near a beam line. If you are unsure, this is where professional input is worth it.
Step 2: Lay out plates
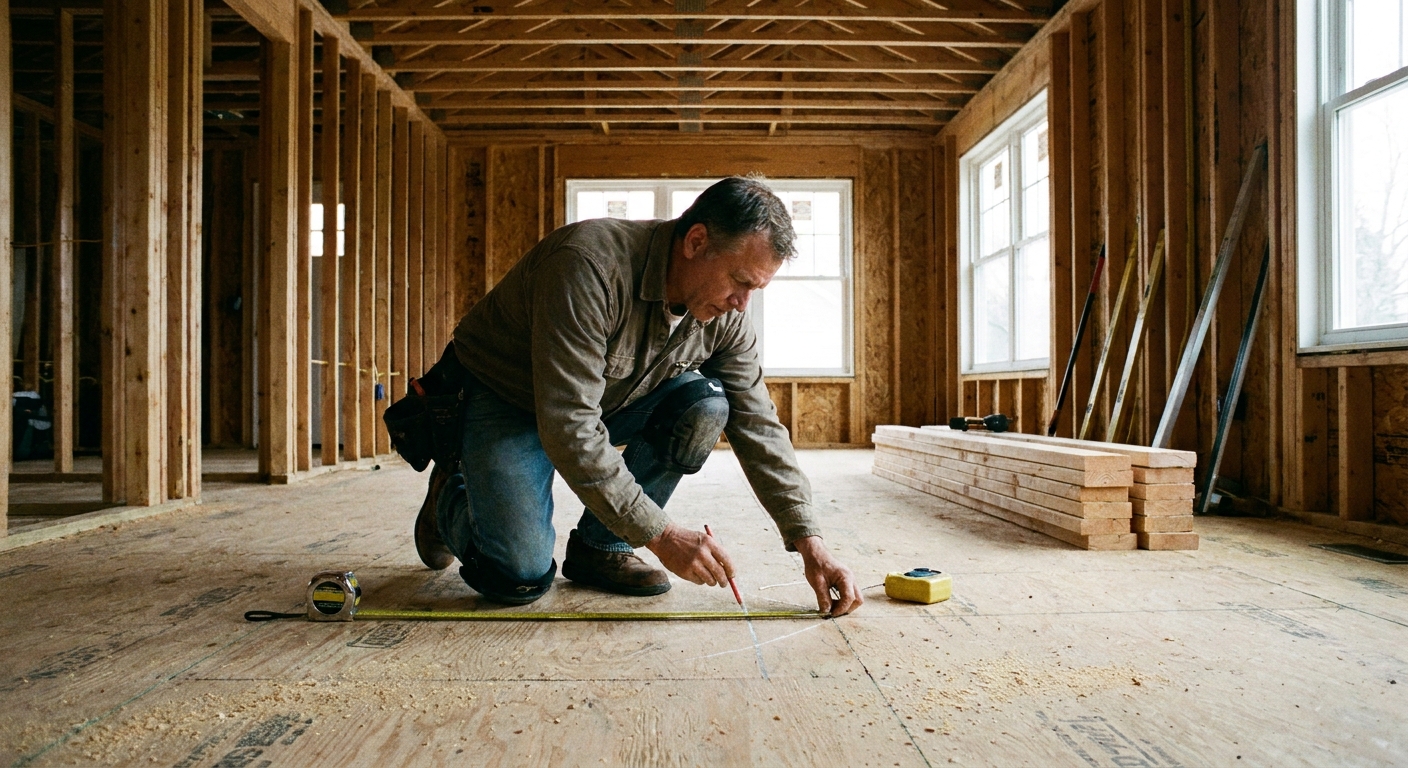
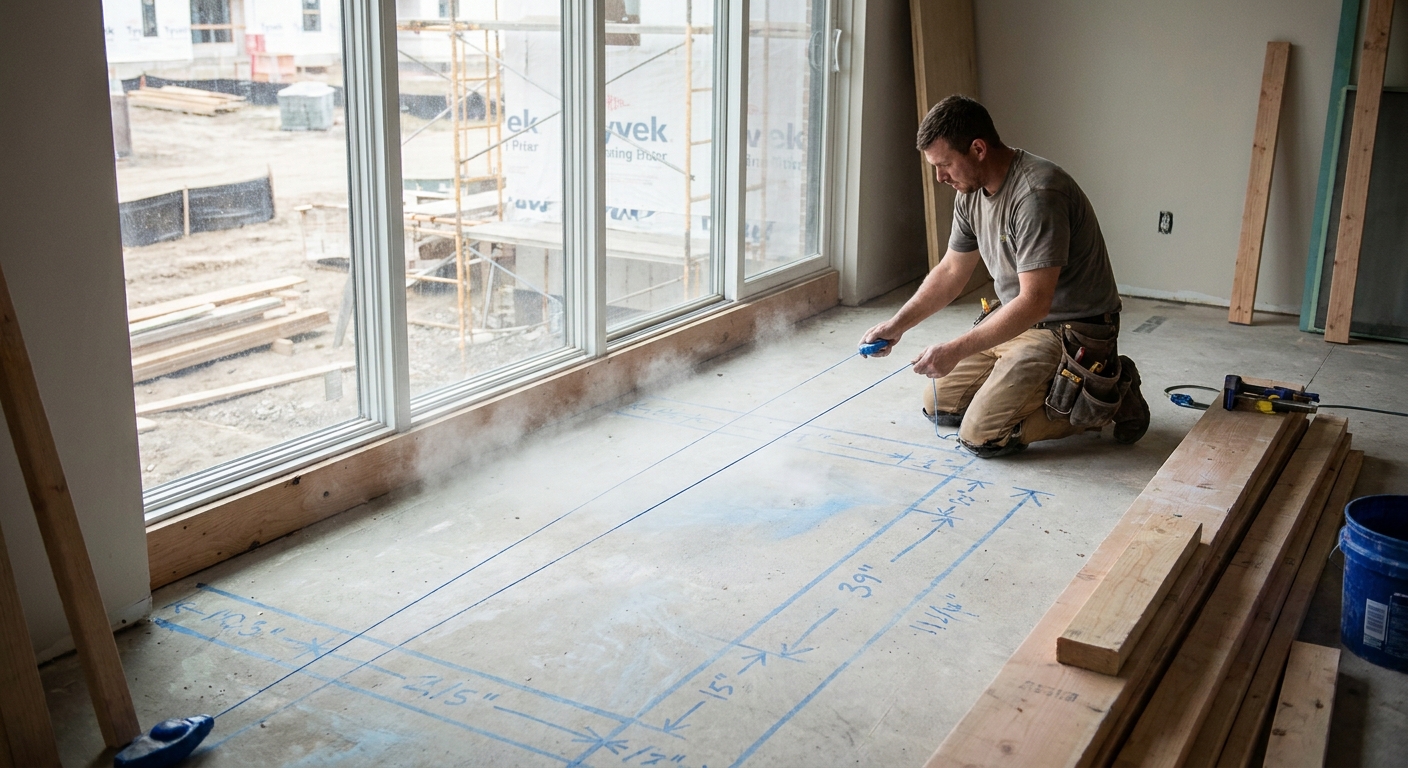
Cut a bottom plate and a double top plate to length. Snap a chalk line on the floor parallel to the existing wall so you build straight. Transfer that line to the ceiling with a level, a laser, or a plumb bob, then mark the top plate line.
Step 3: Cut studs slightly long
This is the part people rush. Measure floor-to-ceiling at multiple points. Cut your temporary studs slightly long (often around 1/16 to 1/8 inch) so they install snug. If the floor or ceiling is wavy, err on the lighter side and use shims for fine tuning. You are aiming for firm contact, not a surprise jack that cracks plaster.
Install studs at 16 inches on center or tighter. For support walls, tighter is fine. Wider spacing is not the place to get creative.
Step 4: Stand the wall and prevent kick-out
Fasten the bottom plate to the floor. At the top, do not rely on drywall or plaster to hold anything. If you can access framing, fasten the top plates into the joists or trusses. If you cannot, the studs still need to bear tight under the joists, and the wall must be braced or blocked so it cannot kick out or walk.
If you have adjustable columns, place one or two under the double top plate and tighten them just until they take load. I go slow and listen. Creaking is normal in old houses. Sharp cracking is a stop-and-reassess sound.
Step 5: Verify load transfer
Watch the cracks at the window corners and check the window operation. Often you will see tiny movement. Do not force it. The goal is load transfer, not major lift.
Open the wall cleanly
Step 1: Protect the space
Plastic, drop cloths, and a shop vac are not glamorous, but old plaster and drywall dust gets everywhere. If you suspect lead paint or asbestos materials, use proper containment and follow local safety guidance.
Step 2: Remove casing and trim carefully
Score paint lines with a utility knife. Use a thin pry bar and work in small bites. Save what you can if you plan to reinstall old trim.
Step 3: Cut back drywall to expose framing
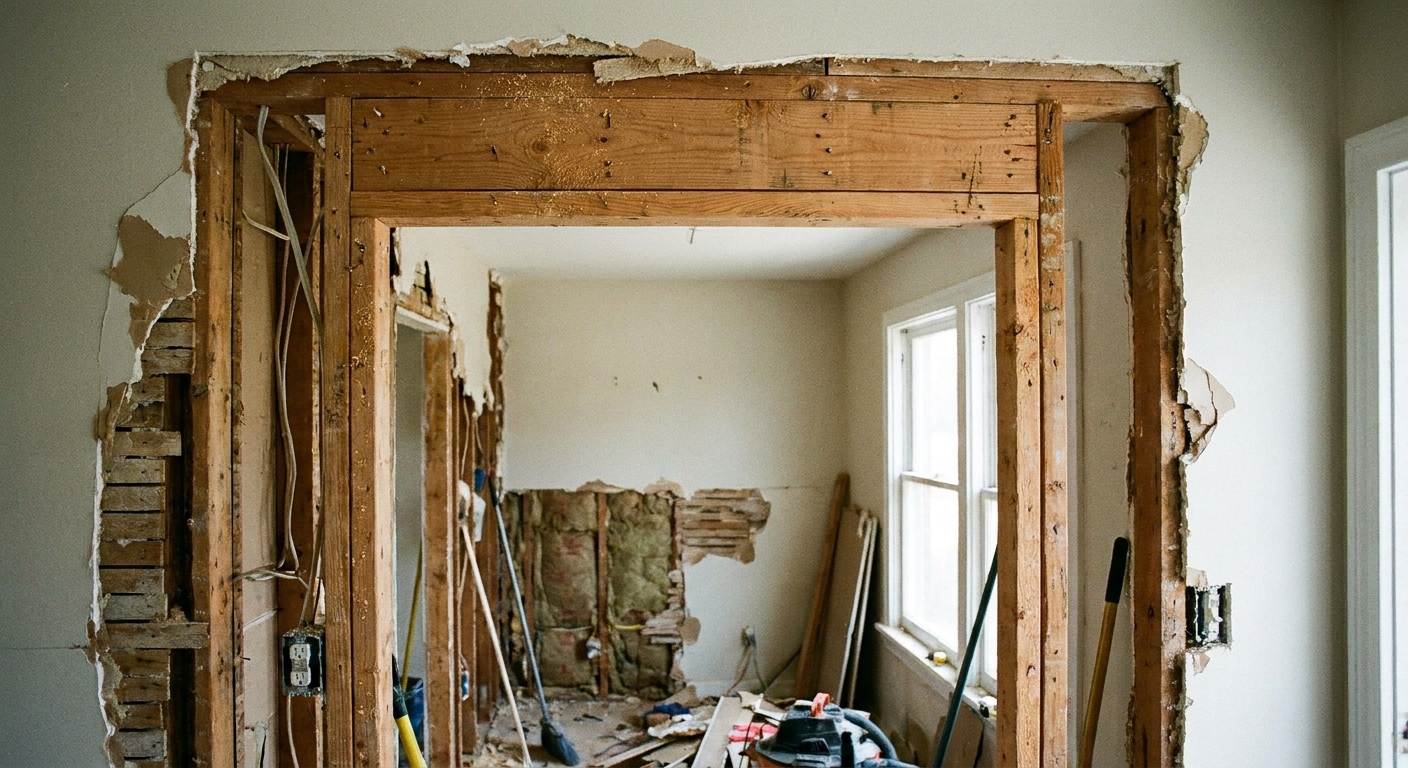
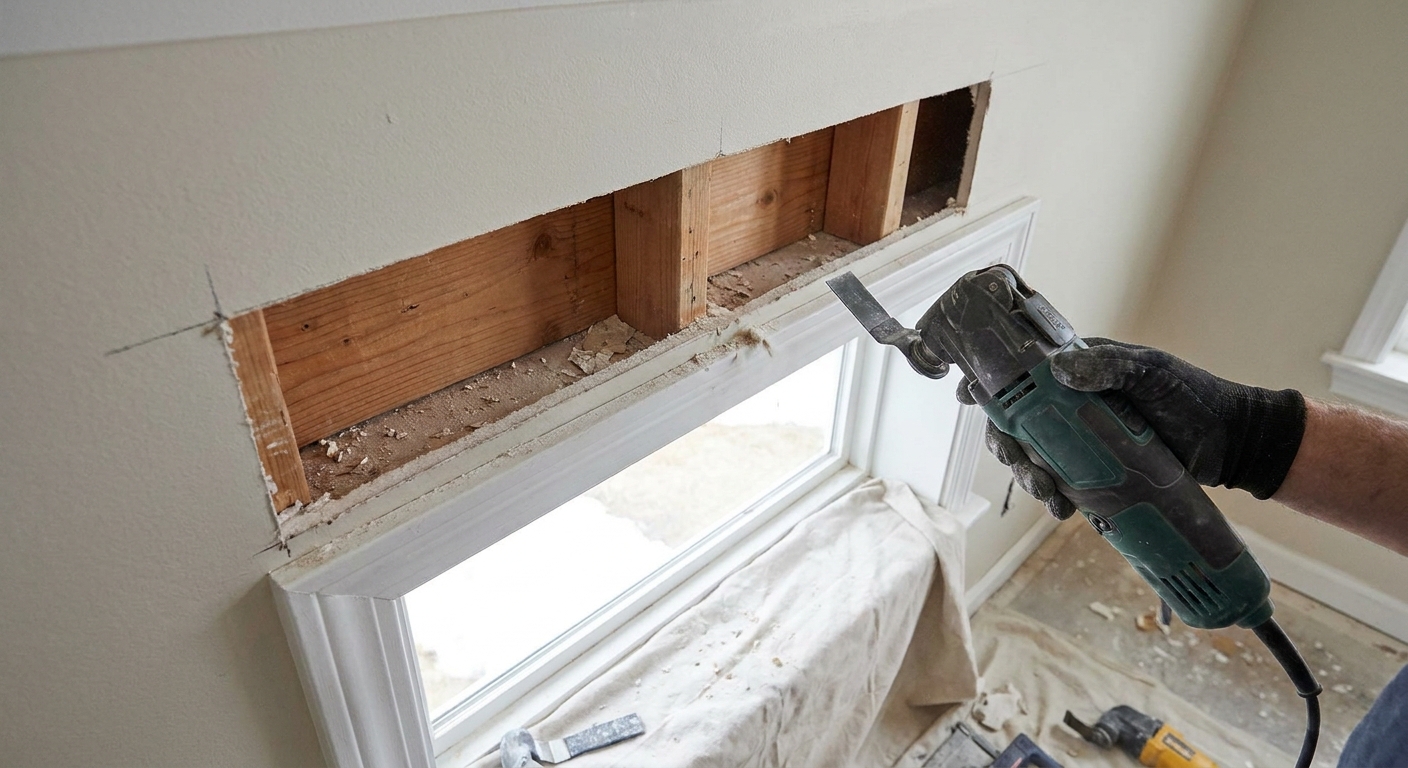
I like to open at least one full stud bay past each side of the window so I can see king studs, jack studs, and any funky framing. An oscillating tool lets you cut clean without shaking the wall to death.
Step 4: Confirm what you have
You might find a single 2x6 header with no jacks, a rough-sawn beam, or a stack of shims pretending to be structure. Take photos before you start pulling members so you can rebuild with intention.
Remove the old header
Step 1: Support the opening locally
Even with the temporary wall in place, I like to add a little local support right at the window if needed. A short stud post or a jack-and-crib setup under the existing header ends can keep things stable as you remove nails.
Step 2: Remove cripple studs (if present)
Many walls have cripple studs above the header up to the top plate. Remove fasteners and pull them if they block header removal. Keep track of lengths for re-cutting.
Step 3: Free the header ends
Headers are usually nailed through king studs, toe-nailed, or pinned by old cut nails that do not want to leave. A recip saw with a metal blade can cut nails at the ends. Work slowly so you do not chew up the king studs you need to keep.
Step 4: Pull the header
Once it is free, tip it down and out. If it is rotten, treat it like it might fall apart in your hands.
Choose the new header
Header sizing is load and span specific. In an older home, I treat every window as a unique case because roof framing, snow loads, and remodel history vary wildly.
Common upgrade paths
- Built-up dimensional header: Multiple plies of 2x material with a spacer (or plywood) to match wall thickness.
- LVL or engineered header: Strong and stable for longer spans, but it needs correct bearing and fastening based on the manufacturer schedule, local code, and sometimes engineering.
As a starting point for thinking through header types and load paths, see Structural Headers for Wide Window Openings. Then verify against local code, manufacturer tables for LVL, or an engineer when the load is not obvious.
Match wall thickness
Most older exterior walls are 2x4, but I have opened plenty that are full-dimension lumber or have furring layers. Your header needs to finish flush with the stud faces so drywall and trim sit right. That might mean a built-up header like two plies plus a plywood spacer, or a single engineered member with filler strips.
Respect bearing
A strong header that is only sitting on a sliver of wood is still a weak system. You want solid, full contact on jack studs, and those jacks need a continuous load path down to something that can carry it. If there is a post, point load, or funky framing above the opening, slow down and get it sized right.
Install jacks and header
Step 1: Replace compromised studs
If jack studs are split, crushed, short, or rotted, replace them. I often replace both jacks so the load shares evenly.
Cut new jack studs to fit tight between the bottom plate and the underside of the header. If the bottom plate is compromised, that is a bigger repair. Do not bury rot.
Step 2: Set the header
Dry-fit first. Then set the header in place on the jacks. Check for level across the header. If the house has settled, you might be tempted to shim one side heavily. Shims are fine in moderation, but large stacks usually mean something else needs correcting.
Step 3: Fasten to spec
Fasten the header to the king studs and tie jacks to kings according to typical framing practice and local code. If you are using engineered lumber, follow the manufacturer fastening schedule. In many remodel situations, structural screws give you excellent control and reduce wall vibration.
Step 4: Reinstall cripple studs
Cut new cripples to length and install them above the header up to the top plate. Keep spacing consistent so drywall has backing.
Step 5: Check the rough opening
Measure the window rough opening diagonals to see if it is racked. If you need a refresher on getting framing true before you close it up, I laid out my process in How to Square a Wall Frame Before Standing It. The principle is the same here, even though the wall is already standing.
Transfer load back
Once the new header and studs are installed:
- Double-check all fasteners and that the header is fully bearing on jacks.
- Slowly loosen any temporary columns or jacks.
- Listen and watch. Minor noise is normal. Sudden movement is not.
- Re-check the window operation and the level line over the opening.
If the wall does not settle back onto the new header cleanly, stop and reassess. That usually means the temporary wall is still holding load or the new assembly is not making full contact somewhere.
Close the wall
Air sealing and insulation
Before drywall goes back, it is a good chance to improve comfort. Older window areas are notorious for leaks. Seal gaps with backer rod and sealant or low-expansion foam around the rough opening, then insulate the cavity appropriately for your climate.
Drywall and trim
Patch drywall, tape, and finish. Reinstall trim or upgrade it. If your original casing was painted a dozen times, label pieces as you remove them. Old-growth trim can be worth saving.
Common mistakes
- Building a flimsy temporary wall that is not directly under joists or trusses, or that can kick out.
- Over-jacking and cracking plaster or stressing old framing. Slow and controlled wins.
- Reusing damaged jack studs because “they look okay.” If they are crushed, they are done.
- Forgetting the load path down to the floor system. A new header still needs solid support below.
- Not opening enough wall to see what is really going on.
FAQ
Can I replace a header without removing drywall?
In a finished home, you can sometimes access from the exterior during siding work, but most of the time you need interior access to see king studs, jacks, and fastening. If you cannot see the structure, you are guessing.
Will replacing the header fix drywall cracks?
It usually stops new movement if the header was the cause. Existing cracks still need patching. If cracks continue to grow after the repair, the underlying issue may be elsewhere.
How much lift is safe when tightening temporary supports?
I tighten supports until they are firm and clearly engaged, then I stop. If you are measuring lift in fractions of an inch, you are already in territory where professional guidance is smart. The goal is to relieve load, not re-level an entire structure in one go.
One last rule
If you take nothing else from this: do not remove a header until you can say out loud exactly where that load is going instead. When your temporary support is solid, braced, and actually under framing, the rest of the work becomes straightforward carpentry.
If you are working through more structural remodel framing, you might also like my walkthrough on how to frame a load-bearing wall in a remodel. The thought process is the same: support, verify, then build.