

I keep a reciprocating saw within arm’s reach anytime I’m remodeling or correcting framing, because sooner or later you hit the same reality: wood is rarely “just wood.” It is wood with nails, screws, drywall crumbs, adhesive, and the occasional mystery fastener left by the last guy. The blade you choose often matters more than most people think, and on a lot of cuts it matters as much as the saw.
This is a jobsite breakdown of what actually changes performance: TPI (teeth per inch), blade steel, tooth geometry, and blade shape. If you’re trying to slice nail-embedded studs cleanly, trim back a header, or make a surgical cut without chewing up everything around it, this will keep you out of the frustration zone.
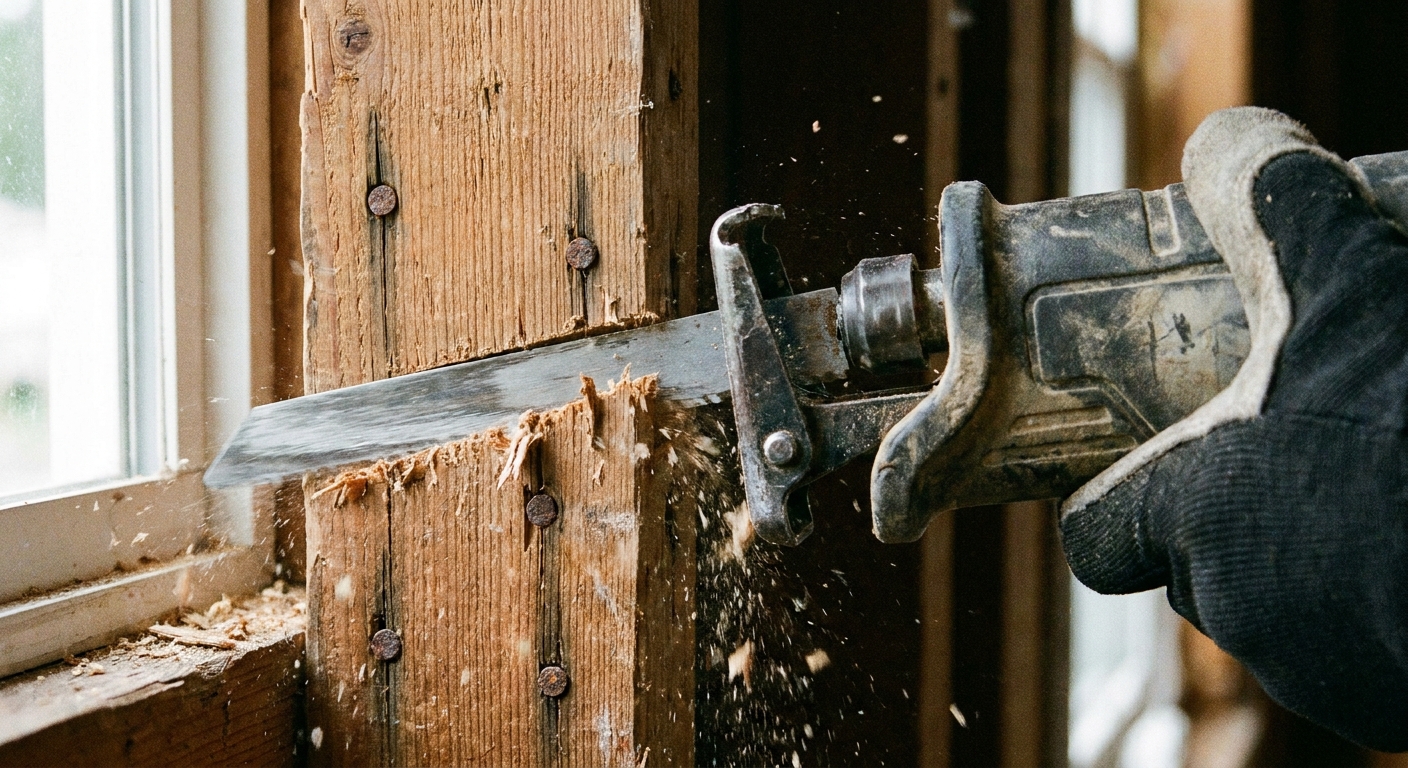
Start with the cut, not the blade package
Blade packaging can be noisy: carbide, demolition, thick body, “extreme,” and on and on. I ignore the hype and answer three questions first:
- What am I cutting? Clean framing lumber, nail-embedded wood, LVL, plywood, or mixed materials.
- How precise does the cut need to be? Rough teardown versus trimming to a layout line.
- How much room do I have? Flush cut against a plate, tight between studs, or wide open.
Once you know those, the right blade choice usually becomes obvious.
TPI explained: coarse is fast, fine is controlled
TPI is the first lever you should pull. In general, fewer teeth bite deeper, clear sawdust faster, and cut quicker. More teeth give you smoother starts, less chatter, and better control, especially when the blade wants to bounce.
Quick TPI picks for typical framing and demo
- 3 to 6 TPI: Fast ripping in clean wood, rough demolition where speed matters more than finish.
- 6 to 10 TPI: A common sweet spot for nail-embedded wood and most demolition cuts.
- 10 to 14 TPI: Cleaner cuts in thinner stock, plywood, and situations where you need more control and less tearing.
- 14 to 18+ TPI: Often used for metal and thin material, plus some specialty blades. Not my first pick for framing adjustments.
One nuance: a lot of “nail-embedded wood” demolition blades are variable sets like 5/8, 5/9, 6/10, or 8/12. If you like a blade that clears chips a little faster, those 5/8 and 5/9 patterns are common and they work.
My default for demolition and framing corrections is a 6 to 10 (or similar variable) TPI bi-metal blade. It is forgiving when you hit nails, and it does not bog down like a fine-tooth blade in thick wood.
Blade materials: what bi-metal and carbide mean
Recip saw blades live and die by tooth durability and heat. The steel type determines how long the teeth stay sharp, especially once you hit fasteners.
High carbon steel (HCS)
- Best for: Clean wood only.
- Pros: Cheap, flexible.
- Cons: Teeth dull quickly the moment nails show up.
If you are doing any real demolition, HCS is usually false economy.
Bi-metal (BiM)
- Best for: Nail-embedded wood, general demolition, mixed framing materials.
- Pros: Great balance of flexibility and tooth toughness. Survives nails well.
- Cons: Not as long-lived as carbide in truly abrasive situations.
This is the blade I want on site most days. If you only keep one “type,” make it bi-metal demolition blades in a couple lengths.
Carbide tipped
- Best for: Heavy demo, lots of nails and screws, thick engineered lumber, lath and plaster, harsh remodel conditions.
- Pros: Long life. Stays sharp where others fade.
- Cons: Costs more. Can feel more aggressive, which matters if you are trying to be delicate.
When I’m cutting out old framing with decades of fasteners, carbide pays for itself in fewer blade swaps.
Tooth profile and set
TPI is not the whole story. Tooth shape and how the teeth are set outward determines how smoothly the blade tracks and how it handles nails.
Variable TPI
Many demolition blades use variable tooth spacing, for example 5/8, 6/10, or 8/12 TPI. That variation reduces vibration and helps the blade cut without harmonics that make the saw chatter. In real framing lumber, variable TPI is usually easier to control.
Aggressive set versus smoother set
- Aggressive set: Clears chips fast, cuts quickly, but can wander more and tear out.
- Smoother set: Starts easier, tracks straighter, but can heat up if you push too hard in thick wood.
For framing adjustments where I want to stop on a line, I prefer a blade that feels calmer even if it gives up a little speed.
Blade length and thickness
Here is a rule that saves money and improves cut quality: use the shortest blade that still gives you full stroke clearance. A long blade in a short cut flexes more, wanders more, and beats up teeth.
Typical lengths and where they shine
- 6 inch: Tight spaces, trimming studs, cutting nails between members, general remodel work.
- 9 inch: Most demolition cuts through 2x material and sheathing. A solid all-around length.
- 12 inch: Deep cuts, stacked assemblies, cutting through thicker wall buildups, or reaching past obstructions.
Thickness matters too. Thicker-body demolition blades track straighter and survive abuse better, especially in nail-embedded wood. The tradeoff is they need a little more power and can be harder to steer in cramped spaces.
Blade width: a small detail that you feel fast
Wider blades are usually stiffer, so they wander less when you are cutting through studs and plates. Narrower blades can be nicer in tight spots and they are less likely to bind on weird angles, but they also deflect easier. If your cuts keep curving, try a wider, thicker demolition blade before you blame your saw.
Blade shape and special profiles
Straight blades
Most of what you do in framing and demo uses a standard straight blade. Straight blades are predictable and tend to track better in studs and plates.
Tapered plunge-tip blades
If you do a lot of plunge cuts in sheathing or subfloor, a blade with a more pointed, tapered tip starts cleaner. For framing adjustments, I still try to avoid plunge cuts whenever there is a safer alternative, but they are handy.
Flush-cut blades
For trimming nails, cutting shims, or working close to a surface, flush-cut styles can help. Just remember that flush cuts are hard on blades because you cannot always keep the shoe planted firmly, and vibration goes up.
Best blade choices for common framing and demo
Cutting nail-embedded studs and plates
- Best pick: Variable TPI bi-metal demolition (common patterns include 5/8, 5/9, 6/10, 8/12), 9 inch length.
- Upgrade pick: Carbide tipped demolition blade if you are hitting lots of fasteners.
- Avoid: Coarse 3 to 5 TPI wood-only blades if nails are likely. They cut fast until they do not.
If you are removing a stud to fix layout or straighten a wall, read through 4 ways to straighten a bowed wall stud before you start cutting everything out. Sometimes the best blade choice is choosing not to demo the stud at all.
Trimming studs for a corrected rough opening
- Best pick: 10 to 14 TPI bi-metal, 6 inch length for control.
- Tip: Use a shorter blade, keep the shoe planted, and let the teeth do the work.
When a doorway is out of whack, accuracy matters more than brute speed. For the bigger picture fix, see fix a wonky doorway by re-framing the rough opening.
Cutting engineered lumber (LVL and PSL)
- Best pick: Carbide tipped demolition blade, usually 6 to 10 TPI, 9 inch or 12 inch depending on depth.
- Why: Engineered lumber like LVL (laminated veneer lumber) and PSL (parallel strand lumber) is dense, and the adhesives and layered veneers can build heat and dull teeth faster, especially if you lean on the saw.
If you are making structural changes around openings, make sure the header sizing and load path is handled correctly. I cover header thinking in structural headers for wide window openings.
Demo work with drywall, nails, and unknown metal
- Best pick: Carbide demolition blade, variable TPI.
- Second best: Bi-metal demo blade and accept you will swap blades sooner.
Mixed-material remodel cuts are where carbide really earns its keep.
Wood plus steel hardware (straps, angles, hangers)
If you are cutting light-gauge stuff like drywall corner bead or thin nails and screws, a demolition blade is fine. But if you are into thicker steel like straps, angles, or connector plates, switch to a dedicated metal-cutting blade (fine TPI, bi-metal or carbide). It cuts straighter, it is less likely to snag, and it is easier on the saw.
How to make any blade cut better
I have watched good blades die early because of technique, not steel.
Plant the shoe and use it like a fulcrum
Keep the saw shoe tight to the work. A floating shoe turns the blade into a vibrating antenna, and that is when teeth chip, round over, or snap.
Let the blade do the work
Too much pressure makes heat. Heat ruins edges. If the saw slows down, back off and let it recover its stroke speed, then feed it back in.
Use the full length of the tooth line
If you always cut with the same inch of teeth, that section dulls while the rest stays sharp. Shift your position so more of the blade gets used.
Ease up when you know metal is coming
If you see a nail line, slow down and let the teeth chew. Slamming into nails is how you strip teeth off a blade, especially cheaper ones.
Match blade length to the job
This is worth repeating. Too long equals more flex and more wandering, especially when you are trying to nibble a stud back to a line.
If your saw has orbital action, use it on purpose
Orbital mode is for faster, rougher cutting in wood and demo when you have room and you are not trying to land perfectly on a line. For controlled trimming, plunge cuts, or anything that wants to stay straight, I dial orbital down or turn it off. It is one of the easiest ways to trade speed for control.
Safety notes for demolition cuts
- Eye protection is not optional. Recip saw cuts throw chips and metal fragments in unpredictable directions.
- Watch for wiring and plumbing. Open a cavity and verify before you bury a blade in it.
- Support what you cut. If you are cutting out studs or plates, think through what is carrying load. When in doubt, temporary support first.
- Older walls can hide real hazards. If you are tearing into old lath and plaster or unknown finishes, slow down and think about lead paint and asbestos risk before you turn it into dust.
If you are dealing with load-bearing changes in a remodel, you will get more mileage from careful planning than any blade. I walk through the thought process in how to frame a load-bearing wall in a remodel.
Recip blade cheat sheet
| Task | TPI target | Material | Length |
|---|---|---|---|
| Nail-embedded studs, plates, demo cuts | 5/8 to 8/12 variable (6/10 common) | Bi-metal or carbide | 9 inch |
| Clean wood, fast teardown | 3 to 6 | HCS or bi-metal | 9 inch |
| Controlled trimming to a line | 10 to 14 | Bi-metal | 6 inch |
| Engineered lumber and heavy remodel abuse | 6 to 10 | Carbide tipped | 9 to 12 inch |
| Steel straps, angles, thicker hardware | 14 to 24 | Bi-metal or carbide metal-cutting blade | As needed |
| Thin material or metal-heavy cuts | 14+ | Bi-metal or carbide | As needed |
FAQ
What is the best reciprocating saw blade for wood with nails?
A variable 6/10 TPI bi-metal demolition blade is the most reliable all-around choice, and similar patterns like 5/8 or 5/9 also work well. If you are hitting a lot of fasteners, step up to carbide tipped demolition blades for longer life.
Why does my reciprocating saw blade wander and bend?
Usually it is a combination of a blade that is too long for the cut, not keeping the shoe planted, or using a thin blade body in dense lumber. Shorten the blade, brace the shoe, and consider a thicker, wider demolition blade.
Can I use a fine-tooth blade to make cleaner framing cuts?
Yes, to a point. A 10 to 14 TPI bi-metal blade will start smoother and tear less, but it will cut slower and build heat faster in thick framing. For most framing adjustments, I would rather keep control with a shorter blade, a planted shoe, and a steady feed rate, then use a medium TPI blade that can survive nails.