

I grew up sweeping sawdust in a little woodshop where the old timers would stop a cut to argue about something most folks treat like an afterthought: chalk. Not the fancy kind, just whatever was in the box. After fifteen years of framing in the Pacific Northwest, I will tell you straight: a chalk line is not “just a line.” It is a promise. If your line is fuzzy, wrong color, or disappears after lunch, your whole layout gets slower and sloppier.
This guide treats a chalk box like a real tool, because it is. We will cover chalk colors, what to buy, how to load it, and the snapping habits that make long lines land crisp and true.

Chalk color basics
Chalk color is about contrast, how long the mark needs to last, and how easy it will be to clean up. The “right” choice depends on the surface and the bottle you are holding. Manufacturers vary a lot, so always read the label for temporary vs permanent and any notes about intended substrates.
Common colors and uses
- Blue: My default for general framing layout. Blue reads well on plywood and SPF lumber, and it is often easier to clean off than more permanent colors. Good for interior plates, sheathing nailing patterns, and basic cut lines where you do not want a stain later.
- Red: High visibility, and commonly more tenacious on porous surfaces. I use red when the line needs to stay readable through handling, foot traffic, and weather. Think slab layout, exterior work, or when multiple trades are walking over your marks. There are temporary reds too, so check the bottle.
- Black: Strong contrast on light surfaces. Useful on concrete and lighter lumber when blue looks washed out. Some blacks hang on longer than you think, so be cautious on anything that might become a finish surface.
- White: Great on dark surfaces like asphalt shingles, stained lumber, or dark subfloor that makes blue disappear. White is also a solid choice in low light.
- Fluorescent colors (orange, neon green): Visibility kings in messy jobsite conditions. They can be dusty and sometimes harder to brush off. Use them when speed matters more than clean removal.
Rule of thumb: If it might become a visible finish surface later, lean toward a clearly labeled temporary chalk. If it is getting buried behind drywall or roofing, pick the color you can see from standing height without squinting.
Temporary vs permanent
Some brands label chalk as temporary or permanent. Temporary chalk tends to brush or wash off more readily. Permanent chalk tends to resist weather and handling, but it can stain wood fibers and can telegraph through light paint if you do not prime well. If you are snapping on raw wood that might get clear coat or light paint later, treat “permanent” like a one way trip unless you are sure it will be covered.
Chalk for weather
Out here in the Northwest, chalk gets tested by damp mornings, drizzle, and wet boots. Even in dry climates, wind and dusty surfaces can wreck a line.
Dry, dusty surfaces
- Brush or blow the line path clean. Chalk sticks best to texture, not a layer of loose dust.
- Use a bolder color like red, black, or fluorescent if the surface is mottled.
- Snap once. Re-snapping over a dusty first line often makes a wider, fuzzier stripe.
Wet lumber or damp concrete
- Accept that chalk is not paint. On wet surfaces, chalk can clump inside the reel and the line can print blotchy.
- If the surface is only slightly damp, use a chalk that tends to “bite” and show up well. Often that is red or black, but again, read the label.
- Keep the reel closed and stored dry. A chalk box that lives in a wet truck bed turns into a science experiment.
Wind
Wind is where snapping technique matters more than chalk. You can have the perfect color and still get a ghost line if the string is bouncing. Later in this guide I will show a simple tension, lift, snap sequence that stays clean even on long runs.
Chalk box features
A chalk line reel looks simple, but a few features separate a dependable tool from a plastic toy.
What to look for
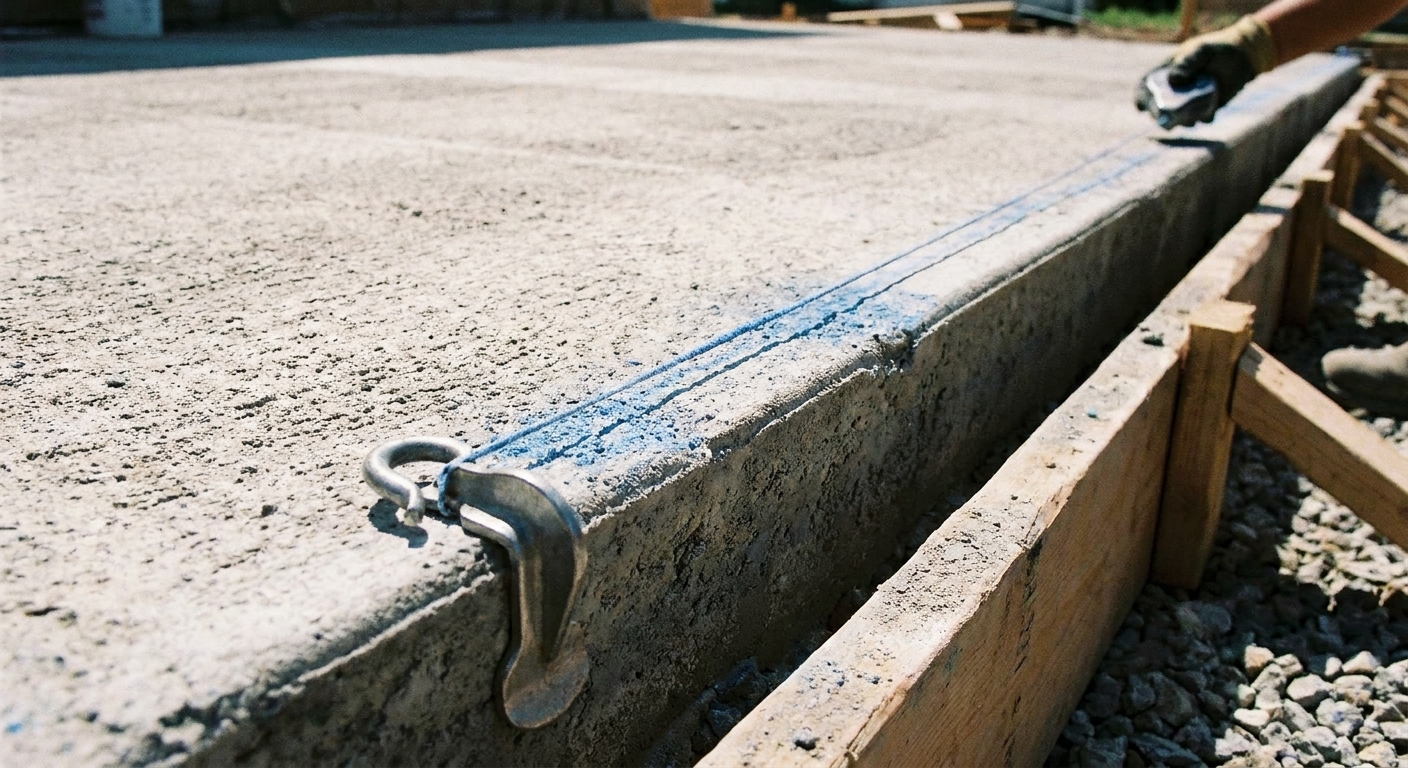
- Solid hook: A wide, stiff hook grabs edges and nail heads better. A flimsy hook flexes and shifts, and that shift becomes layout error.
- Good clutch and rewind: A smooth crank that does not slip saves time. On big layouts, you will feel every cheap click.
- Line quality: A braided line holds chalk better. Too thick can print a wider line. Too thin prints faint and frays faster.
- Refill port and cap seal: You want a cap that seals tight. Leaky caps dust your tool bag and starve the reel.
Manual vs speed reels
Speed reels are great when you are snapping constantly and rewinding hundreds of feet a day. For typical DIY and smaller framing jobs, a standard reel is fine. I would rather have a standard reel that does not jam than a speed reel that feels delicate.
How to load a chalk box
Most chalk line problems start at loading. Overfill it and you get clumps and leaks. Underfill it and you snap faint lines.
Step by step
- Open the fill cap and check for moisture. If the inside looks damp or caked, clean it out before adding more chalk.
- Add chalk slowly. Fill to about halfway to two thirds. The reel needs space for the line to tumble and coat evenly.
- Pull out 6 to 10 feet of line. This exposes clean line and helps the first section coat properly.
- Tap and shake gently. A couple of light taps settles the chalk. Do not pound it like a ketchup bottle. That packs chalk into the line channel.
- Prime the line. Close the cap, then pull line out and rewind it a few times to work chalk into the braid.
Quick fix for faint lines
If your line is faint even with a decent amount of chalk inside, the braid might be glazed with old chalk and resin. Pull out 20 feet, wipe it with a dry rag, then rewind while the line is passing through a pinch of fresh chalk between your fingers. That little hand prime can bring a tired reel back for a while.
Snap crisp lines
A chalk line is geometry made physical. The goal is a straight, single width strike, not a fuzzy band.
Tension, lift, snap
- Set your two points carefully. The chalk line does not forgive lazy endpoints. If you are laying out stud marks, get your baseline right first. My stud layout habits are laid out in Avoid Mistakes Laying Out 16-Inch O.C. Studs.
- Pull the line tight. Tight, no sag. If the line droops even a little, you are snapping a curve.
- Lock the far end. Use your hook hand or a helper’s boot on the hook point so it cannot creep.
- Lift the line in the middle. Lift straight up 1 to 3 inches. More lift makes a wider, dustier line.
- Snap straight down. A clean pop prints a clean line. A sideways flick makes a double line.
Snapping solo
Working alone, the hook end wants to walk. Two reliable tricks:
- Hook to a nail or screw set right on your endpoint. On concrete, a short masonry nail in a crack or a temporary anchor point can work.
- Create a temporary cleat on plywood with a scrap block and one screw, then hook to it.
Long lines and sag
On long runs across subfloor or slab, gravity will put a little belly in the string no matter how strong your forearms are. If you are running a long baseline, use a helper to lift at midspan, or break the run into two snaps by re-hooking at a known mark in the middle. You will get a truer line than trying to muscle one snap across everything.
- Chase the line down with your free hand as you tension it, keeping it from snagging on splinters or knots.
- Use a helper to float the line at midspan. Have them lift it slightly to prevent dragging across debris, then lower it before the snap.
- Snap once, then leave it alone. Re-snapping usually makes the line wider and less accurate.

Accurate layouts
A straight line is only useful if it is in the right place. Here are a few layout habits that keep chalk work honest.
Start from a real reference
On floors and decks, that reference is usually a straight baseline and a square corner. If your starting wall is out, every parallel chalk line faithfully repeats the error. When I am building wall panels, I square the frame before it ever stands up. If you want a methodical approach, see How to Square a Wall Frame Before Standing It.
Use story marks for repeats
For repetitive marks like stud centers, snap the main baseline once, then use a tape and tick marks for each layout point. Do not try to chain chalk lines off chalk lines unless you have to. Every generation of marks invites drift.
Make the line mean something
On framing lumber, a fat chalk line can hide your real cut or fastener placement. For cut lines, I often use chalk for the general line, then a pencil or knife mark for the exact side of the cut. Chalk gives you speed. Pencil gives you precision.
Special surfaces
Plywood and OSB
- Good colors: Blue, red, or fluorescent depending on lighting and surface tone.
- Tip: Avoid dragging the line across wet glue spots or adhesive. It will clump and print blotchy for the next 20 feet.
Dimensional lumber
- Good colors: Blue for general layout, red for visibility outdoors.
- Tip: If you are using chalk to keep crown orientation consistent, snap a reference on the floor and keep your lumber aligned to it. It is surprisingly easy to introduce a wave just by letting boards wander during layout.
Concrete
- Good colors: Red, black, or white depending on slab color and dust.
- Tip: Sweep first. Fine dust reduces friction and can let the string skate as you tension and snap.
Roofing and exterior sheathing
- Good colors: White on dark roofing, red or fluorescent on weathered sheathing.
- Tip: Wind up high is worse. Keep lift height small and use firm tension. If you can, snap from a sheltered position or wait out the gusts.
Safety on the snap
A chalk line is low drama until it is not.
- Watch trip hazards. A stretched line across a slab or subfloor is a perfect ankle catcher. Keep people out of the run, or snap fast and rewind immediately.
- Keep your face back. When you lift and pop the line, do not put your face over it. If the hook slips or the line breaks, it comes back hard.
- Be smart with compressed air. If you blow out a reel or line channel, wear eye protection and keep the nozzle back. You are basically launching chalk dust.
Chalk line problems
Problem: Fuzzy, wide line
- Cause: Too much chalk on the line, too much lift, or the string slid sideways on snap.
- Fix: Pull out 10 to 20 feet and snap it lightly against scrap to shed excess. Snap with less lift and a straighter down pop.
Problem: Faint line
- Cause: Underfilled reel, glazed line, damp chalk, or dirty surface.
- Fix: Refill to halfway to two thirds, prime the line, and clean the surface. If chalk is damp, empty and dry the reel.
Problem: Chalk leaks everywhere
- Cause: Overfilled reel, bad cap seal, or cracked housing.
- Fix: Dump some chalk and clean the cap threads. If the housing is cracked, it is usually time for a new reel.
Problem: Hook keeps slipping
- Cause: Rounded edges, sawdust, or a hook that is too small.
- Fix: Use a nail or screw as an anchor point, or create a quick cleat on wood.
Care and maintenance
A chalk box lives in the mess. A little care keeps it snapping clean instead of fighting you.
- Store it dry. Moisture is the enemy. If you work in wet weather, do not leave the reel in the bottom of a damp tool bag.
- Do not mix chalk blindly. Different brands and types can behave differently, and mixing fresh chalk with old damp chalk is where you get the most clumping and caking. If you are switching colors or types, empty and clean first.
- Blow out the line channel occasionally. Packed chalk in the exit hole makes the line drag and fray.
- Retire a frayed line. A fuzzy line sheds chalk inconsistently and snaps wide. If your reel lets you replace the line, great. If not, it may be time to upgrade.
Ink vs chalk
Some reels can run dye or ink instead of chalk. Ink lines can be very crisp and weather resistant, but they also have a bad habit of becoming permanent in the worst places. For most framing layout, I stick to chalk. It is fast, visible, and usually forgiving when plans change. If you do use ink, treat every line like it might be there forever.
My simple kit
If I were stocking a simple kit for most builders, it would be:
- One main chalk reel with a solid hook and a braided line.
- One temporary chalk (often blue) for interior layout and any area where cleanup matters.
- One high visibility chalk (often red or black) for exterior work, concrete, or any layout that has to survive weather and traffic.
- A small brush for sweeping snap paths and cleaning up lines where you need to see pencil marks.
And if you are rounding out your tool fundamentals beyond the chalk box, the site’s Tools guide is a good place to browse without getting overwhelmed.
Chalk line FAQ
Is red chalk permanent?
Not always, but it is often longer lasting than blue on porous surfaces. Many reds stain raw wood and can be tough to hide under light paint without a good primer. If the bottle does not clearly say temporary, assume it will hang around.
Can I use a chalk line for cut lines?
Yes, especially for sheet goods and rough cuts. For precise finish cuts, I use chalk to get close fast, then mark the exact cut side with pencil or a knife line.
Why does my chalk line snap crooked?
Usually it is sag, a moving endpoint, or a line that is bouncing in the wind. Pull tighter, reduce lift, and make sure the hook cannot creep. On long runs, a helper lifting the middle while you tension helps a lot.
How do I get straight layout on a bowed stud or a wavy wall?
A chalk line will show you the truth, which can be uncomfortable on remodel work. If you are fighting bows, you may need to straighten the material or adjust the framing plan. This is where techniques like those in 4 Ways to Straighten a Bowed Wall Stud can save your layout before you start fastening.