

I grew up sweeping sawdust in a small shop where the old guys would bark the same rule all day long: measure twice, cut once. Framing taught me the sequel: layout once, build fast. If your 16-inch on-center marks are off by even a little, it shows up later as blown drywall joints, sheathing seams floating in midair, bowed walls from crowned studs fighting each other, and a whole lot of “why is nothing landing where it should” on hang day.
This is my job site method for laying out studs on 16-inch centers on top and bottom plates, plus the mistakes I see most often and how to avoid them.
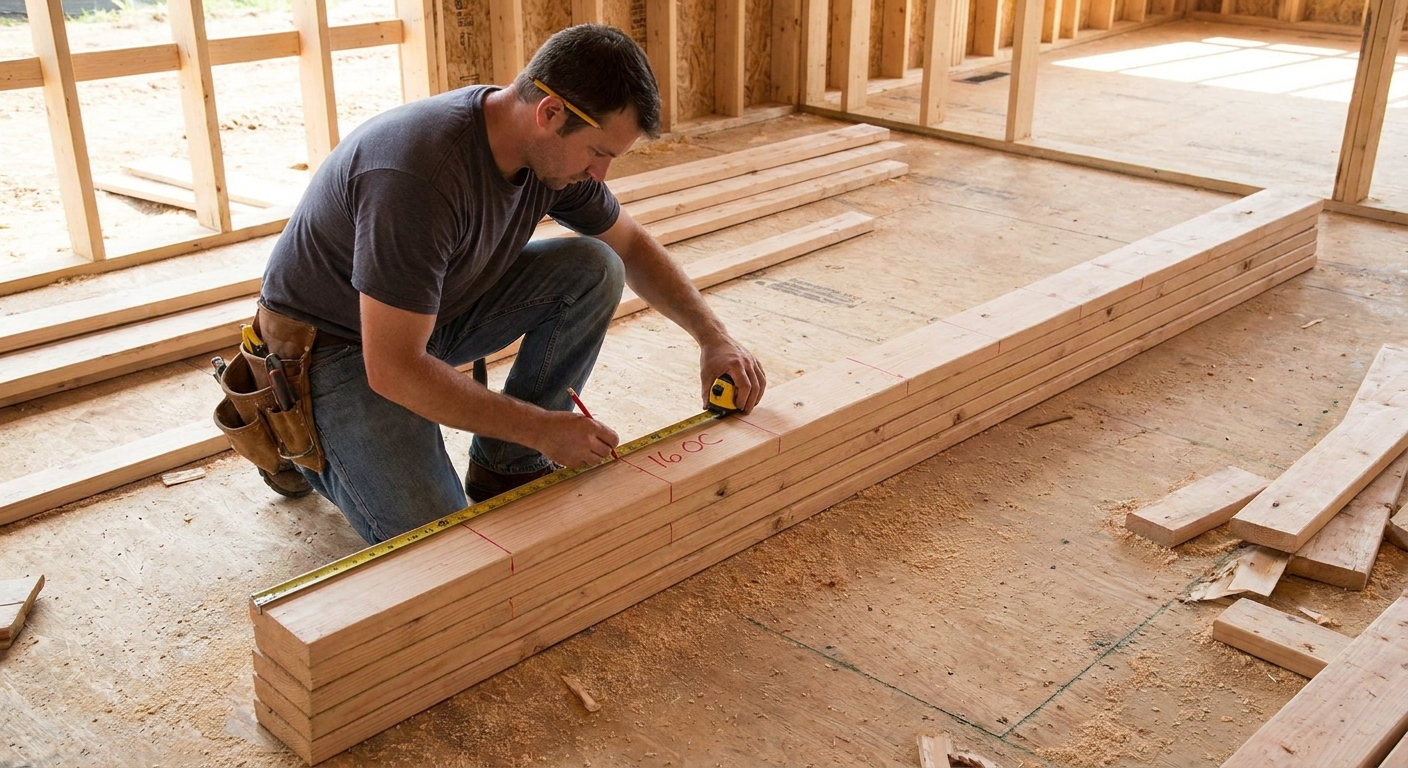
What 16-inch on-center means
16-inch on-center (16 OC) means the center of each stud is 16 inches from the center of the previous stud. That part is simple. Where people get in trouble is assuming you can just put a line at 16, 32, 48 and nail studs “to the line” without thinking about what the line represents.
Why we care: most panels are built around that rhythm.
- Drywall: 4x8 sheets want their edges supported cleanly, and 16 OC makes the layout predictable so your edges land where they should.
- Wall sheathing: 4x8 panels land cleanly when your framing is predictable, especially at vertical seams.
- Trim and cabinets: predictable studs make everything easier to anchor.
That rhythm only works when you also respect one more rule: panel edges must land on a stud with enough meat to fasten to.
Before you mark: pick a start point
The single biggest source of 16 OC mistakes is starting from the wrong end, or starting from a number on the tape without thinking about where the sheets will break.
Use the same reference end
Pick a reference end of the wall and commit to it. If you lay out the bottom plate from the left end and the top plate from the right end, your stud marks will not match, even if you hit every 16-inch tick perfectly.
My habit is simple: I put both plates tight together, ends flushed, crowns up, and I mark from the same end every time.
Think about seams first
If this wall will be sheathed or rocked, I want 4-foot seams to land on studs with proper bearing. With 16 OC framing, seams line up naturally at 48 inches, 96 inches, and so on, but only if your layout is done the way framers actually lay it out.
If you need a refresher on keeping walls true before they go up, I walk through my checks in How to Square a Wall Frame Before Standing It.
How I lay out 16 OC on plates
Here is the clean, repeatable method I use on site. The key idea is this: on many framing crews, your layout marks are stud edges, not stud centers. Other crews mark true centers and set the stud centered on the line. Both can work, but you have to commit to one system for the whole wall.
1) Stack plates and flush ends
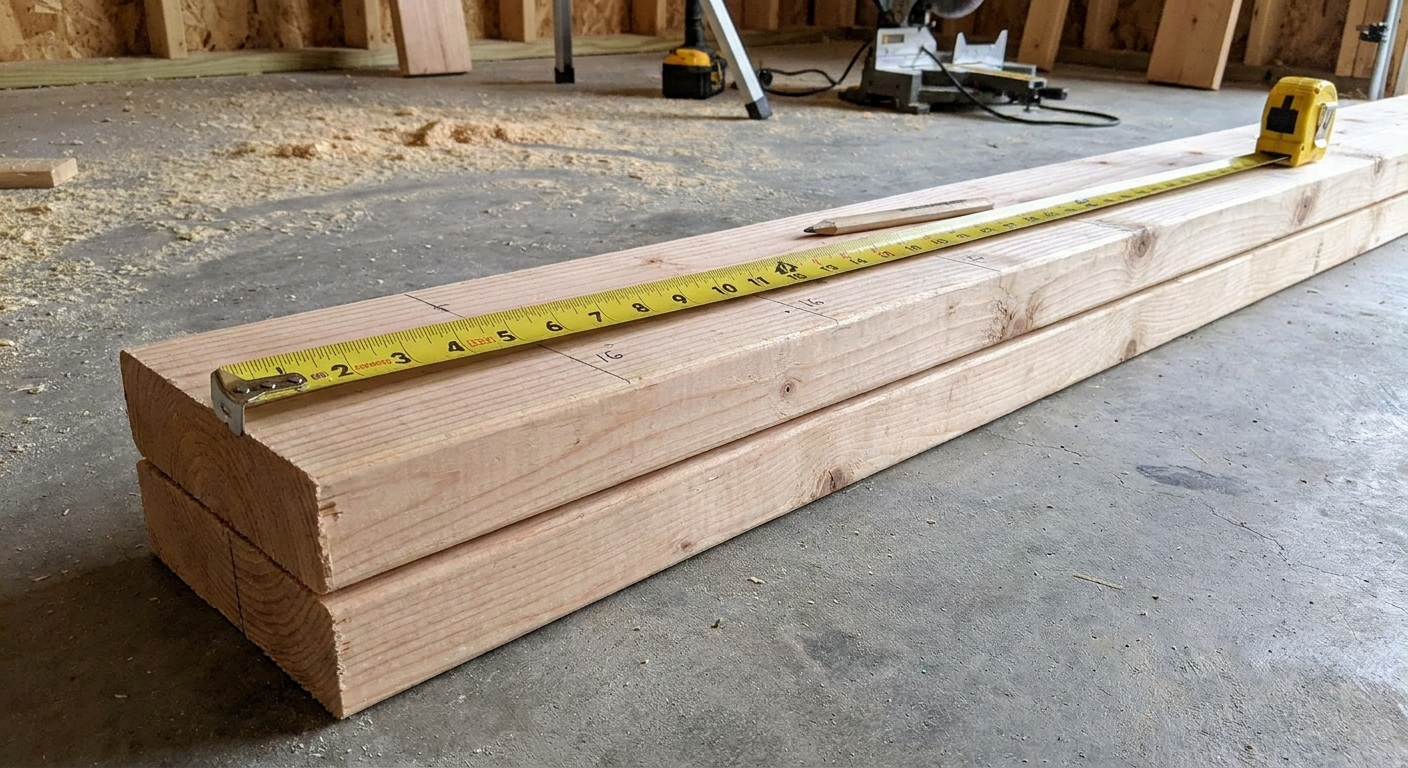
Lay the bottom plate and top plate together, edges aligned, ends flushed. If you have a double top plate, stack it too so all plates get the same marks in one pass.
2) Set the end condition first
Most walls start with an end stud flush to the plate end, but corners and intersections change the story. Decide your corner or tie-in first, then run the field layout off that decision.
- Simple wall end: end stud flush to the plate end.
- Corner or partition tie-in: you might be building a 3-stud corner, California corner, ladder backing, or a T-wall assembly. That can shift where your first “field” stud makes sense.
Quick example: if you are tying a new partition into an existing wall in a remodel, I will often line my new layout up with the studs I can actually hit in the existing wall, then adjust the first bay so I do not end up with a useless sliver at the end.
If you are framing a remodel or tying into existing structure, that planning step matters even more. I cover the broader sequencing in How to Frame a Load-Bearing Wall in a Remodel.
3) Use the 15 1/4 layout (common method)
This is the part that keeps drywall and sheathing seams from missing studs, and it is the standard method on a lot of crews because it is fast and consistent.
Important: these are the first field stud layout marks after your end stud. Your end stud still sits flush at the end of the plates.
On a typical wall where your first stud is flush with the end of the plate (outside edge at 0), your sheet edge is also at 0. A 4-foot sheet ends at 48. For that 48-inch seam to land on the center of a stud, the stud center must be at 48. With a 1 1/2-inch stud, that means the stud edge needs to be at 47 1/4.
That is why framers commonly mark:
- 15 1/4
- 31 1/4
- 47 1/4
- then 63 1/4, 79 1/4, and so on
Those marks represent the edge of the stud, usually the near edge, meaning the edge closer to your reference end. When you place the stud, you put it beside the line, not centered over it.
4) Mark it like a framer
At each layout mark (15 1/4, 31 1/4, 47 1/4, and so on), I do this:
- Make a clear tick mark on the plate edge.
- Square a line across all stacked plates with a speed square.
- Put an X on the side where the stud goes.
That X is not decoration. It prevents the classic mistake of nailing the stud on the wrong side of the line, which shifts your entire layout and wrecks your sheet breaks.
5) Do not mix “edge marks” and “center marks”
Pick one system and stick to it on the whole wall. On many production crews, the line is a stud edge line, and the X tells you which side of that line gets wood.
Yes, you can lay out true centerlines at 16, 32, 48 and set studs centered on those marks. In smaller crews and remodel work, that is sometimes exactly what people do. It is just a different system. On a job site, clear beats clever.
6) Mark openings and special studs clearly
Openings are where good layout goes to die. I do not use the same X-mark for everything.
- Full-height studs: edge line plus X on the stud side.
- King studs: label “K”.
- Trimmers (jacks): label “T”.
- Cripples: note “C” above or below the opening zone.
This matters because you can be perfectly consistent on spacing and still ruin the wall by flipping king and trimmer locations, or by forgetting where your header package starts and ends.
If you are building heavy door openings, the layout requirements tighten up. See Framing Rough Openings for Heavy Exterior Doors.
One more advanced watch-out: before you commit to the whole run, look at the wall length and think about sheathing. If your last bay would leave you with a tiny sliver of panel at the end, it is often worth adjusting end conditions or adding a stud pack so your sheet layout stays clean.
Common layout mistakes
Mistake 1: Hooking the tape on a chewed-up end
If the plate end is crushed, split, or out of square, your tape hook is referencing a lie. Square the end if needed, or pull from a clean reference mark.
Fix: snap or mark a true baseline at the end, then measure from that mark, not the fuzzy plate end.
Mistake 2: Marking 16, 32, 48 and calling it good
If you mark 16, 32, 48 and then treat those marks like an edge line and place studs to one side of them, you just shifted every stud center by 3/4 inch. That is how seams end up hanging off studs even though the tape looked “right.”
Fix: either (1) use the 15 1/4 system (edge marks) so 48-inch seams land on stud centers, or (2) use true centerline marks at 16, 32, 48 and set the stud centered on the line. Do not blend the two.
Mistake 3: Putting the stud on the wrong side of the line
This one is brutal because it compounds. One stud placed on the wrong side shifts everything after it and suddenly your seam is landing off center.
Fix: always place an X on the stud side. If a helper is building the wall, the X is the language that prevents guesswork.
Mistake 4: Layout on one plate, then copying by eye
Eyeballing marks from bottom to top plate works right up until it does not. A small slip creates twist and fights the sheathing line.
Fix: stack plates and mark them together, or clamp them tight and transfer with a square.
Mistake 5: Ignoring crowned studs
You can lay out perfectly and still build a wall that waves if crowns are random.
Fix: crown every stud and orient crowns the same way. The goal is simple: keep a consistent plane so the face you are sheathing or rocking stays flatter. Many crews run crowns up, and some will choose crown out depending on which face they want to keep truest. The point is consistency.
Mistake 6: Forgetting corners and intersections
Corner builds and T-walls steal space. If you run layout without deciding the corner assembly, your first field stud can land in a useless place.
Fix: decide the corner first, then start layout from a reference that supports your sheet edges and your tie-ins.
Mistake 7: No plan for backing
16 OC studs do not automatically solve inside corners, tub flanges, shower niches, cabinet runs, or guard blocking. Drywall crews need nailing surfaces in specific places.
Fix: add backing and nailers during framing, not after insulation. It is cheaper and cleaner.
My plate layout checklist
- Ends flushed: plates tight together, same reference end.
- Crowns consistent: all plates oriented the same way.
- Right system: either 15 1/4, 31 1/4, 47 1/4 (edge marks) or true centerlines at 16, 32, 48.
- Lines squared: sharp pencil, square lines across all plates.
- X on stud side: every single time.
- Openings labeled: king, trimmer, header notes where needed.
- Check 48 inches: confirm your layout supports the seam where it should.
- Sanity check length: make sure the last bay and end conditions make sense before cutting a pile of studs.

Catch problems before standing
I like to do a fast audit while the wall is still flat:
- Think like a sheet: picture a 4x8 starting at your reference end. Does the 48-inch seam land on a stud with enough bearing?
- Look for the walk: if one stud is obviously on the wrong side of a line, stop and correct it immediately.
- Measure a few bays: check that bay widths repeat. You are not measuring to prove you are right, you are measuring to catch one wrong-side stud.
- Square the frame: even good layout can look bad if the wall is racked. Use the approach in How to Square a Wall Frame Before Standing It.
FAQ
Do I mark from the outside edge or from the first stud?
Start from a consistent reference end of the plates. If your end stud is flush to the end and your sheet goods start at that same end, the 15 1/4 layout marks are the first field studs after the end stud, and they make seams land correctly at 48-inch intervals.
Why do my seams miss studs even though I used 16 inches?
Usually it is one of three things: you treated 16, 32, 48 marks like an edge line and placed studs to one side, the top and bottom plates were laid out from opposite ends, or a stud got nailed on the wrong side of the line.
When is 24 OC used?
Some walls are framed 24 inches on-center by design, but that is a system decision tied to loads, sheathing, drywall thickness, and local code requirements. This article is focused on the standard 16 OC wall layout most crews run every day.