

I grew up sweeping sawdust in a little woodshop where the old-timers treated roof layout like sacred ground. Not because it is mysterious, but because a rafter is one long, expensive lever. If your math is off by even a hair at the birdsmouth, you will feel it everywhere: ridge line, fascia, sheathing, and shingles.
This is my jobsite-friendly way to calculate roof slope (what most crews call “pitch”), figure your rafter cut lengths, and lay everything out cleanly with a framing square so you can cut with confidence.
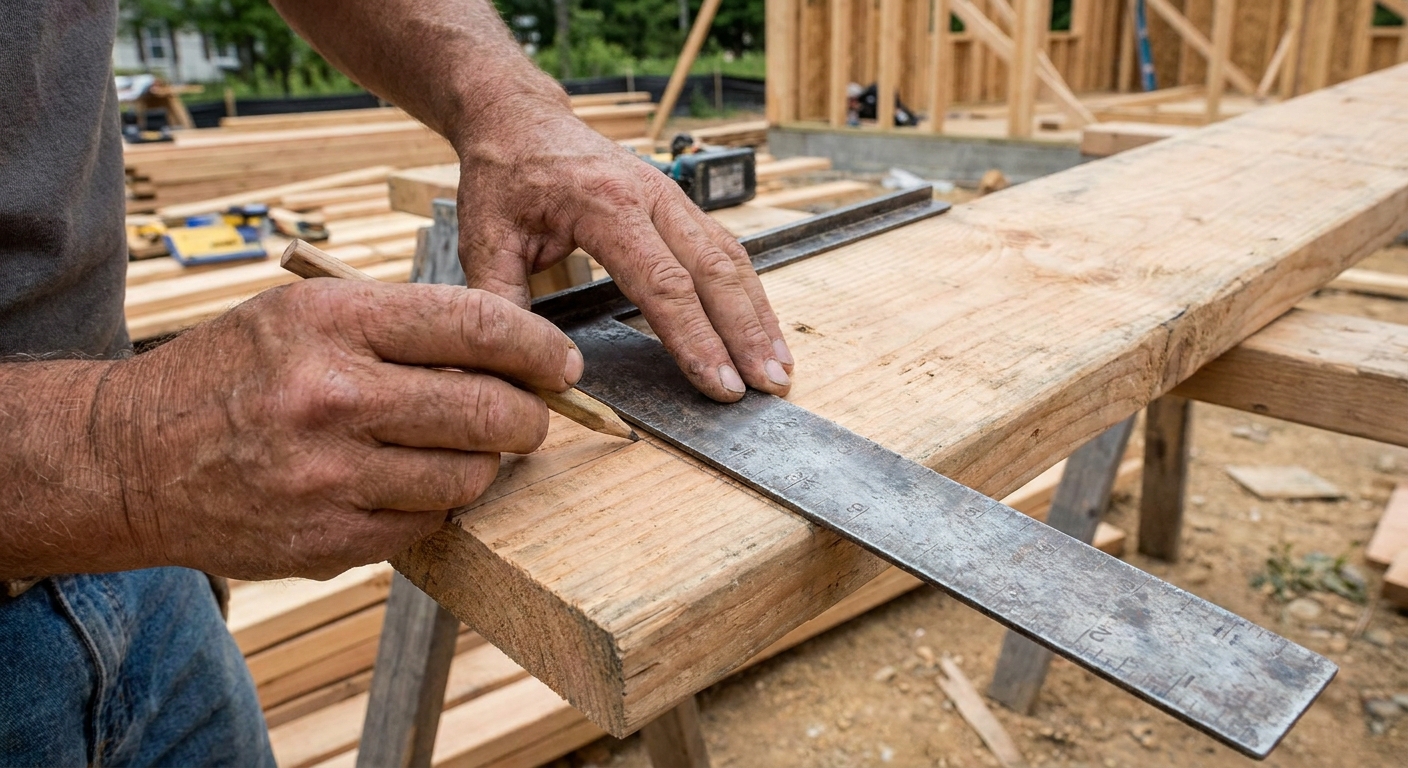
Pitch, slope, rise, run, span
Before you touch a saw, get the terms straight. Most rafter mistakes come from mixing these up.
- Slope: expressed as rise per 12 inches of run, like 6/12 or 9/12. On most jobsites, people call this “pitch,” and I will too, but slope is the cleaner math term.
- Rise: vertical height gained.
- Run: horizontal distance traveled.
- Span: the distance between bearing points from one side to the other. Depending on the plan, that might be outside of plates, to framing, or to foundation lines. Follow the plans and measure the real building.
- Common rafter run: typically half the span, measured from your chosen wall reference line to the ridge layout line (often the ridge centerline).
One practical note: whether you measure to the centerline of the ridge or the face of the ridge depends on how you frame and what your plans call for. The cleanest method for most site-built roofs with a ridge board is to calculate to the ridge centerline, then account for ridge thickness when you lay out your actual cut location. I will show you how.
Big rule that saves roofs: pick your reference points (outside of plate, outside of sheathing, layout line, whatever your plan uses) and stay consistent for the whole build.
How to find roof pitch
If you are working from plans, your pitch is usually given. If you are matching an existing roof, you can measure it.
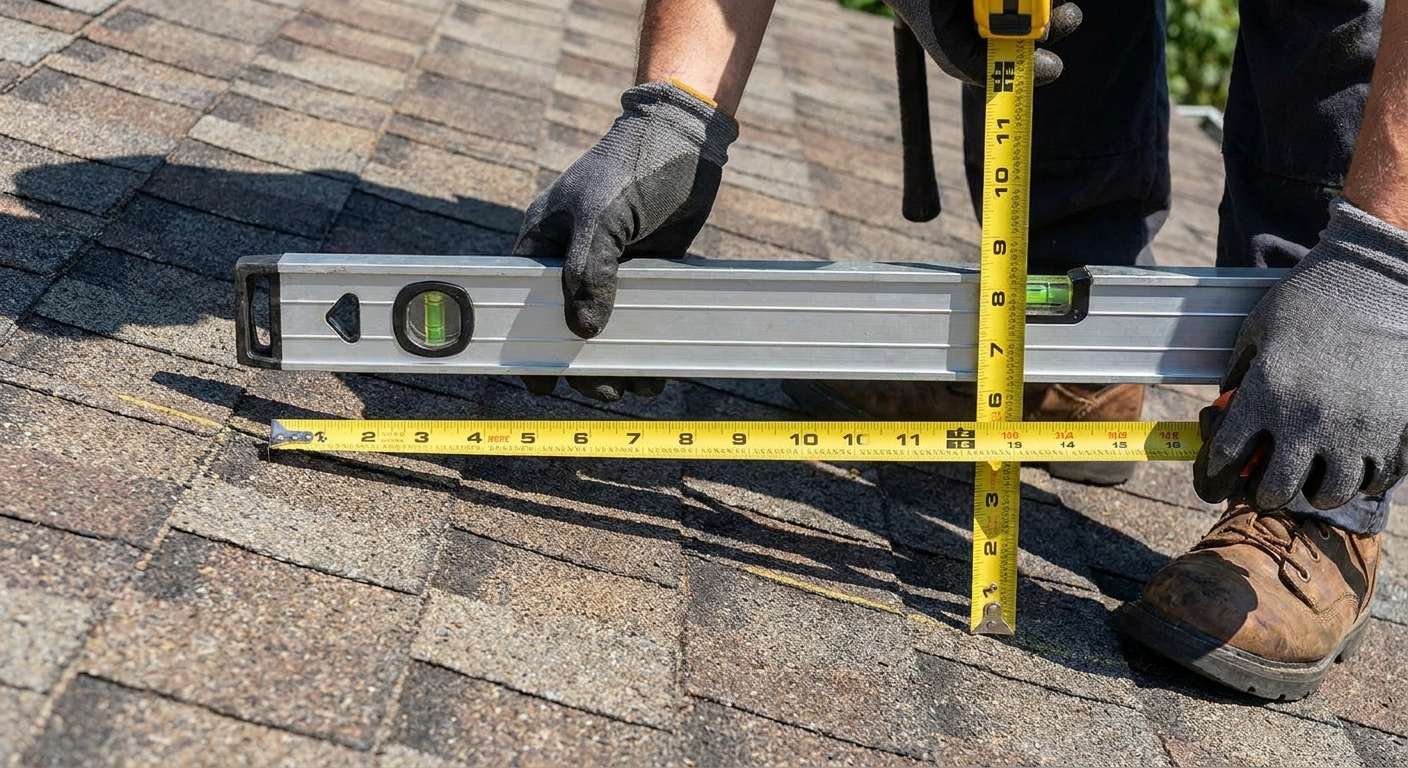
Method 1: Level and tape
- Put a level on the roof surface (or the underside of a rafter in the attic).
- Measure 12 inches horizontally along the level from the point touching the roof surface.
- At that 12-inch mark, measure straight down to the roof surface. That vertical number is your rise.
Example: if the drop is 7 inches at 12 inches of run, your roof is 7/12.
Method 2: Smartphone inclinometer (double-check tool)
A phone angle app can get you close, but I still verify with a 12-inch run measurement before I cut lumber. Phones are great for a sanity check, not my final answer.
The core rafter math
A common rafter is a right triangle. The horizontal leg is run, the vertical leg is rise, and the rafter is the hypotenuse.
Rafter length formula
Rafter length (line length) = √(run² + rise²)
Because slope is “rise per 12 run,” framers usually use a unit rafter length (length per foot of run) so we can scale up fast.
Unit rafter length
Unit length = √(12² + rise²)
Then:
Total common rafter line length = (run in feet) × (unit length)
This gives you the line length along the rafter (top edge) from the ridge plumb cut down to the wall-line location, before you deal with ridge thickness, birdsmouth seat, and tail overhang.
Example: 6/12 on a 24-foot span
Let’s do a straight, common situation.
- Span = 24 feet (between bearing points)
- Run = 12 feet (half the span)
- Slope = 6/12
1) Find the unit length
For 6/12, rise is 6 inches for every 12 inches run.
Unit length = √(12² + 6²) = √(144 + 36) = √180 ≈ 13.416 inches
2) Multiply by your run
Run is 12 feet, so:
Total line length ≈ 12 × 13.416 in = 160.992 inches
That is about 13 feet 5 inches (since 156 inches is 13 feet).
Keep yourself honest: after you have your line length, you still need to (1) decide ridge centerline vs ridge face, (2) lay out the birdsmouth seat, and (3) add tail length for the overhang.
Ridge thickness: centerline vs face
If you calculated run to the centerline of the ridge, your rafter math lands on that centerline. But with a typical ridge board, your rafter actually butts into the face of the ridge board.
The usual adjustment is to subtract half the ridge thickness horizontally from your run before you calculate, or subtract an equivalent amount along the rafter line. On a jobsite, I keep it simple and adjust the run.
The simple jobsite method
Subtract half the ridge thickness from the run.
- Example ridge board: 2x material is 1.5 inches thick
- Half thickness = 0.75 inches
- Adjusted run = (original run) − 0.75 inches
Now your math lands on the ridge face instead of the centerline.
If you are framing a structural ridge beam and hanging rafters off it (hardware, hangers, or a different detail), do not blindly use the ridge board butt-joint adjustment. The reference point changes because you are not simply butting rafters to a 2x ridge board.
If you want to go deeper into layout planning and avoiding waste before you buy, I also wrote up my process on making a cut list before buying wood.
Birdsmouth basics
The birdsmouth is two cuts working together:
- Plumb cut: the vertical cut line that matches the roof slope direction (also used at the ridge end).
- Seat cut: the horizontal cut that sits on the top plate.
How much can you notch?
Old-school framing talk often says “about one-third” max notch depth at the birdsmouth, but code and engineering can be tighter, especially for end notches and heavily loaded roofs. Limits also vary by species, grade, span, and snow or wind loads. Treat this as a starting guardrail. When in doubt, size up the rafter, use a raised heel, or follow the engineer and local code.
Framing square layout
A framing square is basically a slope translator. For a 6/12 roof, you use 6 on the tongue and 12 on the body.
Mark the ridge plumb cut
- Pick the end of your rafter stock that will be the ridge end.
- Hook the framing square on the edge of the board.
- Align 6 on the tongue with the top edge of the rafter and 12 on the body with the same top edge.
- Draw along the tongue for your plumb cut line.
Step off the run
This is the classic “walk the square” method.
- With the square still set to 6 and 12, make a small tick at the top edge at the 12 mark.
- Slide the square so that the 12 mark lands on that tick, keeping the 6 and 12 aligned on the top edge.
- Repeat for each foot of run until you reach your run (minus ridge adjustment if you used it).
Where you stop stepping is the wall-line location. From there you lay out the birdsmouth.
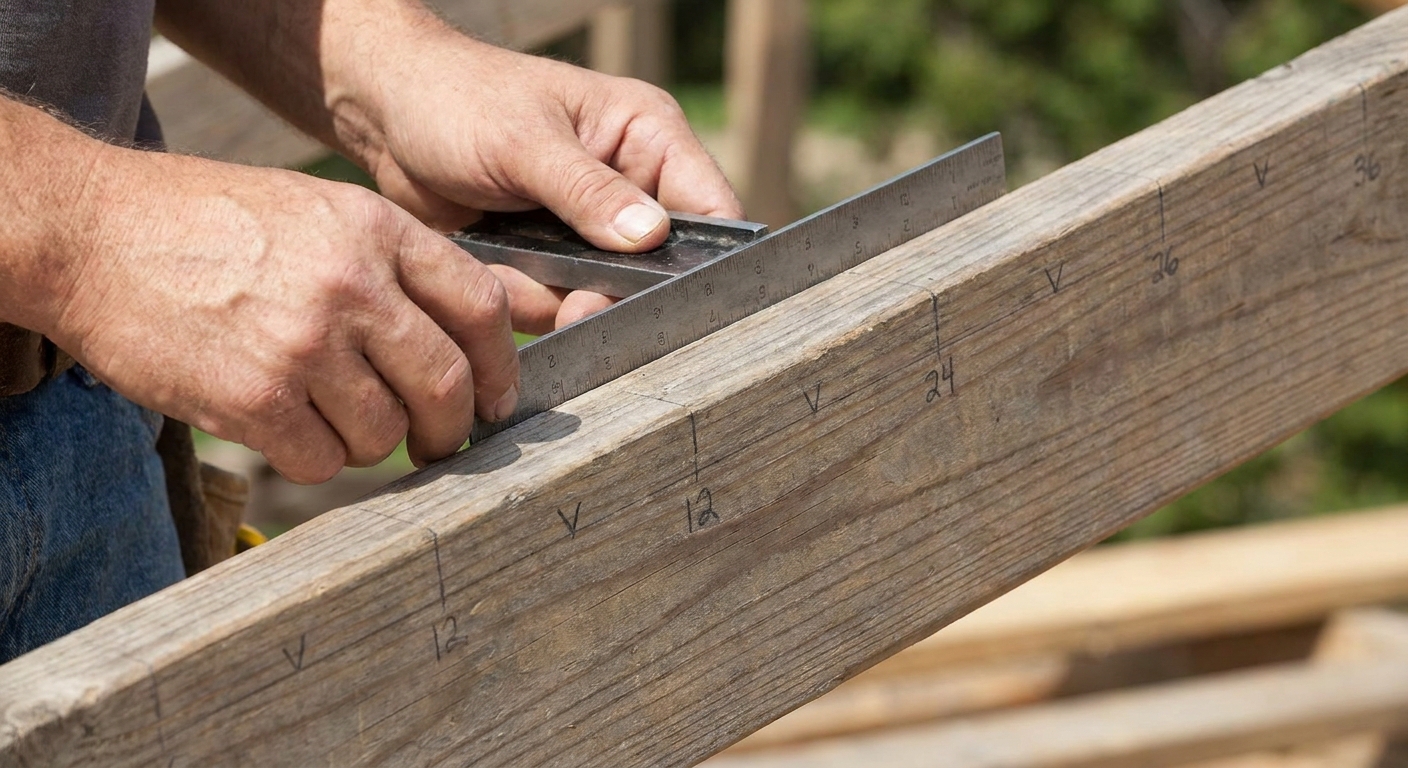
Lay out the birdsmouth
1) Mark the wall-line plumb cut
At your stopping point from stepping off the run, place the square at 6 and 12 again and draw the plumb line. That line represents your wall reference line. On many builds that is the outside face of the plate, but it might be another bearing line depending on the plans. Use the same reference you used for span and run.
2) Mark the seat cut
Decide your heel height and how far you want the rafter to sit on the plate. Most common walls are a double top plate, so you have 3 inches of bearing, but eaves, raised heels, and energy details change the story.
From the wall-line plumb cut, measure down along that plumb line the depth you need to drop the rafter onto the plate. Then square a level line from that point to create the seat cut.
3) Cut one test rafter first
I always cut one “story rafter” and test it on the plates and ridge position before I cut the rest. It is the cheapest insurance you will buy on a roof.
Ridge height (quick)
If you need ridge height, it is the same triangle, just flipped around.
Total rise (in inches) = run (in inches) × (pitch rise ÷ 12)
Example: a 12-foot run is 144 inches. On a 6/12 roof, rise is 144 × (6/12) = 72 inches. That is 6 feet of rise from the top plate to the ridge layout height, before any details like ridge board depth, rafter thickness, or ceiling ties change what you are actually building.
Tail length and fascia cut
Once the birdsmouth is correct, the tail is easy.
- Overhang is usually specified as a horizontal dimension (like 12 inches or 24 inches).
- To lay out the tail, you can step off that overhang run with the square the same way you stepped off the main run (so you are measuring run correctly), or you can calculate the along-the-rafter tail length using the same unit length.
- At the end of the tail, mark another plumb cut for the fascia line.
If you want a crisp fascia, keep your plumb cuts consistent and crown your rafters the same direction before you start. Small discipline up front makes straight eaves later.
Quick table: unit rafter lengths
Here are a few common slopes. Values are the rafter line length for 12 inches of run (unit rafter length). They do not include ridge adjustments, birdsmouth seat cuts, or tail overhang.
| Pitch | Length per 12 in run |
|---|---|
| 4/12 | 12.649 in |
| 5/12 | 13.000 in |
| 6/12 | 13.416 in |
| 7/12 | 13.892 in |
| 8/12 | 14.422 in |
| 9/12 | 15.000 in |
| 10/12 | 15.620 in |
| 12/12 | 16.971 in |
These numbers are great for estimating and double-checking. For real cutting, I still like stepping off with the square because it keeps me honest and catches dumb mistakes early.
My 3 checks before the stack
1) Confirm span and run on the actual building
Plates move. Rim boards are not always where you think. Measure the building, not the plan, and make sure you are measuring between the same bearing reference points the plan uses.
2) Cut one test rafter and stand it up
Set it on the plates, check the ridge height, and verify your heel sits tight without daylight under the seat cut.
3) Treat that first one like a story pole
Once one rafter is perfect, it becomes the pattern. Mark it clearly and keep it safe. The fastest way to cut a roof wrong is to “improve” the layout on rafter number four.
Common mistakes
- Mixing span and run: remember, common rafter run is usually half the span.
- Not staying consistent on reference points: outside of plate vs outside of sheathing vs a layout line is not “close enough.” Pick one and stick to it.
- Forgetting ridge adjustment: decide centerline vs ridge face before you start.
- Over-notching the birdsmouth: keep notch depth conservative, follow engineering when required.
- Overhang confusion: overhang is horizontal run. Either step off run with the square or convert it to along-the-rafter length before you mark the tail.
- Trusting one measurement: verify slope, verify run, then verify again with a test rafter.
If you want more foundational framing guidance beyond rafters, start with the framing hub at /guide-framing/.
FAQ
How do I convert 7/12 into an angle?
The roof angle from horizontal is arctan(rise/run). For 7/12, that is arctan(7/12) ≈ 30.3°. Most of the time, you do not need the angle if you are laying out with a square, but it is handy for saw bevel settings on certain details.
What is the difference between rafter length and stock length?
Rafter length in the math sense is the line length along the rafter between reference points. Stock length is what you buy. Stock needs extra for ridge plumb cut waste, tail overhang, and any special details like a dropped soffit.
Can I just use an online rafter calculator?
You can, and they are fine for checking your work. But I still recommend learning the square layout. When you are standing on a deck in the rain with a stack of lumber, being able to diagnose your own geometry is worth its weight in nails.
Where to go next
Once you have common rafters down, the next math step is hips, valleys, and jack rafters. The same triangle rules apply, but you start living in plan view and unit lengths. For now, get one common rafter perfect, and the roof will start behaving like it should.
If you are gathering tools for layout work, my tools roundup lives at /guide-tools/.