I learned to square walls the hard way: by trying to “fix it in the air” with a sledge, a pry bar, and a lot of wishful thinking. It works sometimes, but it is slow, rough on your fasteners, and it usually leaves you chasing plumb and straight for the rest of the day. If you square the wall on the deck first, standing it up feels almost boring. That is the goal.
Below are the exact checks and tricks I use to get a wall assembly dead square before it ever goes vertical, along with a few reliable ways to lock that squareness in so it survives the lift.
What “square” means
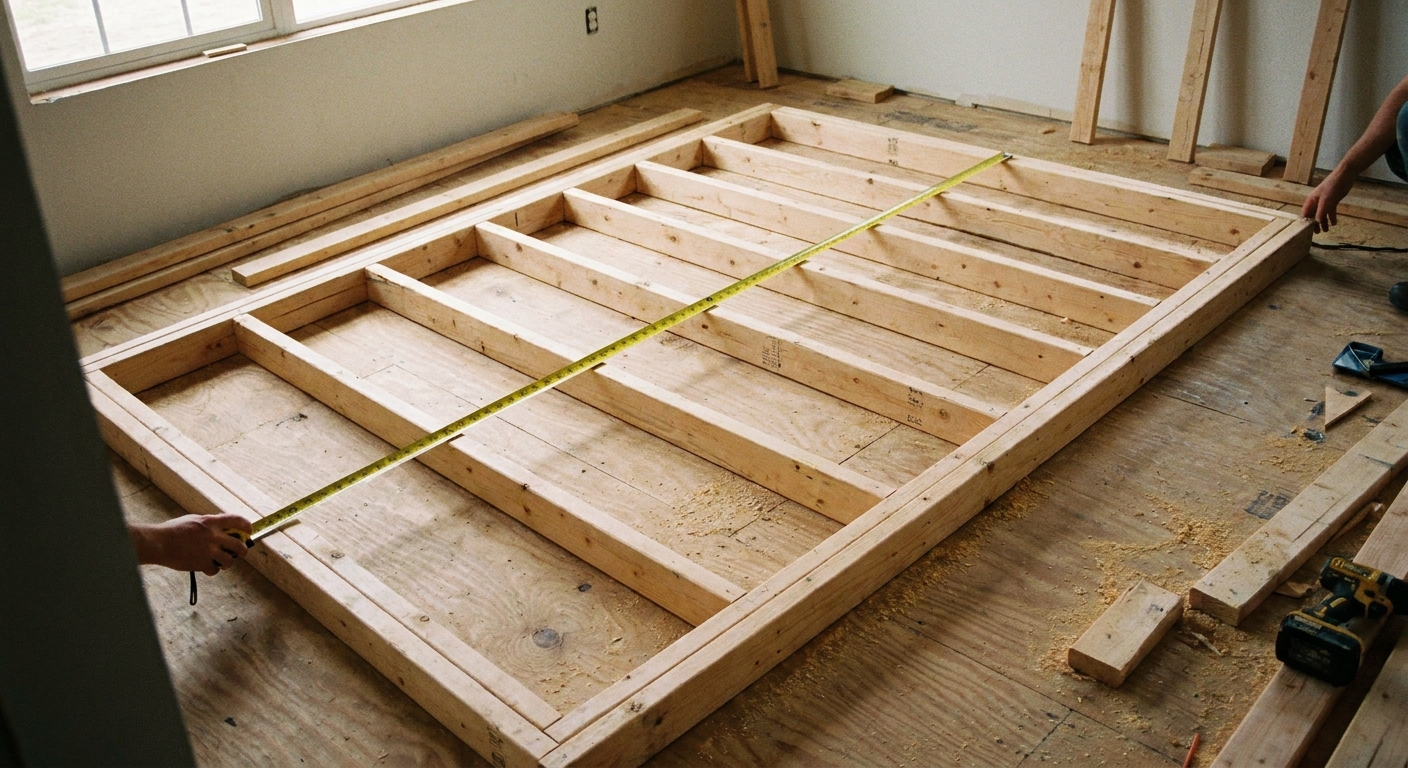
A wall frame is square when its corners are true 90-degree angles. On a rectangle, that usually shows up as matching diagonal measurements.
- Square is about corners (90 degrees).
- Plumb is about vertical (bubble centered when the wall is standing).
- Straight is about the plane of the wall (no bows or crowns telegraphing through).
One quick caveat: equal diagonals are a reliable squareness check only when you measure from consistent reference points on a true rectangle and the wall is laying flat, not twisted. I still use diagonals as my main test, I just do not let one “good” measurement talk me out of a twist problem.
If you start with a wall that is square on the deck, plumb and straight become much easier once it is braced and tied into the rest of the structure.
Tools that make it fast
- Two tape measures (or one tape and a helper). Diagonal checks are faster with two tapes.
- Speed square for quick spot checks at plates and corners.
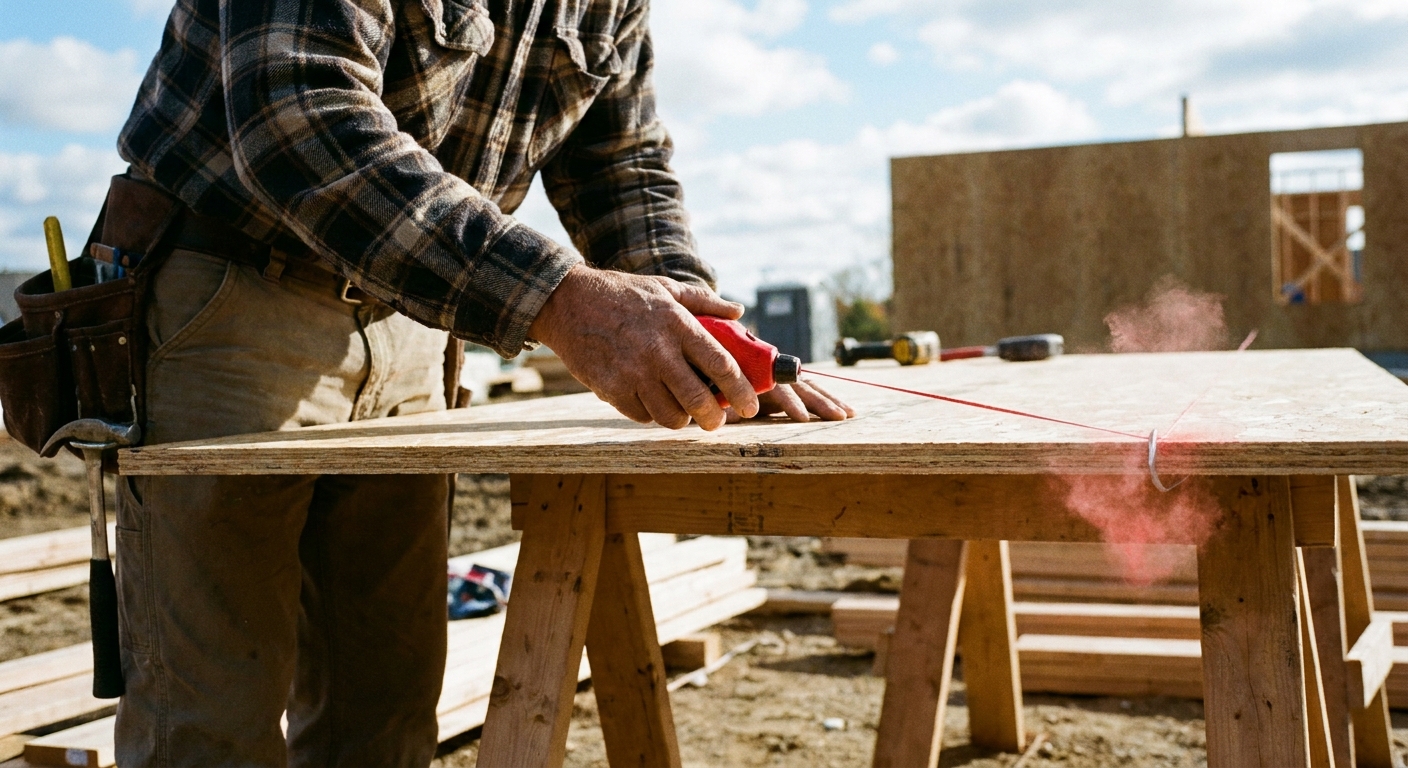
- Chalk line for reference lines on the deck or subfloor.
- Clamps (quick grips work fine) to hold a corrected corner while you tack it.
- Straight 2x4 brace and a handful of nails or structural screws for temporary bracing.
- Hammer and nail puller for backing out a tack that landed too early.
If you are building on a subfloor, you can turn the deck into a big layout table. If you are building on the slab or driveway, a chalk line and a known straight edge go a long way.
For more foundational framing walk-throughs, I keep a running hub of techniques here: /guide-framing/.
The core method: match diagonals
This is the check I trust most because it tells you what you need to know with one number.
Step 1: Assemble tight
Assemble your plates and studs so everything is seated. Crowns up, studs tight to the plate line, corners built the way your plan calls for. Fasten studs to plates as you normally would for assembly, but hold off on any permanent brace or full sheathing nailing if you plan to use sheathing as your squaring jig.
Step 2: Measure corner to corner
Hook your tape on the outside corner of one end and pull to the outside corner of the opposite end. Record it. Then measure the other diagonal.
- If the diagonals match and the wall is laying flat, the wall is square.
- If one diagonal is longer, the wall is racked.
Step 3: Push the long diagonal shorter
Here is the rule I use on site: the long diagonal is the one you fix. You want to push or pull the frame so that long number comes down until both numbers match.
How close is close enough?
My target is dead equal if I can get it. In real work, if I can get within 1/16 inch to 1/8 inch on a typical long residential wall before sheathing, I am happy.
If it is a very long run, a tall wall, a fussy finish area (tile, cabinets, exposed trim), or anything that is going to magnify errors, I push for tighter and I slow down long enough to verify the deck is flat and the wall is not twisted. Once sheathing is on and nailed correctly, that wall is far less likely to move, but handling, lift, and bracing still matter.
Here is what this looks like in real numbers: say one diagonal reads 193-3/8 inches and the other reads 193-1/2 inches. You are only chasing 1/8 inch. That is usually a shove or a small pry, not a war.
Ways to rack it square
Sometimes the wall slides into square with a hand shove. Sometimes it fights you. These are the moves that consistently work.
Safety first
Walls get heavy fast, and racking a frame creates pinch points. Keep your fingers out of corners, do not put your foot where a plate can slide onto it, and do not let helpers stand in the line of travel while you shove or pry.
1) The heel-and-shoulder shove
If the wall is lying on a clean deck, stand at the corner that needs to move and shove the top plate sideways while pinning the opposite corner with your boot. Recheck diagonals after every move. Small corrections add up fast.
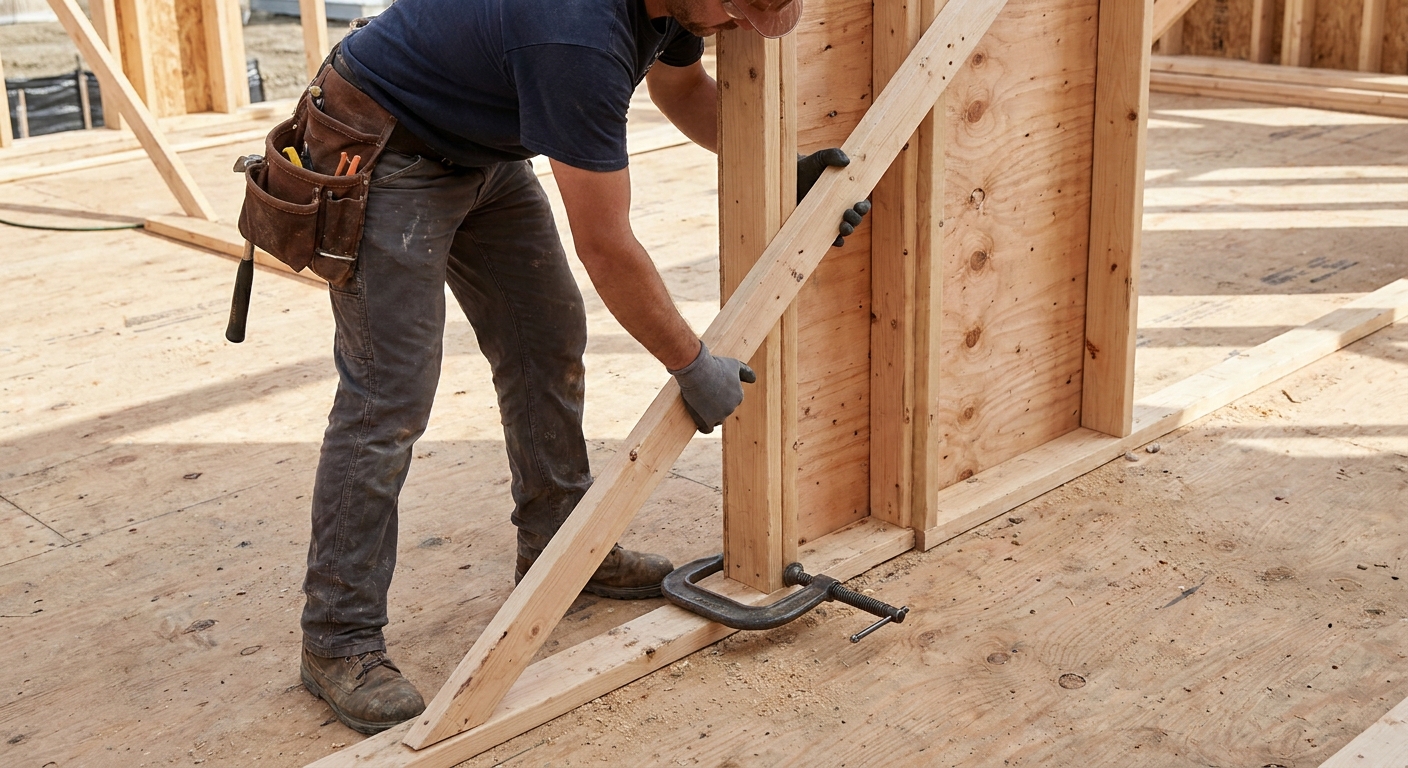
2) Clamp the corrected corner
When you get diagonals to match, clamp across the corner or clamp the plate to a stud so it cannot relax out of square. Then tack a temporary brace so you can let go.
3) Use a temporary diagonal brace (my go-to)
Cut a straight 2x4 and run it diagonally from the top plate at one corner down to the bottom plate at the opposite corner. Tack it with a couple nails at each end. This turns your floppy rectangle into a rigid shape.
Important: do not permanently nail that brace until the diagonals match. The brace is what locks your correction in.
4) Leverage with a pry bar
If a corner needs to move but friction is holding it, use a flat bar for controlled, tiny moves. I prefer to pry against a sacrificial scrap block so I do not chew up the subfloor, the slab, or the plate edge. This is especially helpful when a wall is heavy with built-up corners or multiple king and jack studs.
Squaring with sheathing
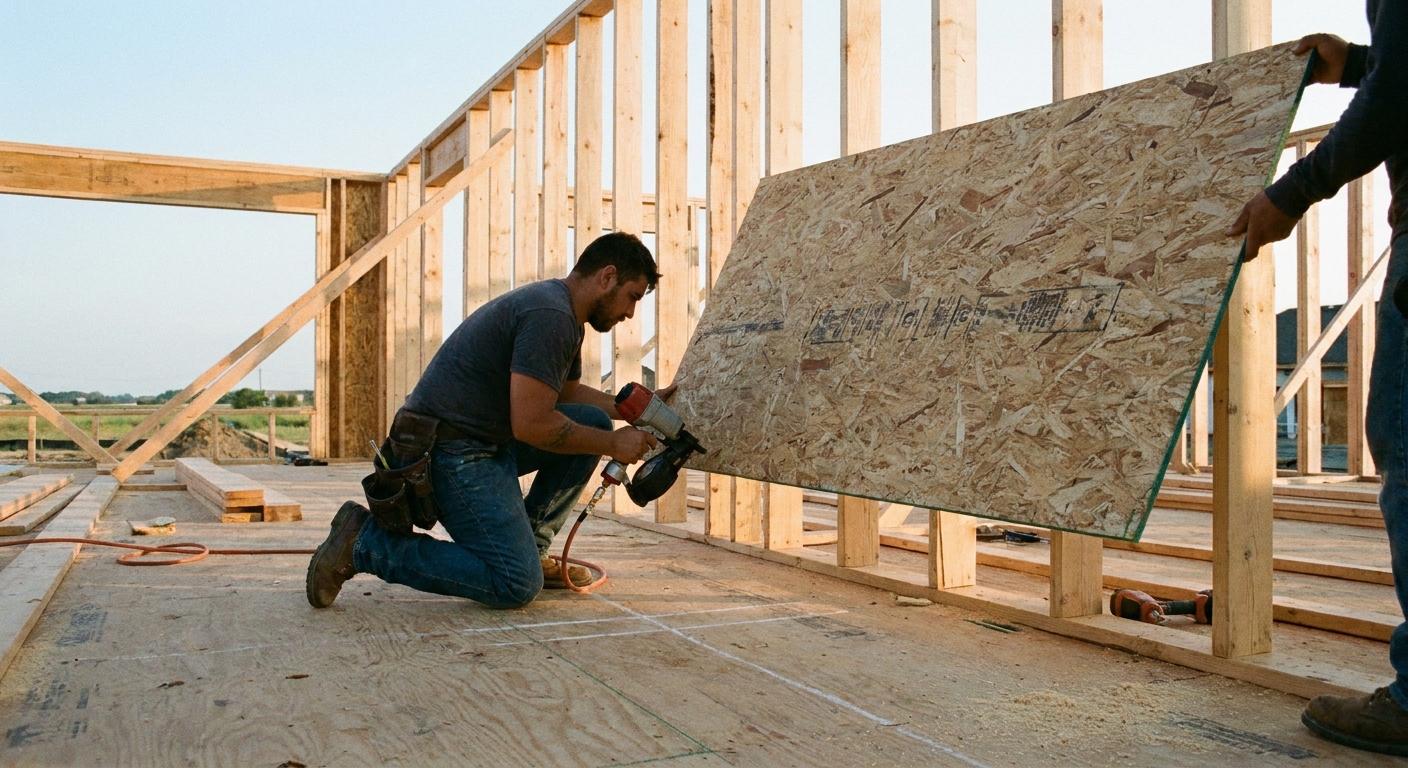
If the wall will be sheathed on the ground, use the sheathing as your squaring tool. Plywood or OSB panels are usually very square off the factory edge, but corners get dinged and panels can be imperfect, so I still verify with diagonals.
How I do it
- Set the sheet tight to one end and flush it to the bottom plate.
- Use factory edges where you can (they are usually the truest edges).
- Tack a few nails along one stud line only. Do not fully nail it off yet.
- Square the wall by pushing the free end until your diagonal measurements match.
- Nail the sheathing off properly, starting near corners and working your way across so you do not trap a rack.
If your sheathing layout leaves a gap or overhang at an end, that is fine. Squareness comes from diagonal equality and the sheet being held without forcing it into a twist.
If you need sheathing for the lift
On long or floppy walls, I will tack the first sheet (or two) just enough to control the frame, square the wall with diagonal measurements, then complete the nailing schedule once I know the wall is where I want it.
Mistakes that throw you off
Nailing off too early
The classic: you check diagonals, see it is out, then you realize you already nailed a brace or a sheet tight and now the wall will not move without pulling nails. Tack first, square second, nail off third.
Measuring to the wrong points
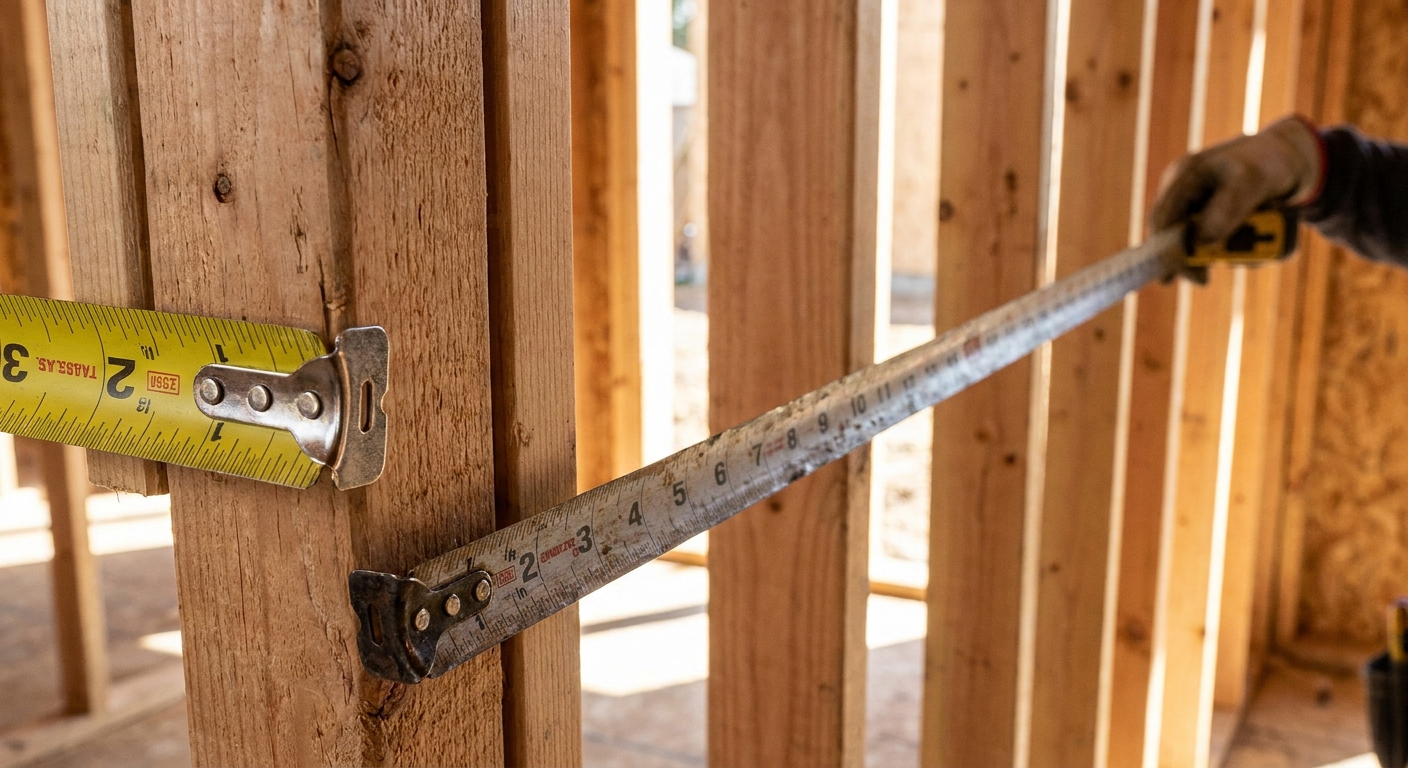
Diagonal measurements must be from the same reference points on each corner. I measure outside corner to outside corner on the plates. If you hook inside on one end and outside on the other, you can “prove” a wall is square when it is not.
Trusting a plate that is bowed
If your top plate is banana-shaped, you can still make a wall square at the corners and have a wall that looks ugly when stood. Pick straighter stock for plates when you can, and crown consistently. If you want a refresher on planning and material organization, this is how I think about it before I buy: /make-a-cut-list-before-buying-wood/.
Building on a surface that is not flat
A hump in the subfloor or debris under a plate can twist the wall. Twist is not the same as rack, and it can fool your tape. Sweep, snap lines, and build on the flattest area you have.
Spot checks before you move on
- Corner check with a speed square: it should sit tight to both plates with no daylight.
- Plate flushness: studs should be seated tight to the plate line, not hanging on a nail.
- Look down the plates: catch a bad bow now while it is easy to swap a member.
- Recheck diagonals after bracing: bracing can pull a wall if you fasten it while it is still racked.
After you stand it
Even a perfectly squared wall can get bullied out of position during the lift and set. Once it is up:
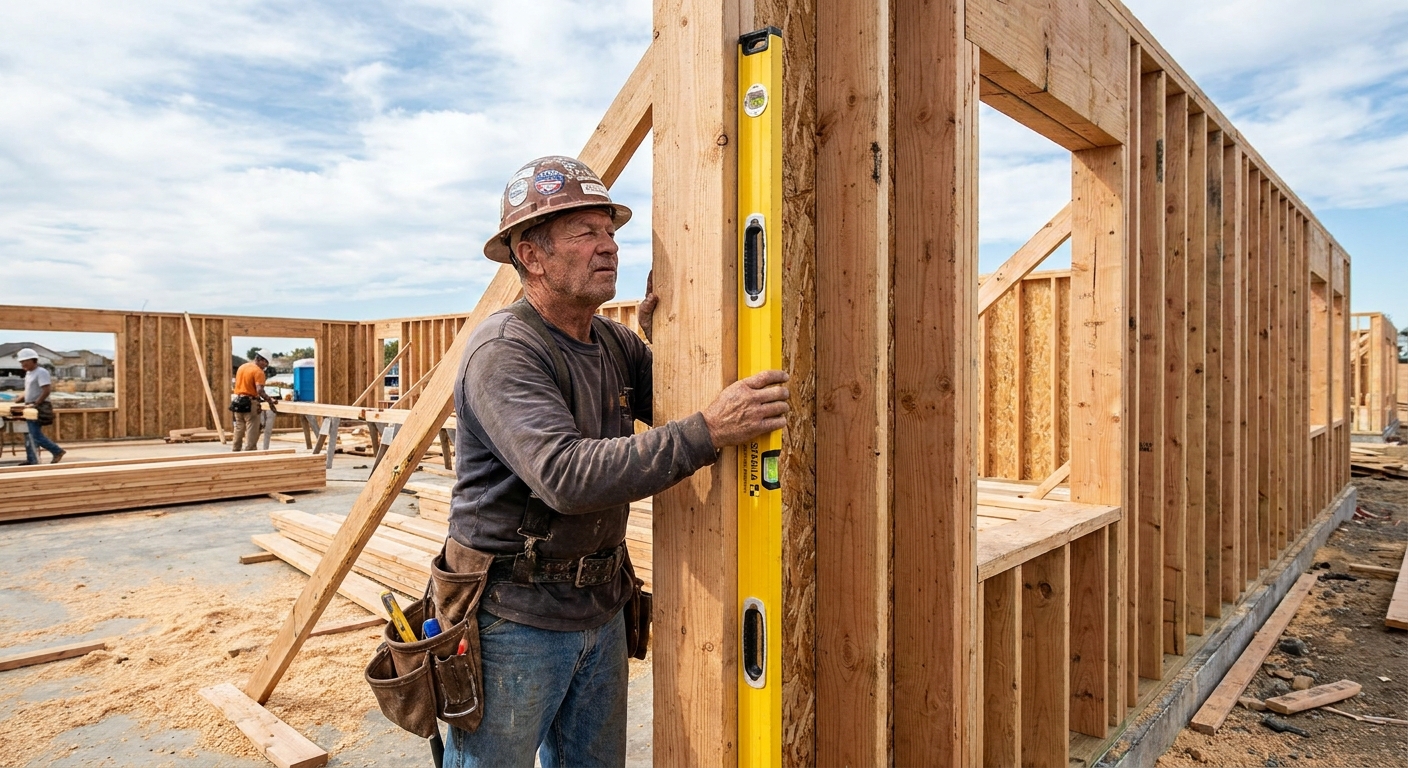
- Tack braces immediately so the wall cannot wander.
- Plumb the end studs first, then straighten the line between.
- Do not fully tighten tie-ins (like some hold-downs or straps) until you confirm plumb and alignment with adjacent walls.
Squareness happens on the deck. Plumb and straight happen with braces. If you treat those as separate steps, your framing gets calmer and more repeatable.
When diagonals will not match
The wall feels locked
- Look for a brace or sheet already nailed off. Pull a few nails and try again.
- Check for toenails bridging a joint where the stud is not seated.
- Make sure the wall is not pinned by layout blocks, debris, or a nail into the subfloor.
Diagonals match but it looks wrong
That is usually twist or bow, not rack.
- Re-seat studs that are not tight to the plate.
- Swap a badly crowned plate if it is throwing your eye off.
- Confirm you are looking at the wall from a fair angle. Long walls can play tricks if your reference line is crooked.
Openings are messing with stiffness
Windows and doors remove stiffness. If a wall has a big opening, I will often tack a temporary brace across the opening while squaring, then remove it after sheathing or after the wall is tied into the structure.
The routine I use
- Assemble the wall.
- Measure both diagonals.
- Rack the wall until the diagonals match.
- Clamp or brace it so it cannot relax.
- Sheath and nail off to lock it in.
- Stand it, brace it, plumb it.
If you do nothing else, do the diagonal check every time. It is the difference between a wall that cooperates and a wall that makes you earn every inch.
If you want to know more about the way I approach layout and sequencing on real builds, you can find more of my background here: /author/garrett-dawson/.