I grew up sweeping sawdust in a little woodshop where the golden rule was posted like scripture: measure twice, cut once. Framing solo teaches a second rule pretty quick: clamp first, then nail. When you are your own “helper,” the right clamp or jig is not a luxury. It is what keeps a wall from walking out of plumb while you chase layout lines, shim a plate, or reach for the gun.
This is the gear and the simple jobsite-made helpers I lean on when I am standing walls alone and I need them to stay put, stay square, and stay plumb.
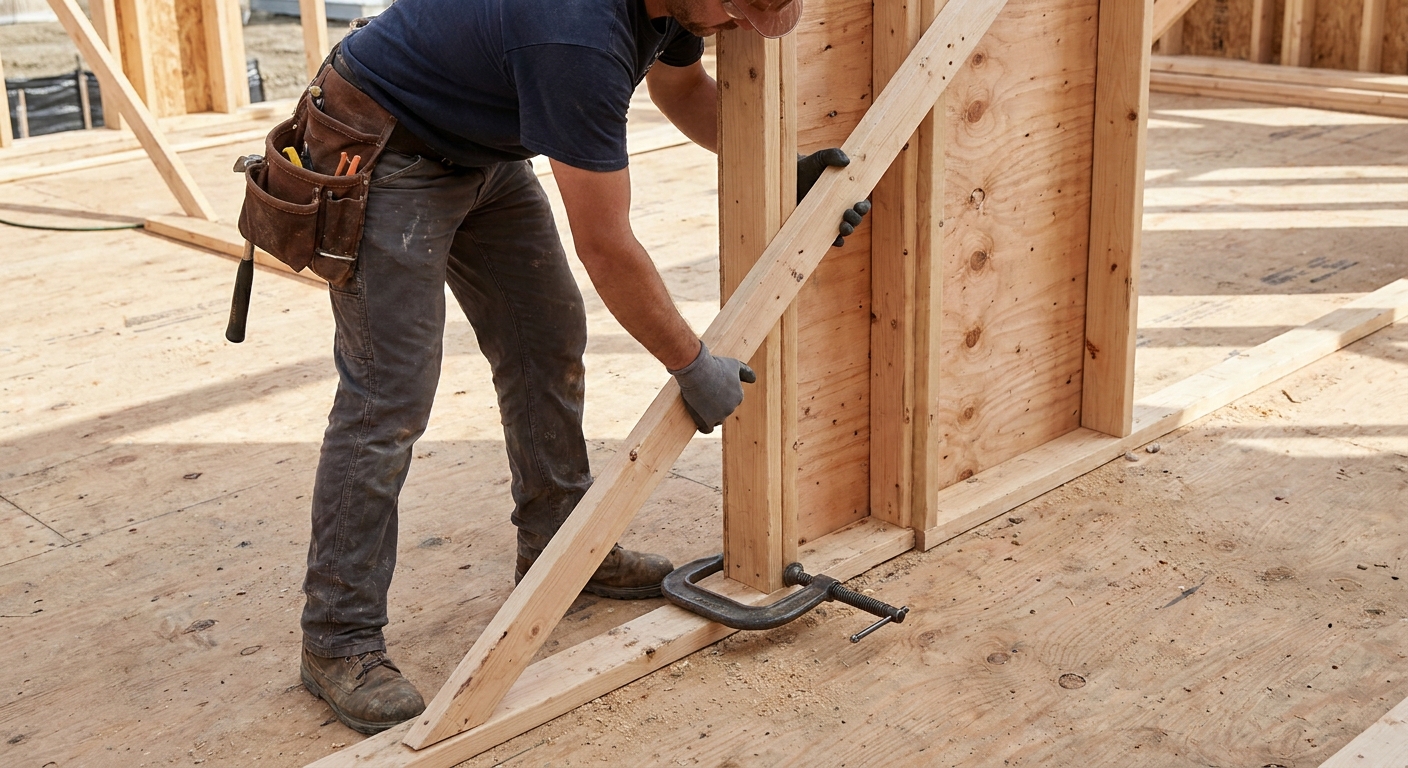
What solo framing clamps need to do
Before talking specific tools, it helps to be clear about the problem. When you frame alone, you are usually fighting one of these:
- Rotation at the bottom plate while you are trying to tip a wall up and land it on a line.
- Racking as the wall goes vertical and wants to turn into a parallelogram.
- Out of plumb once it is standing, especially on long runs or tall walls.
- Creep while you nail off, check layout, or move to the next panel.
The best “extra set of hands” tools either lock an angle, brace plumb, or clamp a plate so it cannot skate.
A simple solo standing sequence
Here is the order of operations I use when I am by myself and I want the wall to behave:
- Snap lines and mark plates clearly.
- Stage your braces and clamps where you can reach them fast.
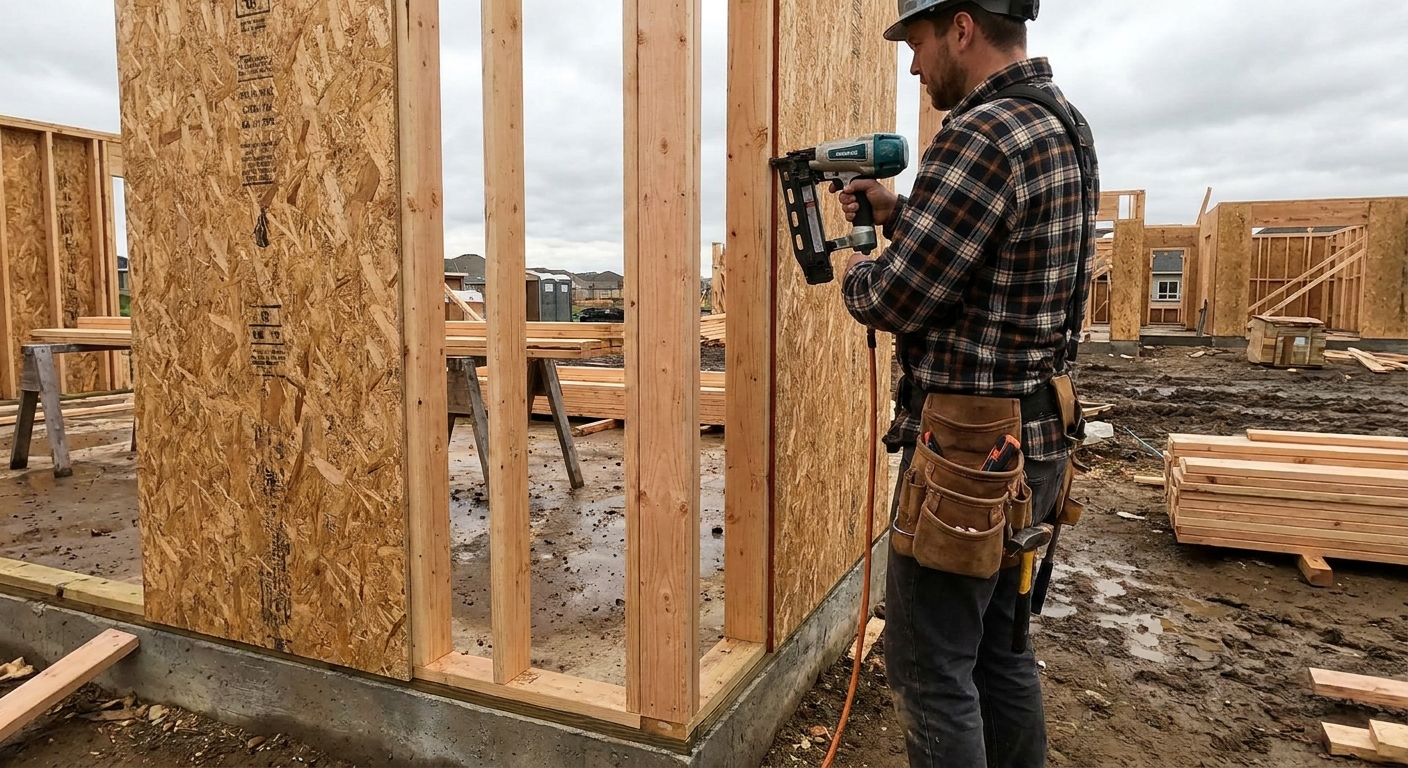
- Stand the wall and get it roughly on the line.
- Tack the first brace immediately so the wall cannot fall back.
- Plumb it, lock the brace, then add a second brace on long runs.
- Fasten the bottom plate, then re-check plumb and square before you move on.
Wind changes the math. If the weather is sketchy, I slow down and over-brace. No clamp is a substitute for a plan.
1) Wall jacks and lifting aids
If I am working solo and I have more than a couple wall sections to stand, a wall jack earns its keep fast. This is the category that comes closest to a second set of hands because it gives you controlled lift and controlled lowering.
That said, wall jacks have limits. Panel size, weight, and footing all matter, and different designs behave differently. If a wall feels too big for one person to control safely, I do not “tough it out.” I change the plan, break the wall into smaller sections, or get help. And even when a jack does the lifting, bracing still does the keeping.
What to look for
- Stable foot or base that does not sink into subfloor seams or gravel.
- Positive locking so the wall cannot backslide when you reposition.
- Height range that matches your typical work, especially if you build tall garage walls or gable ends.
My solo workflow tip
Even with a wall jack, I still treat the first brace like a seatbelt. As soon as the wall is up, I tack one temporary brace so the wall cannot fall back while I set the jack down and grab the level.
2) Adjustable temporary wall braces
An adjustable brace is the unsung hero of solo framing. It lets you nudge a wall into plumb and then lock it there while you fasten plates, check openings, and tie into corners.
Where adjustable braces shine
- Long exterior runs where a small lean turns into a big problem at the far end.
- Remodel tie-ins where the existing structure is not perfectly square, but your new wall needs to be clean and straight.
- Door and window rough openings when you are trying to keep things true while you secure headers and trimmers.
Fastening notes
Most of the time, brace connections fail because people under-fasten them or fasten into something that cannot hold. Wind load, a weak substrate, too-short fasteners, or catching mostly end grain can all bite you.
Use screws when you can, especially on remodels where you will be adjusting several times. Nails are fine in new construction, but give the brace real bite, not a single token tack.
On slabs, do not pretend a toe-nailed brace into a scrap block is an anchor. Use appropriate concrete anchors for temporary bracing loads, or brace to something structural that is already anchored.
If you need a refresher on getting a wall locked in before you stand it, this pairs well with how to square a wall frame before standing it.
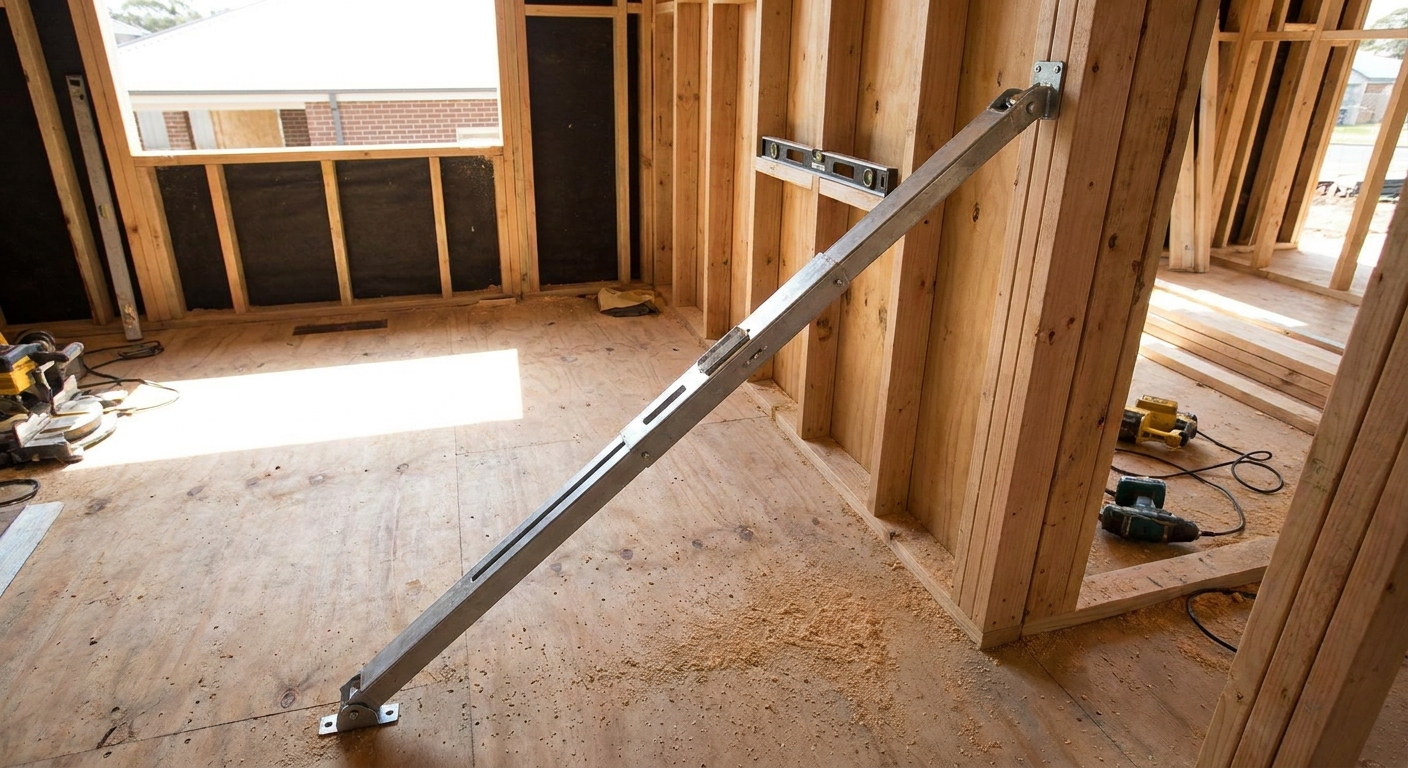
3) Plate clamps and deck edge clamps
One of the most frustrating solo moments is when the wall is almost where it belongs, then the bottom plate skates off your line by half an inch.
This is where it helps to separate two tool types:
- Plate clamps or plate pullers grab the plate or studs to help hold position while you fasten.
- Deck edge clamps bite onto the edge of the subfloor or a rim area to give you something fixed to clamp against.
People sometimes expect one clamp to do both jobs. Some can, many cannot. I just match the clamp to the problem: keep the plate from drifting, or give myself a solid anchor point to push and pull against.
Good uses
- Landing a wall on chalk lines without having to keep your foot pressed against the plate.
- Holding an end stud tight to a layout mark while you pin it.
- Keeping a corner from opening up while you fasten the intersecting wall.
What to watch out for
Any clamp can crush SPF if you gorilla it. Tight is good. Deformed is not. If you are clamping near a doorway or window opening, keep the clamp pressure on full studs, not on short cripple edges that can twist.
4) Right-angle help for corners
When you are working alone, corners love to drift. A right-angle clamp is great at the bench for cabinets, but on a framing deck I get more mileage out of simple corner blocks and strategic clamping.
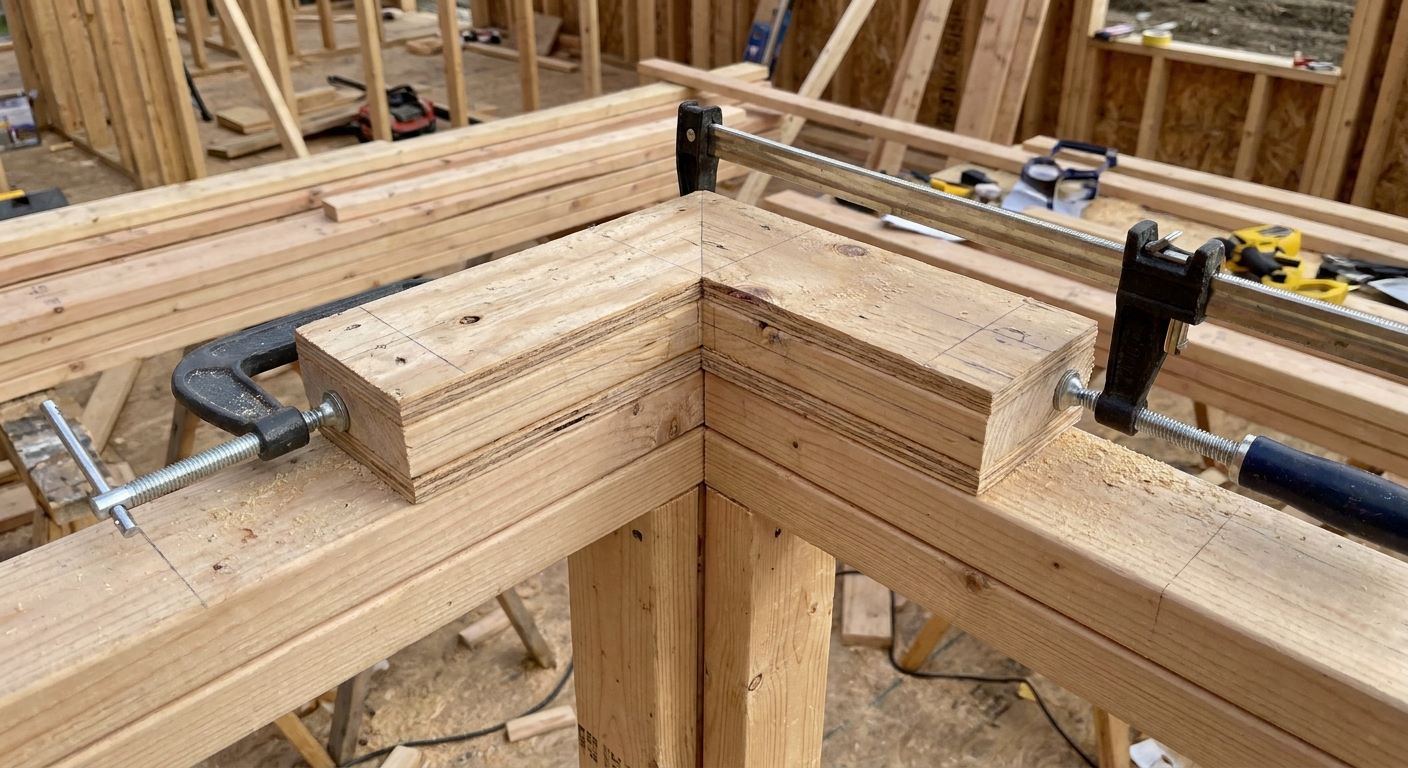
Simple corner block jig
Cut two short pieces of straight 2x material and screw them together into an L. Now you have a beefy corner guide that can be clamped to two plates, or to a plate and a stud, to hold a clean 90 while you fasten.
A quick way to use it
I clamp the L-block to the bottom plate first so it cannot slide. Then I bring the intersecting wall into the block, snug it up, and clamp again. Now the corner is held where I want it while I nail or screw it off.
Where it helps most
- California corner assemblies where you want alignment without overbuilding the corner.
- Interior partition tie-ins where you are trying to keep drywall edges happy later.
If you are choosing corner styles, see California corners vs solid corners.
5) Spreaders and racking control
Plumb is half the battle. Square is the other half. When a wall racks slightly during the lift, it can look fine until you try to sheet it or set a prehung door.
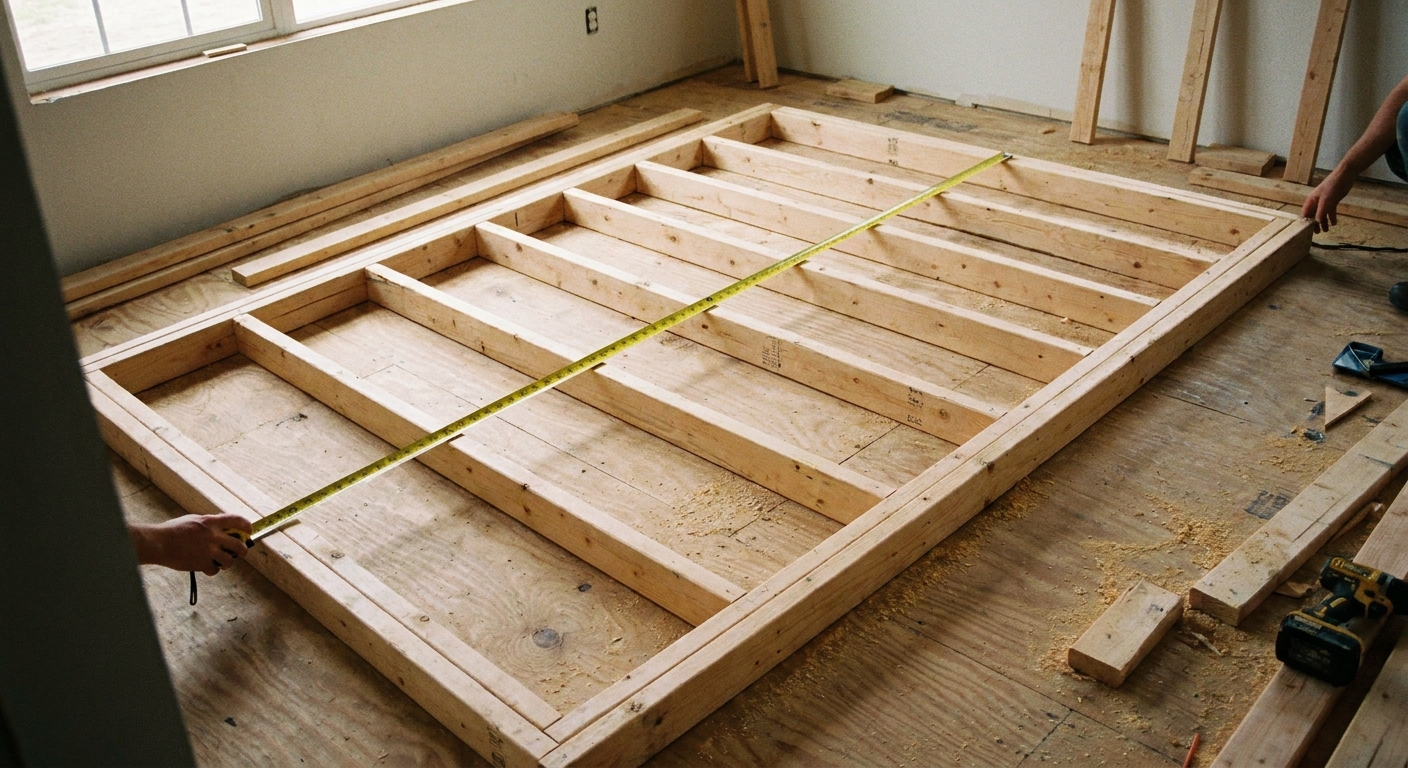
Three ways to fight rack when you are solo
- Diagonal 1x or 2x temporary brace tacked across studs before standing. Cheap, fast, effective.
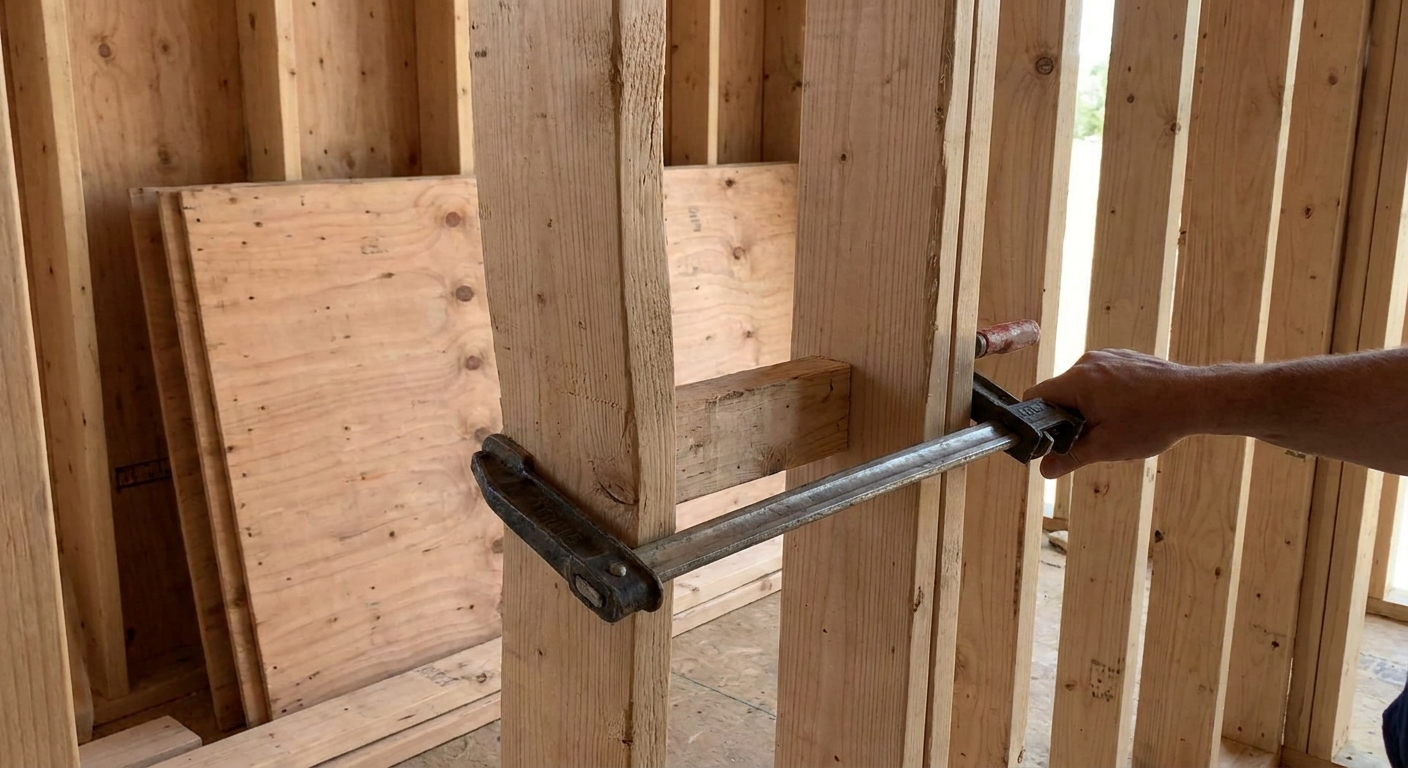
- Pipe clamp spreader used as a push or pull between studs to tweak a wall into square. This is for small corrections, not forcing a badly out-of-square frame. Use blocks so you do not dent stud edges.
- Ratchet strap with blocks to pull a wall back into square without bruising studs. Add scrap blocks under the strap to keep it from digging in.
Quick habit that saves time
I check diagonals while the wall is still flat whenever possible. It is easier to fix square on the deck than it is once the wall is vertical. Again, squaring a wall before standing it is the key move.
6) Stud straightening clamps
Solo framing has a way of making every bowed stud feel personal. You set it, you crown it correctly, you nail it, and it still wants to shove your line around when you start sheathing.
A dedicated stud straightening clamp, or a simple clamp-and-block setup, lets you pull or push a stud into line long enough to fasten it off.
Best time to use them
- Before sheathing, while you can still access the stud faces.
- When lining up a critical plane like a corner, a window king stud, or a cabinet wall.
For specific bowed stud fixes, I laid out several methods in 4 ways to straighten a bowed wall stud.
7) Rough opening holding jigs
Rough openings are magnets for small errors. When you work alone, you might be tempted to “close enough” the opening and plan to fix it later. Later usually means after drywall, after trim, and right when the door will not latch.
Simple opening jigs that work
- Temporary spreader sticks cut to the exact rough opening width, nailed or screwed in place to hold the trimmers.
- Story pole blocks that register header height quickly across multiple openings.
- Clamp a straightedge across king studs to keep faces flush before fastening.
If you are doing heavier doors, rough opening precision matters even more. See framing rough openings for heavy exterior doors.
8) Scrap-built braces I actually use
I live in the Pacific Northwest, which means wind shows up uninvited. Temporary bracing is not optional, especially when I am solo and cannot “hold it” while I grab something.
My standard scrap-built brace kit
- Two long 2x4 braces (usually 8 to 12 feet depending on wall height and brace angle), plus a handful of 3-inch screws.
- One shorter kicker brace for holding a wall tight to a line at the bottom plate.
- A couple of plywood gussets for stiffening temporary brace connections if I need them to stay for more than a day.
How I set them
I like one brace near each end of a long wall, then one more roughly mid-span if the wall is tall or if I know a gusty afternoon is coming. Adjust the brace to plumb, lock it, then fasten the bottom plate properly.
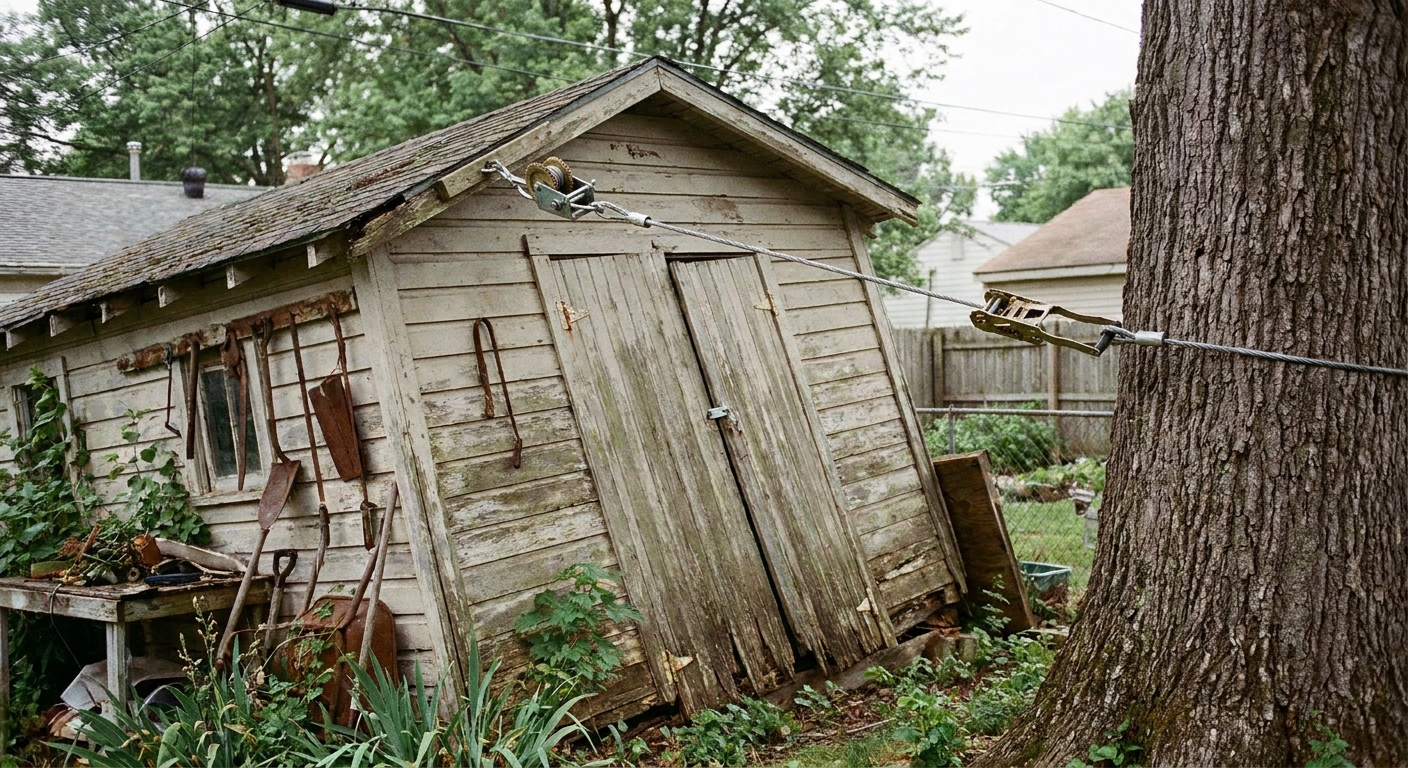
If you are bracing an already-leaning structure, the process is similar to what I cover in 7 steps to plumb and brace a leaning wood framed shed or garage.
What to buy first
If you are only going to spend money on a few specialized helpers, prioritize the tools that solve the biggest safety and accuracy issues.
- Adjustable temporary wall braces (plumb control and safety).
- A wall jack or lifting aid if you routinely stand larger panels solo.
- A plate clamp or deck edge clamp to land walls accurately on lines.
- A long pipe clamp that can double as a clamp, spreader, and alignment tool.
Mistakes I see with clamps and bracing
- Bracing to weak substrate: bracing into thin subfloor edges, rotten decking, or crumbly concrete without proper anchors.
- Using one brace and calling it good: one brace controls lean in one spot. It does not stop a long wall from snaking.
- Clamping crooked material: clamps hold what you give them. Start with crowned studs oriented consistently and plates that are straight.
- Over-tightening and crushing wood: especially on edges of studs near openings.
- Forgetting wind: a calm morning can turn into a rough afternoon. If the wall can catch air, brace like it is going to.
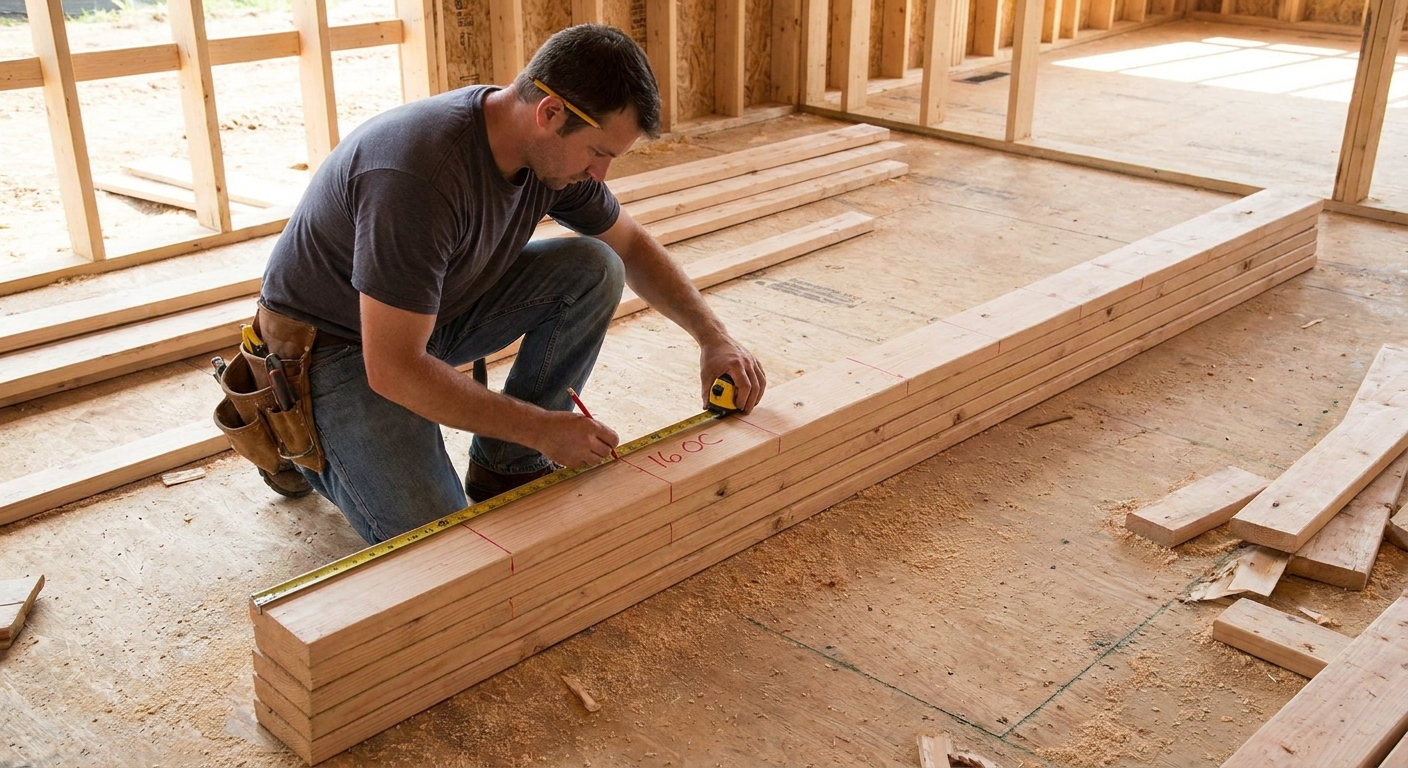
Clamps and jigs are there to buy you time and control. They do not replace layout. If your stud layout is sloppy, your “extra hands” will just help you lock in a mistake faster. If you need a tune-up on clean layout, read avoid mistakes laying out 16 inch OC studs.
FAQ
How do I keep a wall plumb while I nail off the bottom plate working alone?
Set at least one adjustable temporary brace first, get the wall dead plumb with a level, lock the brace, then fasten the plate. If the wall is long, set a second brace before you start nailing aggressively so the wall cannot rack and pull the first brace off line.
Can I use ratchet straps as temporary bracing?
Yes, for pulling a wall or section back into alignment, especially for racking control. Use scrap blocks under the strap to prevent denting studs, and never rely on a strap as the only thing preventing a wall from falling.
Do I need specialized clamps, or can I get by with standard bar clamps?
Standard bar clamps and pipe clamps go a long way. Specialized plate clamps, deck edge clamps, and adjustable braces just make the most common solo tasks faster and safer. If you are starting out, buy a couple versatile clamps and put your next dollars into bracing gear.