

I learned pretty early that tall walls do not forgive sloppy plumbing. On an 8-foot partition you can muscle a plate, split the difference, and nobody notices. On a 12-foot to 24-foot run, that tiny “good enough” lean turns into a fight at the top plate, a wavy line for siding, and doors that never quite feel right. A solid box beam level is one of those tools that quietly keeps the whole build honest.
This is how I choose level lengths, materials, and vial features when I know I will be plumbing tall, multi-story, or long exterior walls.
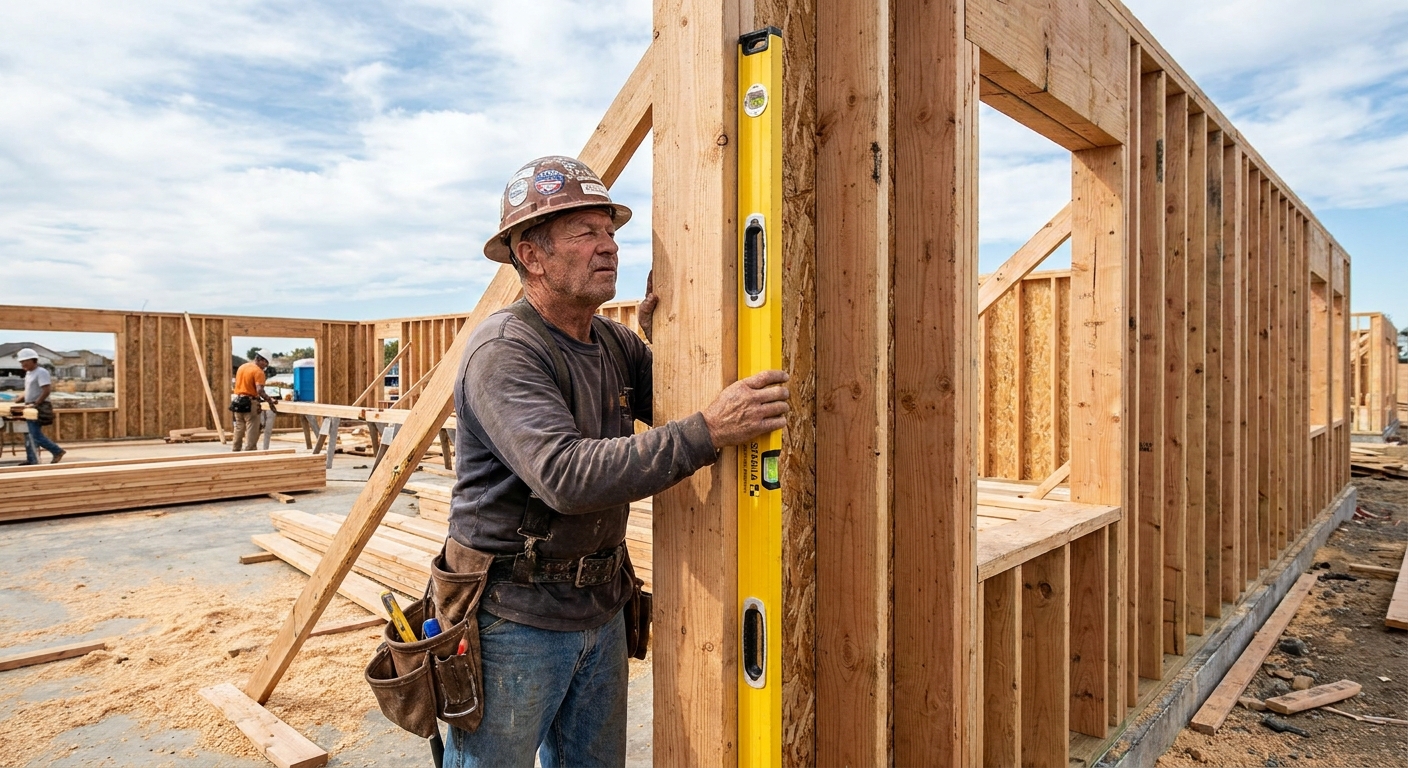
What tall wall work demands
Before you pick a length off the rack, it helps to name the actual problem you are solving. Plumbing tall walls usually involves three things:
- Bridging irregularities like crowned studs, sheathing seams, window header crowns, and stacked plates. A longer level spans the highs and lows so you read the wall, not the bump.
- Reading small lean over a long height. The taller the wall, the more a tiny out-of-plumb at the bottom telegraphs at the top.
- Working fast while bracing. You are often checking plumb with one hand while the other is holding a brace, a stud, or a nailer.
That points you toward longer lengths, stiffer beams, and vials you can actually trust after the level has lived in a truck bed.
The lengths I actually use
If you are buying one “do-most-of-it” professional box beam level, you can get by. But if you are serious about tall walls, a small set works better than one monster level that never leaves the trailer.
24 inch
A 24-inch level is what I grab for stud-by-stud work, quick plumb checks at openings, and verifying a brace is pulling in the right direction. It is also the easiest length to fit between studs when you are checking king and trimmer alignment at door and window rough openings.
If you do a lot of doorway tuning, this pairs nicely with good rough opening habits. When a wall goes up a hair twisted, it often shows up at the openings first. My process for correcting that is in Fix a Wonky Doorway by Re-framing the Rough Opening.
48 inch
For tall walls, 48 inches is the best balance of reach, stiffness, and real jobsite convenience. A 4-footer bridges minor crowns and sheathing bumps, and it gives you a more stable read when you are plumbing a stud pack, corner assembly, or a long post.
If you can only buy one box beam level for framing, this is the length I would start with.
72 inch (or longer)
A 6-footer is the “stop guessing” tool for tall exterior walls, stairwell walls, and any place you are plumbing something that will be visually obvious later, like a long corner that carries siding lines up two stories.
Here is the key: I use a 72-inch level less often, but when I need it, nothing else substitutes. It helps you:
- Confirm plumb across stacked conditions like double top plates and the floor-to-floor transition where the top plate lines up to the rim joist or band above
- Verify a long corner is not leaning in a way a shorter level can miss
- Set braces with more confidence because the read is steadier
What about 96-inch levels? They can be great, but they are awkward inside remodels and tight sites. If you frame wide open new construction all the time, a 96 can be worth it. If you are mixed residential and remodel, I would buy a quality 72 before I bought a 96.
Material choice
In box beam levels, the material is not about bragging rights. It is about stiffness, weight, and how well the tool stays true after a few seasons.
Aluminum box beam
A quality aluminum box beam level is stiff enough for long spans, tough enough for jobsite drops, and stable for typical temperature swings you see in residential work. For tall wall plumbing, stiffness and durable vial mounting matter more than shaving a few ounces.
Magnesium
Magnesium can cut weight for a given size, which is nice when you are holding a 6-footer vertically all day. Just keep the priorities straight: stiffness comes from the beam design and wall thickness as much as the metal itself, and accuracy comes from how well the vials are mounted. If the vial system is sloppy, the material does not save you.
Thin profiles that flex
For tall walls, I avoid flexible I-beam style levels and very light box profiles. If you can flex the level by hand, you will flex it accidentally while plumbing, especially when you are working around bracing or pushing against a stud pack.
Vial features that matter
On tall work, the vials are the whole game. A stiff beam is useless if the vials are hard to read or easy to knock out of calibration.
High-visibility vials
Basements, covered porches, and rainy Pacific Northwest afternoons all share one thing: you are not reading vials in perfect sunlight. Look for vials that stay readable in shadow, and consider glow or reflective features if you routinely work in dim interiors.
Plumb vials on both edges
I strongly prefer levels with plumb vials you can read from either side. On tall walls you are constantly flipping the tool depending on where braces, studs, or a window opening force your body. If you have to contort just to see the bubble, you will rush the check.
Accuracy spec you can trust
Manufacturers often publish an accuracy rating (for example, a tolerance per unit length). The exact number matters less than the fact they publish it and the tool holds that accuracy over time. If there is no accuracy spec at all, I treat it like a homeowner level.
Shock-protected vial mounts
Levels get dropped. If you frame long enough, you will watch a level slide off a stack of plates in slow motion. Rubber end caps help, but what you want is a vial system that stays stable after impacts.
One feature I do not overpay for
Angle vials can be handy, but for plumbing tall walls I care about plumb and level being trustworthy first. I would rather put the money into stiffness and better vial protection.
Edges, end caps, and grips
Wide, flat edges
Some levels have edges that rock on fastener heads, straps, or slight wood defects. For tall walls, I want a clean, stable contact patch. When the level sits flat, the bubble tells the truth faster.
End caps that hold up
When you are bracing, you set tools down quickly. Durable end caps keep the beam ends from mushrooming and keep the tool from getting sloppy over time.
Grip zones that do not interfere
Handles are nice on long levels, but I want them positioned so they do not keep the level from sitting tight to the work. A handle that forces you off the stud by even a hair defeats the whole point.
How I plumb a tall wall
A good level helps most when your method is consistent. This is the routine I fall back on when a tall wall needs to be dead plumb and stay there.
- Start with a wall that is square before it stands. If the frame is racked, plumbing is harder and bracing gets weird. I walk through my squaring routine in How to Square a Wall Frame Before Standing It.
- Do not confuse plumb with straight. Plumb is in-and-out. Straight is along the wall line. I plumb first so the wall is standing true, then I sight, string, or straightedge the line so the run is not snaking.
- Pick two reference studs near the ends of the wall and get them close to plumb first. Do not bounce around randomly.
- Read off a consistent face. I try to set the level on the same reference face of the studs and avoid reading off knots, metal straps, or nail heads. If a stud is crowned, I am careful not to let the level ride a high spot and lie to me.
- Use the 72-inch (or 48-inch) level for your final read. I will do quick adjustments with a 24-inch, but I confirm with the longer level before I lock braces in.
- Brace in a sequence. Set the ends, tack braces, then work back through the field studs and split the difference. On long walls, plumbing and bracing is iterative. A brace you nail on one end can move the middle.
- Lock plumb, not almost plumb. Put the brace where it has leverage and do not be shy about re-nailing if the wall moved while you were fastening.
If you want a step-by-step bracing mindset for tall, stubborn walls, the approach is similar to what I use when straightening and stabilizing a leaning structure. See 7 Steps to Plumb and Brace a Leaning Wood Framed Shed or Garage and translate the same logic to your wall bracing.
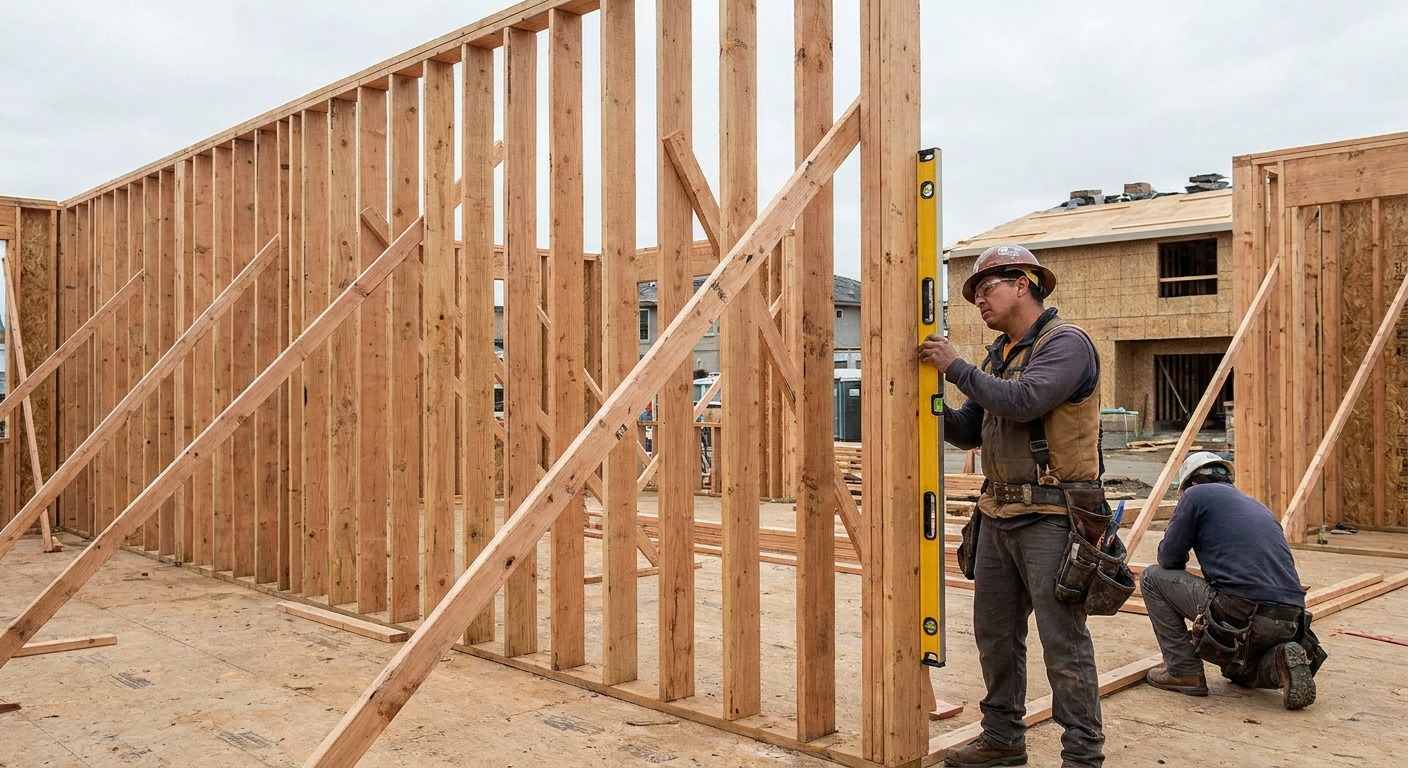
Quick accuracy checks
I do quick accuracy checks often, especially if a level took a fall. You do not need a lab bench to catch a problem.
- Level vial check: Set the level on a reasonably flat surface, note the bubble position, then rotate the level 180 degrees end-for-end in the same spot. The bubble should match the original position exactly. If it does not, the level is out.
- Plumb vial check: Pick something you trust as plumb, like a door jamb you already verified, a known straight post, or a plumb bob line. Note the bubble position, flip the level, and compare. It should match.
- Visual beam check: Sight down the beam like you would sight a board. If the level is bent, you will often see it.
If you cannot trust your level, you end up tuning walls to a lie, and that lie stacks up floor to floor.
My tall wall kit
If I was setting up a new framing tool kit specifically for plumbing tall walls, here is the simple lineup I would build:
- 48-inch aluminum or magnesium box beam: your primary plumbing and general framing level
- 24-inch box beam or rugged torpedo: openings, quick checks, tight spots
- 72-inch box beam: long corners, tall exterior walls, and final confirmation before locking braces
If you are only buying one, buy the best 48-inch box beam level you can justify and protect it like it is a measuring tool, because it is.
Common buying mistakes
- Buying long without buying stiff. A long level that flexes is worse than a shorter stiff one.
- Ignoring vial readability. If you cannot read it fast, you will not use it correctly when the wall is moving and the nailer is waiting.
- Trusting a level that has not been checked since last year. One hard drop can turn it into a rumor.
- Using a level as a straightedge pry bar. I get it. We all do it once. But it is how good levels get ruined early.
FAQ
Is a longer level always more accurate?
Not automatically. A longer level can be easier to read steadily and it bridges bumps better, but only if the beam is stiff and the vials are accurate. A cheap, flexible 72-inch level can mislead you faster than a quality 48-inch.
Should I use a laser instead?
Lasers are excellent for layout and reference lines, but I still like a box beam level for hands-on plumbing while bracing because it gives immediate feedback right where the wood is. If you are setting up lasers regularly, it is worth learning a consistent setup routine. My laser habits are covered in Rotary Laser Setup for Flat Sill Plates.
Do I need a specialty plumb set?
You do not need a specialty kit. You need a stiff box beam, trustworthy plumb vials, and lengths that match the work. For most framing, 24, 48, and 72 gets it done.