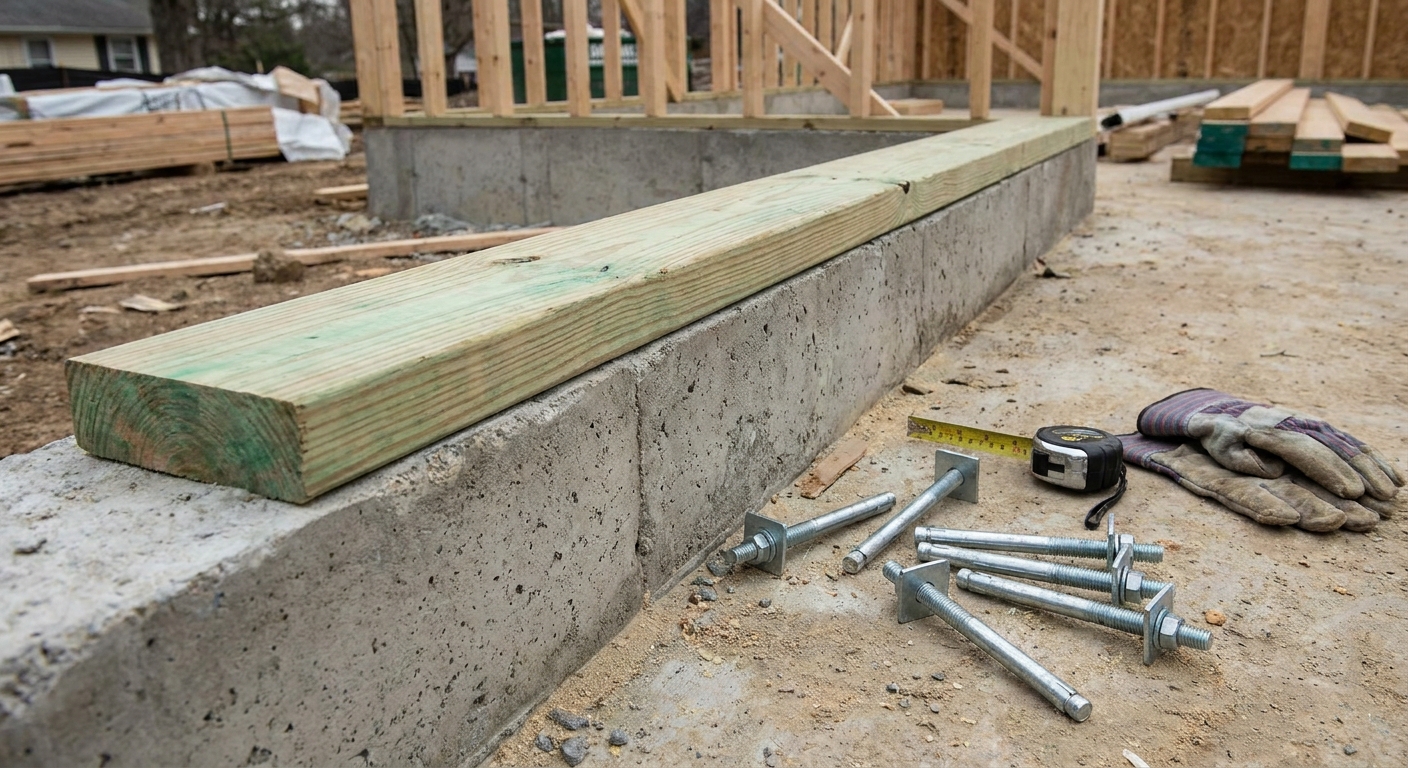
I grew up sweeping sawdust off a shop floor where the old-timers treated “dead level” like a religion. On a framing crew, that same rule shows up the minute you start setting mud sills. If your sill plates follow a wavy foundation, everything above has to fight it, and you end up burning time “fixing” walls that never wanted to stand plumb in the first place.
A rotary laser level is one of the cleanest ways to see what the concrete is actually doing. This guide walks you through setting the laser up, shooting elevations, and using that information to get sill plates flat, tight, and ready for layout.
What a rotary laser does best
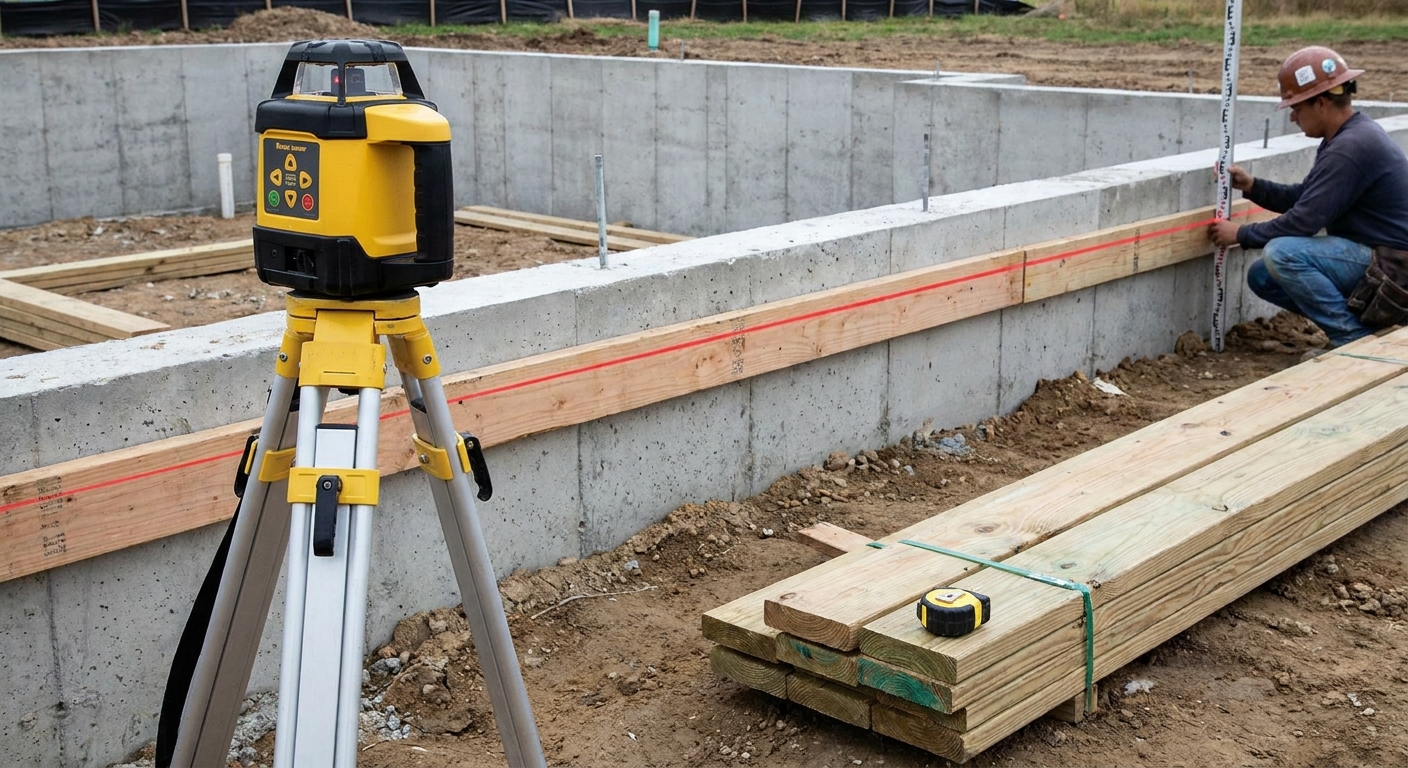
A rotary laser level throws a spinning plane of light. With a detector on a grade rod, you can read that plane in bright daylight and compare points around the slab or stem wall.
- Foundation check: find high crowns, low dips, and out-of-level runs.
- Sill plate strategy: decide whether you need shims, a nonshrink grout bed, planing, or spot grinding.
- Repeatable reference: keep one consistent “benchmark” elevation all day, even as you move around the building.
If you already have a laser, this is one of those jobs where it pays for itself in avoided frustration.
Tools and materials
- Rotary laser level (self-leveling preferred)
- Tripod
- Laser receiver or detector
- Grade rod, story pole, or a straight 1x2 you can mark clearly
- Sharp pencil and permanent marker
- Notepad (or tape and a marker right on the concrete)
- 4 ft level and a long straightedge (6 ft to 10 ft is nice)
- Composite shims or steel shims (use shim materials your inspector accepts and that play nice with treated lumber and wet concrete conditions)
- Hammer drill and anchors as specified for the job
- Sill sealer or gasket as required
For the sill installation itself, I follow the basics in Installing Mud Sills the Right Way, then use the laser to tighten up the “flat and level” part.
Step 1: Pick your target surface
Before you shoot a single number, decide what plane you are controlling.
- Top of concrete: good for checking the foundation itself.
- Top of gasket: better if you want your readings to match the actual sill bearing surface after sill sealer goes down.
The key is consistency. If you shoot off bare concrete and then add gasket later, you just changed your plane.
Step 2: Choose a benchmark and laser spot
The biggest mistake I see is setting the laser somewhere convenient, then moving it three times, then trying to stitch numbers together. Pick a setup that can see as much of the perimeter as possible.
Good benchmark options
- Top of stem wall at a corner that is easy to return to.
- A control line or datum provided by your plans or engineer.
- A known high spot if you are trying to avoid shimming the whole building.
Tripod placement tips
- Set the tripod on firm ground or on the slab where it will not settle.
- Keep it out of traffic so it does not get kicked.
- Avoid setting it tight to a wall where you will lose line of sight.
If the laser is self-leveling, let it finish its leveling cycle before you start taking readings.
Step 3: Check the laser before trusting it
Even good lasers get dropped. Before I commit numbers to a notepad, I do a quick sanity check.
Quick field check (move and recheck)
- Pick two points about 20 ft to 40 ft apart that you can hit easily.
- Take a reading at Point A.
- Take a reading at Point B.
- Move the laser to a new spot (without changing your rod and receiver setup) and take readings again at A and B.
- If the difference between A and B changes, something is off.
This is a quick field screen, not a substitute for a manufacturer calibration check. If your laser manual has a specific test procedure, use that for the real verdict.
Step 4: Take readings that mean something
Here is the core idea: keep your setup consistent and record relative differences. You are not trying to learn the elevation above sea level. You are trying to find highs and lows so your sill plates sit in one plane.
What “consistent” means
- Use the same rod or story pole all the way around.
- Keep the receiver clamped the same way and read the same reference mark on the receiver each time.
- Keep the rod plumb. A leaning rod gives you fake readings.
How to take a reading
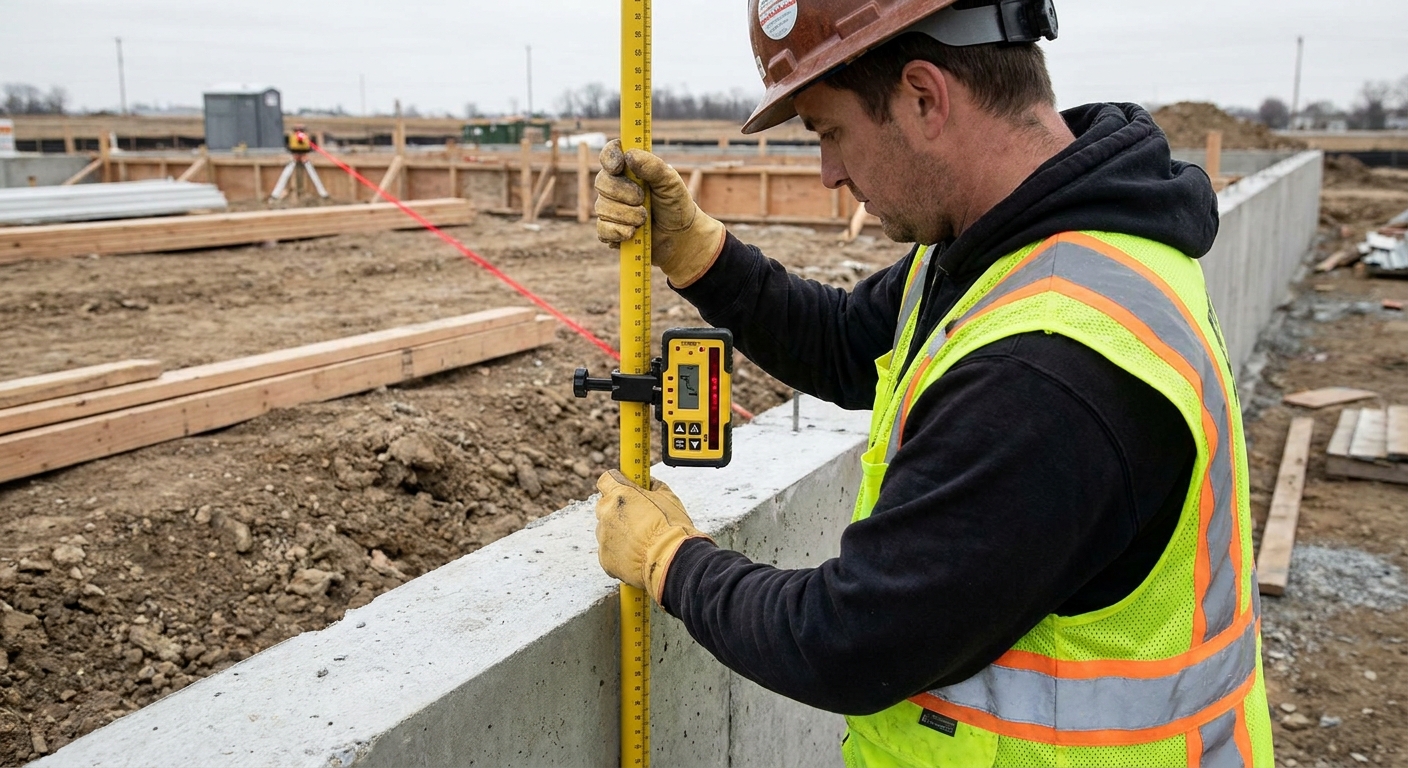
- Place the rod on the point you want to check (top of concrete, or top of gasket if you already laid it and that is your target).
- Slide the receiver up or down until it beeps “on-grade.”
- Read the rod value at the receiver mark (or mark your story pole).
- Write that number next to the location: “NW corner, 4.32” or “Door opening left, 4.29.”
A sampling pattern that works
- Hit every corner.
- Hit midpoints of each wall run.
- Hit both sides of major openings and any point where the concrete looks suspicious.
- If the wall run is long, take readings every 6 ft to 8 ft.
If you want your framing to go smoothly later, this is the time to be a little obsessive.
Step 5: Find the high point
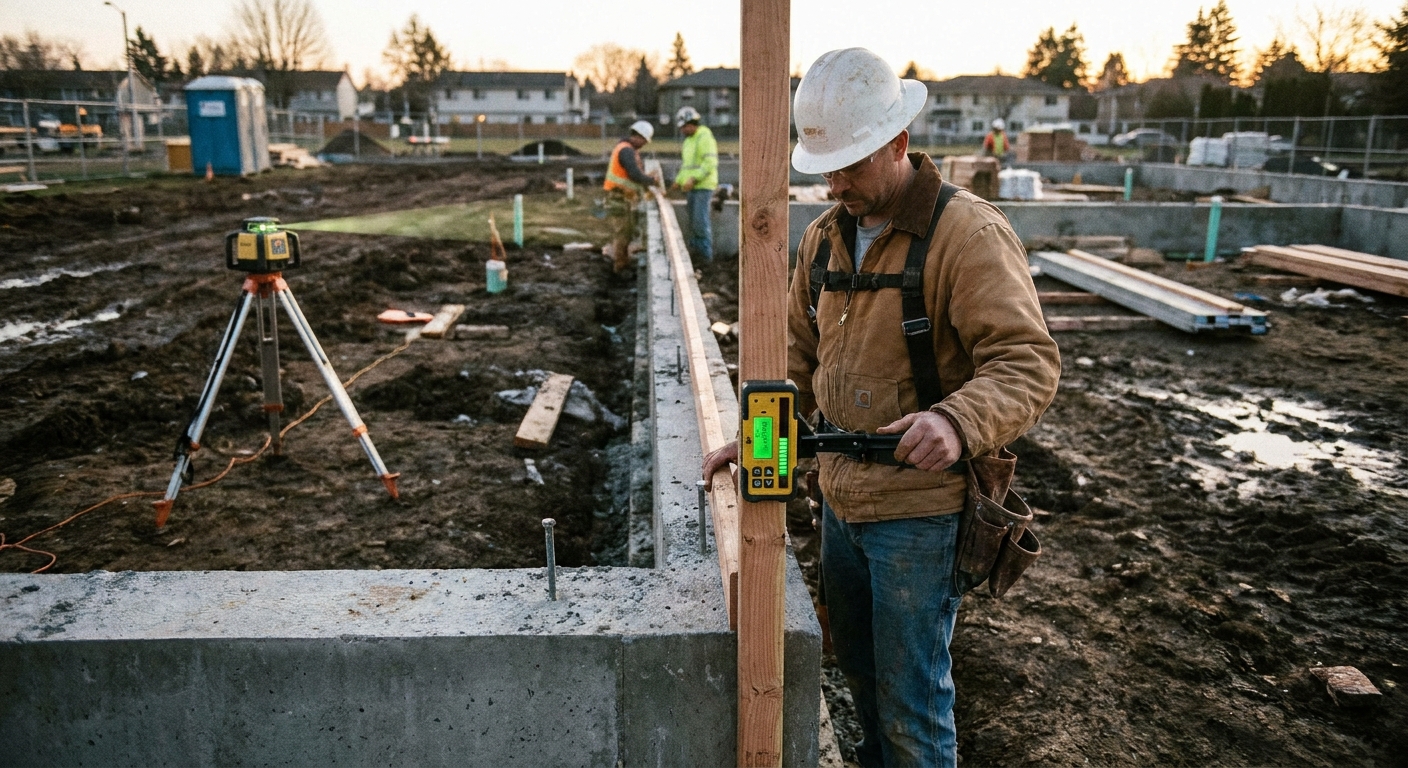
Once you have readings, identify the high point on the foundation. That high point controls everything because you cannot shim down. You can only build other areas up, or remove material at the high point.
Three common approaches
- Shim up to the high point: fast for small variations, common on remodels and small buildings.
- Nonshrink grout or leveling compound under the sill: good when lows are significant and you want continuous bearing.
- Plane, sand, or grind high spots: appropriate for localized humps, but do it carefully and safely.
As a rule of thumb, if I am seeing bigger dips than I am comfortable shimming, I stop and think about a continuous leveling method. The goal is not just “level.” The goal is solid, uniform bearing so loads transfer like they are supposed to.
If the out-of-level is extreme or localized in a way that looks like a foundation problem, that is not a “carpenter will fix it” moment. Pull in your GC, builder, or engineer and get eyes on it.
Step 6: Turn readings into a flat sill
Now you turn numbers into wood that sits right.
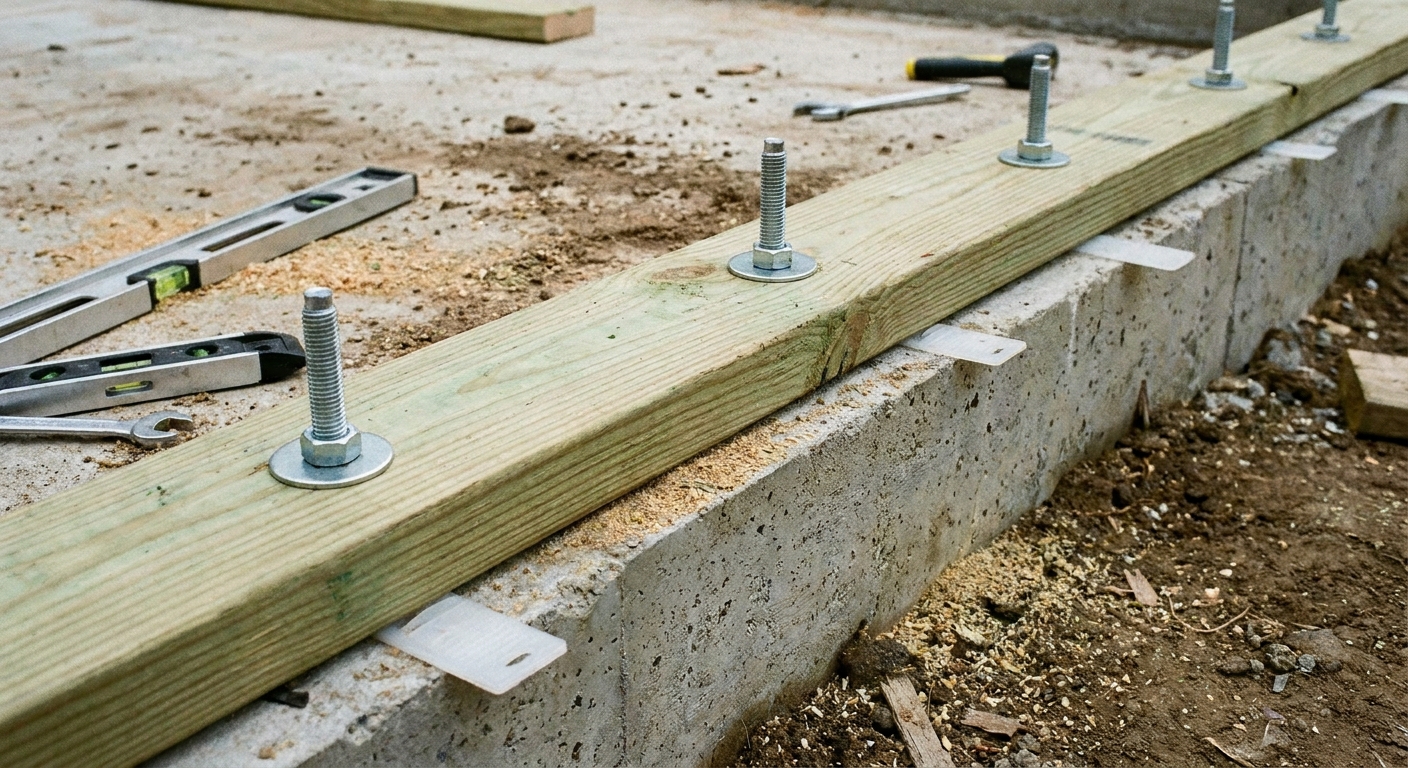
Option A: Shim method
- Snap lines for sill location and check your anchor bolts.
- Lay out sill sealer or gasket if you are including it in your target plane.
- Set your first sill plate section near the high point and snug it down lightly.
- At each anchor and anywhere you see daylight under the plate, use the laser to compare your current point to the high point and determine the gap that needs to be filled.
- Insert shims as needed and recheck with the laser as you go.
- Tighten anchors gradually, working along the run so you do not bow the plate.
- Finish tightening per the job specs and hardware requirements. “More” is not automatically “better,” especially with treated lumber that can crush under washers if you get carried away.
How the math works (simple example): Say your high point reading is 4.18 and a low spot reads 4.28. That low spot is 0.10 in lower than your target plane, so you need about 1/10 in of shim at that point to bring the plate up to the same plane as the high point.
Shim placement tip: I want shims under load paths. That usually means at anchors and near points where studs will stack above. The goal is solid bearing, not a plate that teeters between fasteners.
Option B: Leveling bed
If you are using a leveling compound or nonshrink grout under the sill, your laser becomes your control for how thick that bed needs to be. Follow the product directions and any engineered details, keep your sill elevation consistent, and avoid leaving voids. This approach can be slower, but it can also produce a really clean result when the concrete is rough and you want continuous bearing.
Option C: Plane or grind a high crown
If one section is high enough to force shimming everywhere else, it can be smarter to bring that crown down. On wood, that can mean planing the sill plate. On concrete, that can mean grinding.
Grinding concrete is not a free-for-all. Control silica dust, wear eye and hearing protection, and be mindful of what you are doing to the bearing surface. If you grind so much that you reduce bearing where you should not, you can create a different problem. When in doubt, stop and get direction from the person responsible for the structural details.
Either way, re-shoot the area with the laser afterwards. Do not assume you fixed it until the numbers say you did.
Step 7: Confirm flat, not just level
A rotary laser gives you level relative to your benchmark plane. But “dead flat” also means you do not have abrupt humps and dips from one anchor to the next.
- Run a long straightedge along the top of the sill in suspect areas.
- Spot-check with a 4 ft level for local dips and crowns.
- Re-shoot with the laser at corners and midpoints after everything is tightened.
This is also a great moment to think ahead. If you start with a flat sill, it is dramatically easier to keep your walls square. When it is time to assemble walls, the process in How to Square a Wall Frame Before Standing It gets a whole lot simpler when the base is true.
Common mistakes
Setting the laser where it gets bumped
If the tripod moves 1/8 inch, your whole day just got interesting. Put it out of the line of fire, and if you are grinding or doing work that causes vibration, protect the setup or move it.
Chasing perfect with one nut
Cranking down an anchor can bend a sill plate and create a low spot right next to it. Snug first, then tighten in passes, and stop when you meet the spec for the job.
Using shims that do not belong there
If shimming is allowed for your build, use materials that hold up. Composite or metal shims are predictable and stable. Whatever you use should be acceptable to your local code and compatible with treated lumber and the moisture you can get at a foundation.
Mixing “top of concrete” and “top of gasket”
Decide which surface you are controlling and stick with it. Consistency is what makes the numbers useful.
Troubleshooting
“My numbers are all over the place”
- Make sure the receiver is oriented correctly and clamped tight.
- Keep the rod plumb.
- Shade the receiver if direct sun is washing it out.
- Redo the quick field check if something feels off.
“The foundation is out more than I can shim”
Pause and reassess. There are times to shim, and there are times to correct the bearing surface with grout or a different approved method. If you are working off engineered plans, this is where you stay in your lane and follow the details.
“My sill is level but my walls still fight me”
Level does not guarantee square. Once the sill is dialed, spend the time on layout. If you are building standard stud walls, I have a full breakdown of clean layout practices in Avoid Mistakes Laying Out 16 Inch OC Studs.
My routine on site
- Decide whether I am shooting top of concrete or top of gasket.
- Set the laser once and keep it out of traffic.
- Shoot corners and midpoints, then find the high point.
- Pick a strategy: shim, bed, or remove a crown.
- Set one wall run at a time, tightening anchors slowly in passes.
- Re-shoot after tightening, then straightedge check.
If you get this step right, everything that follows feels like it clicks together instead of being forced. There is a particular kind of satisfaction when your first wall drops onto a sill that is actually flat and it stands there like it belongs.