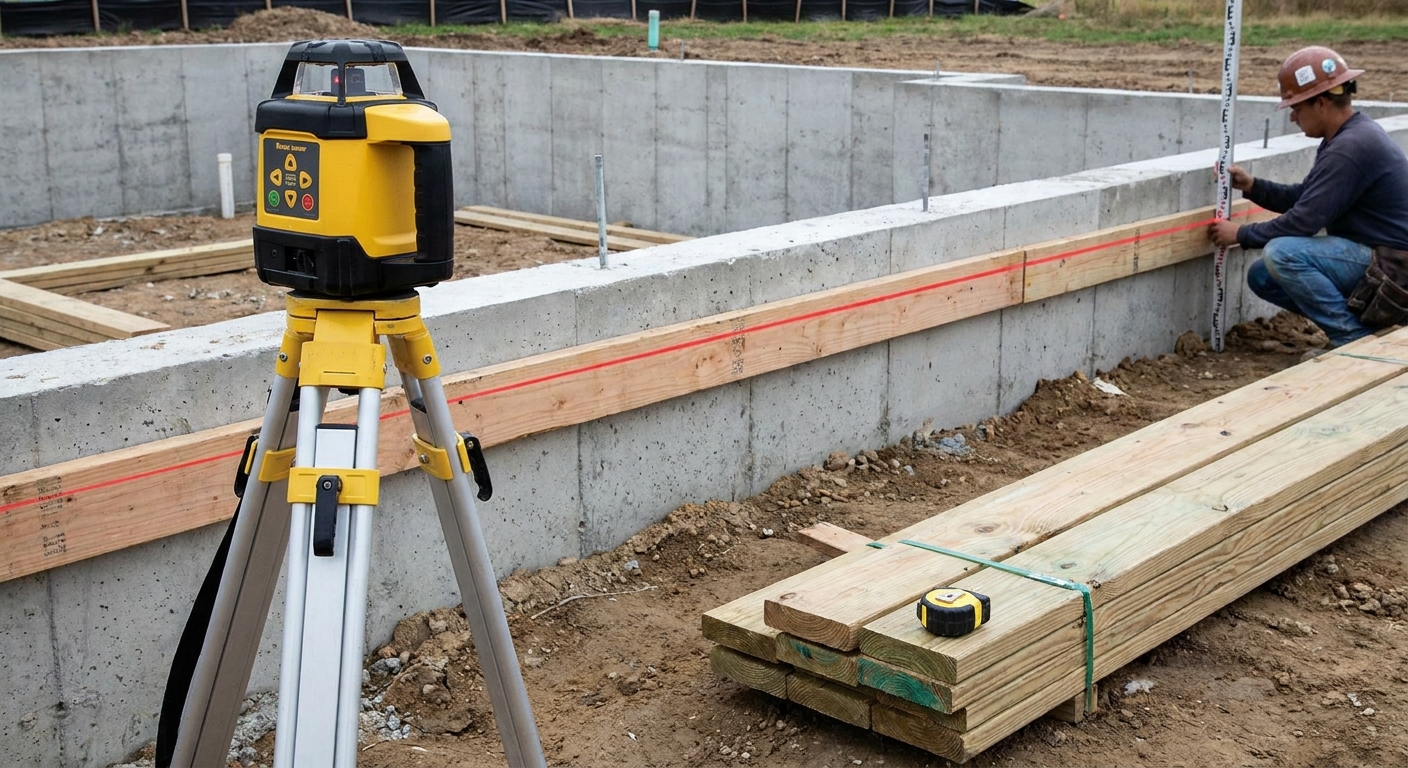
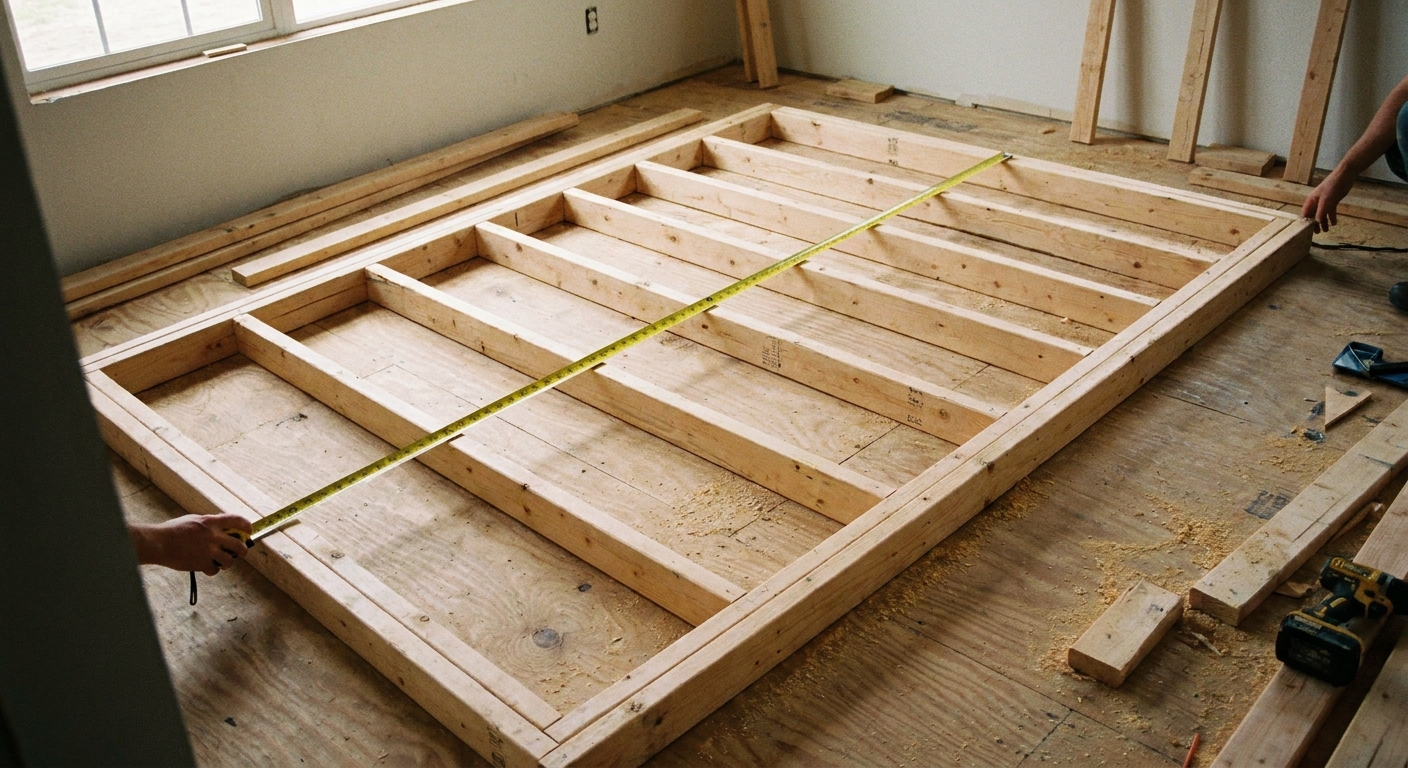
I grew up sweeping sawdust in a little woodshop where the old guys trusted two things without question: sharp pencils and gravity. Years later, after framing in the Pacific Northwest long enough to have my share of sideways rain and afternoon glare, I still keep a plumb bob in the truck even though I own good lasers.
Lasers are fast and they can be incredibly accurate. But job sites are not laboratories. Wind shakes things, sunlight washes out beams, batteries die, and floors are rarely as flat as your laser would like them to be. A plumb bob does one job, and it does it the same way every time, as long as you hang it from something solid.

What each tool does
Plumb bob: gravity is the reference
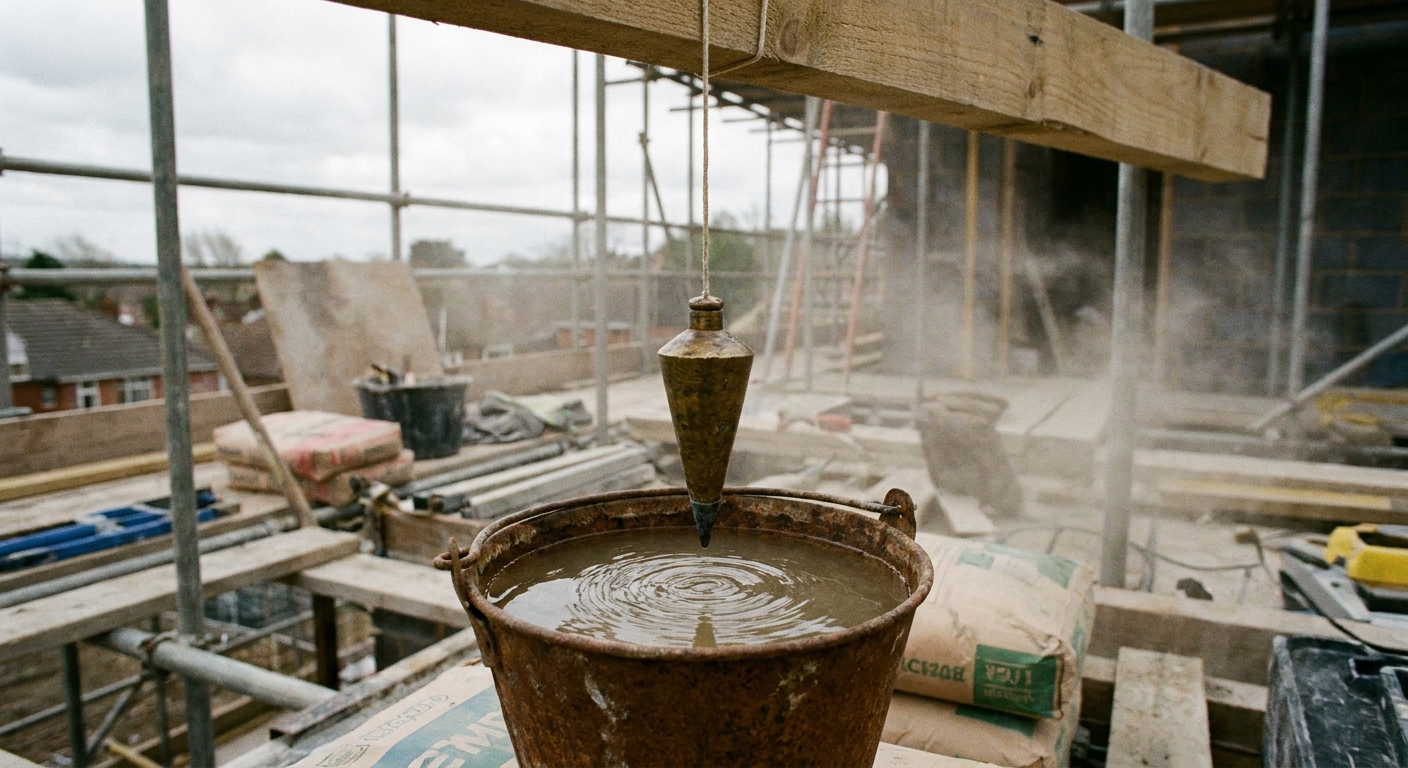
A plumb bob is a weight on a string. Once it settles, the string is a true vertical line referenced to gravity. No calibration to the room and no dependency on the floor.
The one catch is simple: the line is only as true as the point you hang it from. If your nail, clamp, or hook shifts, your reference shifts with it.
Laser level: a projected reference
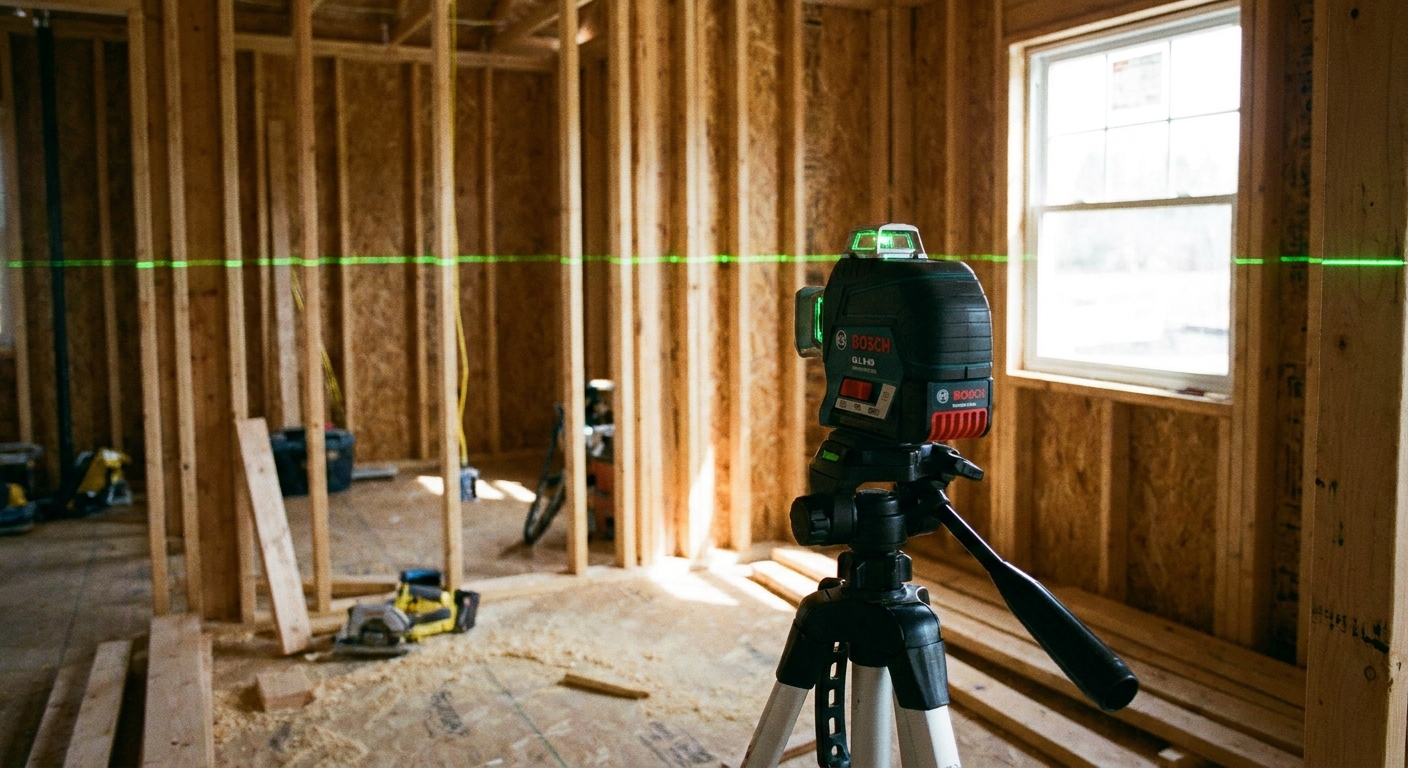
A laser level projects a line or a plane that you can transfer around a space. In framing, that might be a level line for layout, a plumb line for alignment, or a full vertical plane to stack points. Most jobsite units are self-leveling within a small range, which is both a blessing and a gotcha if your setup is sloppy.
Why plumb bobs still matter
1) Bright sunlight can make lasers slower
If you have ever tried to see a red beam across a sunlit slab or an exterior wall in full afternoon glare, you know what I mean. Yes, you can use a detector and a receiver in some situations, but that adds steps, and not every framing task is set up for it.
A plumb bob does not care if it is noon in August. If you can see the string and your mark, you can work.
2) Wind is the real enemy, but you can work around it
People assume wind makes the plumb bob useless. Wind is a problem, but it is manageable. A laser on a tripod can be pushed out of position by a bump, a soft patch of soil, or vibration on a bouncy deck. A plumb bob will swing, and in steady wind it can also try to “sail” instead of settling dead center.
The fix is to help it settle and, when you can, shield it or work in lulls. Two quick methods that work in the field:
- Bottom-in-a-bucket method: let the bob hang into a bucket with a few inches of water. The bob damps fast and stops hunting. Keep the line clean and avoid dripping water where it can stain or mess up finished surfaces.
- String control method: pinch the string lightly against the material with your fingers or a scrap of wood to stop oscillation, then release gently as it settles.
If you do a lot of exterior work, a heavier bob is simply easier to live with. More weight fights flutter.
3) A plumb bob ignores a wonky floor
This is the big one. Lasers reference themselves to level, and that is great, but your results still depend on the laser sitting on something stable. Remodel floors slope. Decks bounce. Subfloors are crowned. Dirt is dirt.
When you need true vertical from a point above, gravity is the clean reference.
4) No batteries and no calibration worry
Lasers are electronics. Even good ones can get knocked out of calibration, and jobsite handling is rarely gentle. Most units have minimal warm-up or stabilization time, but it is still one more thing to wait on.
With a plumb bob, if the string is not frayed and the point is sharp, you are ready.
Plumb bob setup that works
I do not overthink a plumb bob kit, but I do set it up like I want it to read clean and repeatable.
- Bob weight: heavier is better outdoors and on tall drops. Light bobs are fine inside when the air is calm.
- Line choice: mason line reads cleaner and resists stretch better than fuzzy string.
- Top attachment: I like a small screw or nail with a loop of line, or a spring clamp when I need it removable. Whatever you use, make sure it cannot creep while you mark.
When I grab a laser
I am not anti-laser. I reach for a laser first on plenty of tasks because it saves time and reduces cumulative measuring errors.
- Layout lines across multiple rooms or a long run: snapping a chalk line is great, but a laser lets you keep checking as you go.
- Cabinet and blocking height references: consistent level lines make a build feel intentional. Blocking work pairs well with strategic in-wall blocking.
- Setting mud sill heights and checking flatness: lasers shine when you are chasing plane issues over distance. If you are dialing in sill work, see installing mud sills the right way and rotary laser setup for flat sill plates.
- Fast multi-point transfer: if I need to move a reference mark around a space, the laser wins.
One habit that saves headaches: do a quick accuracy check when the laser has been bounced around. The simple version is to shoot a line to a wall, rotate the laser 180 degrees, and see if the line lands in the same place. If it does not, stop trusting it until you sort it out.
When the plumb bob wins
Plumbing a tall wall from a top reference
If I have a second-floor rim line, a beam, or a stringline reference up high and I need to hit a point on the deck below, a plumb bob is dead simple. Hook it, let it settle, mark the point. That mark is directly beneath your reference.
This is also the clearest example of what I mean by “vertical transfer.” You are literally dropping the point straight down, no floor assumptions involved.
Checking one corner that refuses to behave
Sometimes you do not need a glowing line across the room. You need to know if this corner is plumb so you can lock braces and move on. A plumb bob gives you a physical line you can measure off. If you are fighting a wall that is out, it also helps to know how to correct a problem child without rebuilding everything. I keep this one bookmarked: 4 ways to straighten a bowed wall stud.
Exterior work with glare, dust, or rain
In real weather, a plumb bob is often the calmer choice. A laser can still work, but you spend more time protecting it and re-checking that it has not been bumped.
Any time true vertical matters more than matching the room
Remodels are full of conditions where nothing is level, square, or even consistent. A laser can help you impose order, but gravity still defines plumb. If you are straightening or bracing a structure, that difference matters. For example, when dealing with a leaning outbuilding, see 7 steps to plumb and brace a leaning wood framed shed or garage.
Accuracy: common mistakes
A plumb bob is accurate after it settles
The error most folks blame on the tool is usually impatience. If the bob is still moving, you are not reading a plumb line, you are reading a pendulum.
Lasers are accurate, but setup errors are real
Most jobsite lasers are very precise within their rated range, but accuracy in the field depends on habits:
- Stable base: tripod legs planted, not perched on scraps.
- Stay in the self-leveling range: if you are out of range, some units will flash, some will lie quietly depending on model and mode.
- Re-check after disturbances: if someone bumps the tripod, assume nothing and verify.
Best practice: verify, then nail off
Whether it is a bob or a beam, I like a quick sanity check before I lock in permanent bracing. If I am squaring wall sections on the deck, I do that first, then worry about plumb when the wall is up. This workflow is covered in how to square a wall frame before standing it.
My field routine
- Laser for broad layout: establish level references, consistent heights, and long lines early.
- Plumb bob for critical vertical transfers: tall walls, stair openings, and any point that must stack directly above or below another point.
- Lock it in with bracing: once plumb is confirmed, brace hard and do not trust that “it will stay.”
- Re-check after heavy handling: shear, drywall, and even aggressive nailing can pull things around.
Quick picks
| Task | Laser level | Plumb bob |
|---|---|---|
| Layout a level line across multiple rooms | Best choice | Not ideal |
| Transfer a point straight down from a beam or rim | Sometimes | Best choice |
| Exterior framing in bright sun | Can be tricky | Reliable |
| Plumb a single corner with braces | Good | Excellent |
| Working on a bouncy deck or uneven subfloor | Setup sensitive | Unaffected |
| Checking multiple studs quickly | Fast if visible | Slower |
Plumb bob tips
- Sharpen the point: a crisp point makes a crisp mark.
- Carry a small spring clamp: clamp the line at the top so your reference does not creep while you mark.
- Mark offsets instead of trying to touch wood: if the bob is near a surface, measure the gap to the string at top and bottom. Equal gap equals plumb.
- Do not leave it hanging in traffic: a plumb line at face height is a tripwire for eyes, tools, and finished surfaces.
The bottom line
A laser level is a productivity tool. A plumb bob is a truth tool. On a calm interior day, the laser is hard to beat. On a windy deck, in bright sun, or in a remodel where the floor is telling lies, the plumb bob still earns its spot.
If you want one rule to remember on site, it is this: use lasers to spread a reference, and use gravity to prove plumb.