I grew up hearing “measure twice, cut once,” but remodeling taught me a companion rule: make it flat before you make it pretty. Nothing telegraphs through new drywall like a stud with a hard bow. You can shim and float a little with compound, sure, but if the framing is aggressive enough you will fight it forever, especially at seams and around trim.
This is the job site playbook I use when I open a wall and find one troublemaker stud that refuses to live in the same plane as its neighbors. Below are four methods that work in real remodel conditions: planing, kerf cutting, sistering, and strongbacking.
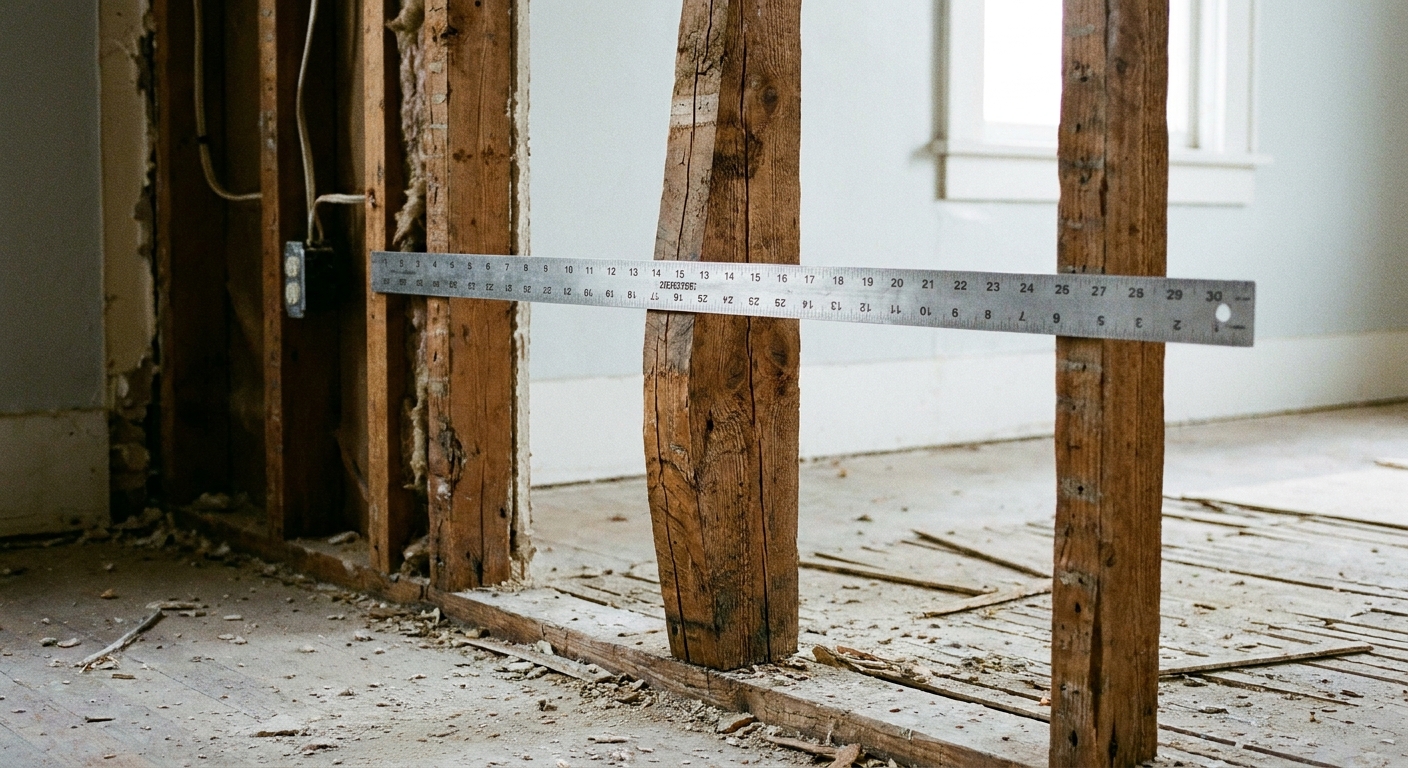
Before you start: check what is bowed
In an older house, it is easy to blame the stud when the real issue is the plate, the floor, or the whole wall leaning. Spend five minutes checking, and you will save an hour of “fixing” the wrong thing.
Quick checks that tell the truth
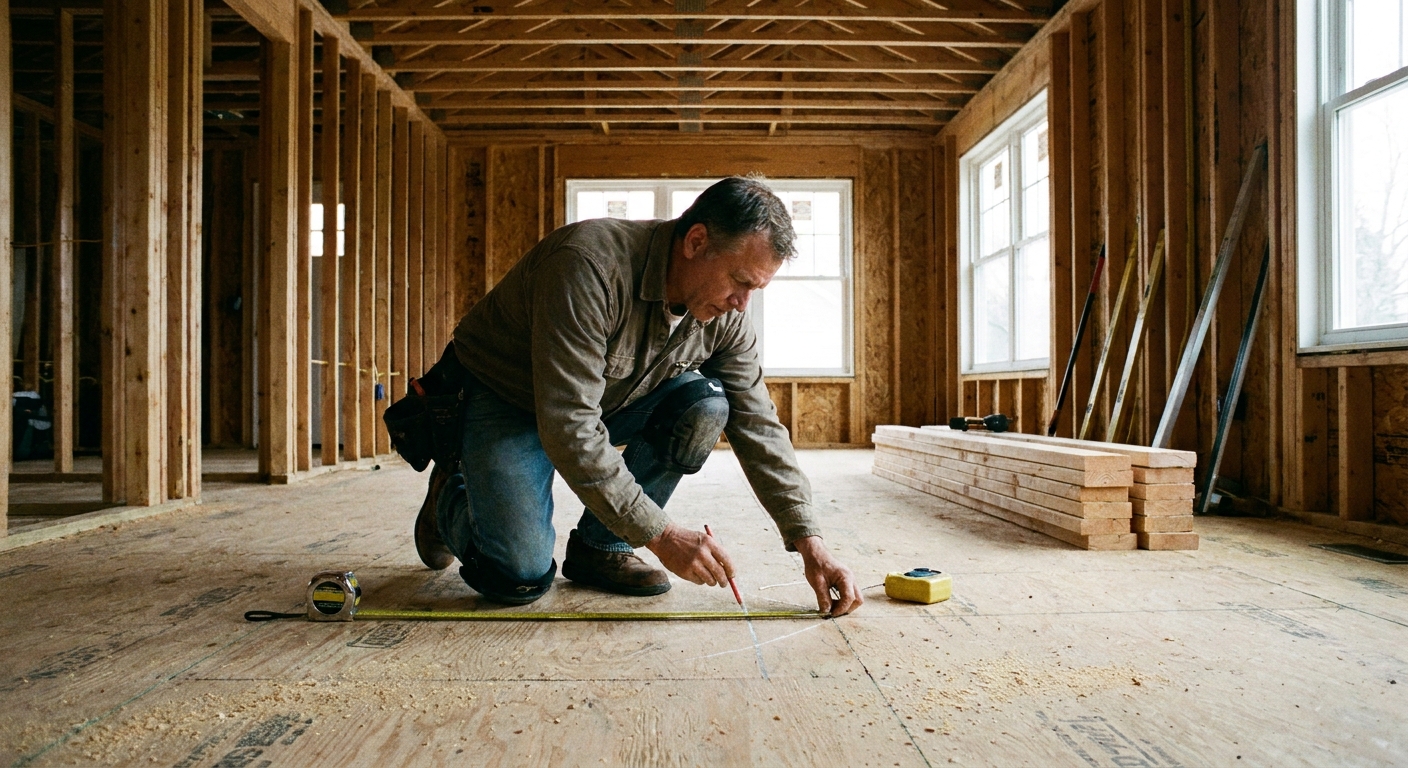
- Use a straightedge across 3 to 5 studs. A 6 ft level, a long aluminum straightedge, or even a dead straight 2x4 works. You are looking for one stud that sticks proud or falls back compared to the rest.
- Identify the direction of the bow. Mark the high spot (proud) and the low side (recessed) with a pencil.
- Check for twist too. A twisted stud will show one edge proud and the other edge recessed. Drywall hates twist even more than bow.
- Confirm it is not structural damage. If you see rot, termite galleries, major cracks, or crushing, treat it like a repair, not a flattening job. This article assumes the stud is sound, just warped.
If you are remodeling a load-bearing wall or altering studs around an opening, read my approach to working carefully in existing structure here: How to Frame a Load-Bearing Wall in a Remodel.
Safety and utilities
Before you cut, plane, or start driving fasteners, look for wires, plumbing, and gas lines in the bay. If you are anywhere near electrical, shut off the circuit and verify it is dead. Most “oops” moments in remodel framing happen because someone assumed the bay was empty.
Method 0: Plane a minor high spot
If a stud is only a little proud, planing is often the cleanest fix. You are not changing the wall thickness, and you are not asking the stud to bend. You are simply knocking down the bump.
Best use cases
- The stud is proud and you only need a small correction.
- The stud is not twisted, or the twist is minor.
- You want a fast fix with no added framing.
How I do it
- Mark the bump. Use your straightedge to find the high spot, then scribble it with pencil so you only remove what matters.
- Take it down gradually. A hand plane, power planer, or even a sharp block plane can work. Sneak up on flat. It is easy to remove wood and impossible to put it back.
- Recheck often. Hit it, check it, repeat. The straightedge is the referee.
If you find yourself planing a trench to chase a big bow, stop and switch to sistering. At some point you are just weakening the stud for no real gain.
Method 1: Kerf cut and push into plane
Kerf cutting is my go-to when a stud is bowed proud and I need to pull its face back flush without thickening the wall. You are basically weakening the back side of the stud so it can bend, then locking it where you want it.
Best use cases
- The stud bows outward (toward you) and you need to pull it back.
- You have access to the stud and at least one side of the bay is open.
- The bow is localized, not a whole wall that is out of plumb.
Tools and materials
- Circular saw or oscillating multi-tool
- Drill or impact driver
- Construction adhesive (optional but helpful)
- 16d nails or rated structural screws (avoid drywall screws and typical deck screws)
- Clamps or a temporary brace block
Step-by-step
- Mark the high spot (crown) and the correction zone. Find the proud area with your straightedge and mark a 12 in to 24 in zone centered on the worst spot.
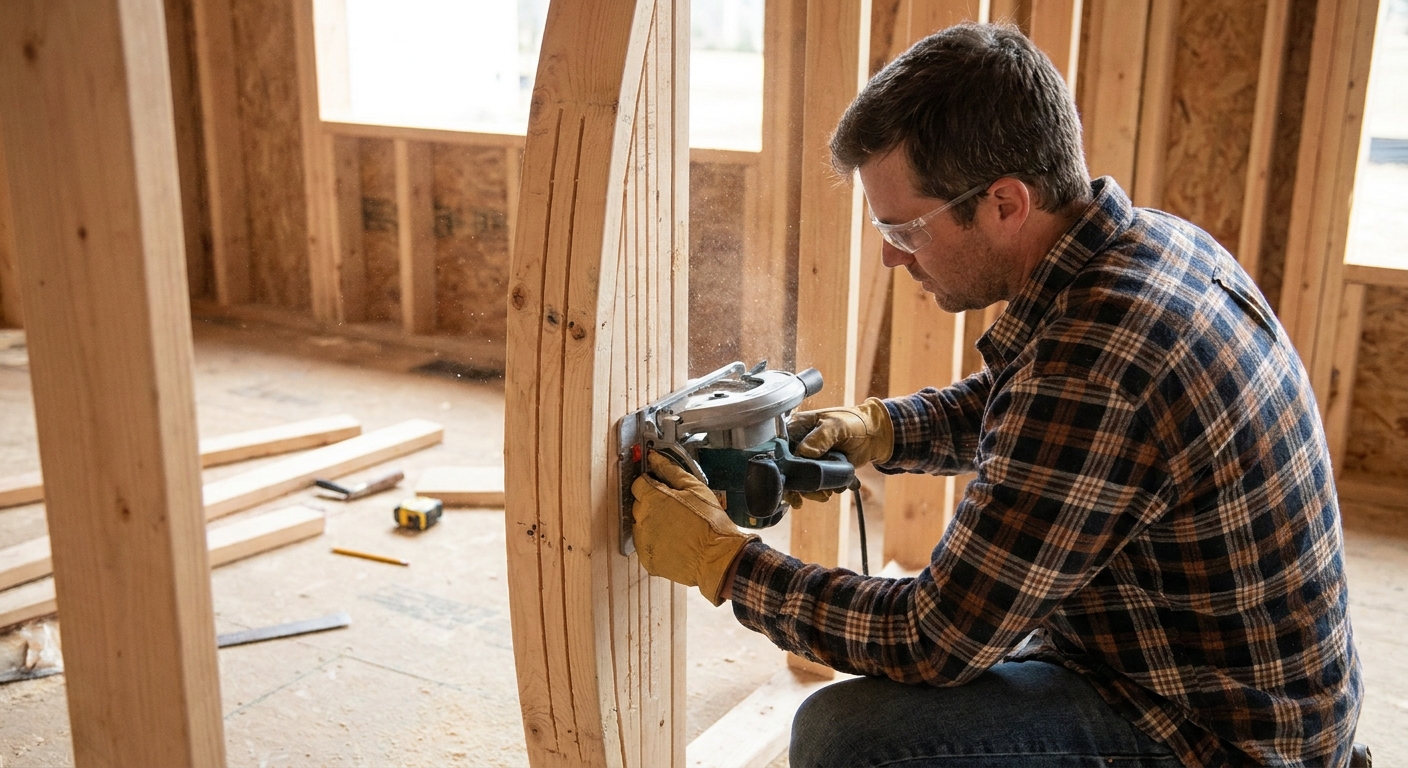
- Kerf the back side of the stud. On the side opposite the drywall face, cut a series of kerfs across the stud width in the marked zone. Start conservative. I like multiple shallow kerfs instead of one deep “hinge” cut. As a rule of thumb, a handful of kerfs spaced roughly 1/2 in to 1 in apart in that zone is plenty to start.
- Do not cut through. Leave plenty of meat. If you cut too deep, you create a weak point that can split when you fasten or when the building moves seasonally.
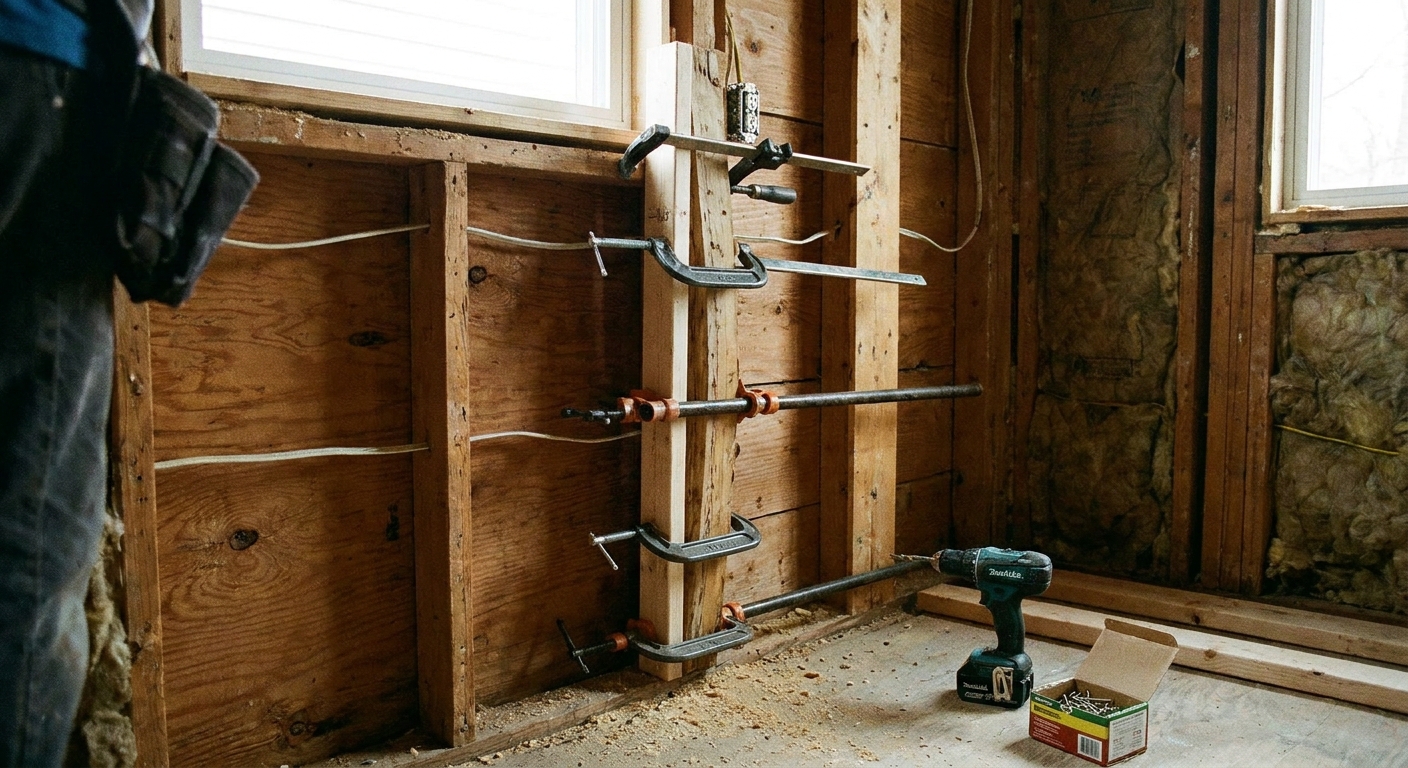
- Push the stud into plane. Use a straightedge across neighboring studs and physically push the bowed stud back. A clamp and a scrap block as a strong point can help, or a temporary brace screwed to adjacent studs.
- Lock it in place. Drive fasteners so the stud cannot spring back. Depending on the situation, that can mean screws into blocking behind the stud, short blocks added behind it, or a sister alongside it. A bead of adhesive in the kerfs can reduce spring-back, but mechanical fastening is what counts.
Kerf cutting cautions
- Avoid kerfing near critical connections. Stay away from top and bottom plate joints, hold-down areas, and studs supporting headers unless you know the load path and have a plan.
- Do not compromise fire blocking. Kerfs themselves usually are not the fireblocking issue. The real problem is when you have to remove existing fire blocking to do the work, or you create gaps where fire blocking needs to be continuous. If you had to cut out a fire block, restore it when you are done. For a refresher, see Fire Blocking in Residential Framing.
- Expect some memory. Wood likes to return to its warp. The more aggressive the bow, the more important it is to add blocking or a sister to keep it honest.
Method 2: Sister a straight stud
Sistering is the most reliable way to deal with a truly ugly stud. Instead of trying to convince the warped member to behave, you install a new, straight piece alongside it and make the new piece your drywall fastening surface.
Best use cases
- The stud is badly bowed, twisted, or both.
- You have room to add thickness (usually fine on an interior partition wall).
- You want a fix that stays put long-term with minimal fuss.
What to sister with
- Another kiln-dried 2x4 is typical. Pick the straightest one you can and check for twist before cutting.
- Engineered straight stock (like an LVL rip) can be great when you need dead-straight, but it is often overkill for a single stud in a partition wall.
Fasteners that will not bite you later
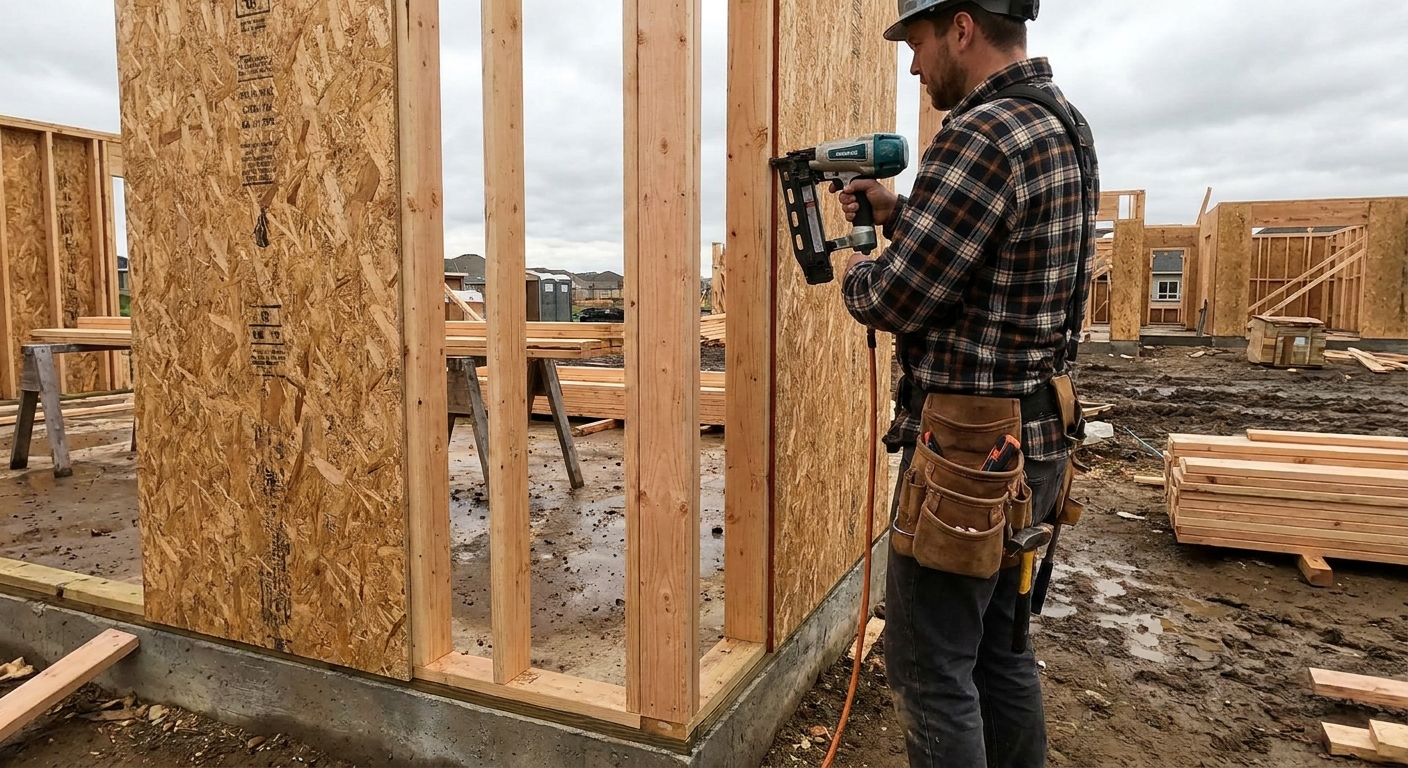
If you are using screws, use rated structural wood screws (the kind sold for framing and ledger work), not drywall screws and not generic deck screws. Nails are also fine if you can swing a hammer or have a framing nailer. The goal is a fastener that is designed for wood-to-wood structural use.
Step-by-step
- Pick the straightest stock in the pile. Sight down it like you are checking a rifle barrel. Reject anything with twist.
- Cut it to fit tight between plates. A snug fit helps keep it from creeping later.
- Set it in plane. Hold your straightedge across the wall and position the sister so its face lands flush with neighboring studs.
- Fasten like you mean it. I like a bead of construction adhesive and then nails or structural screws every 12 in to 16 in, alternating high and low. If the old stud is badly bowed, you may need clamps to pull the sister tight while you fasten.
- Keep your layout honest. Make sure your drywall edges still land on solid framing where they should. If you are changing where backing lands, add blocking so you do not create a new problem.
- Handle electrical box depth. If there is a box nailed to the warped stud, you may need to move it, shim it, or use a box extender so the device ends up flush with the finished drywall.
Common sistering mistake
Homeowners often sister a stud but forget to keep the face aligned with the rest of the wall. If you sister and the new stud ends up proud, you just moved the problem. Keep checking with a straightedge as you fasten, not after.
Method 3: Strongback a run of studs
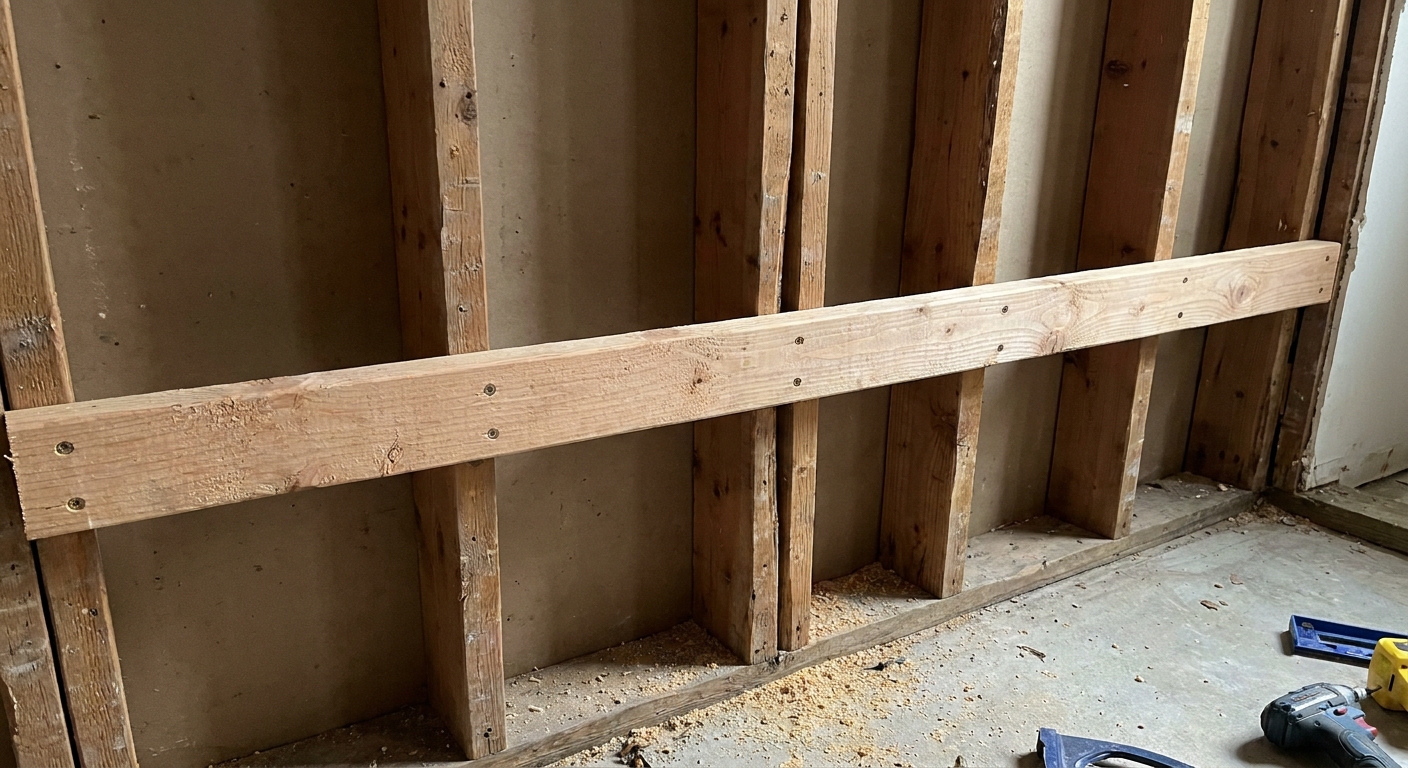
Strongbacking is what I reach for when it is not just one stud. Sometimes you open a wall and find a whole section that waves in and out like it was framed on a Friday afternoon. In wall work, I use “strongback” to mean a stiff, straight rail or cleat that forces multiple studs into the same plane.
Best use cases
- Several studs are proud or recessed in the same area.
- You are hanging drywall and want one consistent plane for fastening.
- You want extra stiffness in a partition wall that will take abuse.
Two solid ways to strongback
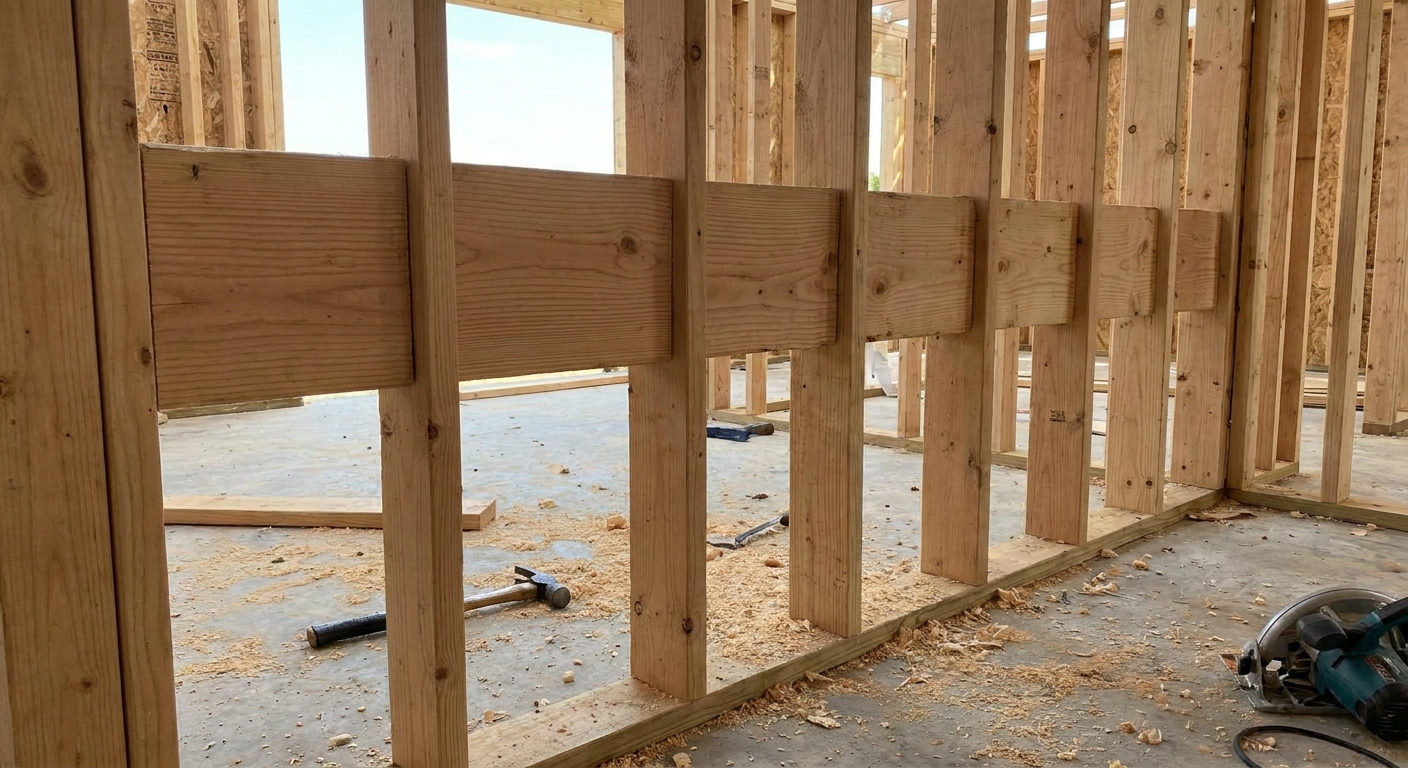
- Horizontal rail (blocking line): Run a straight 2x4 or 2x3 horizontally across the stud faces in the problem zone, then pull each stud to it with fasteners.
- Vertical rail: Fasten a long, straight member vertically over a few stud faces to bridge a bad area, then use it as the drywall plane.
Step-by-step (horizontal rail)
- Decide where it matters most. For drywall, the most sensitive zones are seams, corners, and where cabinets or trim will land.
- Establish the plane. Use your straightedge to find the “average” plane based on the majority of studs, then mark it.
- Install the rail dead straight and well-fastened. Pick your straightest 2x. Fasten it securely to multiple studs so it cannot bend to match the wall. If the rail is not straight and stiff, it will just follow the problem instead of fixing it.
- Bring studs to the rail. Where a stud is recessed, shim behind the rail at that stud location. Where a stud is proud, do not count on screws alone to bully it into place. Plane the high spot, kerf it, or sister it, then fasten it to the rail.
- Confirm drywall backing. If the rail changes your fastening pattern, make sure drywall edges still have solid backing where they land.
Why this works
Drywall does not care if the stud is “straight” in isolation. It cares if the wall plane is flat. A straight, stiff rail turns a handful of imperfect studs into one surface that behaves like a flat wall.
Which method should you use?
If you are staring at one ugly stud and wondering what is smartest, here is how I decide.
- Slight proud spot: Plane it.
- Minor to moderate proud bow: Kerf cut it and lock it in plane.
- Severe bow or twist on a single stud: Sister a straight stud and be done with it.
- Multiple studs are out of plane: Strongback the run, then spot-fix the worst offenders.
And sometimes the real answer is: replace the stud. If it is cracked, compromised, or hacked up with bad notches, do not gamble. For examples of when reinforcement is the safer move, see Structural First Aid for Over-Notched Studs and Joists.
Drywall prep that makes it stick
A practical flatness target
In finish areas, my rule of thumb is to aim for about 1/8 in or less of variation over 4 ft, and tighter wherever a drywall seam, tile, or straight trim run will land. You can get away with more in a garage. You will see less in textured walls. But in raking light, even small humps can show.
Recheck flatness the way drywall will see it
After your fix, run a straightedge across the studs again at multiple heights. Then do one more check: hold the straightedge where drywall seams will land. A wall can look “pretty good” and still telegraph a ridge right at a seam.
Address squeaks and movement while it is open
If your remodel includes flooring or you have access to framing connections, eliminate movement now. Movement makes cracks. My approach to quiet, solid assemblies is here: Prevent Floor Squeaks Before the Subfloor Goes Down.
Do not create a new corner problem
When you flatten studs near an inside corner, be mindful of drywall backing and insulation space. Corner framing choices matter. If you are rebuilding corners during a remodel, this breakdown helps: California Corners vs Solid Corners.
FAQ
Can I just plane the stud instead of kerfing or sistering?
If the stud is proud and you only need to remove a little, planing works great. For an aggressively bowed stud, planing often turns into a deep trench that weakens the stud and still might not fully correct twist. In those cases, sistering is usually faster and cleaner.
Will kerf cutting weaken the wall?
Yes, it can. That is why I keep kerfs conservative and avoid critical areas. If you suspect the stud is carrying significant load, sistering is the safer route because you are adding strength, not subtracting it.
How flat does the wall need to be for drywall?
Flatter than you think, especially in raking light. As a workable target, try for about 1/8 in or less over 4 ft in the areas you care about most. If your straightedge rocks on one stud or you see daylight at another, fix it now. Your future self with a drywall knife will thank you.