I grew up sweeping sawdust in a little woodshop where the rule was simple: measure twice, cut once. Corner framing feels like it lives under that same rule. If you lock yourself into a solid, overbuilt corner early, you pay for it later with cold spots, fussy drywall, and wasted lumber. If you get too clever, you can end up short on backing or fighting layout when it is time to stand walls.
Two corner styles show up on job sites constantly: the traditional solid corner (often a three stud or even four stud build-up) and the California corner (an energy corner detail that leaves an open pocket so insulation can actually reach the corner). Both can be framed well, both can be framed poorly. Let’s talk about what each one really does for structure, cost, and insulation.
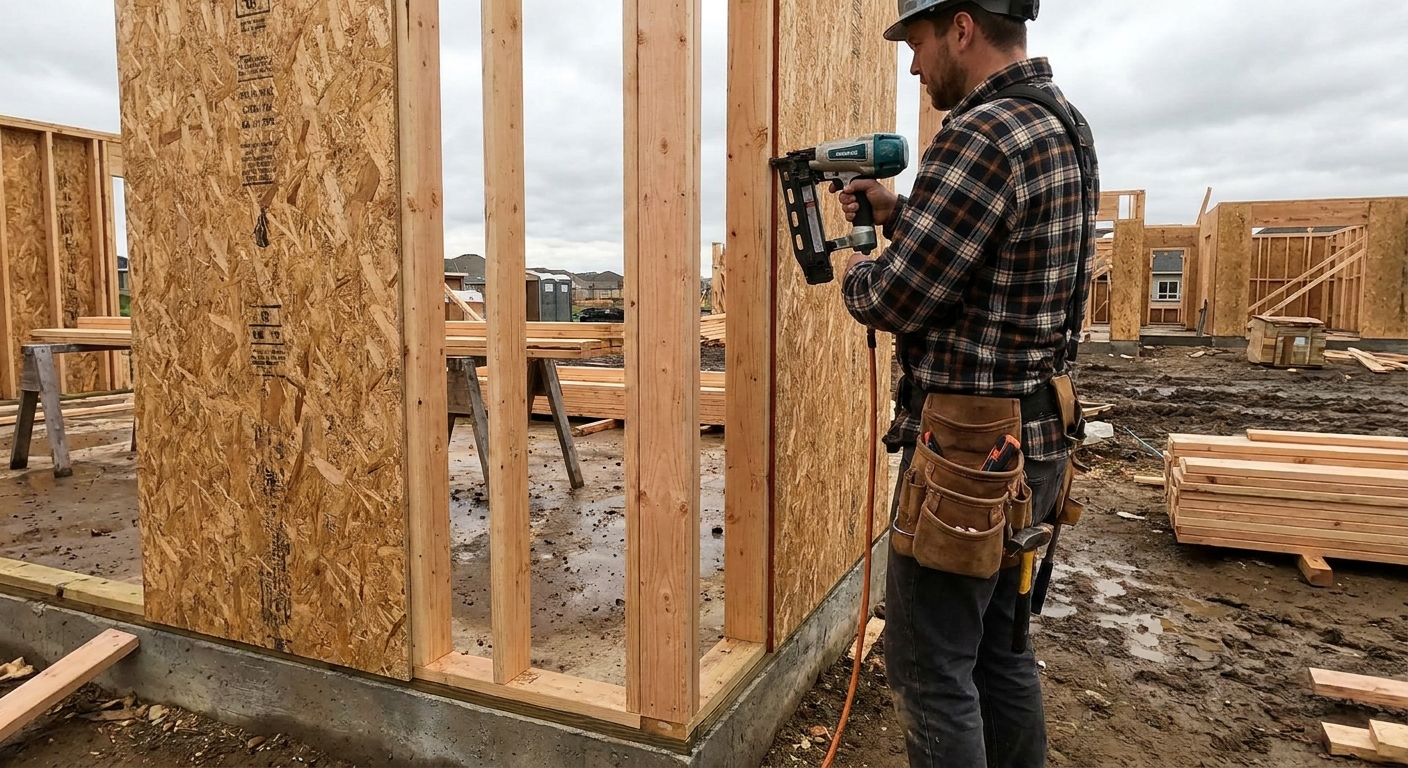
What each corner is
Traditional solid corner
When most people say “solid corner,” they mean a corner built by stacking studs tight together so the exterior corner is basically a block of wood. The classic version is three studs at the corner: one full corner stud for each intersecting wall, plus a third stud added to create drywall backing. Some crews build even heavier corners depending on habit or a misunderstanding that more wood automatically equals more strength.
California corner
A California corner is a corner layout that preserves a reachable cavity at the inside of the corner. In the field, it is commonly framed with three studs, but it can also be done with fewer members using drywall clips, ladder blocking, or other backing methods depending on local practice and what your drywall crew expects.
The key idea is not a magic stud count. It is access for insulation and air sealing without giving up drywall fastening.
Structure: where it matters
Corner framing feels structural because it is literally at the edge of the building, but most of the heavy lifting in a typical exterior wall is handled by:
- Sheathing (racking resistance when nailed properly)
- Hold-downs and braced wall lines (where required)
- Headers, studs, and load paths (vertical loads)
- Connections (nailing schedule, straps, anchors)
A solid corner does not automatically make a wall “stronger” in a meaningful, engineered way for typical residential framing. If your sheathing and nailing pattern are right, a California corner does not automatically weaken the building either.
That said, corner build-up can absolutely matter when the plans call out a specific nailing edge, shear transfer detail, strap, hold-down, or an engineered shear wall condition. In those cases, do not freestyle the corner. Build it the way the plans and local requirements spell it out.
If you are working in a remodel and you are unsure what is load-bearing, start with my walkthrough here: How to Frame a Load-Bearing Wall in a Remodel.
Insulation and comfort
In the Pacific Northwest, I can feel a poorly insulated corner in winter. Stand near an exterior corner on a cold day and you will often find a cold stripe running right up the drywall. Sometimes that is thermal bridging and an insulation void at the corner. Sometimes it is air leakage at plates, sheathing joints, or the intersection itself. Most of the time, it is a mix of both.
What a solid corner does
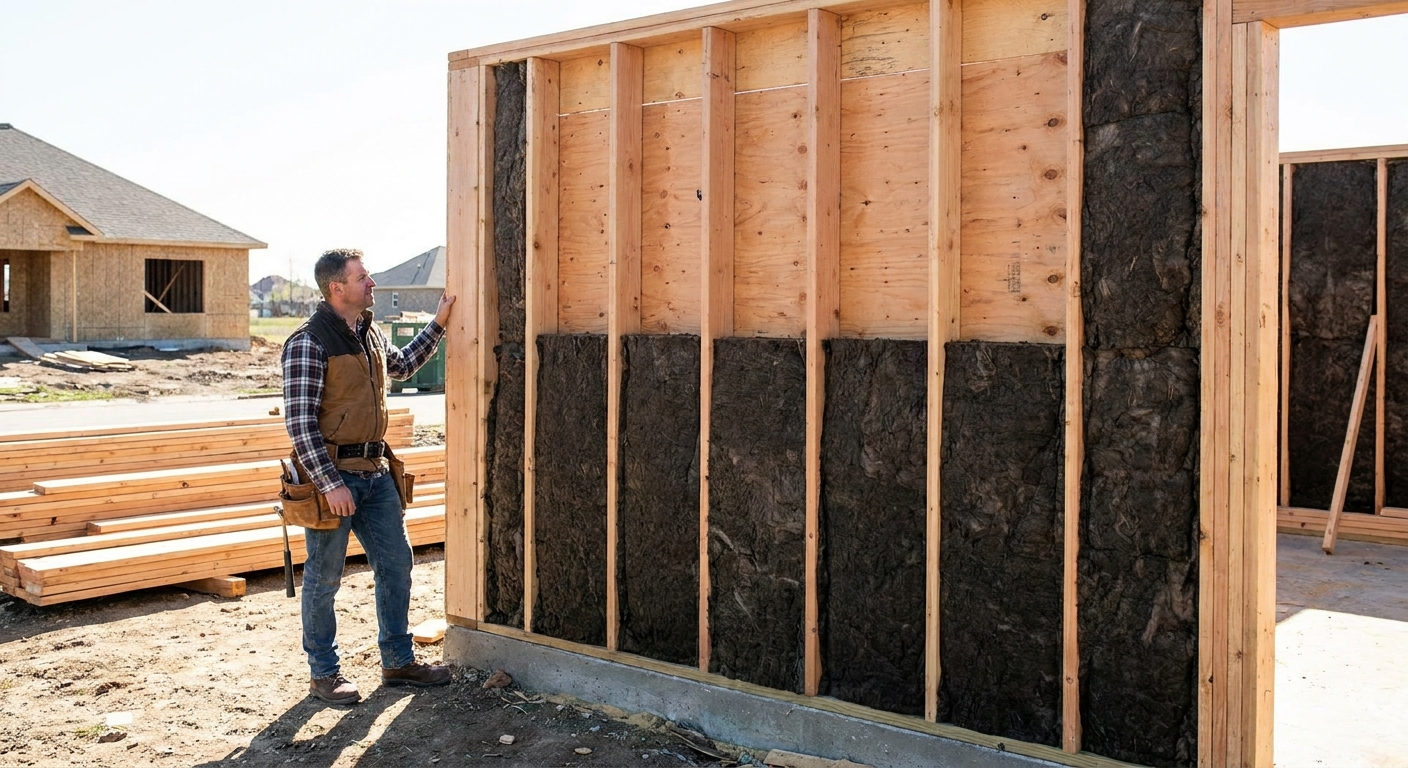
- Creates a wood block that insulation cannot fill
- Invites sloppy insulation installs, especially batts
- Gives you more thermal bridging than you need
- Makes air sealing harder because you cannot reach the inside corner cavity
What a California corner improves
- Leaves a reachable cavity that can be insulated
- Improves continuity of insulation to the edge of the building
- Makes it easier to foam or caulk the corner from the interior
- Typically reduces lumber while keeping drywall backing
If your goal is a tighter, warmer house with fewer complaints about cold corners, California corners are one of those small details that add up.
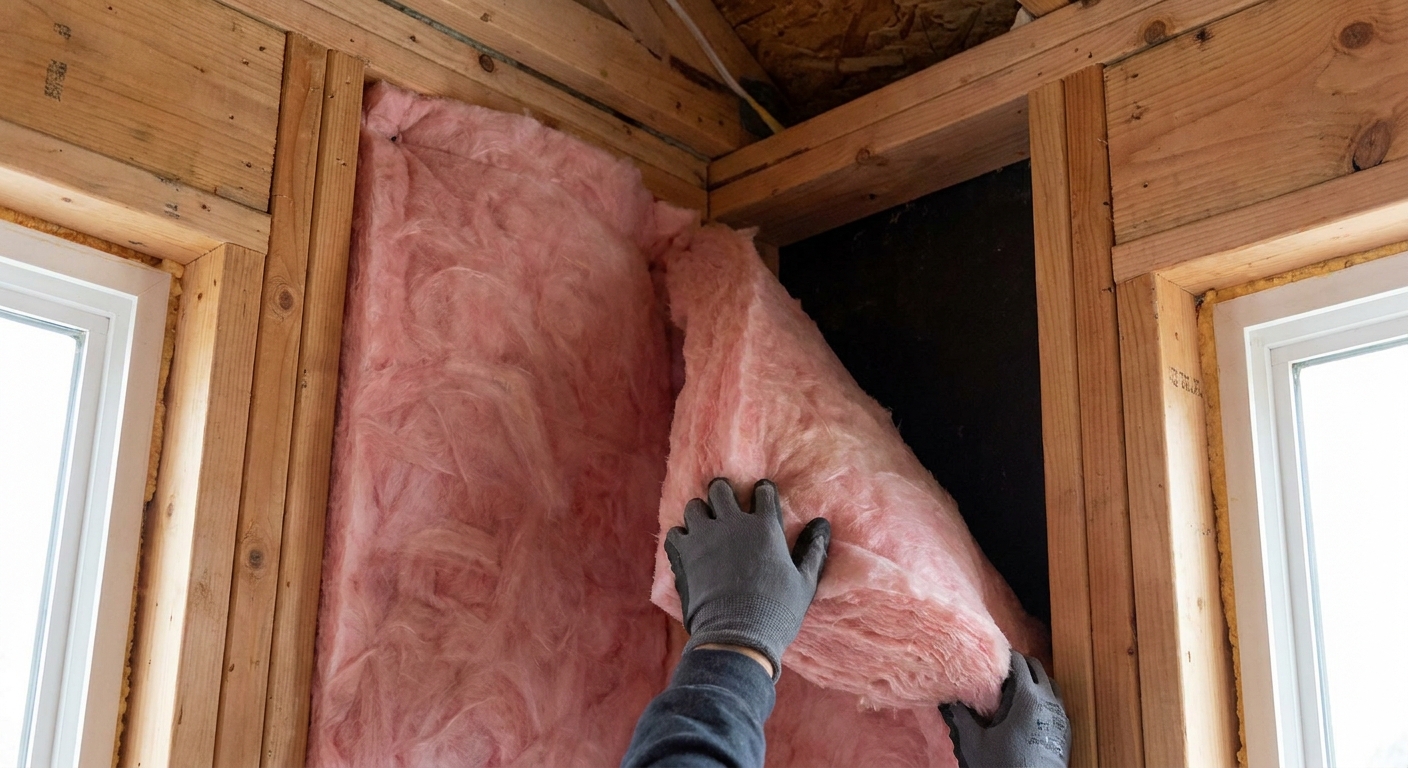
Air sealing and timing
If you want corners to perform, the timing matters. I like to think about it in three passes:
- Before the wall is stood: look for obvious gaps at plates, corners, and tie-ins. Fix the easy stuff while everything is flat.
- After sheathing is on: pay attention to sheathing-to-plate joints and any big misses you can still reach.
- Before insulation: seal plate lines and corner pockets from the interior so the insulator is not trying to work around drafts.
A California corner makes that last step easier because you can actually reach the pocket.
Cost and materials
On paper, the cost difference per corner looks small. In practice, it shows up across a whole house in three places:
- Lumber count: solid corners often waste studs that do not add function
- Labor: extra studs still need to be cut, crowned, placed, and nailed
- Downstream trades: insulation and drywall go faster when corners are accessible and backed correctly
California corners tend to be a little more intentional to lay out, especially for newer framers, but once your crew knows the pattern it is just as fast and usually faster because you are not wrestling tight packs of lumber.
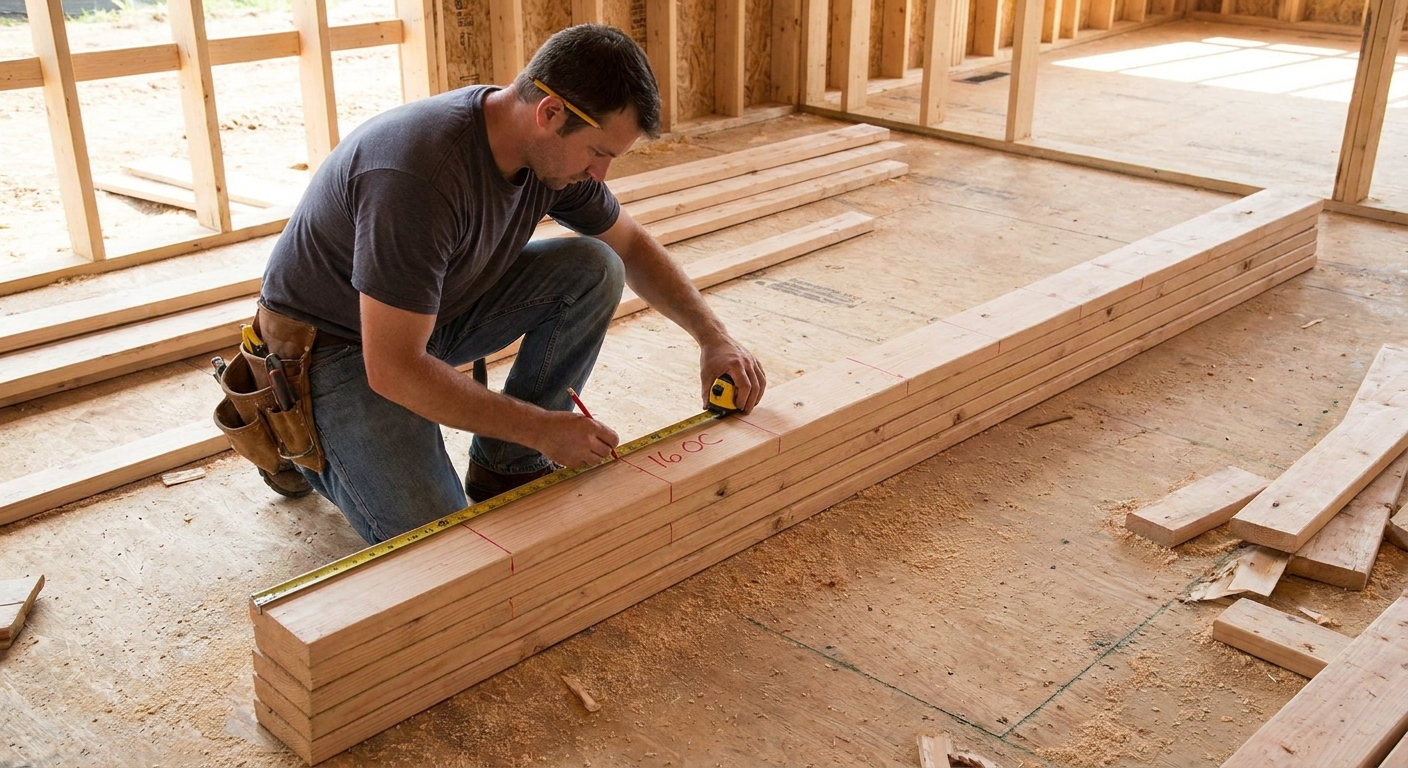
If you want to keep your whole framing package efficient, I’m a big believer in planning the material flow before you ever load the cart. This is the same mindset I use when I build a cut list: Make a Cut List Before Buying Wood.
Drywall backing
Most corner arguments are really drywall arguments.
A traditional solid corner guarantees a fat nailing surface for drywall. That is why it became the default for so long. The problem is it guarantees an insulation dead zone too.
A California corner is designed to keep drywall happy without creating that dead zone, but only if you give drywall something to land on at the inside corner. You have a few clean options:
- Use a turned backing stud positioned to catch the inside edge of the intersecting wall’s drywall.
- Use drywall clips where allowed and where your drywall crew is comfortable using them.
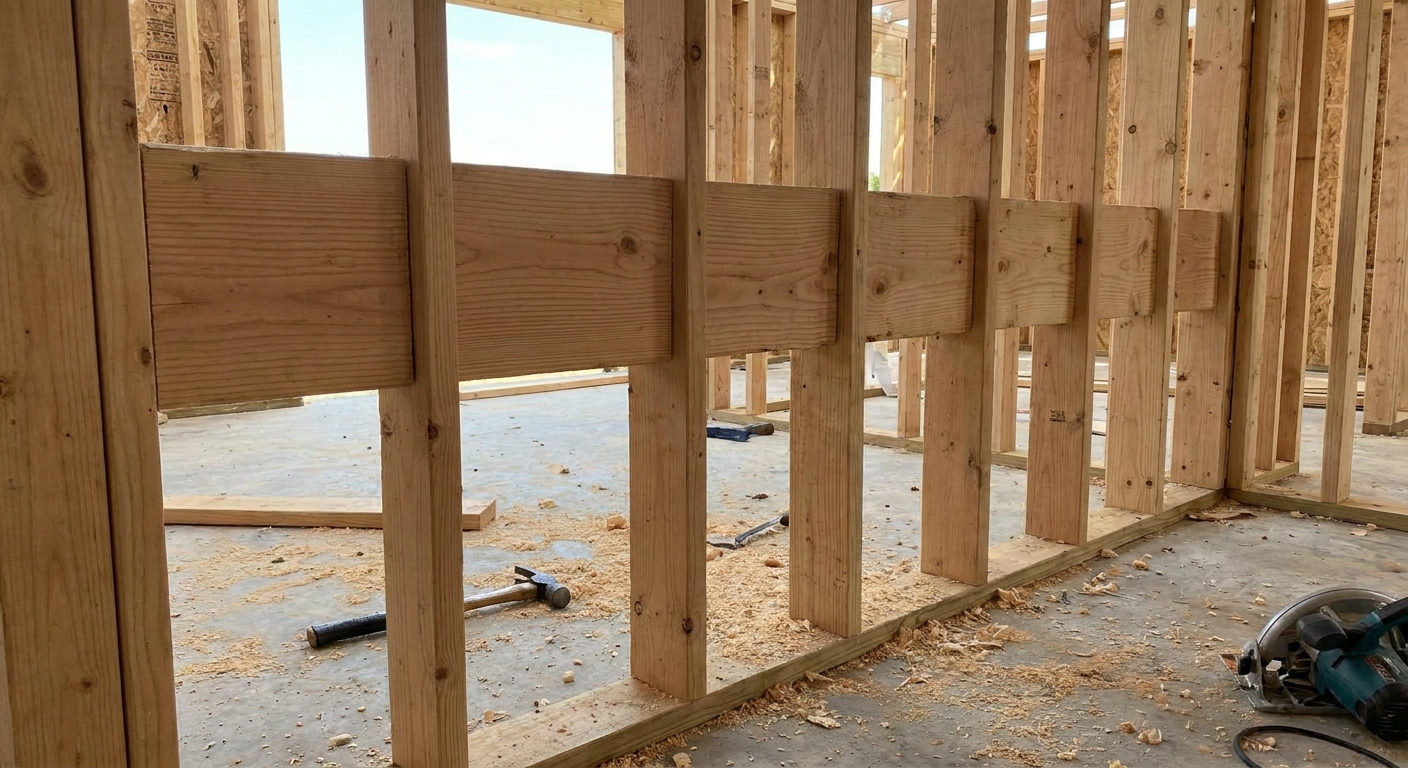
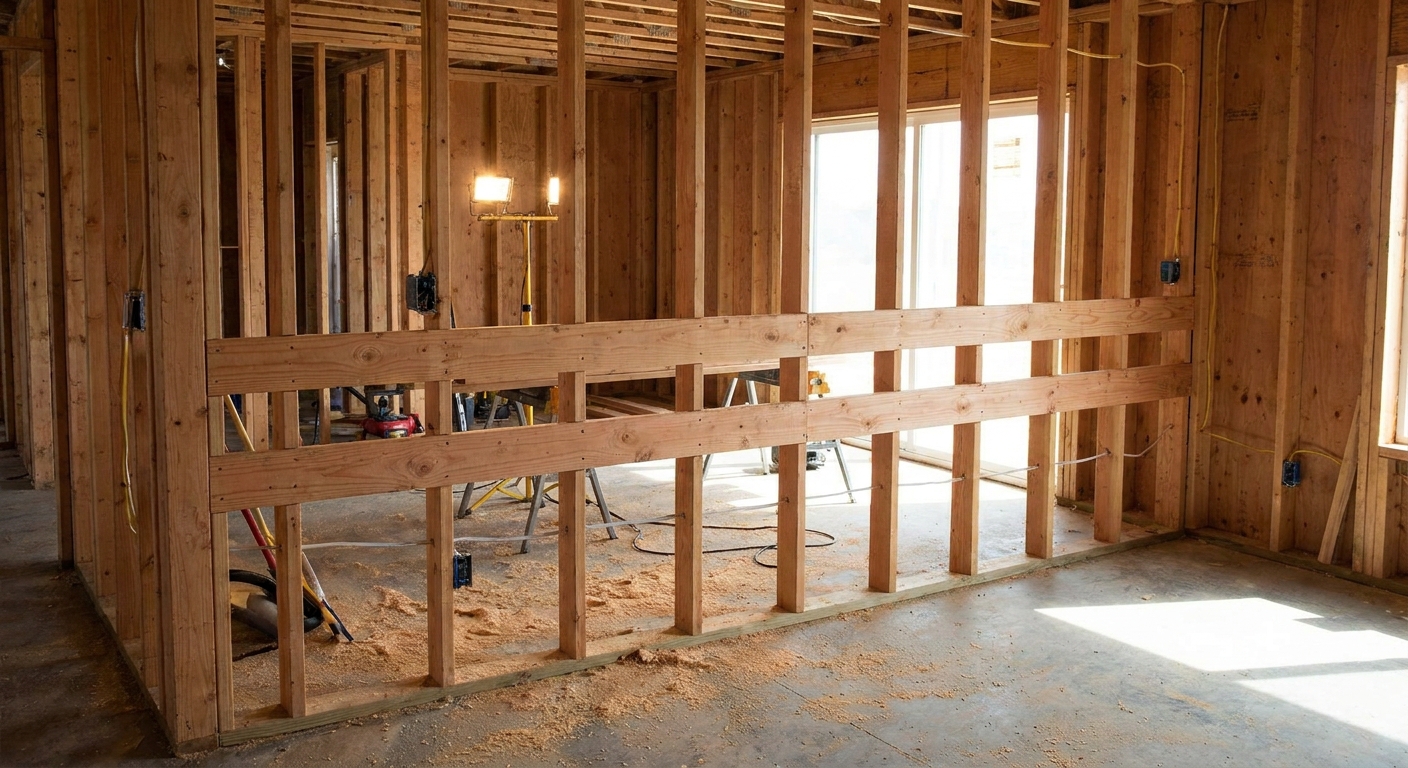
- Use ladder blocking to provide backing at the intersecting wall, especially near top plates and ceiling edges.
My field test is simple: before you stand the wall, look at the inside corner and ask, “If I was hanging drywall tomorrow, what would I screw to?” If the answer is “hope,” fix it now.
Frame a California corner
There are a few variations, but the layout goal stays the same: think of one stud as the corner post, one stud as the end of the intersecting wall, and then add backing in a way that leaves an insulation pocket open toward the interior.
Here is a reliable job-site method that works well with typical 2x4 or 2x6 exterior walls:
- Pick your through-wall and butt-wall. Decide which wall runs through the corner and which wall dies into it, so your backing ends up on the side where drywall needs it.
- Set your main corner stud on the outside corner line like normal.
- Set the intersecting wall’s end stud so it forms the L of the corner, leaving an opening toward the interior.
- Add backing with a third stud turned into the corner, or use ladder blocking or drywall clips depending on your detail. The goal is backing, not filling the whole corner.
- Check the cavity from the interior side. You should see a clear pocket that can be insulated all the way into the corner.
If you are building multiple walls flat on deck, keep your corner pattern consistent. Consistency is speed.
Frame a solid corner
If you decide to run a solid corner, build it clean and square and do not overdo it:
- Frame the L with the two required studs for the two walls.
- Add one backing stud to give drywall a nailing surface.
- Stop there unless plans or engineering call for more material for a specific nailing edge, strap, shear transfer, or hold-down condition.
If you do frame a solid corner, it is worth taking a minute to improve its performance by air sealing what you can reach and using care with insulation around the area. It will never insulate like an open corner, but you can avoid the worst of the cold-spot problem.
Fire blocking and inspections
Corners and wall intersections can also get attention from inspectors for draft stopping and fire blocking, especially when you create concealed spaces or odd chases. A California corner does not automatically fail anything, but you do want to make sure your corner detail does not create an unintended air path that is hard to block later. If your jurisdiction is strict on this, build to the local detail and keep your blocking and sealing plan in mind before you start stacking studs.
Which one to use
Choose a California corner when
- You are framing exterior walls and want better insulation coverage
- You are trying to reduce thermal bridging
- You want to make the insulator’s job easier and more consistent
- You still want dependable drywall backing without extra lumber packs
Choose a solid corner when
- Your plans detail a specific corner build-up for a braced panel, strap, shear wall nailing edge, or hold-down
- You are matching existing framing in a remodel where drywall tie-in demands it
- A particular inspection or local practice requires a specific backing approach and you cannot get clarity ahead of time
If you are building new, my default is the California corner. It is one of those small upgrades that costs you almost nothing and pays you back every winter.
Common mistakes
- No drywall backing: A corner that insulates great but leaves drywall floating is not a win.
- Overpacked lumber: Extra studs that do nothing but block insulation and burn budget.
- Backing on the wrong side: Decide which wall runs through and which butts in, or you will miss the drywall edge you meant to catch.
- Bad crowns and twists: Corners telegraph mistakes. Pick straight stock.
- Out of square walls: Corners highlight a wall that is racked. If you need a refresher on squaring before you stand, this is my go-to: How to Square a Wall Frame Before Standing It.
- Ignoring the air seal: Even a perfect corner detail performs poorly if you leave big gaps at plates, sheathing seams, or penetrations.
Quick comparison
| Factor | California corner | Traditional solid corner |
|---|---|---|
| Insulation access | Excellent, open pocket to fill | Poor, cavity often blocked |
| Thermal bridging | Less wood at the corner | More wood concentrated at the corner |
| Drywall backing | Good if framed intentionally | Typically very good |
| Material cost | Often slightly lower | Often higher due to extra studs |
| Ease for beginners | Moderate, must visualize backing | Simple, hard to miss backing |
| Best use | Most new exterior wall work | Specific plan requirements or match existing |
FAQ
Are California corners code approved?
In typical residential framing, yes, California corners are widely used and accepted. Code compliance is really about meeting the required structural bracing and connection details, providing proper drywall backing, and meeting any local draft stopping or fire blocking requirements. If your plan set calls out a corner condition, follow the plans.
Do California corners reduce strength?
Not in a practical way for standard exterior walls when the wall system is built correctly. Your sheathing, nailing schedule, and braced wall requirements matter far more than stuffing extra studs into a corner. When an engineered shear wall or specific nailing edge is specified at a corner, build that corner to the detail.
What about 2x6 walls?
California corners work great with 2x6 walls, and the insulation benefit is even more valuable because you are trying to preserve that thicker insulation envelope all the way to the corner.
Can I fix a solid corner after the wall is up?
Not easily. That is why I treat corner choice as a planning decision, not a trim detail. Once it is sheathed and stood, you are basically committed unless you want to open things up again.
My bottom line
If you care about a warmer, tighter house, use California corners for exterior walls and do them consistently. Keep the backing honest, keep the insulation pocket open, and you get a corner that works for structure, drywall, and comfort. Save the fully solid corner for the moments when the plans, the remodel tie-in, or a specific connection detail truly demands it.
For more framing fundamentals, start with the site guide here: Framing Guide.