

I grew up sweeping sawdust off a shop floor where the old guys treated lumber like it was gold. Years later, framing houses in the Pacific Northwest, I finally understood why. Wood is expensive, yes, but the real cost is what happens when we bury too much of it in the walls: extra thermal bridging, crowded cavities that are hard to insulate well, and a whole lot of waste in the scrap pile.
Optimum Value Engineering, usually shortened to OVE or “advanced framing,” is the job site version of don’t frame what you don’t need. The idea is simple: put wood only where it carries load or provides a fastening surface, and let insulation do its job everywhere else. Done right, you spend less on lumber and end up with a tighter, warmer building shell.
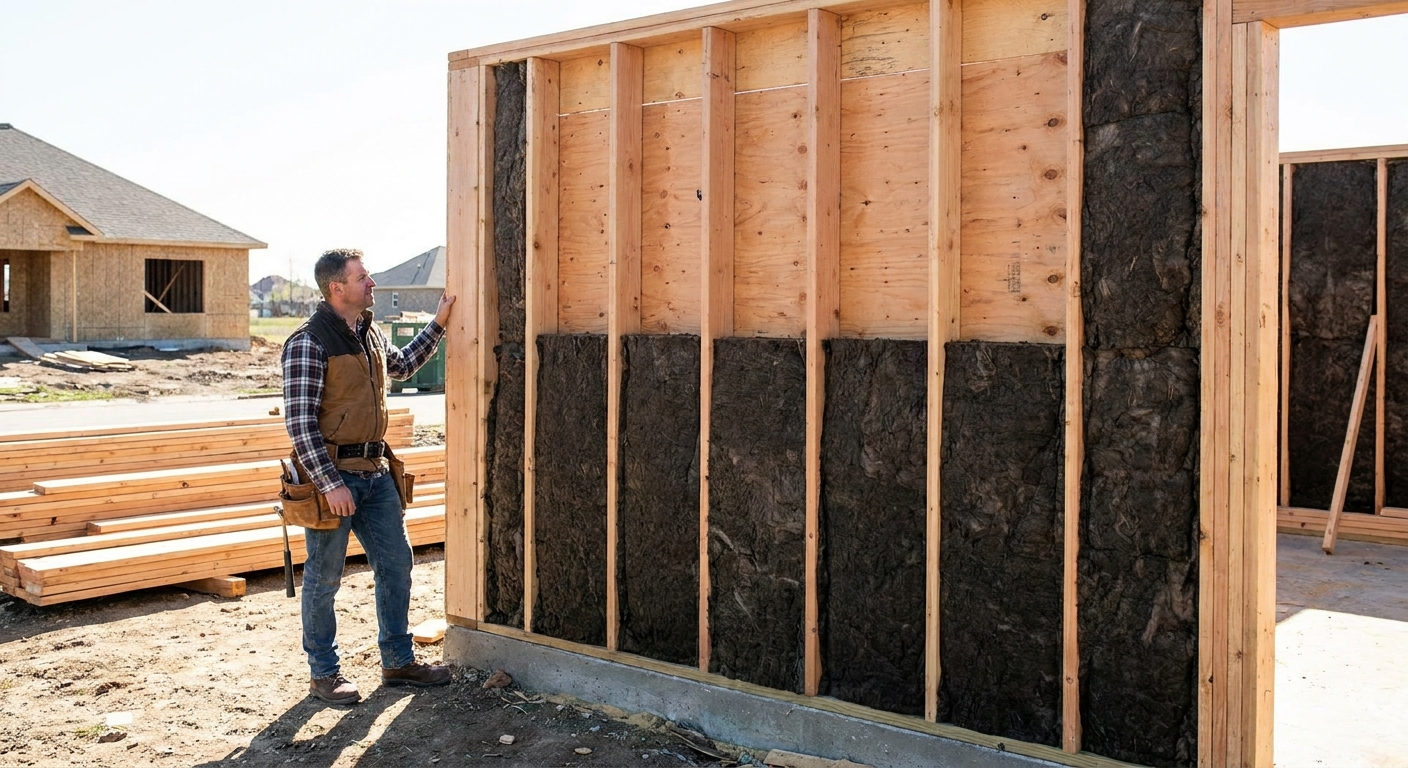
Before we jump in: advanced framing is not permission to ignore engineering, code, or local wind and seismic requirements. Treat these techniques as a menu. Use what fits your plans and your inspector, and keep anything structural inside the limits of your design.
What OVE changes
Conventional framing leans on repetition and habit: lots of studs, lots of plates, lots of extra “just in case” blocks. OVE keeps structural integrity by aligning loads and consolidating wood so you can remove the pieces that are not doing much.
- Fewer framing members means less lumber cost and fewer cuts.
- More open cavities means insulation installs flatter and more completely.
- Less thermal bridging means better real-world R-value from the same insulation.
If you want a clean baseline for good layout habits before changing stud spacing or header details, my best advice is to get disciplined with your marks. This page on avoiding layout mistakes on 16 inch on center studs translates directly to 24 inch layout, and it helps you avoid the snowball effect of one bad mark.
1) Use 24 inches on center where allowed
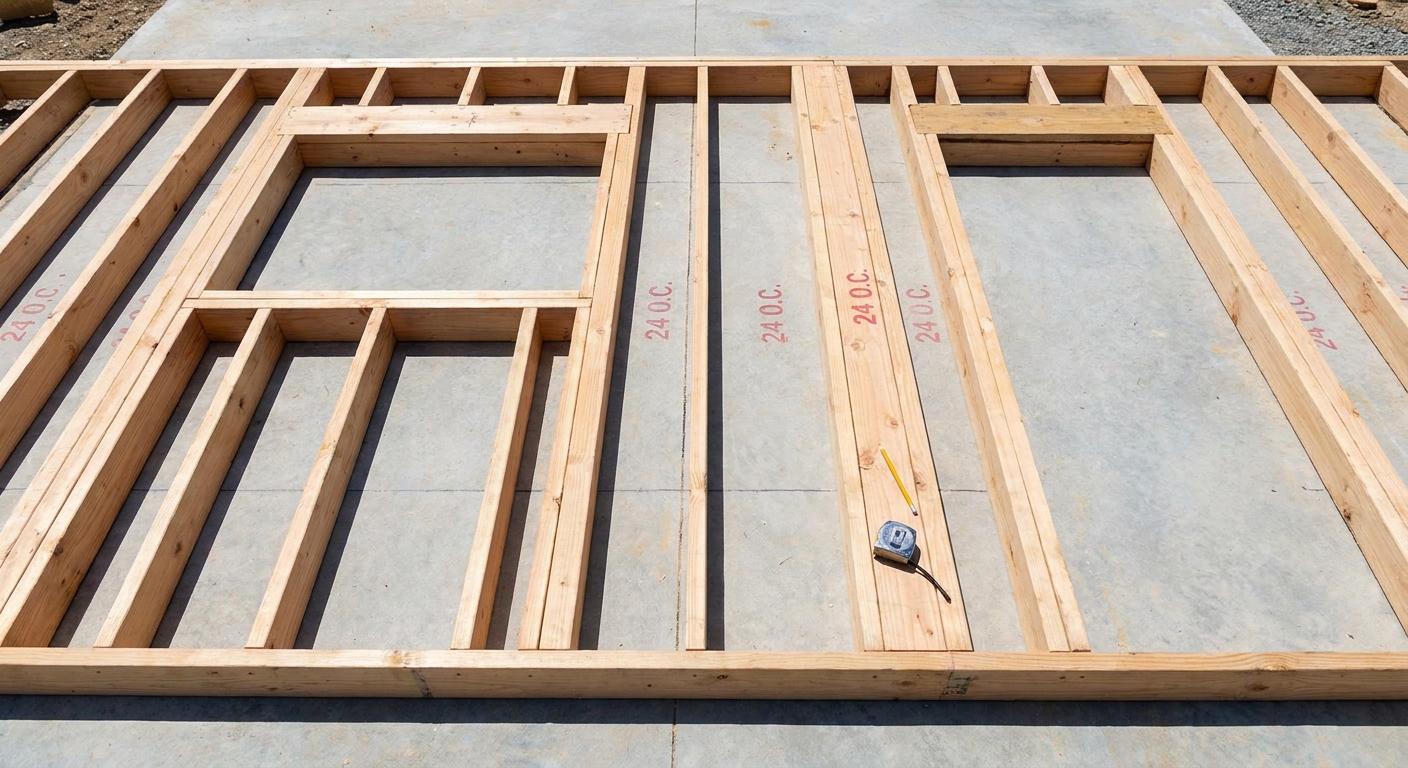
Moving from 16 inches on center to 24 inches on center is the headline OVE move. On long, uncomplicated wall runs, it often works out to roughly 25 to 35 percent fewer studs once you factor in the real world stuff like openings, corners, and braced panels. Even when it is not a clean math problem, you still usually cut a meaningful amount of lumber and labor.
Where it shines
- Long straight exterior runs with standard-height walls
- Walls sheathed with code-approved thickness for the spacing
- Projects where you want faster insulation and fewer thermal bridges
What to watch
- Sheathing and drywall requirements: thickness and fastening schedule matter more at 24 inches.
- Drywall planning: talk to your drywall crew early about board thickness, adhesive, and fastening at 24 inches so you do not create sag or wavy finishes.
- Stud quality: crowned, wet, or twisted studs are less forgiving when they are spaced wider.
- Blocking habits: avoid adding back a bunch of unnecessary blocks “because 24 feels wide.” That defeats the point.
A lot of crews pair 24 inch layout with 2x6 exterior walls because it gives you more insulation depth and can feel stiffer under sheathing and drywall. That is not a rule, and it has to fit your design loads and energy targets, but it is common practice for a reason.
My field tip: if a wall is going to be 24 inches on center, I get picky about selecting studs. The few minutes spent sighting crowns can save hours of fighting waves when it is time to hang board.
2) Two-stud corners with backing
Most corners are framed like a solid chunk of wood, and then we act surprised when the corner is cold. A classic OVE corner uses two studs and a drywall backing method that still gives you a nailing surface while opening the corner for insulation.
Why it saves money and improves comfort
- Less lumber at every outside corner
- A corner cavity you can actually insulate
- Less shrinkage and splitting than a “log-cabin” corner pack
If you want to see how these compare in the real world, including the fastening and drywall implications, I broke it down in California corners vs solid corners.
Installer-friendly detail
Make sure the corner provides a reliable drywall edge. That can be a drywall clip, ladder blocking from the intersecting wall, or another code-accepted method. The goal is to keep the corner open without creating call-backs for cracked seams.
3) Ladder blocking at T-walls
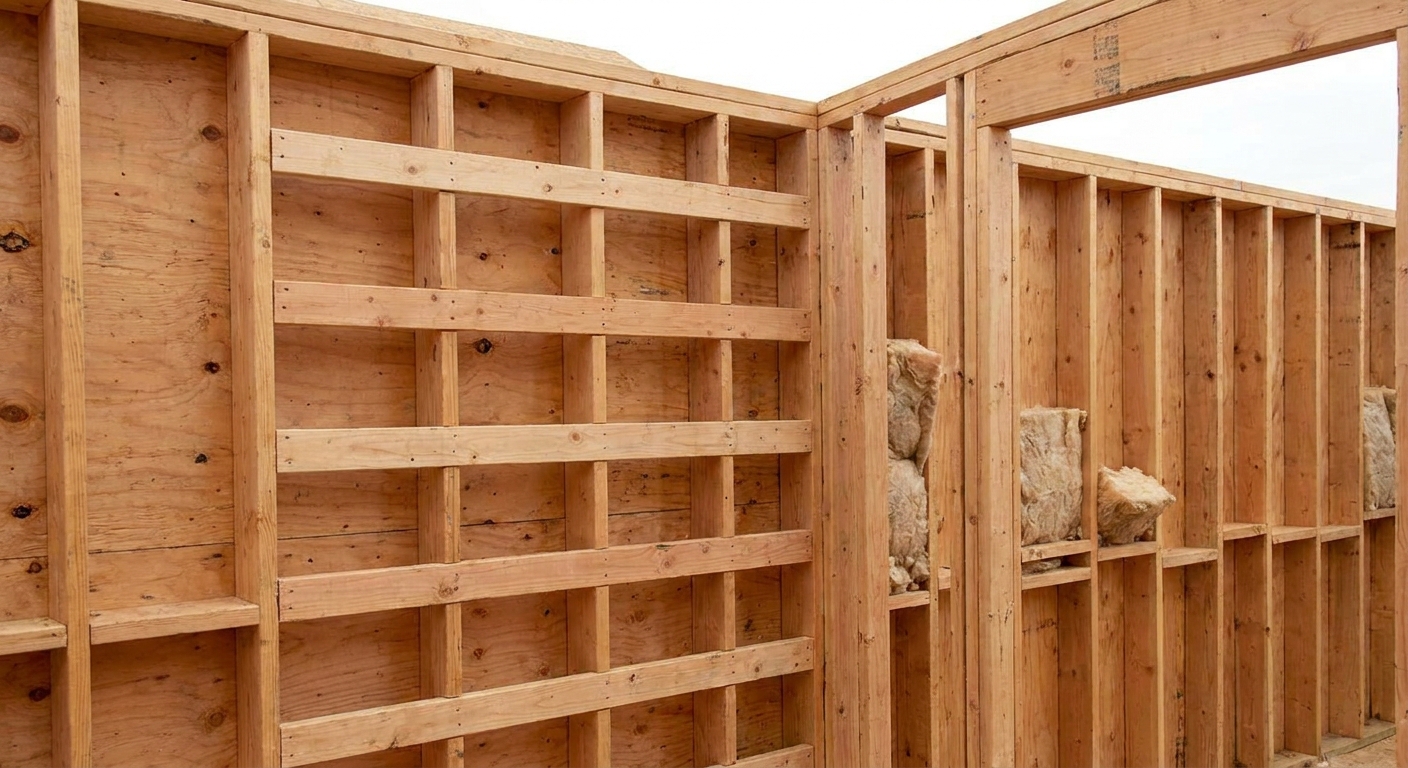
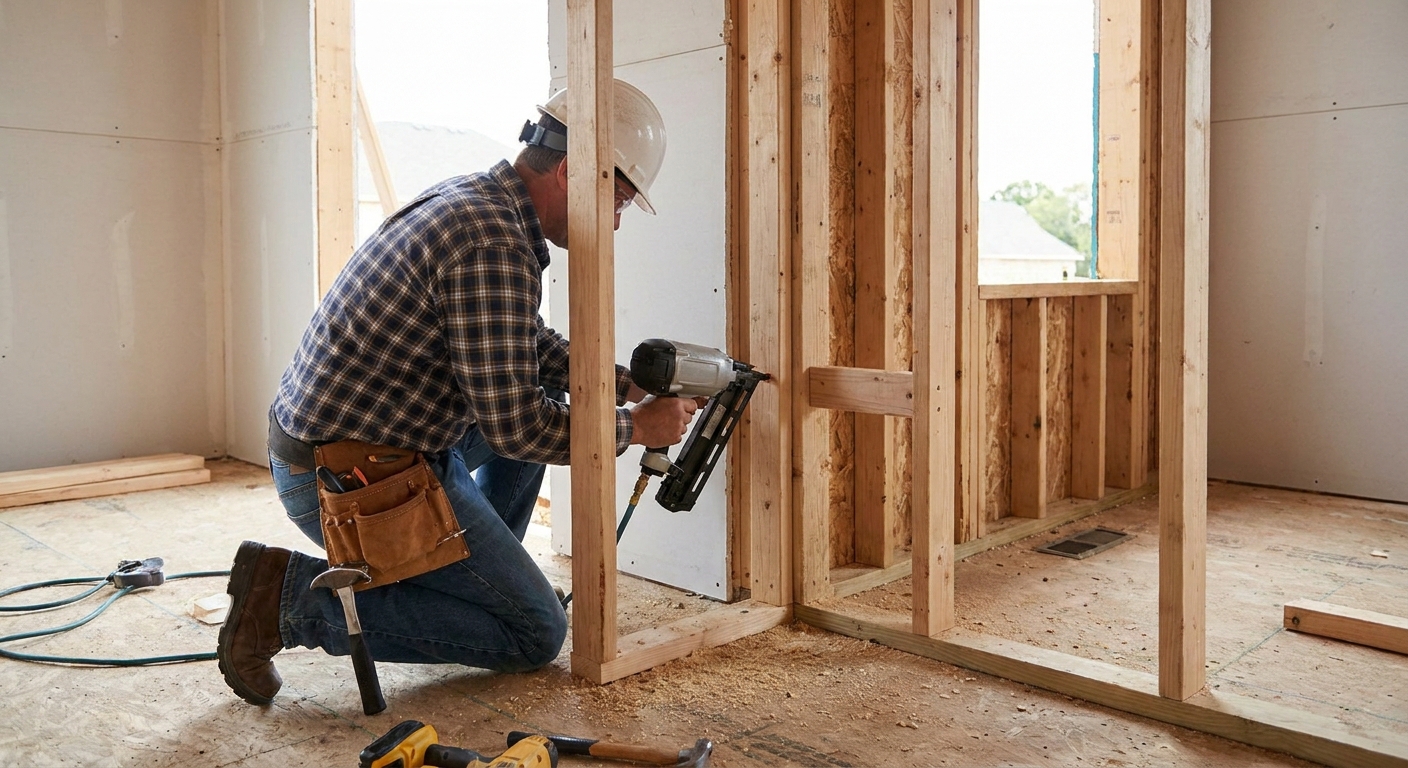
Whenever an interior wall tees into an exterior wall, the default move is to stack studs to “catch” drywall. That stacks wood right where you want insulation continuity. OVE uses ladder blocking so the interior wall has backing, while the exterior wall stays open for insulation.
How it’s built
- Run short horizontal blocks between exterior wall studs at the intersection
- Place blocks where you actually need backing, typically aligned to drywall edges and common fastening zones
- Fasten the interior wall to those blocks
- Keep the exterior cavity as uninterrupted as possible
Common mistake
Do not turn ladder blocking into solid blocking. You only need enough material to back drywall and tie the walls. Anything beyond that is thermal bridging you paid for.
4) Single top plate with aligned framing
This one feels “too lean” the first time you see it: a single top plate instead of a double. The catch is you have to frame smarter. Loads need a direct path down, which means studs, joists, and trusses line up so the top plate is not acting like a beam.
Why it works
- Less lumber and fewer nails
- More room for full-depth insulation at the wall to roof line
- Cleaner layout when the floor system and wall layout are coordinated
Minimum execution
- Keep framing aligned so loads stack straight down
- Use approved connectors and strap or tie details at plate splices, corners, and intersections as required by code or your engineer
- Be extra cautious in high-wind and seismic areas where local amendments can tighten up what is allowed
Even if you never go to a single top plate, the alignment mindset pays off. Coordinating layouts up the stack reduces the amount of “extra wood” you add later just to make things land.
5) Right-size headers and insulate the pocket
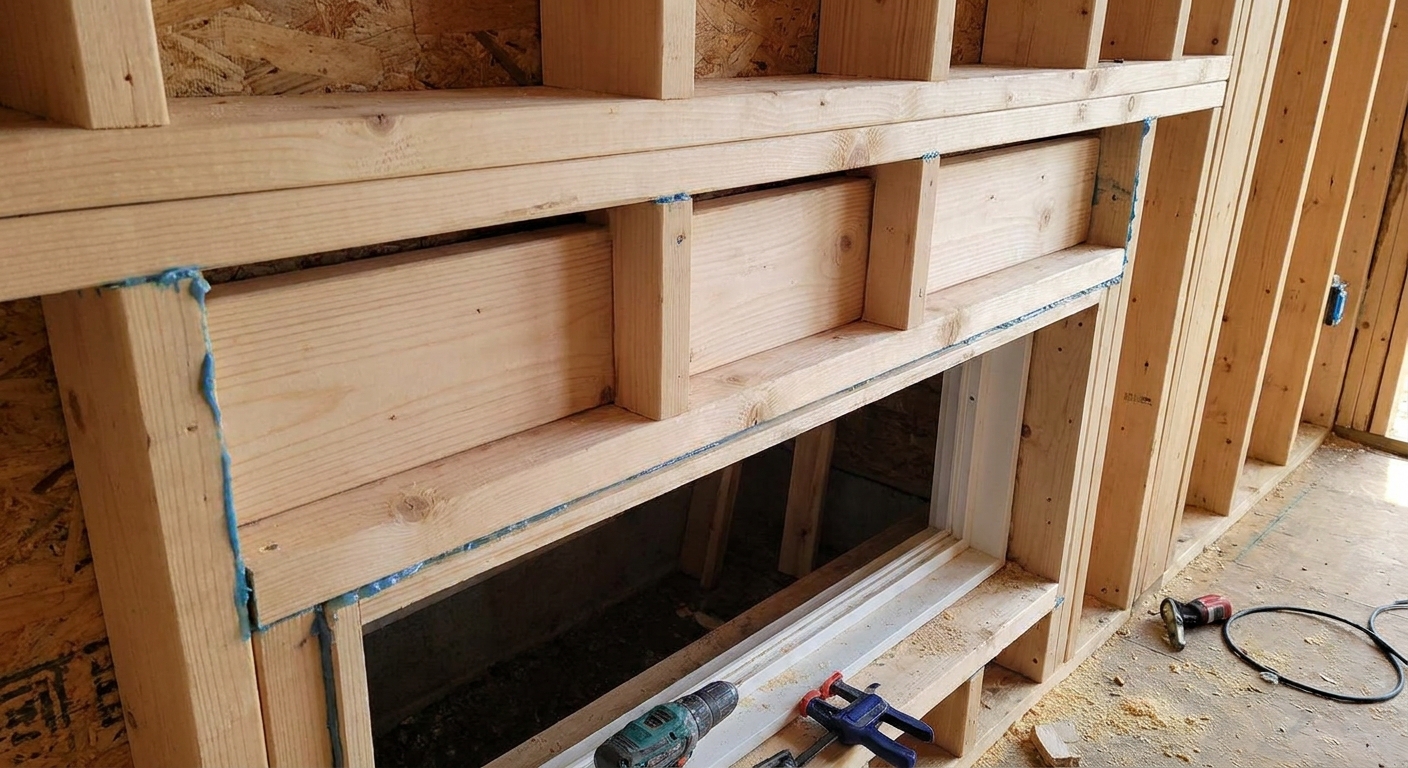
Headers are one of the most overbuilt parts of a typical house. I have pulled drywall on remodels and found massive headers over openings that were not carrying much at all, plus a big empty void above the window that was never insulated.
OVE thinking does two things:
- Right-sizes headers to the actual span and load condition
- Moves insulation back into the header zone by using insulated header details where appropriate
Practical ways to improve headers
- Use engineered header schedules from the plans rather than “what we always use.”
- In nonbearing interior partitions, you can sometimes eliminate a traditional header and use a simpler detail for drywall support. For exterior walls or bearing conditions, assume you need a real header unless the plans or engineering say otherwise.
- Even when the header is required, detail the pocket so it can be insulated and air sealed, not left as a hollow wind tunnel.
When you are framing openings that truly carry heavy loads, do not guess. This is where being conservative is smart, and it is why I treat door and window rough openings as their own craft. If you are dealing with a large unit, start with framing rough openings for heavy exterior doors and work from the manufacturer requirements and your header schedule.
6) Stack framing for cleaner load paths
“Stack framing” means you plan the building so studs land over joists or trusses, and those land over beams or bearing walls below. It is an OVE cornerstone because it reduces the need for extra plates, extra blocking, and random load transfers that force more wood into the assembly.
Benefits you feel on site
- Less head scratching when it is time to frame above a bearing point
- Fewer oddball hangers and patch pieces
- It can help walls stay straighter by keeping loads direct, but straightness still comes down to stud selection, moisture, and how you sheath and brace
How to pull it off
Do a real cut list and a real layout plan before lumber arrives. I know it is not glamorous, but it prevents the most expensive kind of waste: the waste you build into the structure and can never reclaim. I walk through my approach in make a cut list before buying wood.
7) Plan air sealing and fire blocking
This is the part that separates “less lumber” from “better building.” You can frame an OVE wall and still end up with a drafty house if you do not plan the air barrier and required fire blocking.
Where framers can help the most
- Keep cavities clear so insulation and air sealing are not fighting random blocks.
- Plan chases for plumbing and mechanical runs so you do not Swiss-cheese your air barrier later.
- Detail intersections so corners and T-walls can be insulated and sealed continuously.
And do not ignore code-required fire blocking. Advanced framing does not remove that responsibility. If you need a refresher on where inspectors look and what materials are typically accepted, see fire blocking in residential framing.
Quick checklist
- Confirm your plans and local code path support the spacing and details you want to use.
- Coordinate layouts across foundation, floors, walls, and roof framing.
- Choose straight studs and protect lumber from soaking up water on site.
- Communicate with trades so plumbing and HVAC do not force unnecessary framing changes later.
- Keep the insulation crew in mind: the best advanced framing details are the ones that are easy to insulate correctly.
FAQ
Does advanced framing make a house weaker?
Not when it is designed and executed correctly. OVE relies on proper load paths, appropriate sheathing, and details that meet code or engineering. Problems happen when someone copies a detail without verifying it fits the building’s loads and local requirements.
Will 24 inch on center walls feel flimsy?
They should not, assuming the wall is properly sheathed, fastened, and braced, and the drywall is detailed for that spacing. Waviness is usually a stud quality issue or a layout and fastening issue, not the spacing itself.
What is the biggest insulation win from OVE?
Reducing thermal bridging at corners and intersections, plus making cavities easier to insulate without gaps. Two-stud corners and ladder blocking are small changes that pay off for the life of the building.