I grew up sweeping sawdust in a little woodshop where the “measure twice, cut once” rule got drilled into me early. Roofing is where that rule really earns its keep. Whether you set manufactured trusses or cut a roof the old-fashioned way with rafters and a ridge, you are building the structural cap that keeps everything below it dry and straight. The best choice is not a universal answer. It depends on your span, your schedule, your budget, your access to labor, and how you want to use the space under the roof.
What you are choosing
Manufactured roof trusses
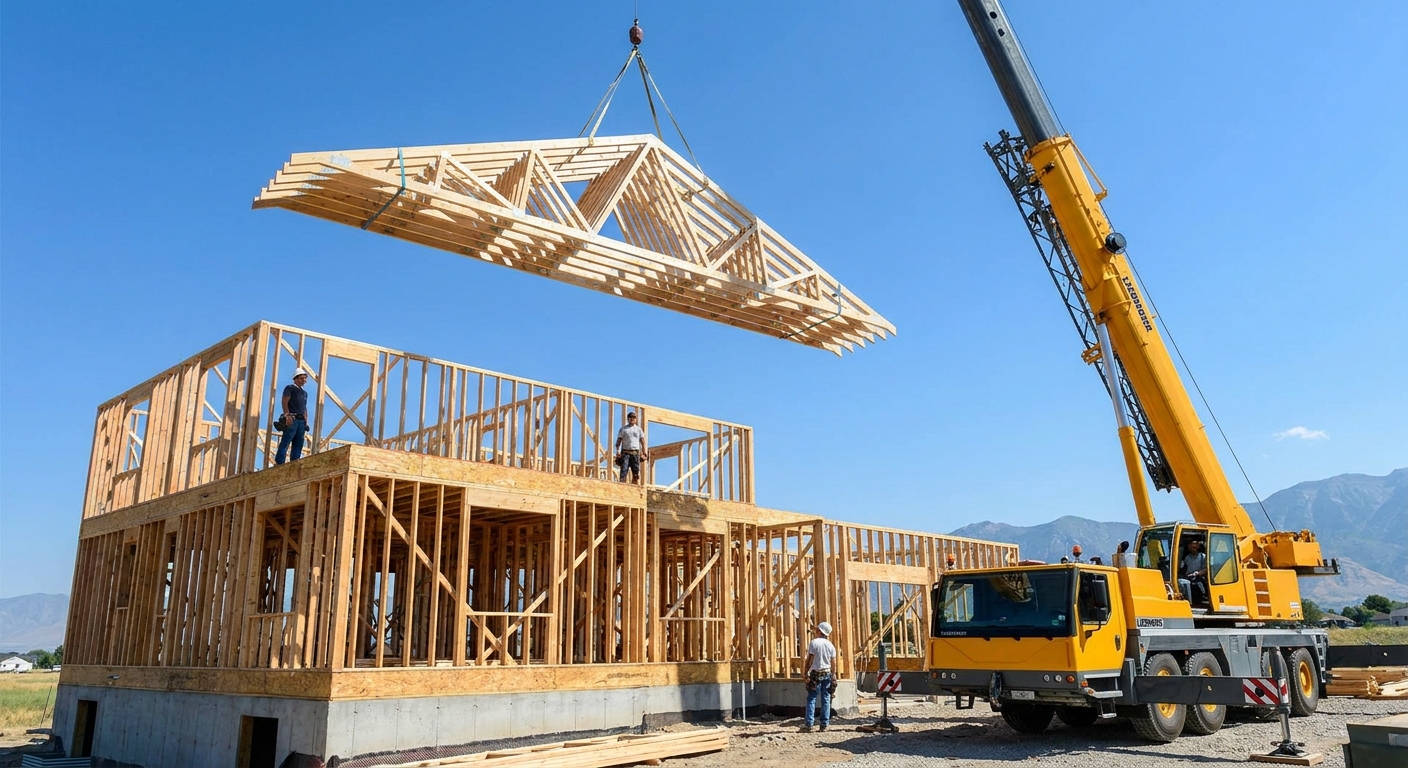
Trusses are pre-engineered, factory-built assemblies that triangulate loads through webs and chords. They are designed for a specific building width, roof pitch, loads (snow, wind), and bearing conditions, then delivered to the site ready to set.
- Common types: fink truss (W-web), king post, scissor, mono, attic truss, girder truss.
- Typical install: set, brace, align, and sheath.
Stick-framed rafters
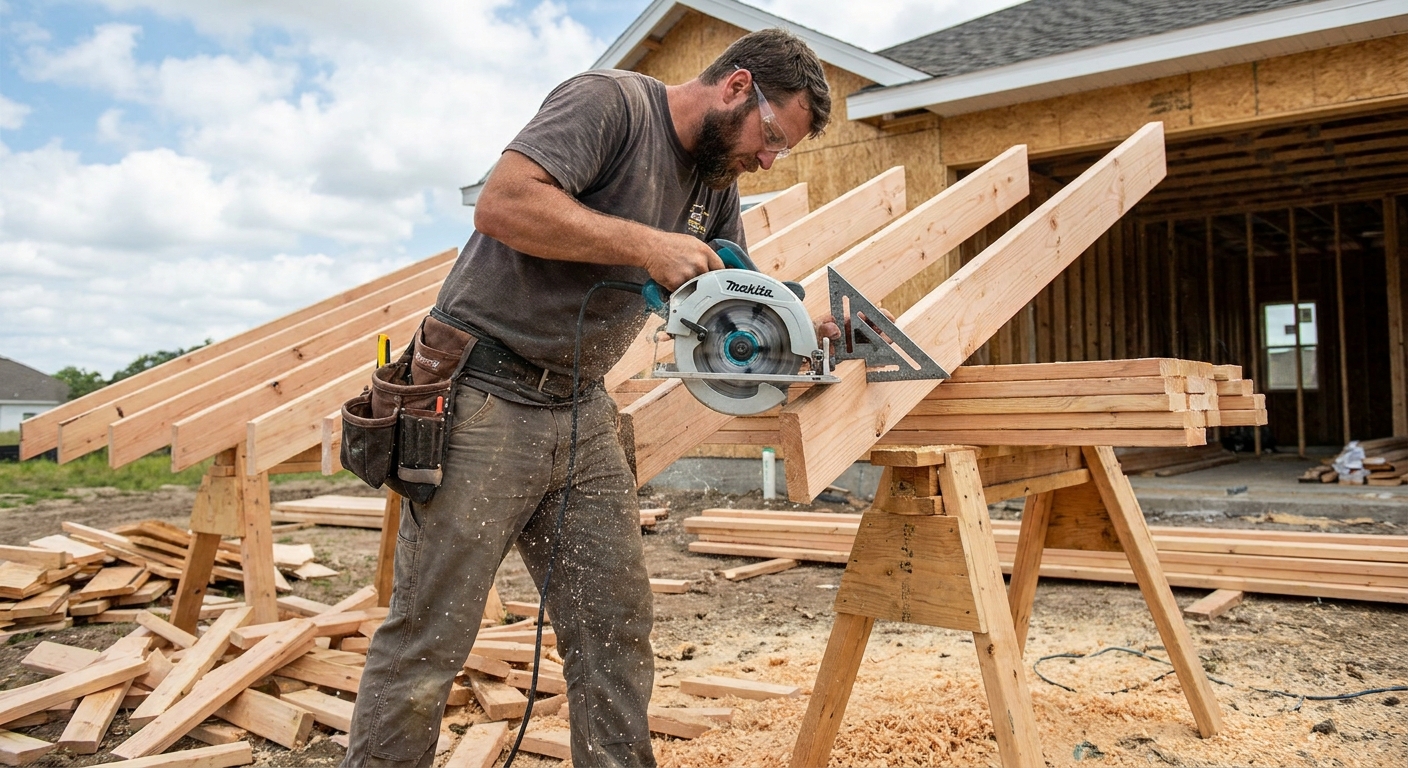
Stick framing is cutting and installing individual rafters on site. Loads are carried through the rafters down into the walls and any posts or footings below. At the ridge, you will either have a ridge board (a non-structural spacer and nailing surface used with rafter ties/ceiling joists) or a structural ridge beam (which carries roof loads and transfers them to posts and footings). You build ceiling joists or rafter ties, collar ties, and any required structural members as you go.
- Common setups: ridge board with rafter ties, structural ridge beam with no ties, hips and valleys framed with hip/valley rafters and jack rafters.
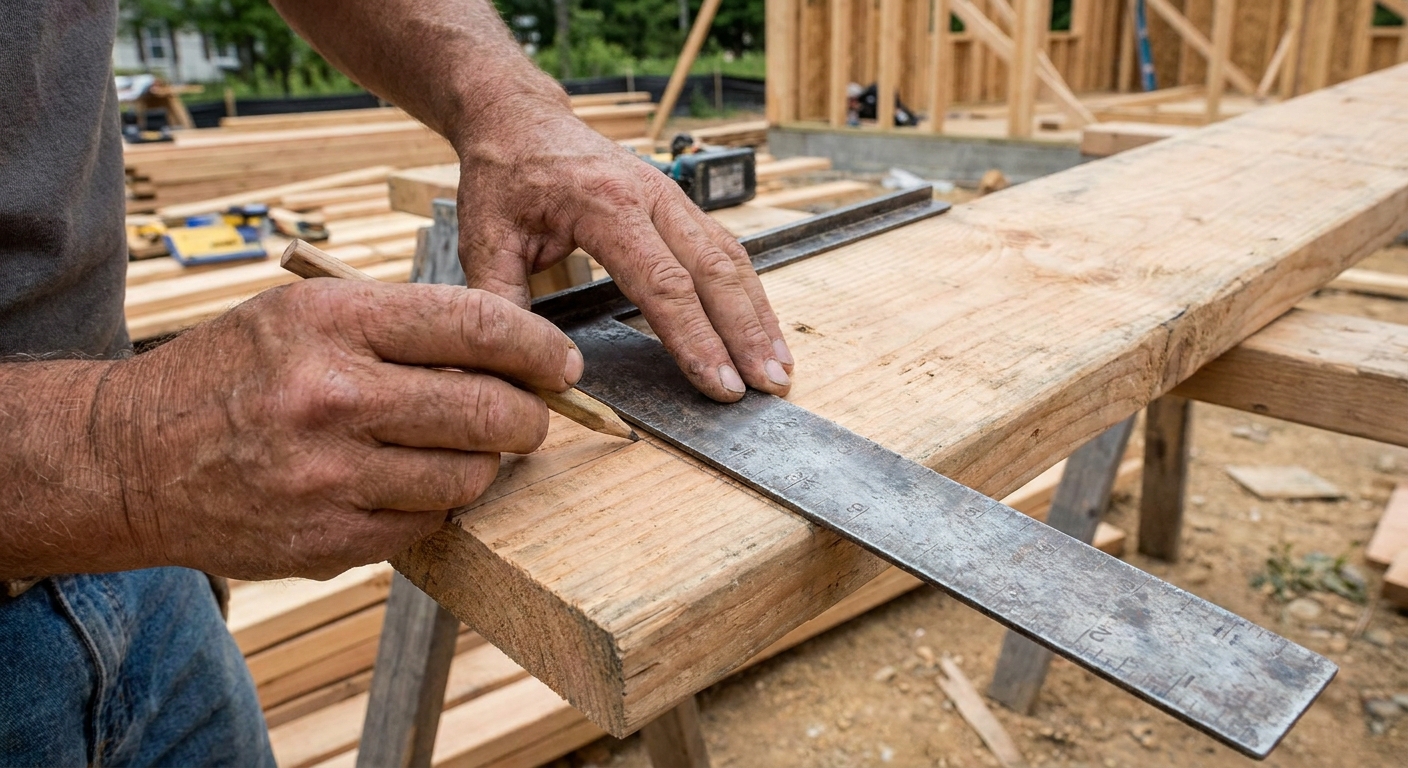
- Typical install: layout, cut patterns, set pairs, straighten, then sheath.
If you want a refresher on the math and geometry side of rafters, I break it down in plain terms here: Mastering Rafter Math: Roof Pitch and Cut Lengths.
Quick verdict
- Choose trusses when you want speed, predictable engineering, long clear spans, and you are fine with the webbing taking up attic space.
- Choose stick framing when you want wide-open attic or vaulted ceiling flexibility, you have complex roof lines, or you have skilled labor and time on site.
- Costs can flip either way once you factor in crane time, engineering, bracing, interior finish choices, and schedule risk.
Pros and cons: trusses
Pros
- Fast to dry-in. With a good crew and decent access, trusses can turn a roof from “open to the weather” into “ready for sheathing” in a day.
- Engineered for the loads. Truss packages are typically designed through the supplier’s engineering process. Whether drawings are sealed and what gets submitted varies by jurisdiction and permit requirements.
- Great for big spans. For many common residential spans and loads, trusses can cover widths that would push stick framing toward deeper rafters and/or a structural ridge beam.
- Material efficiency. Factories can optimize lumber use and reduce waste compared to site cutting.
- Consistency. When they are manufactured and handled correctly, you get repeatable geometry that makes sheathing and roofing go smoother.
Cons
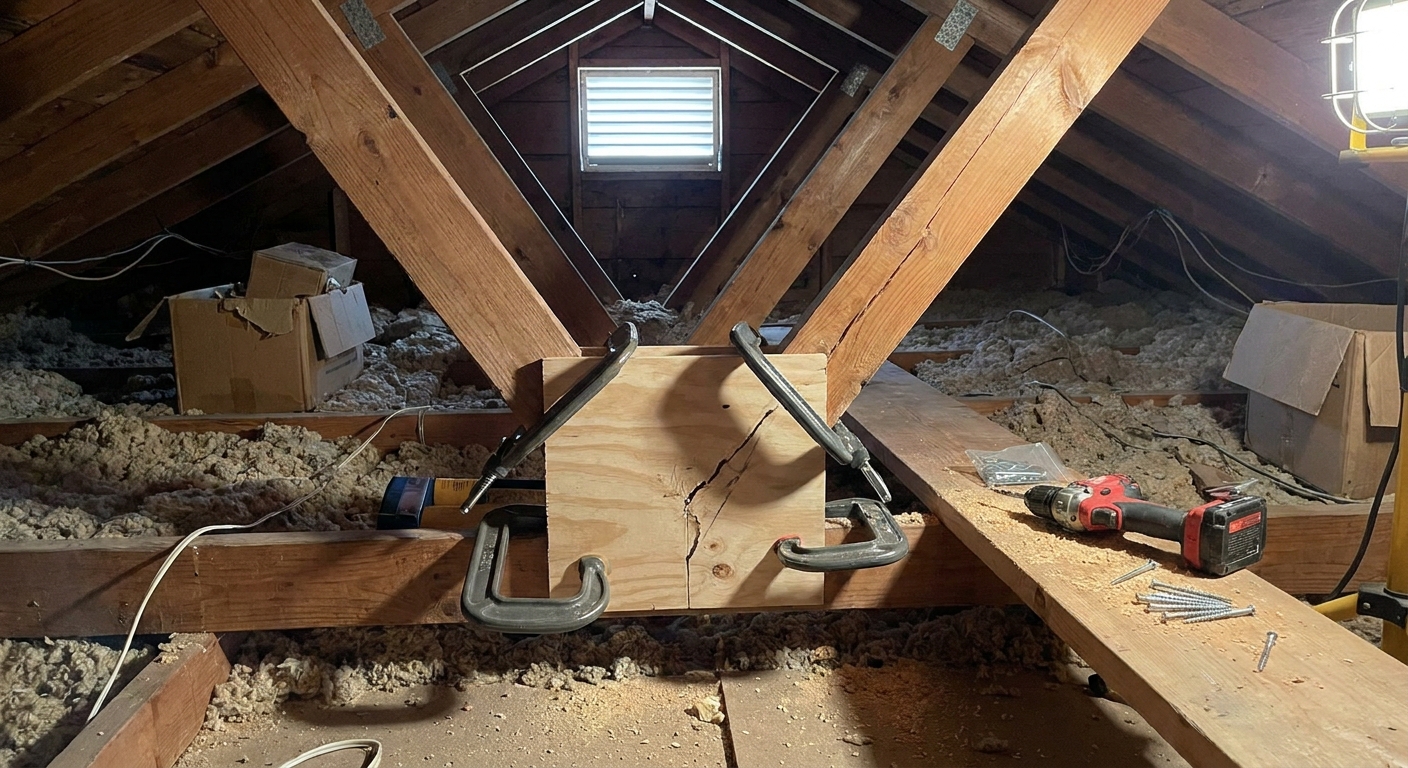
- Less flexibility after the fact. Cutting, drilling, or modifying trusses is not a casual decision. Changes typically require an engineered repair detail.
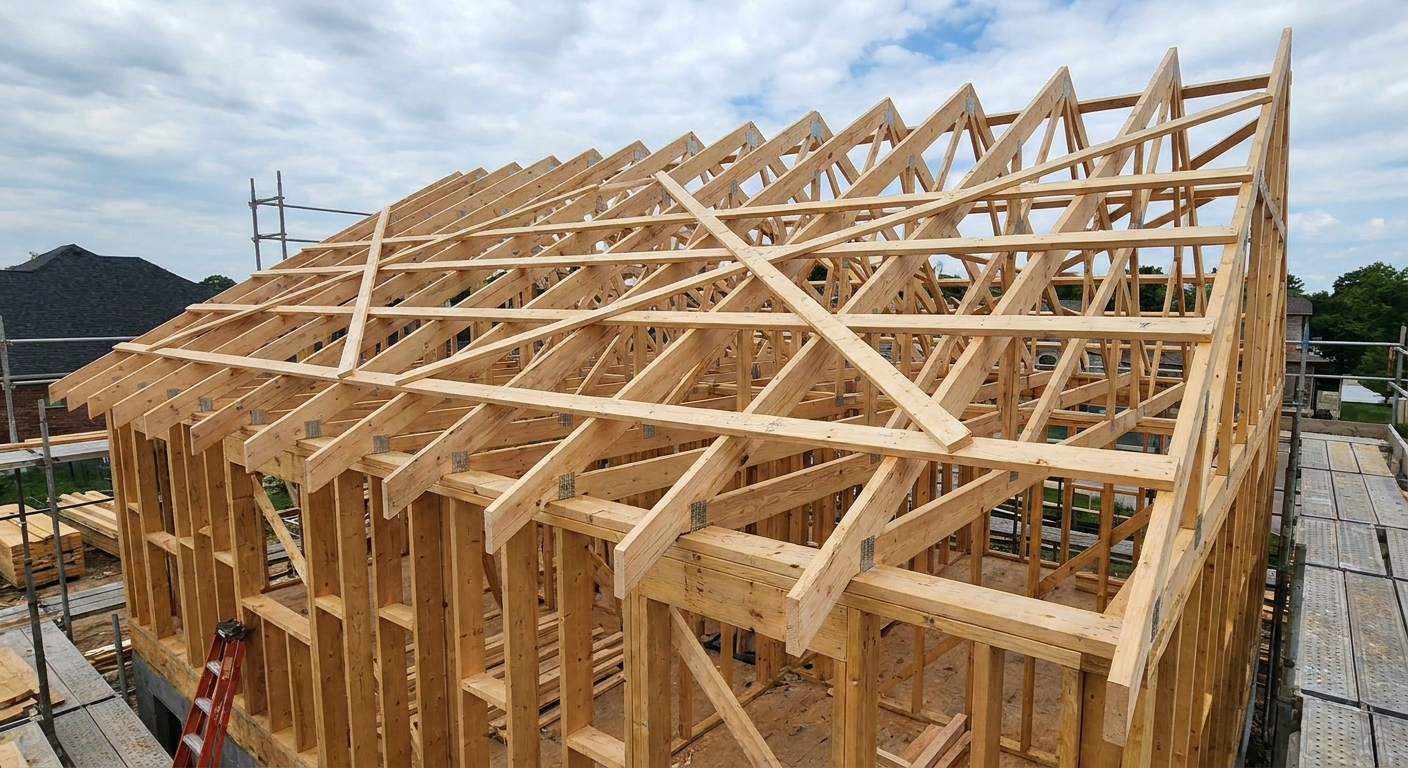
- Attic space is often compromised. Standard trusses fill the attic with webs. Attic trusses exist, but they cost more and have their own constraints.
- Lead time and delivery logistics. You may be waiting on manufacturing slots, then dealing with delivery access and staging.
- Bracing is not optional. Temporary and permanent bracing matters. A large share of truss incidents happen during handling and the installation and temporary bracing phase.
- You may need a crane or lift. Not always, but often. Crane access can be the hidden line item that surprises people.
Pros and cons: stick framing
Pros
- Design freedom on site. When plans change, stick framing can adapt without ordering a new package.
- Better for custom ceilings and usable attic space. Vaults, trays, and open attics are often easier to achieve cleanly with rafters, or at least easier to tweak.
- No delivery bottleneck. You can frame the roof as soon as lumber is on site.
- Often simpler for small builds. Sheds, cabins, and small additions can be efficient to stick frame without bringing in a truss supplier.
Cons
- Labor intensive. Cutting rafters, hips, valleys, and backing takes time and skill.
- More opportunities for cumulative error. A small layout mistake can multiply across a roof plane, especially on long runs.
- May require larger members. Depending on span and loads, rafters can get deep fast, and structural ridge beams can get expensive.
- Inspection details can pile up. Inspectors commonly focus on tie requirements, ridge support details, uplift connectors, and clear load paths at hips, valleys, and bearing points.
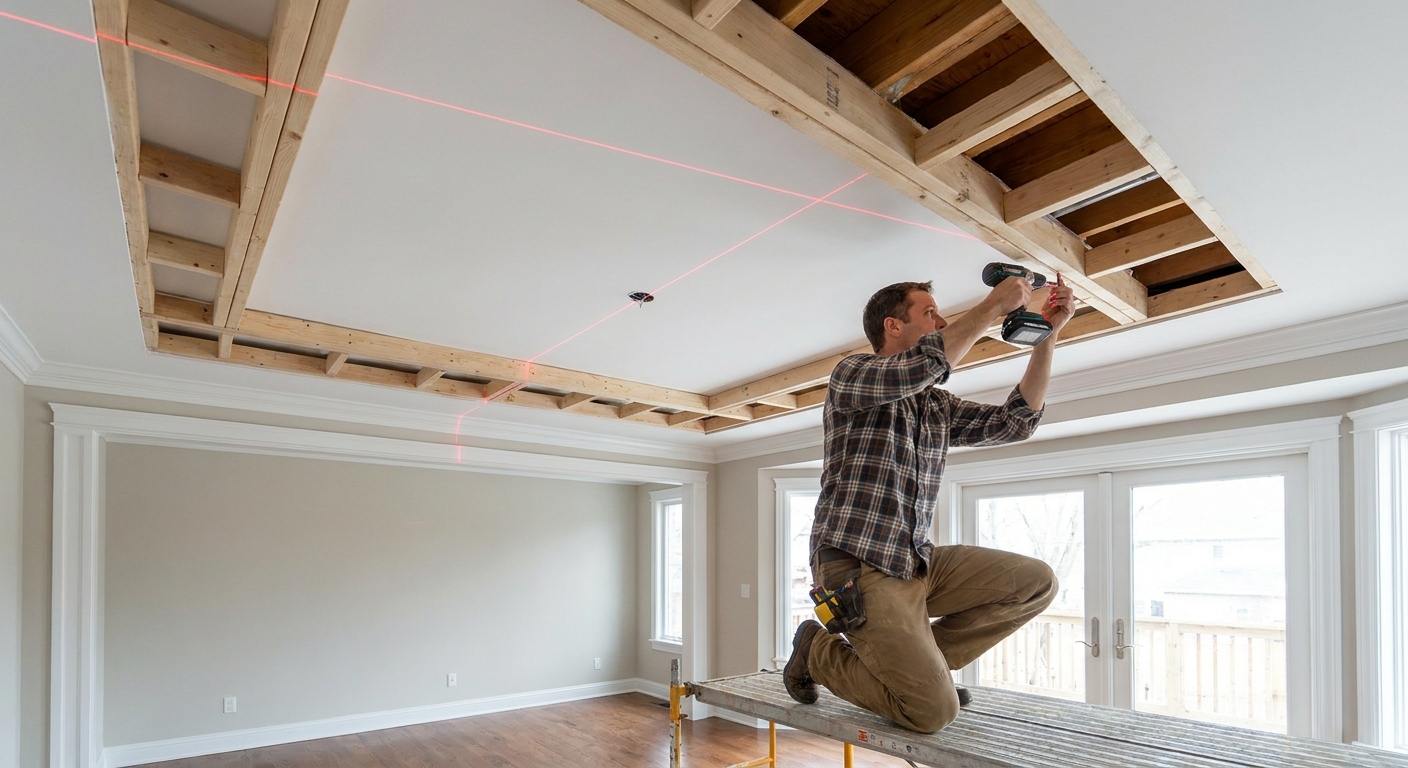
If your ceiling plan includes a tray, you will want to think about how the roof system supports it. Here is how I approach the framing sequence: How to Frame a Tray Ceiling.
Costs: what moves the number
People ask, “Which is cheaper?” The honest framing answer is: it depends on which cost you are counting. You have direct framing cost, but you also have schedule cost, weather risk, interior finish cost, and the cost of fixing mistakes.
Truss cost buckets
- Truss package price. Includes design, fabrication, and truss drawings as required for the job.
- Delivery and offload. Access, distance, and whether you need equipment.
- Crane or telehandler time. Some jobs set by hand, many do not.
- Install labor. Usually fewer labor hours than stick framing for simple roofs.
- Bracing and hardware. Hangers, straps, clips, lateral restraint, and permanent bracing per the truss design.
Stick-framing cost buckets
- Lumber and LVLs. Rafters, ridge board or ridge beam, ceiling joists or ties, hips, valleys, outlookers, blocking.
- Connectors. Hangers, hurricane ties, straps, ridge hardware as required.
- Labor hours. Layout, pattern cutting, install, straightening, backing, and corrections.
- Scaffolding and safety setup. Often more time spent working at height with loose members.
- Waste and re-cuts. Complex roofs generate offcuts. Good planning minimizes it.
Real-world rule of thumb
- Simple gable roofs: trusses are often cost-effective once you factor in labor speed, especially on full houses.
- Complicated roofs with multiple valleys and intersecting ridges: stick framing can be competitive because you are not paying for a custom truss solution for every condition.
- Living space in the roof: stick framing can win if it avoids attic trusses or other specialty trusses needed to preserve headroom and usable volume.
If you are trying to keep your budget sane, start with planning. I always make a cut list before I buy lumber, even on smaller builds, because it exposes waste and missing pieces early: Make a Cut List Before Buying Wood.
Span, loads, and structure
Most homeowners feel the difference between trusses and rafters as a “look” or “space” decision, but the structure underneath is where it gets decided.
Trusses carry loads through triangles
The webbing is not random. It is the reason trusses can span far with relatively small dimensional lumber for a given set of loads. That efficiency is why production builders lean hard on them.
Stick framing depends on load paths
With rafters, you have to think about thrust at the walls, ridge support, and the role of ceiling joists or rafter ties. A ridge board is not a structural ridge beam, and treating them like the same thing is where trouble starts.
Snow and wind loads matter
Here in the Pacific Northwest, snow loads vary wildly by elevation. Wind exposure also changes the connector story. Truss drawings typically call out uplift connectors and bracing requirements. Stick framing requires you to be just as disciplined about continuous load path details.
One important caution: roofs are engineered systems. Do not mix and match details casually. Follow the plans and local requirements, and when the load path is not obvious, that is when you bring in an engineer.
Schedule and weather
If you have framed long enough, you have a story about a surprise storm rolling in right when the roof deck is half on. Speed is not just convenience. It is risk management.
- Trusses can shorten the time between “walls are up” and “roof is sheathed,” which reduces weather exposure.
- Stick framing can be fast with a sharp crew, but the pace depends heavily on skill, roof complexity, and how many cuts are happening on the fly.
On remodels and additions, schedule also ties into how you protect the existing structure. If you are opening walls or changing load paths, get clear on your sequence and supports first. This article covers the planning mindset I use: How to Frame a Load-Bearing Wall in a Remodel.
Design and interior finish
Vaulted ceilings
Both systems can create vaults, but they do it differently. Stick framing makes it straightforward to expose rafters or build clean cathedral lines. Trusses can do it with scissor trusses or specialty designs, but you are buying a purpose-built solution.
HVAC and plumbing runs
Trusses can be designed with chases or room for ducts, but you need to decide early. Stick-framed roofs can be easier to route through if you have open bays, but you must respect structural members and code requirements for notching and drilling.
Attic storage and future rooms
If you want real storage or potential living space, standard trusses are usually not your friend. Attic trusses are the truss-side answer, but they add cost and height. Stick framing can create a more usable attic volume, especially when paired with a structural ridge beam, knee walls, or dormers depending on design.
Future changes
If there is a decent chance you will add skylights, a dormer, or rework the roof later, stick framing is often easier to modify. With trusses, those changes tend to turn into an engineered alteration, which is doable, but it is rarely quick or cheap.
Access and safety
Trusses need room to stage and set
If your lot is tight, steep, or tree-choked, getting long trusses into place can be the whole fight. A crane might not reach where you need it, or it might not be able to set up safely. In those cases, stick framing can be the practical option even if trusses look cheaper on paper.
Stick framing means more cutting at height
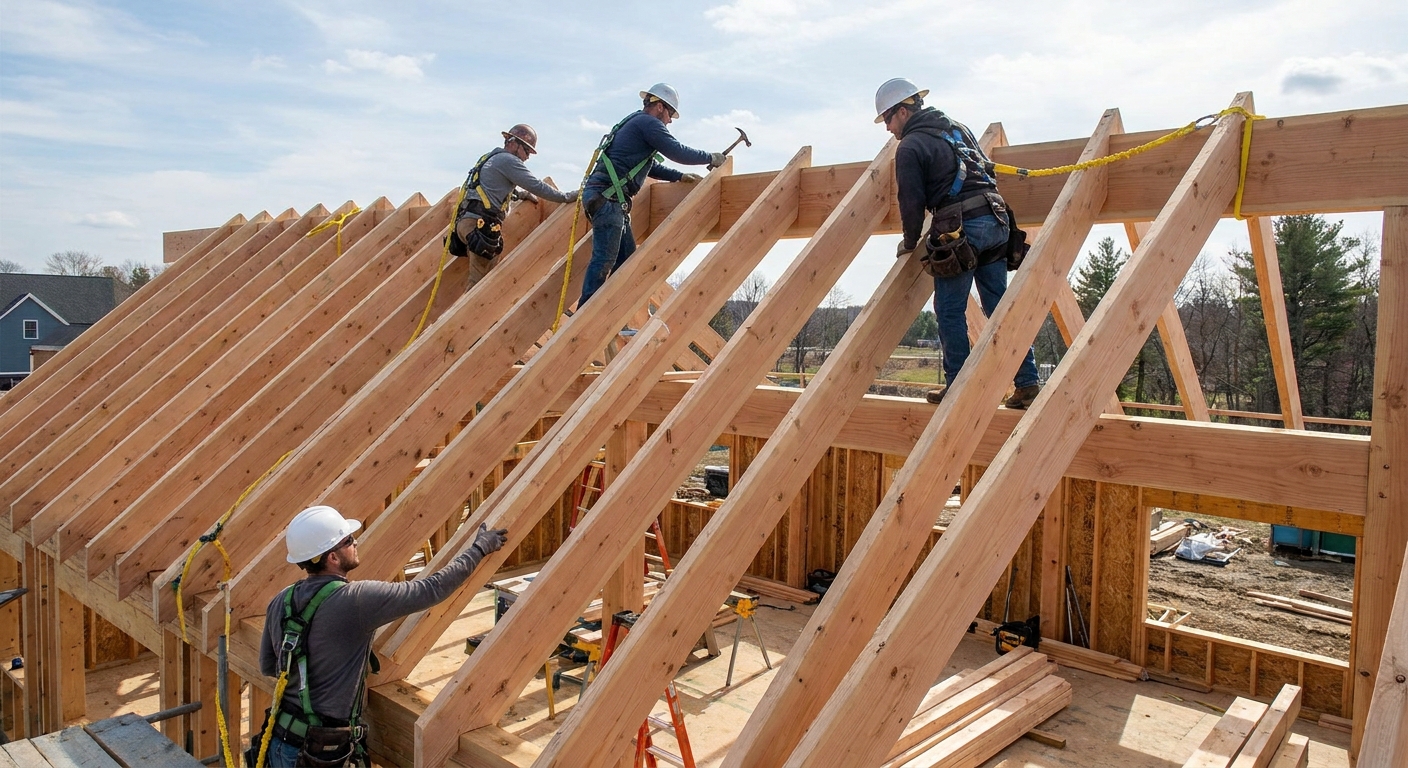
You are handling more individual pieces, making more cuts, and spending more time walking plates and working off scaffolding. A disciplined approach to layout and bracing keeps it safe and keeps it straight.
Common mistakes
With trusses
- Skipping temporary bracing. Trusses are strong when properly braced. During install, they can be dangerously unstable.
- Not reading the truss placement plan. Girder trusses, ply counts, and special hangers show up fast. Treat the plan like a roadmap.
- Assuming you can “just notch it.” Any modification needs an engineered repair detail.
- Ignoring straightness before sheathing. Take the time to align and brace. A wavy top chord telegraphs through the roof.
With stick framing
- Pattern rafter drift. One bad pattern becomes twenty bad rafters. Verify your first pair before you cut the stack.
- Ridge confusion. Ridge board vs ridge beam is a big deal. Do not treat them as interchangeable.
- Forgetting tie requirements. Rafter ties, ceiling joists, and collar ties each do different jobs.
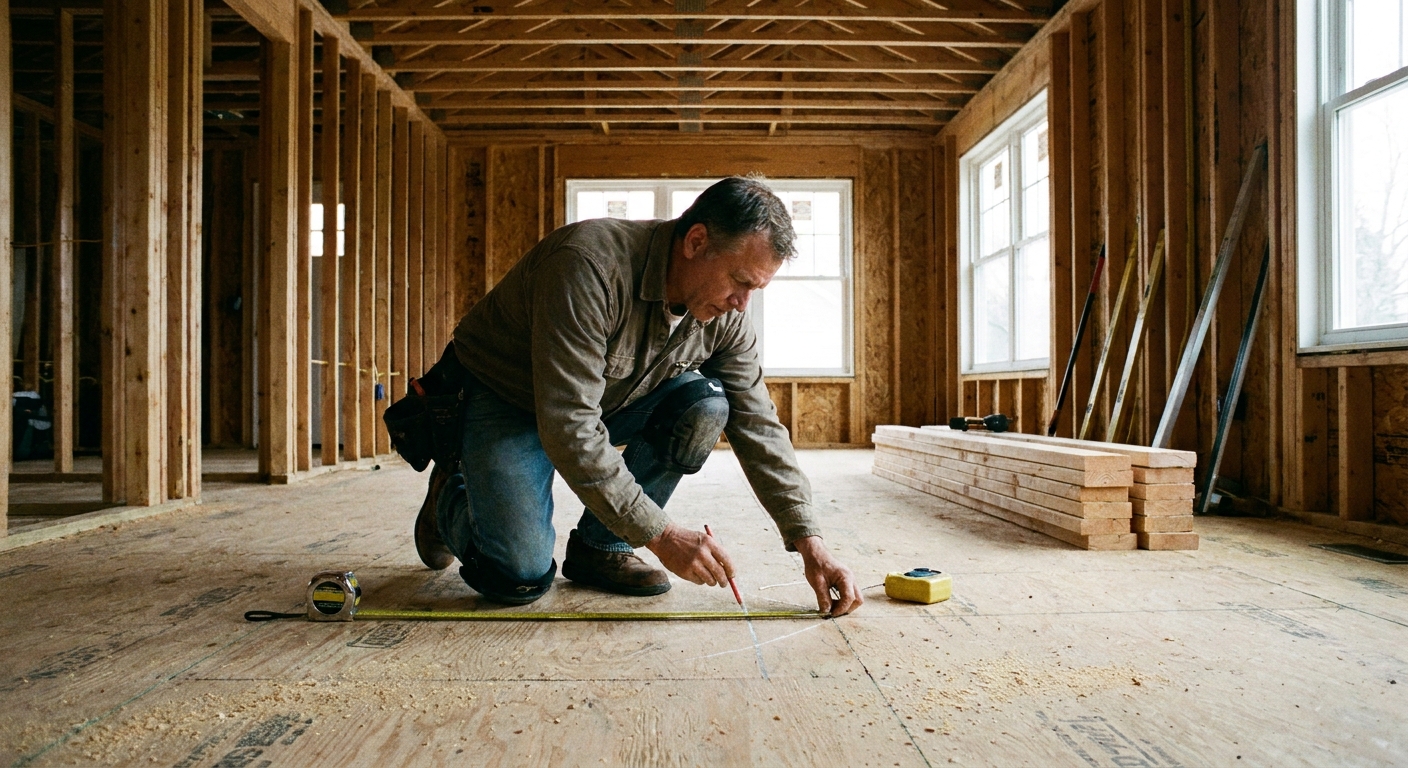
- Out-of-square starts. If your plates and layout are off, the roof will fight you. Squareness is a habit, not a step you skip.
If you want one skill that pays off everywhere, learn to square assemblies before they get locked in. The same principle applies to wall lines, ceiling framing, and roof geometry: How to Square a Wall Frame Before Standing It.
How to choose
Trusses fit best when you have:
- A straightforward roof shape (gable or simple hip)
- Long spans and an open floor plan below
- A tight schedule and you need to dry-in fast
- Easy site access for delivery and possibly a crane
- No need for a wide-open attic
Stick framing fits best when you have:
- Complex roof lines or lots of intersecting planes
- A plan that includes vaulted ceilings, trays, or exposed structure
- A strong desire for usable attic space without specialty trusses
- Tight access where long trusses are a problem
- Skilled labor available, or you are comfortable with the learning curve
My tie-breaker question
If you are truly on the fence, ask this: What is the most expensive mistake I can make on this job? If it is weather exposure and schedule slip, trusses often reduce risk. If it is getting stuck with a roof design that limits your interior space for good, stick framing may be worth the extra labor.
FAQ
Are trusses always cheaper than rafters?
No. Trusses are often cheaper on simple roofs because they reduce labor time, but crane costs, delivery constraints, and specialty trusses can flip the math. Stick framing can be competitive on complex roofs or when it avoids expensive engineered components.
Can I cut truss webs to make room for a hatch or duct?
Do not cut or alter trusses without an engineered repair detail. Even small changes can shift loads in ways that are not obvious on site.
Which is stronger?
Both can be extremely strong when designed and installed correctly. Trusses are engineered as a system. Stick-framed roofs rely on correct member sizing, connections, and load paths.
What about attic trusses?
Attic trusses can give you a usable room area inside the truss profile, but they cost more, may require special bearing points, and can increase overall roof height. They are a good option when you want truss speed but need some interior volume.
Where to go next
If you are planning a custom build, I would tackle it in this order: confirm your roof geometry, confirm how the loads travel to bearing points, then plan your material list and sequence so you are not improvising in the weather.