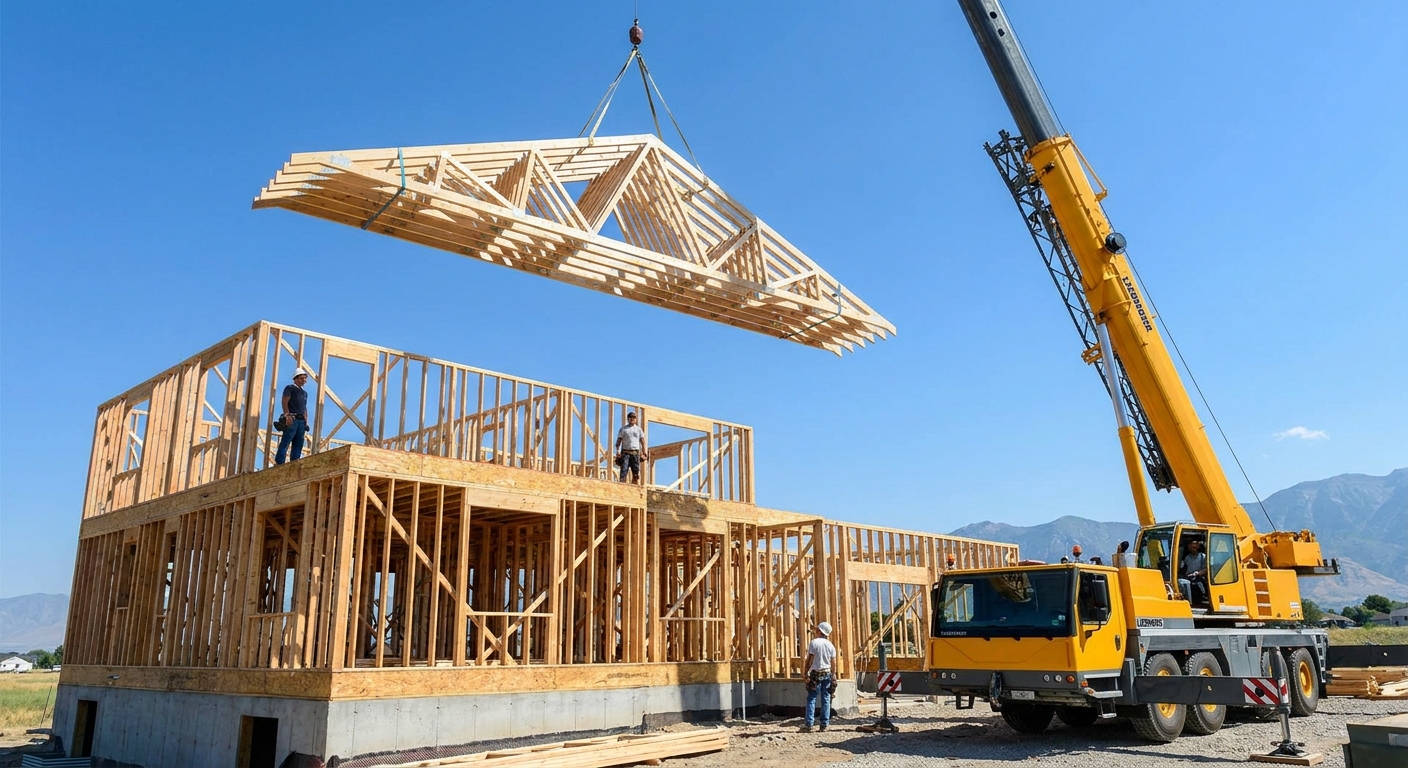
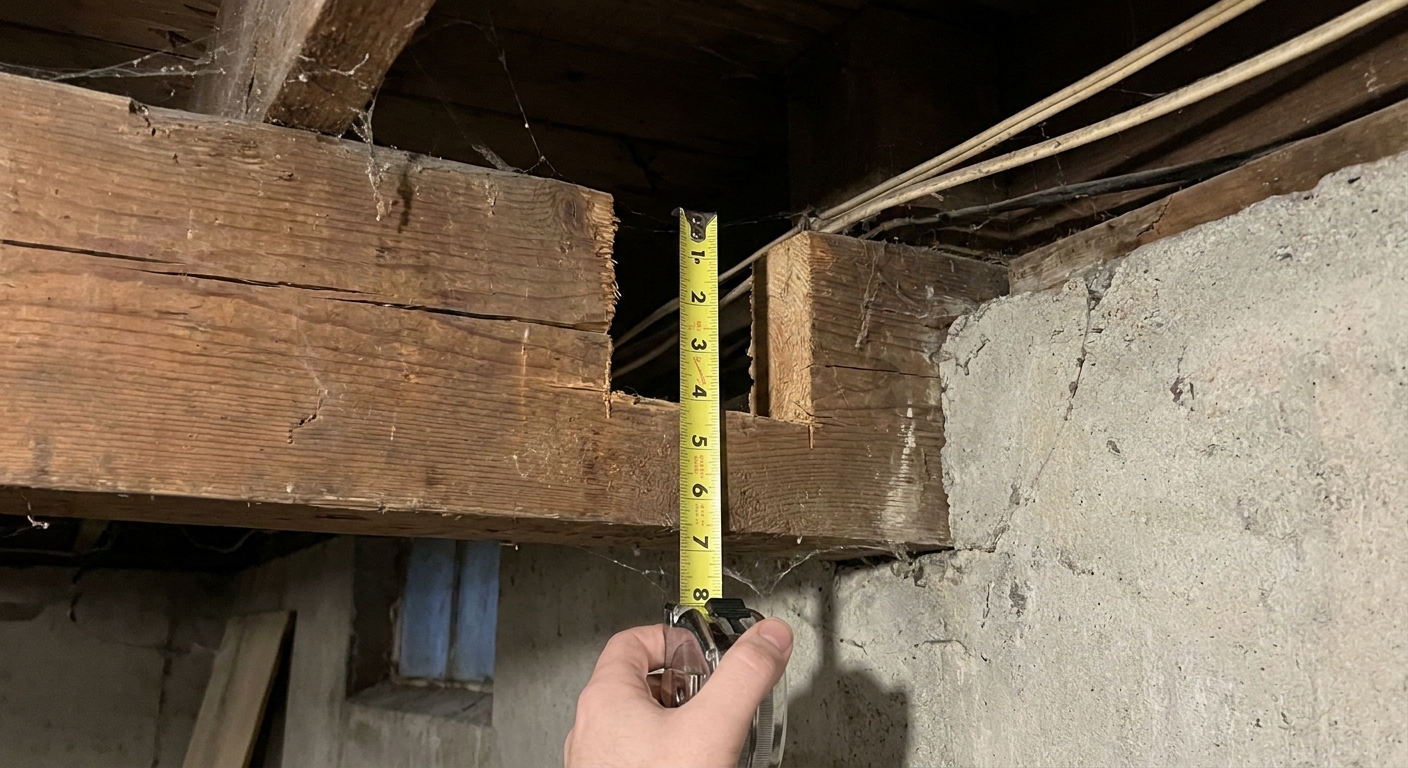
I still remember the first time I saw a cracked roof truss on a remodel in western Washington. It was one of those “just a little split” situations that turns into a stomach drop the moment you realize the crack is right where the web meets the bottom chord. That location is a panel point, and panel points are where trusses earn their keep. A factory-built truss is a designed system. When one member or connection fails, the load does not politely stay put.
A plywood gusset can be a solid repair in the right situation, but only when you respect two realities: trusses are engineered components, and the connector details matter as much as the wood. This guide walks you through a safe, field-proven way to apply a plywood gusset, plus the limits where you should stop and bring in an engineer or truss manufacturer repair letter.
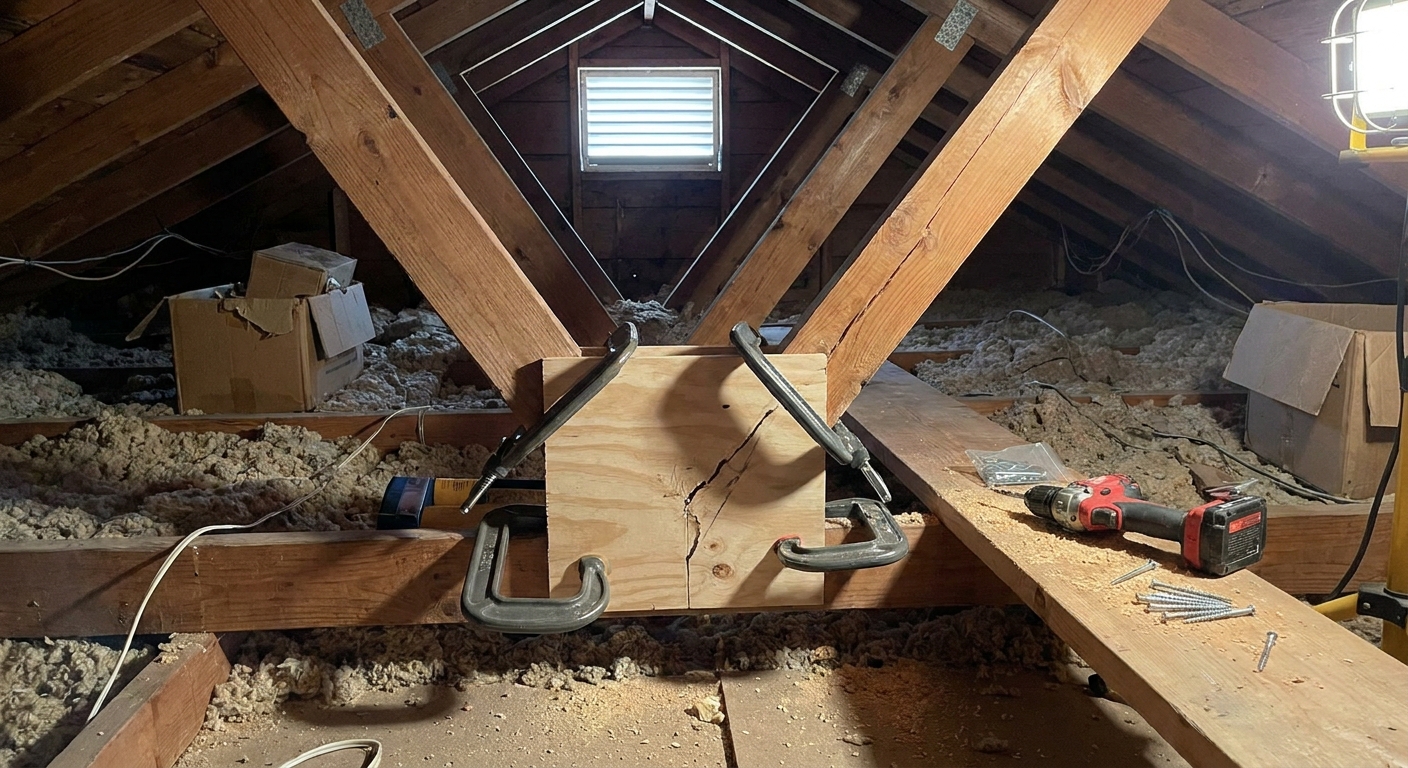
First, the rules you cannot ignore
Before we talk plywood thickness or nail spacing, you need to decide whether a gusset repair is even appropriate. Some cracks are “repairable with reinforcement.” Others are “do not touch without engineered direction.”
Stop and call a pro if any of these are true
- The truss is sagging (ridge line dip, ceiling cracks spreading, chords visibly bowed).
- The damage is at or near a metal connector plate (the toothed truss plate) and the plate is loose, bent, rusted, or pulled out.
- The crack is at a panel point and you cannot clearly separate wood damage from connection damage. A lot of “cracked at the joint” problems are really plate problems, load path problems, or both.
- The crack is in a tension zone and you cannot fully close it with light clamping and temporary support. Bottom chords are often in tension.
- A member is broken through (separated fibers, missing section, crushed wood) rather than a simple split.
- Multiple members are damaged or the truss was cut for a hatch, duct, skylight, or plumbing.
- This is a girder truss or a truss carrying point loads (valley set, beam pockets, heavy HVAC platform).
- You are in a high snow or high wind area and the repair is not specified.
In those cases, get an engineered repair detail from the truss manufacturer or a local structural engineer. The cost of a letter is usually less than the cost of guessing wrong.
When a plywood gusset is usually reasonable
- A single crack or split in a web member or chord where the truss is still in plane and not deformed.
- Damage caused by handling, minor impact, or a split at a knot that has not propagated far.
- The connector plates are intact and fully embedded, and the damage is clearly in the wood member, not the plate connection.
- You can safely add temporary support and access both sides of the damaged area (or you can add a one-side gusset only if a repair detail specifically allows it).
Permit reality: Many jurisdictions commonly treat truss repairs as structural work. If you are pulling permits for a remodel, expect the inspector to want an engineered repair detail.
Tools and materials that matter
A gusset repair is not the place for mystery plywood scraps and a handful of drywall screws. Use structural materials and fasteners that behave predictably.
Recommended materials
- Plywood: 1/2 inch or 5/8 inch rated structural sheathing plywood is a common choice for gussets. In some regions you will hear “Structural I.” In other areas, look for an equivalent rated structural panel (for example, PS 1 plywood sheathing with an appropriate bond classification such as Exposure 1 where required). The big idea is: use a panel that is actually graded for structural fastening, not a flimsy project panel.
- Adhesive: A high quality construction adhesive that is rated for structural or subfloor use. Adhesive is not a substitute for fasteners, but it helps the gusset act like part of the member.
- Fasteners: Nails are typically preferred over screws for gusset schedules because nails have good ductility under load. Common job-site choices are 8d common (about 2-1/2 inches) or 10d common (about 3 inches), or equivalent connector nails when a detail calls for them.
- Clamps: Bar clamps or C clamps long enough to pull the gusset tight while fastening.
- Temporary support lumber: 2x4s or 2x6s for shoring and bracing.
What not to use
- Drywall screws (brittle, snap under load).
- Deck screws (better than drywall screws, still not the usual spec for truss gussets).
- Thin luan, underlayment, or “project panel” plywood (not rated for structural shear and nail values).
- Glue only repairs.
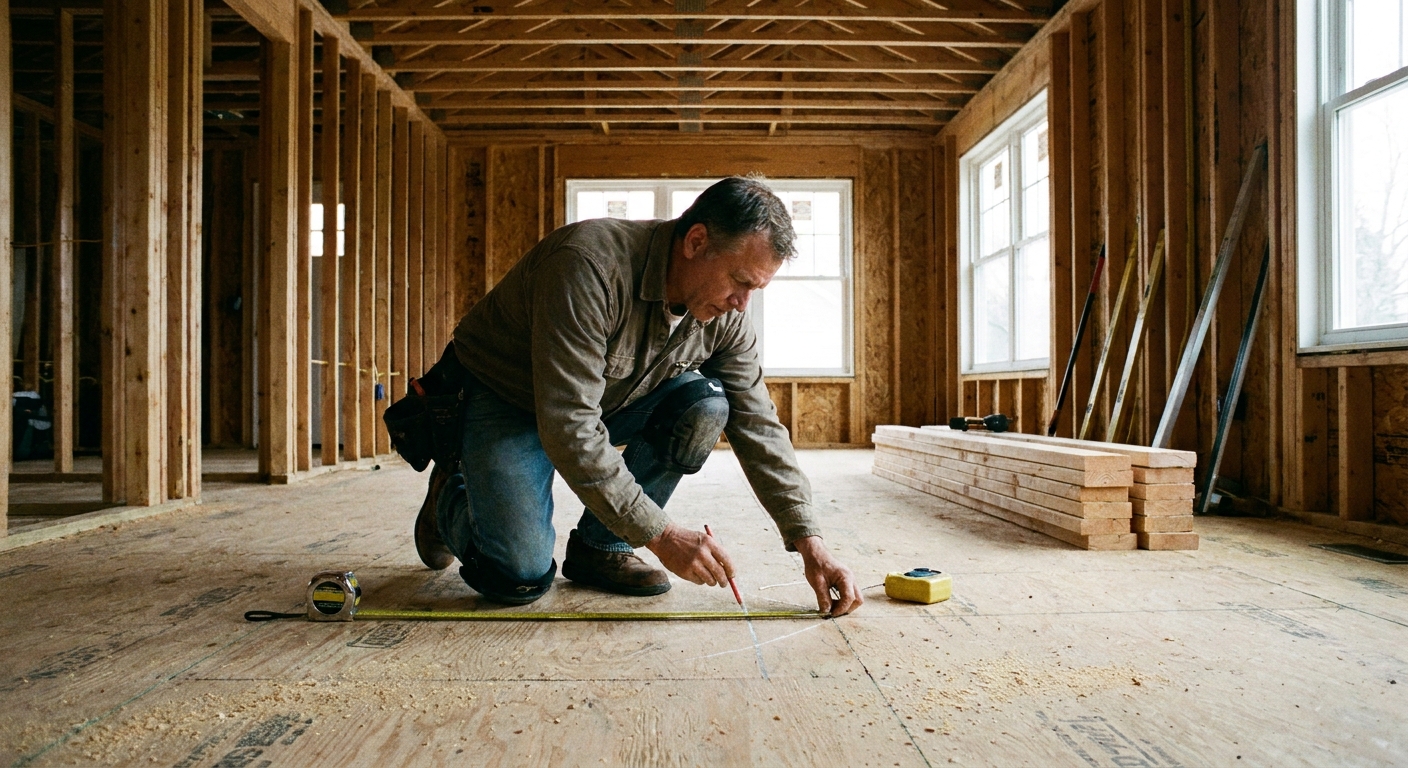
If you need a refresher on structural layout and planning before you commit to cuts and fasteners, I’m a big believer in building a sequence first, not a mess later. That mindset is exactly why I wrote Make a Cut List Before Buying Wood. The same discipline applies here: measure, plan, stage, then fasten.
Step 1: Stabilize the truss
The most common DIY mistake is slapping a gusset over a crack while the truss is still moving. If the member is under load and you lock it in the wrong position, you can build in stress and invite another failure nearby.
How to support it safely
- Clear the area: Do not stack materials in the attic near the damaged truss. Get people out from under the area if the truss is badly compromised.
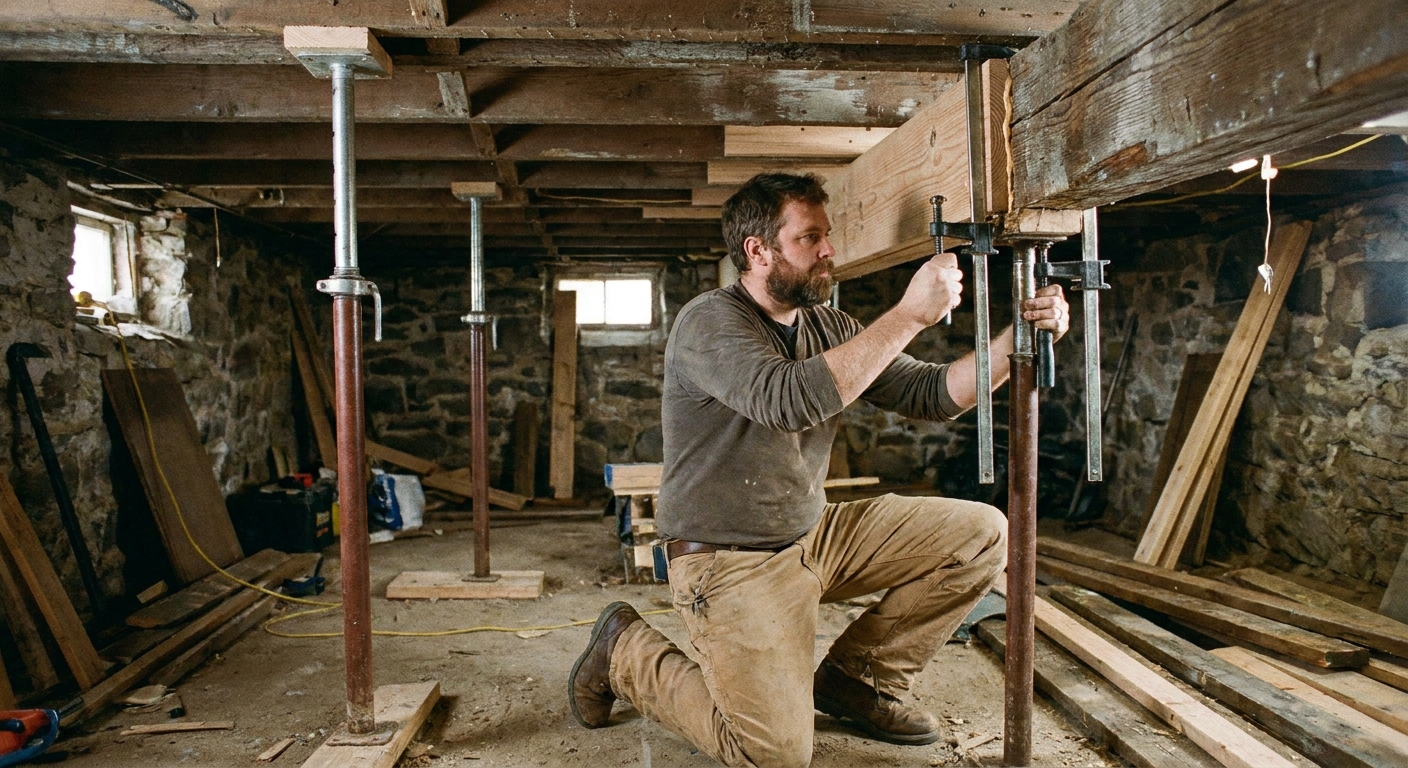
- Add temporary shoring: If you can, install a temporary support under the bottom chord near the damaged panel point. Use a 2x4 post down to a known bearing point (a bearing wall, beam, or other verified load path), not just drywall ceiling. In finished spaces, that can mean you need to verify what is below before you trust it to carry load.
- Brace in plane: Add a 2x4 diagonal brace to keep the truss from racking while you work.
If you need guidance on keeping framing true while you’re working, the same thinking applies as when you’re assembling wall sections. My process is in How to Square a Wall Frame Before Standing It, and the principle is identical: stabilize first, then lock it in.
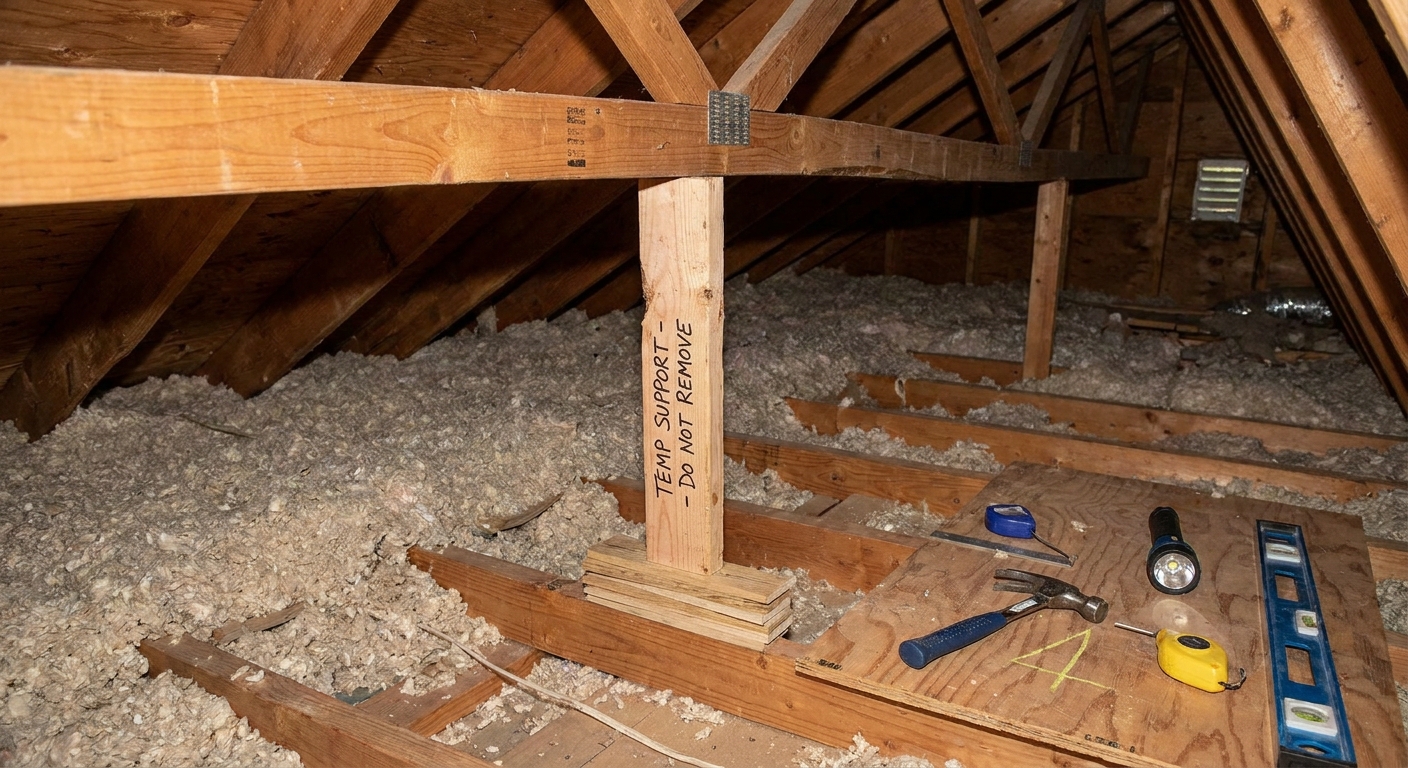
Step 2: Figure out what failed
Cracks are symptoms. If you patch the symptom but ignore the cause, the truss will find another weak spot.
Wood crack or connection problem?
- Wood member crack: a split running with the grain in the web or chord, with connector plates that are tight and fully seated.
- Connection issue: plate teeth lifted, plate shifted, crushed fibers right at the plate, or a gap at the joint that will not close with light clamping and proper shoring.
If you are staring at a panel point and you cannot tell which one it is, treat it as a connection problem and get a repair detail.
Common causes of truss cracking
- Impact damage: Someone stepped on a web, dropped a bundle of shingles, or jammed a storage platform into it.
- Overloading: Attic storage, heavy mechanical units, or piles of materials concentrated in one bay.
- Moisture problems: Roof leaks, condensation, or poor venting that led to swelling and shrink cycles.
- Alterations: A cut web, drilled chord, or removed bracing.
Also look for missing permanent bracing. Many trusses rely on web bracing and lateral restraint to prevent buckling. If bracing was never installed or was removed, the truss can fail even if each individual stick looks fine.
Step 3: Size the gusset correctly
A plywood gusset works by spreading force from the damaged member into adjacent wood fibers over a larger area. That only happens when the gusset is big enough, oriented correctly, and fastened with a pattern that develops shear capacity.
Plywood thickness
- 1/2 inch structural plywood is a common minimum for many field gussets.
- 5/8 inch gives you more fastener bite and stiffness, especially when you have limited area for nails because of plates or tight geometry.
If your repair detail specifies thickness, follow it. If you are guessing, you are already in “call for engineering” territory.
Orientation and shape
- Align the panel strength axis with the member when possible: plywood is stronger in one direction than the other. If you are not sure which way the panel is stronger, that is another nudge toward getting a detail and not freelancing.
- Use generous edge distance: sharp inside corners invite splits. Cut outside corners with a small radius or chamfer.
- Cover past the crack: the gusset should extend well beyond the damaged area so the fasteners are not all clustered near the fracture.
How big should it be?
In field practice, you often see gussets that extend at least 12 to 24 inches past the damage in each direction along the member, and wide enough to catch both the member and the joint zone. But truss loads vary wildly.
What matters more than “lots of nails” is clean edge distances, reasonable nail spacing, and enough length for the load to transfer gradually. A short gusset with a tight row of nails can still fail because the load never had enough distance to ramp into the plywood.
Rule of thumb I follow: if I cannot make a gusset large enough to get a clean, consistent fastener pattern with proper edge distances, I do not proceed without a designed repair.
Step 4: Prep for a real bond
Most attic framing is dusty. That dust layer is a bond breaker. Spend five minutes cleaning and you will get a repair that behaves like one unit.
- Brush off dust on the truss member and the plywood where adhesive will go.
- Test fit the gusset before glue. Confirm it sits flat without rocking on plate teeth or knots.
- Close the crack gently with clamps if the member can be brought back together without forcing alignment. You are not trying to bend the truss straight. You are trying to return the fibers to their original contact.
Adhesive reality: cold attics slow cure times, and some adhesives are not intended for structural load transfer. Use an adhesive that is rated for the application, and follow the manufacturer temperature range and cure time.
Step 5: Glue, clamp, then fasten
This is where most gusset repairs succeed or fail. A good gusset is not “nailed on.” It is fastened in a pattern that transfers shear across the plywood to the member.
Adhesive application
- Run a consistent bead of construction adhesive across the contact area. I like a zig-zag bead on wider areas so it spreads when clamped.
- Keep adhesive back slightly from the very edge so squeeze-out does not prevent the plywood from seating tight.
Fastener pattern basics
If you have an engineered schedule, use it. If you do not, treat any “typical field pattern” as a non-universal starting point for minor, clearly understood damage only, and only where local requirements allow. When in doubt, stop and get a repair detail.
- Edge distance on the plywood: keep nails roughly 3/8 inch to 1/2 inch back from the plywood edge to reduce splitting and breakout.
- Edge distance on the truss member: keep fasteners away from the edge of narrow webs and chords so you do not split the member while “repairing” it.
- Spacing: use a consistent grid. A common field pattern you will see is 2 to 4 inches on center along edges and 4 to 6 inches in the field, staggered, but again, that is not a spec and it is not right for every truss or every crack.
- Stagger nails: do not create a straight zipper line that encourages splitting along the grain.
- Do not overdrive: a nail head buried deep crushes fibers and reduces capacity. Seat the head flush.
Important: If the member is narrow (like a 2x4 web), a tight nail pattern can split the member even if the plywood survives. If you see the member wanting to split, stop and change the plan.
Both sides is best
For many repairs, installing gussets on both faces of the truss member creates a balanced reinforcement and reduces the chance of eccentric loading. If you can only access one side, that is another reason to seek an engineered repair detail.
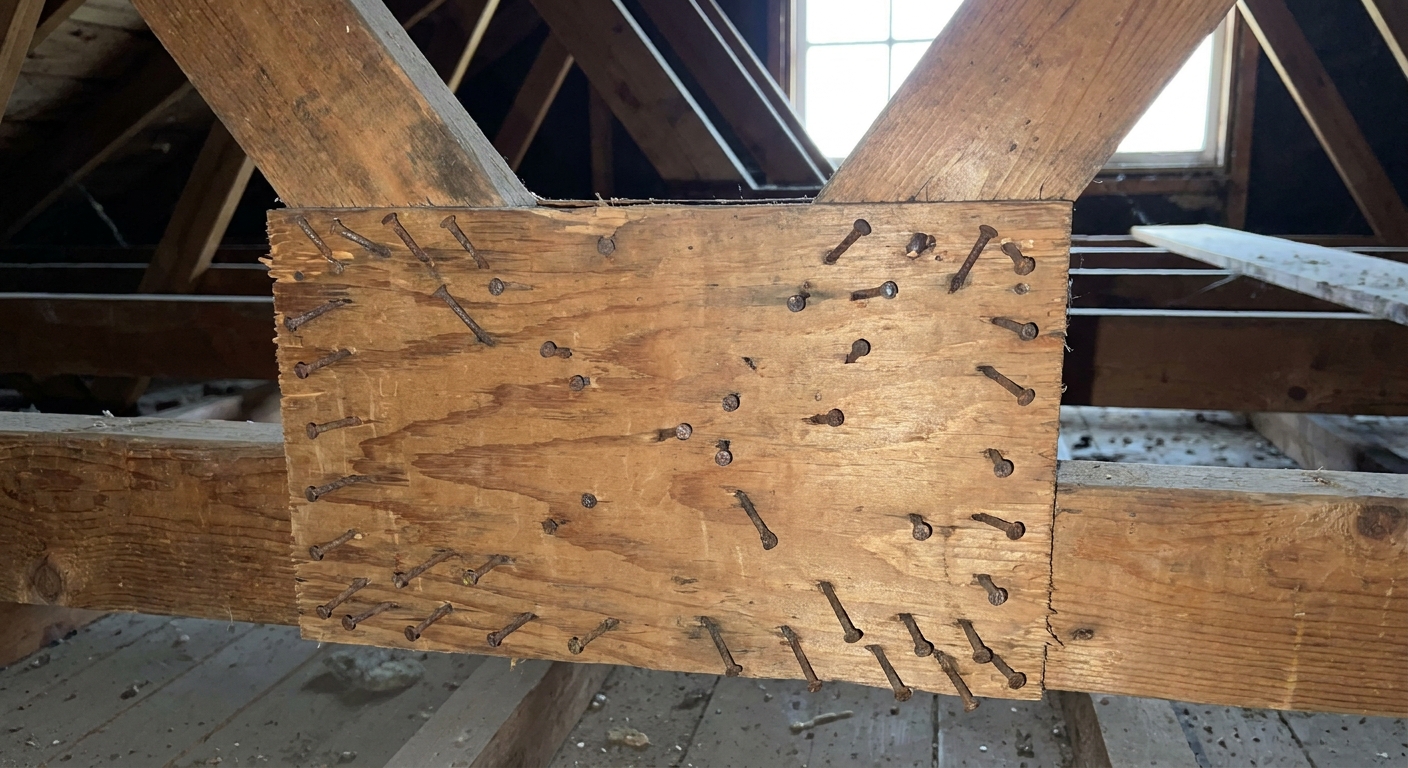
Step 6: Work around plates carefully
Metal connector plates are not meant to be treated like regular steel brackets. If you drive nails through the plate teeth zone, you can reduce its capacity or create a new split.
- Do not pull plates out to “reset” them.
- Do not hammer directly on plates unless a repair detail specifically instructs it and you have the right tooling and support in place.
- Fit the gusset so it bears flat without rocking on the plate. If the plate protrudes, you may need to notch the plywood slightly. Do not remove wood from the truss to make the plywood easier.
If the plate itself is compromised, that is generally not a plywood gusset problem. That is an engineered repair problem.
Step 7: Restore permanent bracing
Sometimes the crack was not a one-time event. It was the truss slowly buckling due to missing restraint. A gusset can patch the cracked member but the truss can still be under-braced.
Typical permanent bracing includes lateral bracing on long webs, diagonal bracing to transfer load, and proper roof and ceiling diaphragms. The bracing layout depends on the truss design and the building, so I will keep this simple:
- If bracing was removed, put it back.
- If you see long unbraced webs (especially compression webs), consider that a red flag and seek guidance rather than guessing.
Step 8: Cure and unload slowly
Construction adhesive needs time. If you remove shoring immediately, the joint may shift before the adhesive sets and your fasteners take full load.
- Follow the adhesive manufacturer’s cure time for structural handling. Cold temperatures can extend cure times significantly.
- Back off shoring gradually while watching the repair area. You are looking for movement, new cracking sounds, or visible opening at the original fracture.
- Recheck after a day and again after a big weather event if you are in a snow load zone.
Common mistakes
- Using whatever plywood is on hand (thin scraps, non-structural panels).
- Fastening with screws and calling it good.
- Too-small gussets that do not extend far enough past the crack.
- Nails all in a straight line that split the truss member.
- Repairing only one side when access for both sides is possible.
- Ignoring the reason it cracked (missing bracing, moisture, overload).
- Working without temporary shoring so the truss moves as you fasten.
- Treating a panel-point issue like a simple wood split when the plate or the connection is part of the failure.
FAQ
Can I use OSB instead of plywood for a gusset?
In the field, plywood is the safer bet because it handles fasteners and edge conditions more predictably. OSB can work when a stamped repair detail specifies it, with the correct thickness and fasteners. Without that detail, I do not treat OSB as a drop-in substitute.
Can I repair a cracked truss without sistering the member?
A plywood gusset is one form of sistering. In some cases, an actual dimensional lumber scab (a longer sister) is the right fix, or a combination of scab plus plywood. The correct choice depends on load path and where the crack is.
Is a cracked truss an emergency?
If you see sagging, audible popping, or a plate pulling out, treat it as urgent. Add temporary support and get professional eyes on it. If it is a minor split with no deformation and plates are intact, you still want to address it soon before seasonal loading makes it worse.
Does glue really help if I’m nailing it?
Yes, when the surfaces are clean and clamped tight, and you are using an adhesive rated for the application. The nails provide clamping force and immediate mechanical connection. The adhesive helps reduce slip and spreads load, which is exactly what you want in a gusset repair.
If you are unsure, pause
I’m all for confident DIY work and smart repairs. I’m also a big believer in knowing when a structural system is telling you, “This is engineered.” If your truss has deformation, plate damage, multiple cracks, or any uncertainty about load path, the safest move is to get an engineered repair detail and build it exactly as specified.
For more repair-focused carpentry guides, you can browse the Home Repair guide on Carpentry Pro Framer.