I grew up sweeping sawdust in a little woodshop where the old-timers drilled one rule into my head: measure twice, cut once. In remodel framing, I add a second rule: support first, cut second. A load-bearing wall is not just a divider. It is a working part of the structure, and if you treat it like a nonbearing partition you can end up with a sagging ceiling, cracked drywall, sticky doors, or worse.
This guide walks you through how I plan, temporarily support, and frame a load-bearing wall in a typical residential renovation. I will keep it practical, but I will also be blunt where it matters: if anything about the load path is unclear, or you are changing beams, posts, spans, or openings, bring in a qualified structural pro and pull the right permit. Remodeling is where “close enough” gets expensive.
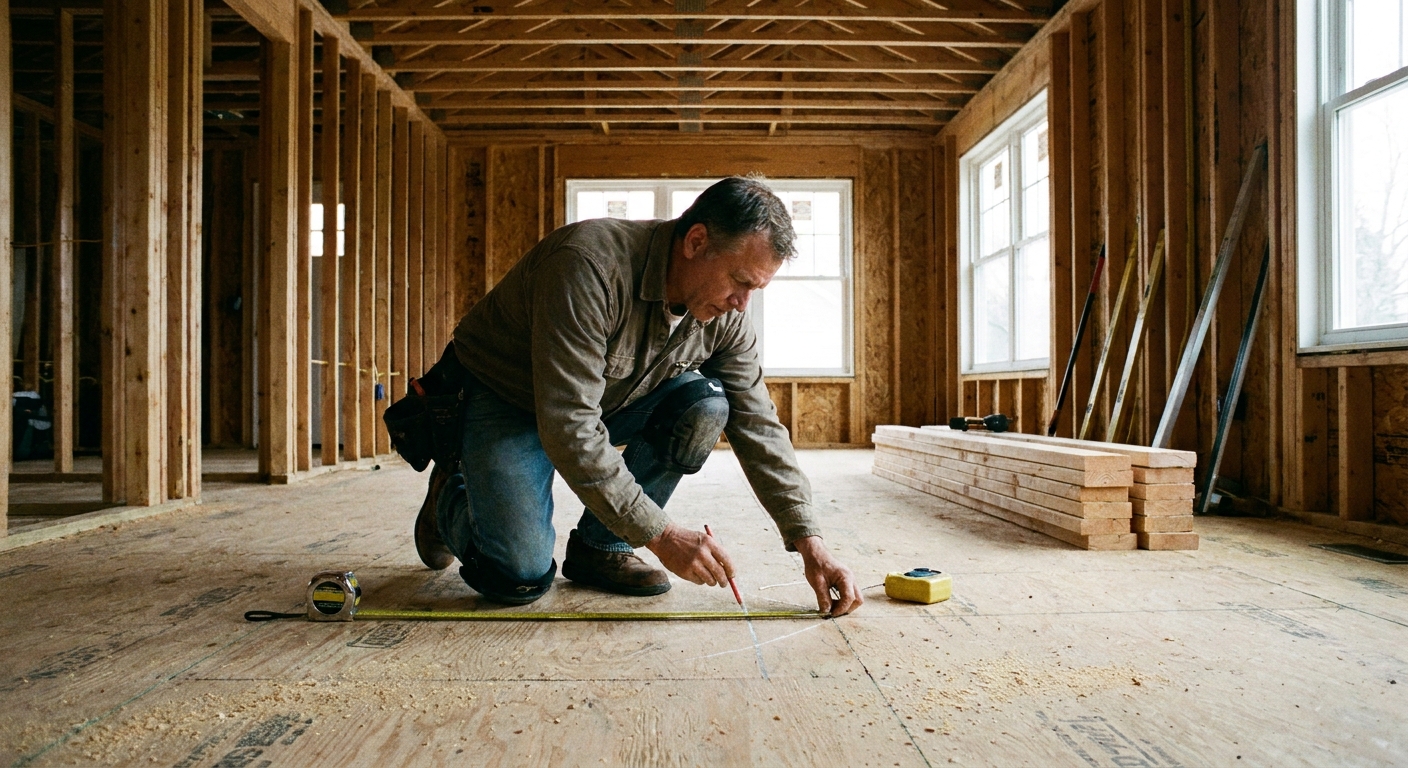
Before you touch a stud
In a remodel, half the battle is correctly identifying what is carrying load. The cues below are just that: cues. Any one of them can show up in a nonbearing partition, especially in older homes with odd framing, dropped beams, or repairs over the years. Stack evidence until you are confident, and when you can, confirm by tracing the load down.
Clues a wall may be load-bearing
- Joists or trusses bear on it. Look for joists ending on the wall line, hangers attached to a top plate line, or a clear bearing point. Joists that simply cross over a wall do not prove it is bearing.
- It runs perpendicular to the joists. Many bearing walls do, but plenty of nonbearing partitions also run perpendicular. Use this as a starting point, not a verdict.
- There is a wall or roof load directly above it. A second-story wall stacked in the same line, a stair opening, or roof framing landing on that line is meaningful.
- There is support directly below it. A beam, girder, foundation wall, or another wall aligned below is a stronger confirmation than joist direction alone.
- You see bearing-style details. Built-up studs, posts, hanger hardware, or a concentrated load point are all flags.
A stronger confirmation method
When possible, I verify the load path in both directions:
- Up: identify what framing is actually bearing on that wall line (joist ends, hangers, truss seats, a beam pocket, or a stacked wall above).
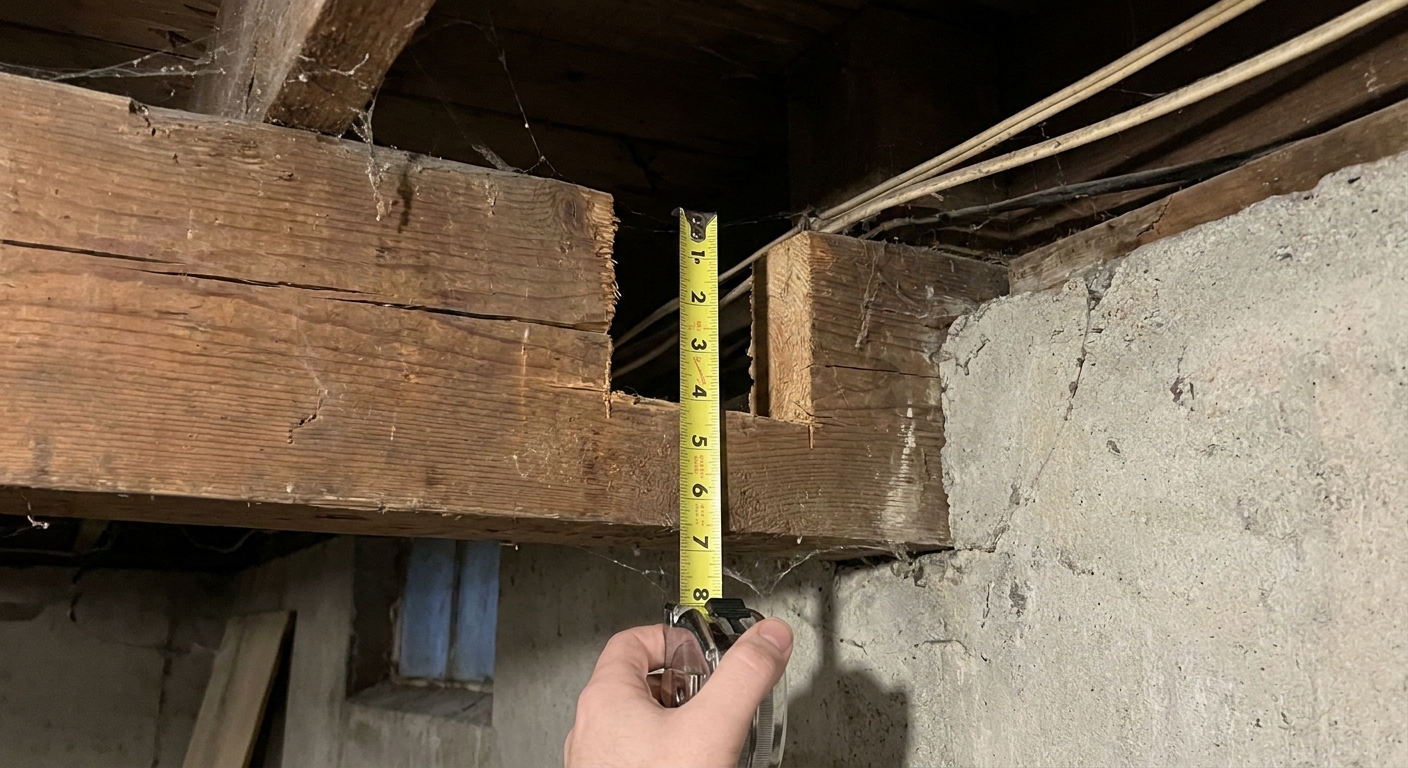
- Down: confirm what that wall bears on (foundation, beam, aligned wall, or solid blocking that transfers load to structure). If the load would have to “jump” sideways, you are in engineering territory.
When to stop and get help
- You are removing the wall entirely or widening openings significantly.
- You see engineered products (LVLs, I-joists, trusses) tying into that wall in a way you cannot clearly trace.
- The wall supports a point load (post, beam pocket, concentrated load from above).
- You are in a seismic or high snow load area and the wall may be part of the lateral system.
If you want a broader framing refresher before you dive in, start with our Framing guide. It will help you visualize the load path and the “why” behind the steps below.
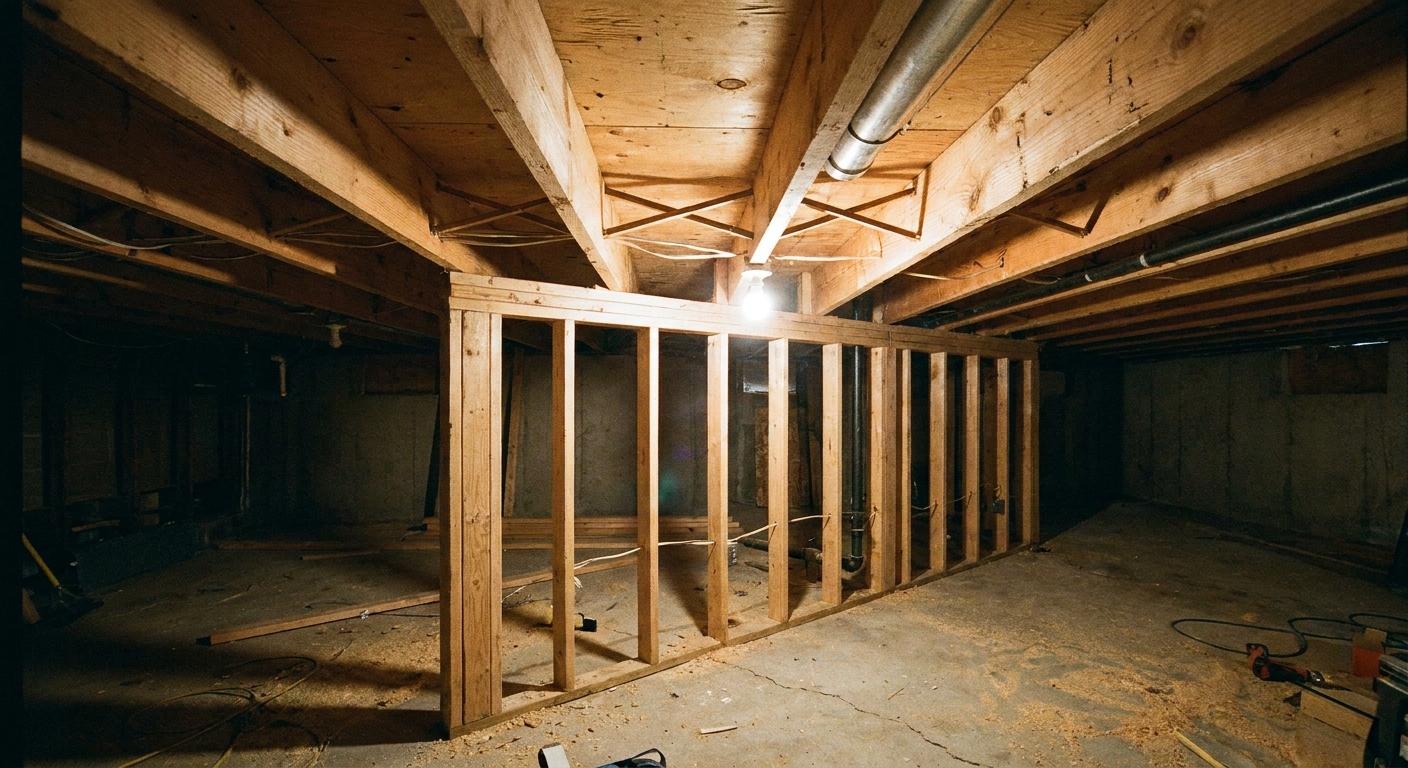
Plan it like a framer
For a bearing wall remodel, I plan in three layers: (1) what is carrying load today, (2) how I will carry it temporarily, and (3) what the permanent framing will look like when the dust settles.
Checklist: what to gather
- Span direction and spacing of floor joists and ceiling joists above.
- What is directly below the wall: slab, joists, beam, crawlspace, basement, or another wall.
- Any utilities in the wall: electrical, plumbing, HVAC, gas lines.
- Ceiling finish: drywall, plaster, tongue-and-groove. Plaster cracks easily and changes how gentle you need to be.
- Door and window locations nearby that can go out of square if the structure moves.
Utility safety (do not wing this)
- Electrical: shut off the circuit and verify it is dead. If you are moving wiring, this is often a good moment to use a licensed electrician.
- Plumbing: shut off water and plan for caps and drain-down. If you are relocating supply or drain lines, a licensed plumber is usually worth the money.
- Gas: if there is a gas line in the wall, stop and call a qualified pro. Gas work is not a “learn as you go” trade.
Permits and inspections
Most jurisdictions require a permit when you modify load-bearing framing. Even if you are “just reframing,” the inspector may want to see temporary shoring, header sizing, bearing, connectors, and fastening. It is easier to frame once than to open it back up because you guessed.
On material planning, I am a big believer in writing the whole cut list before you buy anything. It saves trips and prevents those “almost the right stud” moments. If you need a system, see Make a Cut List Before Buying Wood.
Tools and materials
Tools
- Stud finder (for finishes) and a strong magnet for fastener locating
- 25 ft tape, pencil, chalk line
- 4 ft level or a straightedge level
- Laser level (optional but helpful for long walls)
- Circular saw and reciprocating saw (demo and trimming)
- Hammer or framing nailer, impact driver
- Drill with bits for pilot holes and structural screws
- Pry bar, flat bar, shims
- Hearing and eye protection, respirator for older drywall and insulation
Materials
- Studs: typically SPF 2x4 or 2x6 to match existing
- Plates: pressure-treated if contacting concrete, otherwise standard lumber
- Temporary support lumber: straight 2x4s and enough studs for tight spacing
- Fasteners: 16d nails, 10d nails, structural screws where appropriate
- Header materials (if building an opening): lumber header, LVL, or engineered header per design
- Shims: wood or composite
For a deeper tools rundown and what is worth buying versus renting, browse our Tools guide.
Step 1: Mark the load path
Before I build temporary supports, I take 10 minutes to mark exactly where the existing wall is, where the new wall will land, and where the loads are coming from.
What I mark on the floor
- Existing wall centerline
- New wall centerline (if relocating)
- Edges of any new openings
- Stud layout reference marks (I like to keep a “zero” corner)
What I check overhead
- Where joists or trusses cross the wall
- Any splices, hangers, or bearing points above
- Ceiling seam lines that might crack if things move
This is also where I confirm there is a solid place for the temporary supports to bear. If the floor is questionable or the structure below is not aligned, you may need a more engineered shoring setup.
Step 2: Build temporary support
If you remember only one thing from this article, make it this: your temporary support is a structural element. Build it straight, snug, and on solid bearing.
Where to place temporary walls
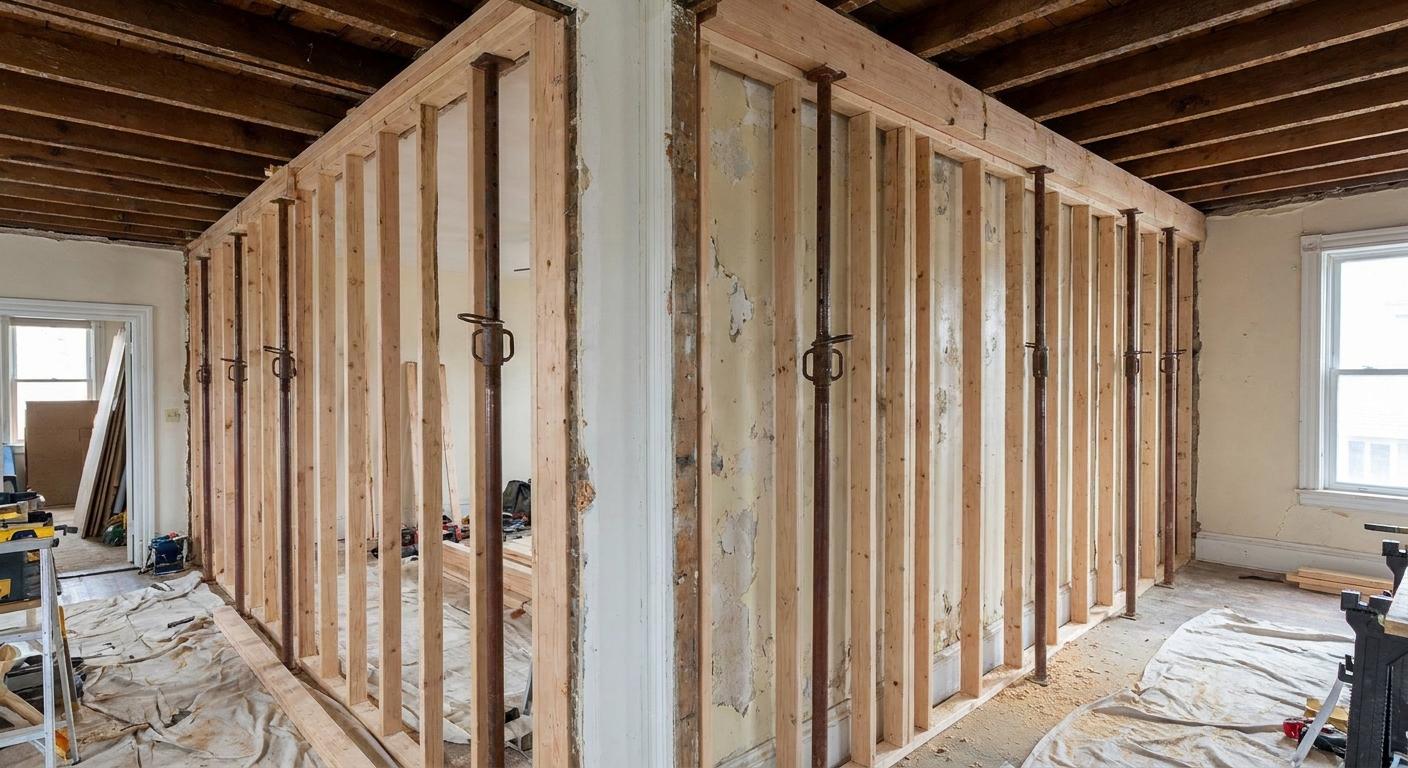
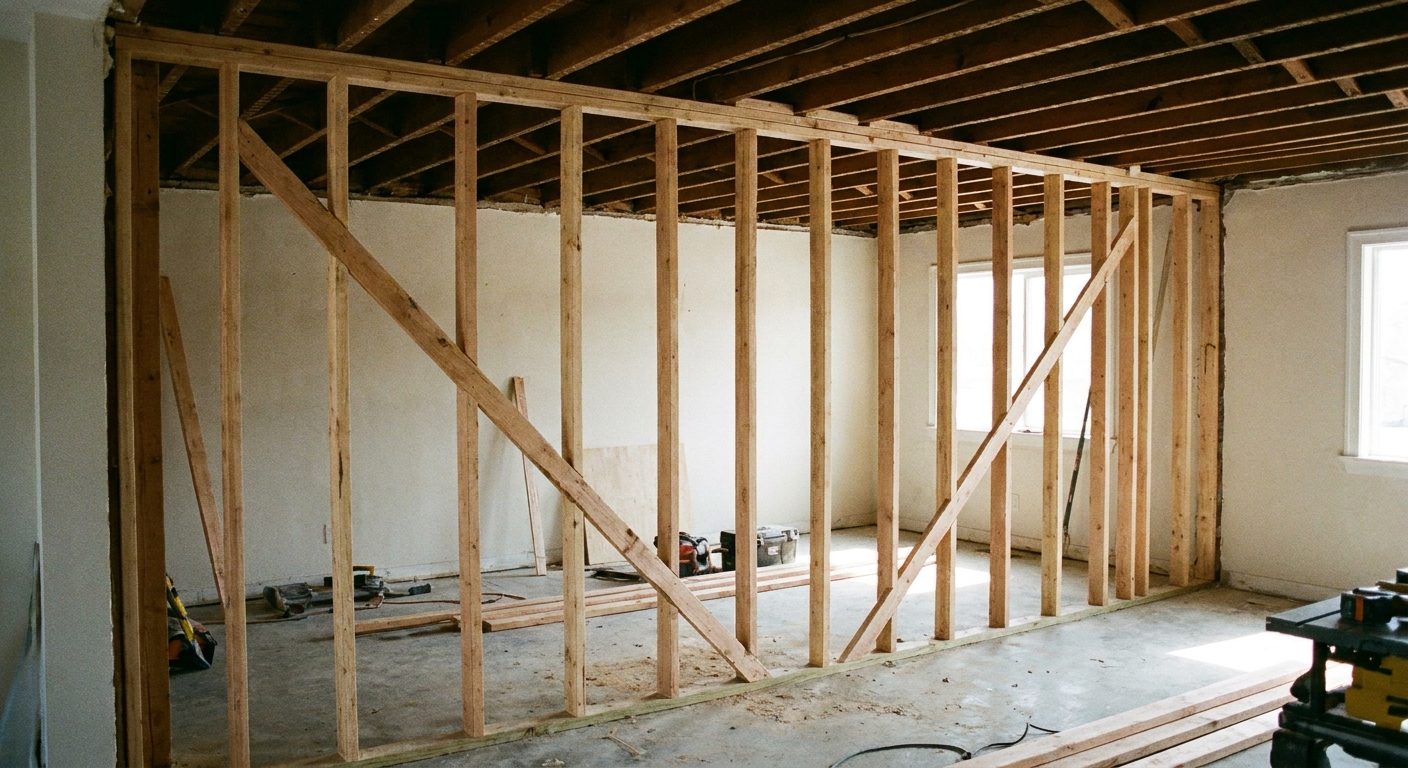
In many remodels, you will build two temporary walls, one on each side of the load-bearing wall you are modifying. Typical spacing is 2 to 4 feet away from the wall, far enough to work but close enough to catch the load without excessive flex in the joists.
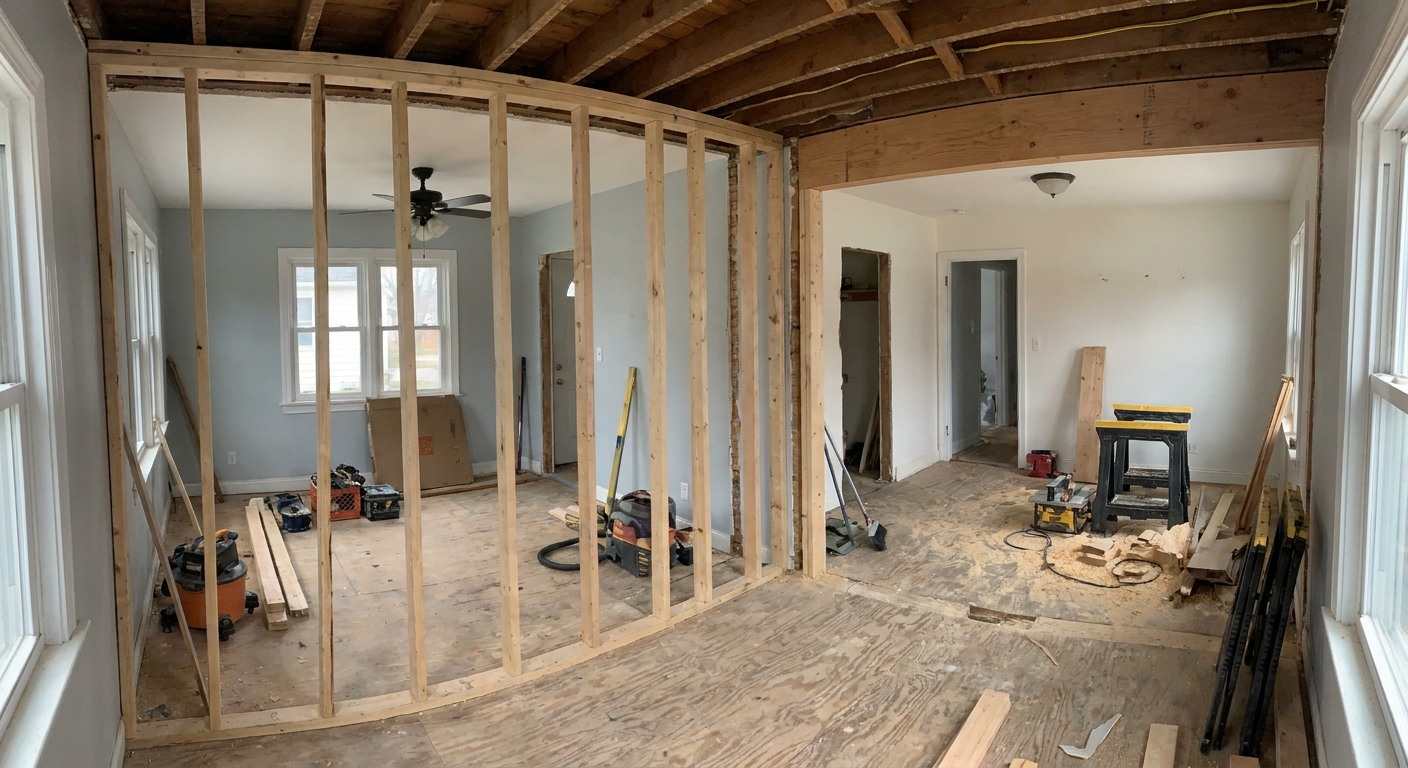
How to frame a temporary support wall
- Snap a line for the temporary wall location on the floor.
- Cut plates to length. I like full-length plates when possible.
- Fit studs for contact, not lift. Some framers cut studs 1/8 inch to 1/4 inch long and tap them into place. That can work on modern drywall with framing directly above, but it can also crack plaster or just compress finishes if the framing is furred down. The goal is snug contact with the framing. If you are unsure what is above the ceiling finish, use shims, wedges, or another method that lets you sneak up on contact without jacking the house.
- Support the joist line evenly. If the ceiling framing is exposed, I like to line studs up under joists. If it is not exposed, do not guess and create point loads on drywall. Build the temporary wall with tight spacing so it supports the load broadly along the line.
- Add stiffness if needed. A double top plate can help on uneven ceilings and spreads load a bit better.
- Fasten plates well so the wall cannot kick out. Protect finished floors and use fasteners you can patch cleanly later.
Temporary support alternatives
Sometimes a stud wall is not the cleanest option. Depending on access and finishes, I have used:
- Adjustable steel posts with a temporary beam (strongback) to carry load across an opening or across a long run. The beam and bases still need to be sized and supported correctly.
- A single temporary wall for small, controlled work where you are not fully removing the bearing line, and you have clear confirmation of what is being supported.
- More than two supports when the load is heavy, the span is long, the wall is part of a complicated intersection, or the structure below is questionable.
Shoring safety checks
- The temporary wall is plumb enough that studs are not trying to buckle.
- The top plate is contacting framing, not just crushing drywall or plaster.
- The bottom plate sits flat and cannot slide.
- Loads are supported continuously. Avoid “one post in the middle” unless it is engineered and properly based.
Once the shoring is built and checked, then you start removing studs or cutting plates. I do not cut first and hope the support catches up.
Step 3: Open the wall
With temporary support in place, you can open the existing wall. I prefer to remove drywall in controlled strips so I can see framing connections without turning the room into a landfill.
What to look for inside
- Stud size and spacing to match in the new wall
- Top plate details: single top plate, double top plate, or splices
- Point loads: posts, built-up studs, strap connections, or beams landing in the wall
- Header locations over existing openings and how they are supported
- Hold-downs or straps that suggest lateral bracing function
If you find something you did not plan for, stop and adjust the plan. Remodels love surprises.
Step 4: Layout the new wall
Good layout is where framing starts to feel like geometry. When I am teaching new builders, I tell them to lay out studs on the plates like you are laying out a story pole. Your speed later comes from being accurate now.
Stud layout basics
- Match existing framing. Most interior bearing walls are 16 inches on center, but 24 inches on center is common in some houses and with certain loads.
- Mark stud positions on both plates together, crown direction consistent.
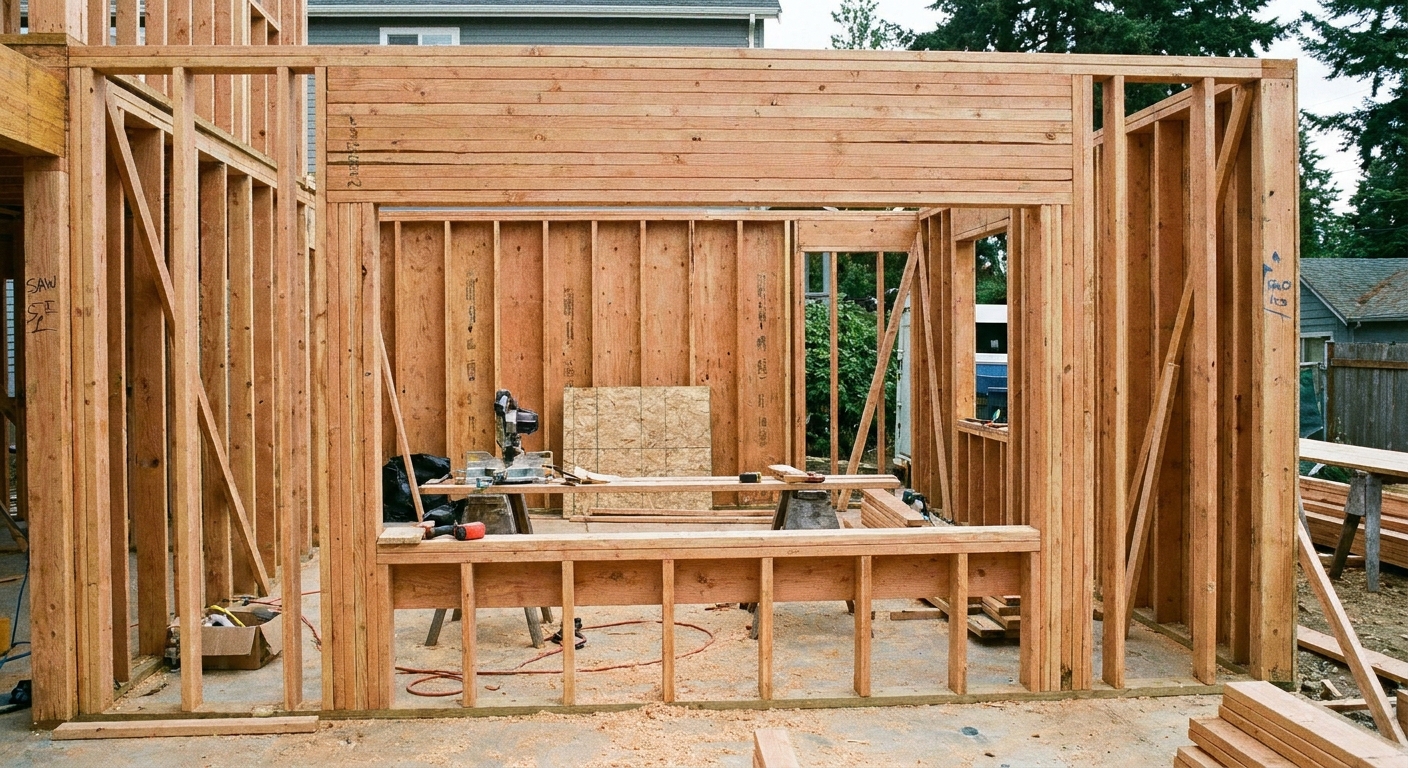
- Mark openings: king studs, trimmers (jack studs), and header length.
- Plan for tie-ins at intersecting walls.
Account for remodel realities
- Out-of-square floors and ceilings are normal. Your wall needs to be straight even if the house is not perfect.
- Drywall thickness changes dimensions at corners and returns. Know your finish build-up.
- Mechanical chases may require stud packs or doubled studs.
Step 5: Frame and stand it
If there is room, I frame the wall flat on the floor and tilt it up. It is faster, straighter, and gives you a chance to confirm layout before the wall is fighting gravity.
Build sequence
- Cut studs to length. Measure floor-to-ceiling in several spots.
- Pick a fit that is snug, not forced. I aim for consistent stud length that avoids a loose wall. If the ceiling varies, I would rather shim and tune than cut everything extra long and risk lifting finishes.
- Assemble the wall with studs, corners, and any required stud packs.
- Frame openings with king studs and trimmers, install the header, then add cripple studs above and below as required.
- Stand the wall and tap it into position.
- Plumb the wall, then fasten the bottom plate and top plate.
Fastening notes I trust
- Bottom plate: fasten to the subfloor per code and best practice. If you need more bite or you are near an edge, add blocking below so the plate has something solid to tie into. If the plate is on concrete, use appropriate anchors for your slab and local requirements.
- Top plate: tie into ceiling framing or existing top plate structure. In remodels, I often use structural screws where nailing access is limited.
- Stud-to-plate: follow the nailing schedule for your wall type, keeping splits to a minimum with proper nail placement.
Step 6: Build openings right
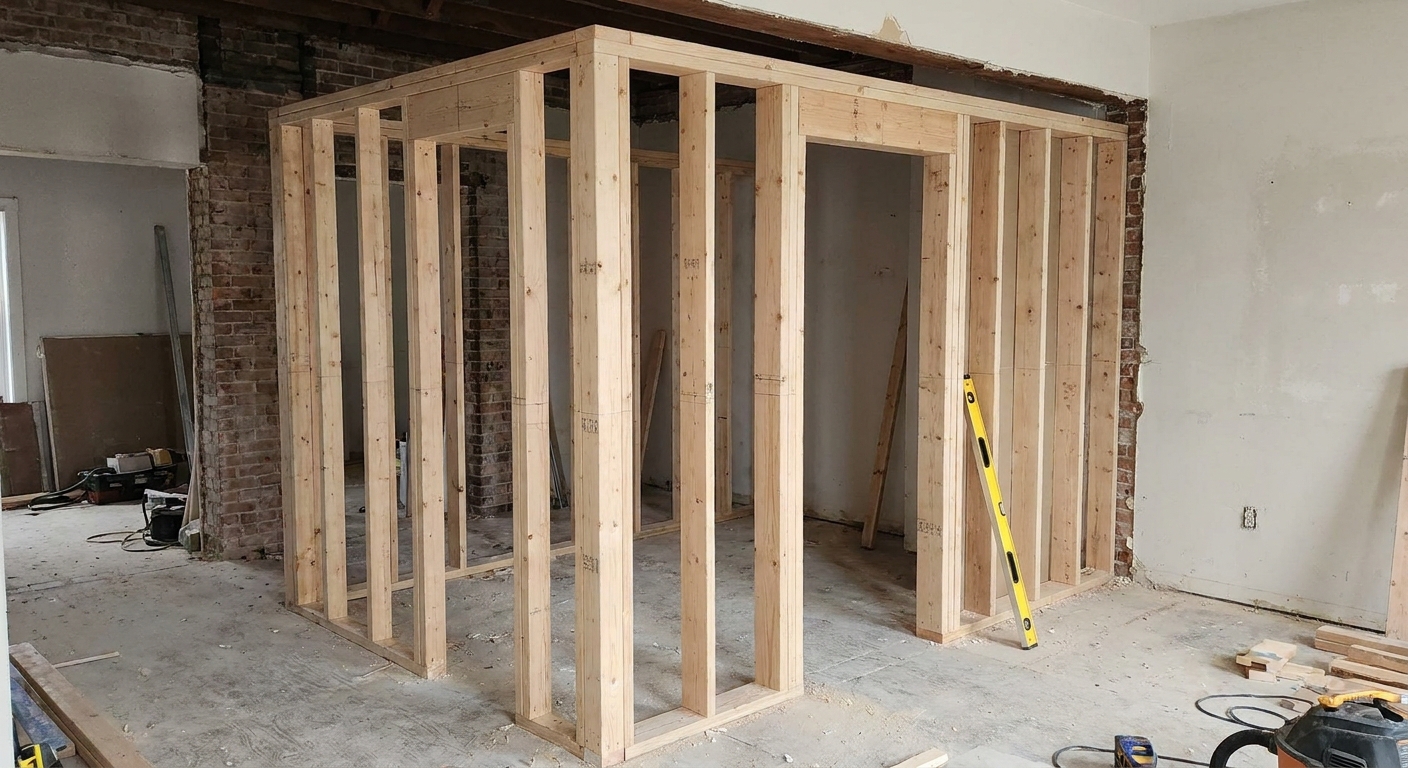
Most load-bearing wall remodels are really about openings. A wider doorway, a cased opening, a pass-through. The opening is where loads concentrate, and that is where clean load transfer matters most.
Header sizing is not a guess
Header size depends on span, loads above, species and grade, number of plies, and bearing length. In a remodel, you might also be dealing with point loads from above. If you do not have a plan or a prescriptive table approved for your jurisdiction, treat header sizing as an engineering item.
Bearing, posts, and load path
- Give headers real bearing. Minimum bearing length is code-defined and varies by condition. Follow local requirements and your plan.
- Use trimmers sized for the load. Often this means doubled trimmers at larger spans, or built-up posts when carrying a beam.
- Keep the load path continuous down to something solid: joists, beam, foundation wall, or properly supported framing below.
- Use required connectors. Hangers, straps, hold-downs, and post bases are not decorations. Install what the plan and code call for.
Cripples and nailing
Cripple studs above headers help transfer load and keep drywall from waving. Keep them consistent with your stud spacing unless your design calls for something else.
Step 7: Tie in clean
A new wall is only as good as its connection to the old house. I focus on three things: alignment, fastening, and preventing squeaks.
Alignment checks
- Plumb at several studs, not just one end.
- Straight along the face of the studs if the wall will get cabinets or tile.
- Top plate line relative to the ceiling. A laser makes this painless.
Squeak prevention
- Fasten plates securely and avoid “half hits” that only grab subfloor skin.
- If the subfloor is loose, fix that before you blame the wall.
A quick word on shear and lateral bracing
Some “bearing” walls also do lateral work. If you find hold-downs, metal strapping, plywood panels, or other bracing details, do not assume swapping in a beam gives you an equivalent structure. Lateral systems are design-specific, and this is one of the most common places remodels go off the rails without an engineer.
If you are also repairing floors or dealing with old subfloor issues, our Home Repair guide covers practical fixes that pair well with remodel framing.
Step 8: Remove shoring slowly
Once the new load-bearing wall or new header system is fully fastened and any required connectors are installed, remove temporary supports slowly. I like to back fasteners out methodically rather than smashing things loose.
What to watch for
- New cracks at ceiling corners or existing seams
- Movement at the new header or wall top plate
- Doors nearby suddenly rubbing
A tiny hairline crack in old plaster does not always mean failure, but visible movement is a stop-and-reassess moment.
Final check before you close it up
- Load path verified: header and posts bear on solid structure below, not finishes.
- All required connectors installed (hangers, straps, hold-downs, post bases).
- Fasteners match the nailing schedule or plan where applicable.
- Wall is plumb and straight where it matters (cabinets, tile, long sight lines).
- No signs of settlement or shifting after shoring removal.
Common mistakes
- Skipping shoring because “it is probably fine.”
- Over-jacking the ceiling with aggressive temporary studs, causing drywall pops and plaster cracks.
- Undersized headers based on what someone saw online rather than the actual load condition.
- Weak bearing points under new posts, especially when the load needs to travel through a floor system.
- Cutting a top plate too early before the load is carried elsewhere.
- Ignoring lateral bracing when the wall might be part of the home’s shear system.
Quick FAQ
Can I replace a load-bearing wall with a beam?
Yes, that is common, but it is not automatically simple. Beam sizing, post sizing, bearing length, connectors, and what supports the posts below are the big variables. This is where engineering and permits are most often needed.
Do I always need two temporary walls?
If you are removing most or all of the wall, I typically shore both sides so the joists are supported evenly and the work zone stays stable. For smaller changes, one well-built support may be enough, but I still prefer redundancy when finishes and spans are unknown.
Should temporary studs be tight enough to lift the ceiling?
No. You want to support, not jack. If you lift, you can create cracks and change load distribution in ways you do not intend. Snug contact is the target.
2x4 or 2x6 for a bearing wall?
Match the existing wall and the structural plan. Many interior bearing walls are 2x4, but 2x6 is common when there are plumbing runs, higher loads, or sound and insulation goals.
One last reminder
Framing a load-bearing wall in a remodel is satisfying work because you can feel the house settle into something solid and intentional again. But the order matters. Confirm the load path, shore it, verify conditions, then build the permanent framing clean and plumb.
If you want more framing fundamentals and terminology in one place, keep the Framing guide bookmarked. It is the kind of reference I wish I had the first time I opened a wall and found something I did not expect.