

I grew up sweeping sawdust in a little woodshop where the golden rule was burned into me early: measure twice, cut once. Stair stringers are where that rule earns its keep. A deck or porch stair can look “close enough” until you set the level on the handrail and feel that first step that is just a hair taller than the rest. Your knees notice. Inspectors notice too.
This guide walks you through measuring rise and run, picking a comfortable and code-friendly layout, and cutting stringers cleanly so your treads land flat and your risers stay consistent from top to bottom.
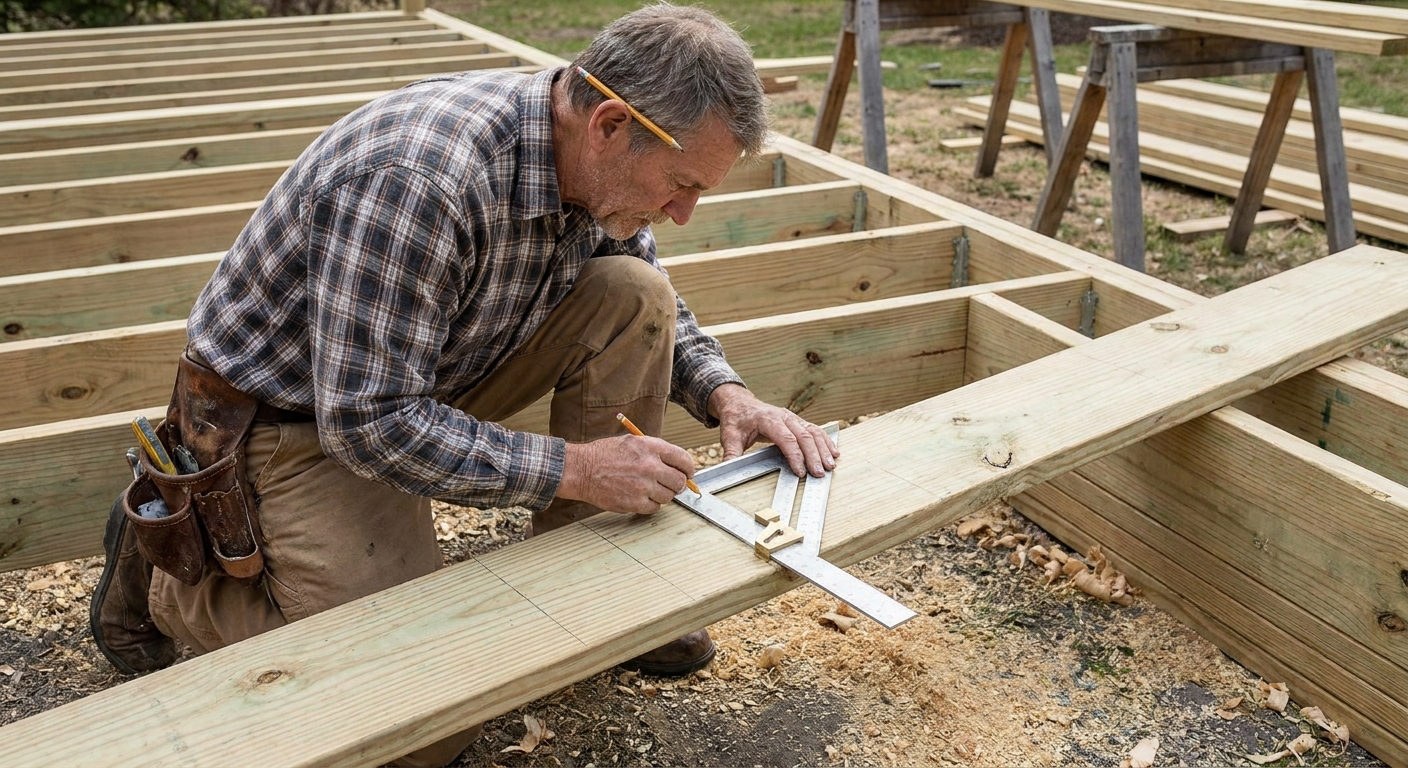
Before you cut: safety and code
Stairs are one of the most code-sensitive parts of a small exterior project. Local rules vary, but most jurisdictions base requirements on the IRC (International Residential Code). If you are pulling a permit, confirm the exact limits in your locally adopted edition and any amendments before committing to a layout.
- Consistency matters: the tallest riser and shortest riser in a flight commonly cannot vary by more than 3/8 inch. Verify your local adopted edition, because amendments happen.
- Typical limits (common in many areas): maximum riser is often around 7 3/4 inches. Minimum tread depth is often around 10 inches. Always verify your local adopted edition and amendments.
- Tread depth, plain English: tread depth is measured horizontally between the leading edges of adjacent treads. If your treads have a nosing, many codes treat the “leading edge” as the nosing plane.
- Open risers: many IRC-based jurisdictions limit openings so a 4-inch sphere cannot pass through. In some IRC editions, the common exception is the opening between the bottom tread and the floor or landing, so be clear what “the bottom” means where you live.
- Pressure treated lumber moves: use the straightest stock you can find and expect a little twist if boards bake in the sun.
- Stringer size: decks commonly use 2x12 stringers so you still have enough meat left after the notches.
One more reality check: stair geometry and inspection are not just about stringers. Your stair layout can affect handrail and guard compliance too. Exterior stairs often trigger guard requirements once the walking surface is high enough off grade, and handrails have their own height and continuity rules. If you want a clean inspection, think about the whole system before you start cutting.
If you want to read the baseline language many inspectors reference, the stair section lives in the IRC. Here is the publisher page for the code: https://codes.iccsafe.org/.
Tools and materials
- Framing square (or speed square plus a stair tool method, but framing square is easiest)
- Stair gauges (little clamp-on knobs for your square)
- Tape measure
- Level (4 ft is nice) or a straightedge
- Pencil and a sharpie for “do not cut” zones
- Circular saw and a handsaw or jigsaw to finish inside corners
- 2x12 stock for stringers
- Tread boards and riser material (if using closed risers)
- Exterior-rated connectors and fasteners compatible with treated lumber
If you are still building out your kit, the tool list in /guide-tools/ is where I keep my “jobsite essentials” mindset.
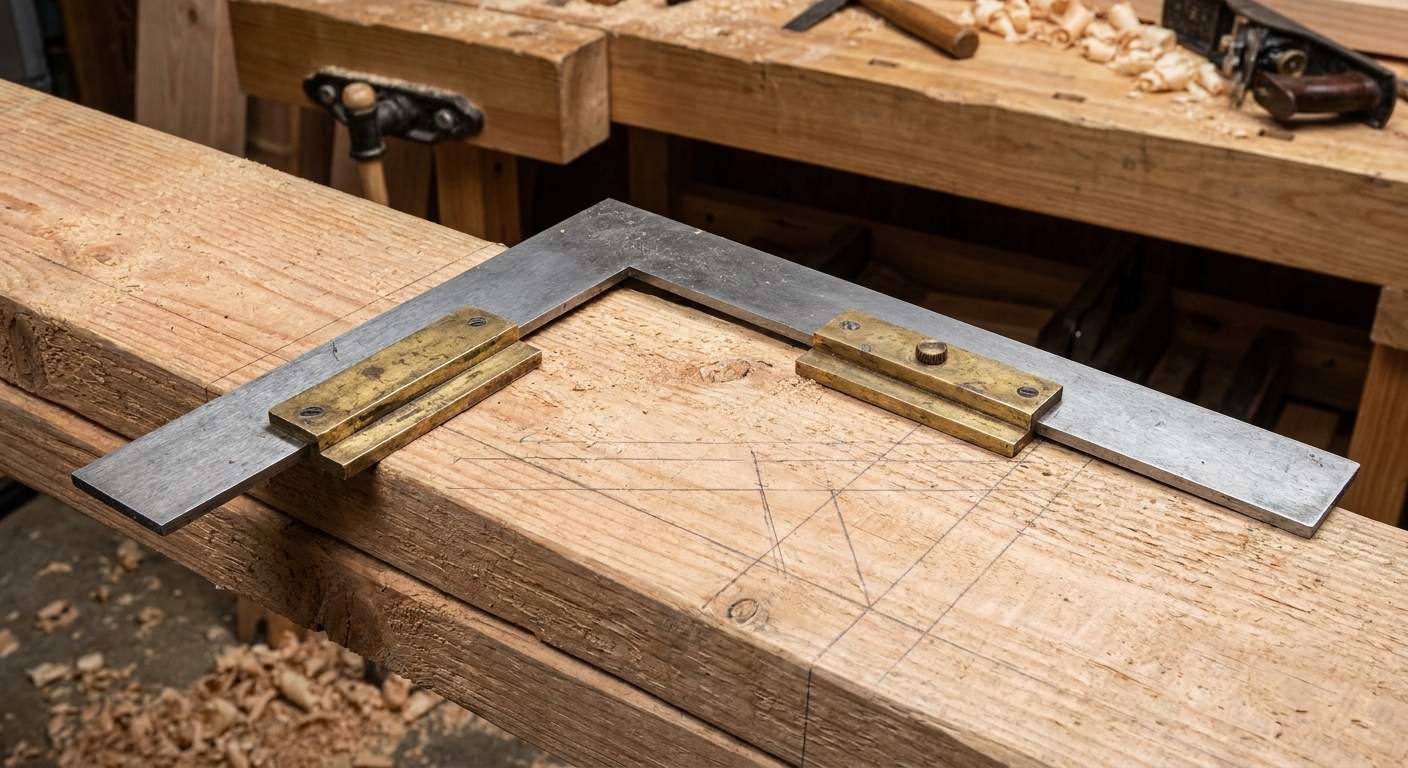
Step 1: Measure total rise
Total rise is the vertical height your stairs need to climb, measured from the finished landing at the bottom to the finished deck or porch surface at the top.
How to measure it
- Pick where the stairs will land. If there will be a concrete pad, pavers, or gravel, decide what “finished” means now.
- Hold a level line out from the deck surface and measure down to the bottom landing surface. A long level on a straight 2x4 works great.
- Write the number down as Total Rise (TR).
Don’t cheat this measurement. If the bottom landing gets built later and ends up 1 inch higher than you assumed, every riser changes and you can easily bust the 3/8 inch tolerance.
Step 2: Choose riser count
The clean way to get comfortable, consistent stairs is to decide how many risers you want, then calculate an exact riser height that stays under the maximum allowed.
The simple math
Riser Height (RH) = Total Rise (TR) ÷ Number of Risers
Start by estimating risers using a target riser height around 7 to 7 1/2 inches.
- Estimated risers = TR ÷ 7.25 (a comfortable middle-of-the-road value)
- Round up to the next whole number to keep risers from getting too tall
- Recalculate RH using the whole number of risers
Example
Say your total rise is 44 inches.
- 44 ÷ 7.25 = 6.07, round up to 7 risers
- RH = 44 ÷ 7 = 6.285 inches (about 6 5/16 inches)
That makes a very walkable stair. Slightly shorter risers feel easier, especially on exterior stairs that see rain and boots.
Step 3: Choose tread run
In stair talk, the run is the horizontal dimension of a step. For deck stringer layout, most folks set the unit run on the square to match the tread depth you are building (and the minimum your code requires).
Pick a depth you can live with
Many codes require at least 10 inches minimum tread depth. A lot of deck stairs feel better at 10 1/2 to 11 inches if you have room. Deeper treads are more forgiving when you are carrying stuff in and out.
Risers vs treads
Most straight deck stairs work out like this:
- Number of risers = the count of vertical rises you climb
- Number of treads = usually risers minus 1 when the top “step” is the deck surface
Using the example above with 7 risers, you would typically install 6 treads.
Total run
Total Run (horizontal) = Number of Treads × Unit Run
This tells you how far the staircase will project out from the deck. It is a great check before you cut anything so you do not run into a gate, walkway, or property line issue.
Step 4: Handle tread thickness
This is where a lot of “almost right” stairs get built.
Nosing and layout
If you are using a nosing (a tread that overhangs the riser a bit), remember this: your layout run on the stringer is still the horizontal framing run, not the overhang. The nosing affects what your foot feels and what the inspector measures, and nosing projection is often regulated too. Keep it consistent and keep it within your local rules.
Closed risers vs open risers
If you are adding riser boards, your tread sits on top of the stringer notch and the riser board closes the face. If there are no riser boards, open risers can visually magnify any inconsistency, and many codes limit the opening size (often the 4-inch sphere rule mentioned earlier).
The key adjustment: bottom and top
Here is the jobsite rule I use, and the reason I always dry-fit a stringer before I copy it.
- Most common deck setup: the deck surface is the top tread, and the stringer bears on a landing at the bottom. In that case, you typically subtract your tread thickness from the bottom rise cut so the first walking rise matches the rest once the first tread is installed.
- This assumes a notched stringer sitting on the landing, with the first tread sitting on the first notch. If you are using a metal stringer connector system, stair brackets, or a housed stringer detail, follow that system’s layout and attachment details. The hardware can change where your true “first rise” happens.
- Do not automatically subtract at the top when the deck surface is acting as the top tread. Your top connection details decide that, and it is easy to create one odd step if you guess.
- If you are building a separate top tread or landing (not using the deck surface as the top step), the top and bottom adjustments can change. Hardware like stair brackets, dropped headers, fascia thickness, or a sloped landing can all shift the math.
Example: If your calculated riser height is 6 5/16 and your treads are 1 1/2 thick (standard 2x decking), you commonly shorten the bottom of the stringer by 1 1/2 so that once the first tread is installed, the first rise you step up is still 6 5/16.
When in doubt: mock it up with a scrap, or lay out a full-size story pole on a straight 2x and check your top and bottom conditions against it.
Step 5: Lay out the stringer
This is the satisfying part. You are going to walk the framing square down the board, marking each step the same way every time.
Set the gauges
- Clamp one stair gauge at your riser height on the tongue of the square.
- Clamp the other at your unit run on the blade of the square.
- Double-check the numbers before you make the first line.
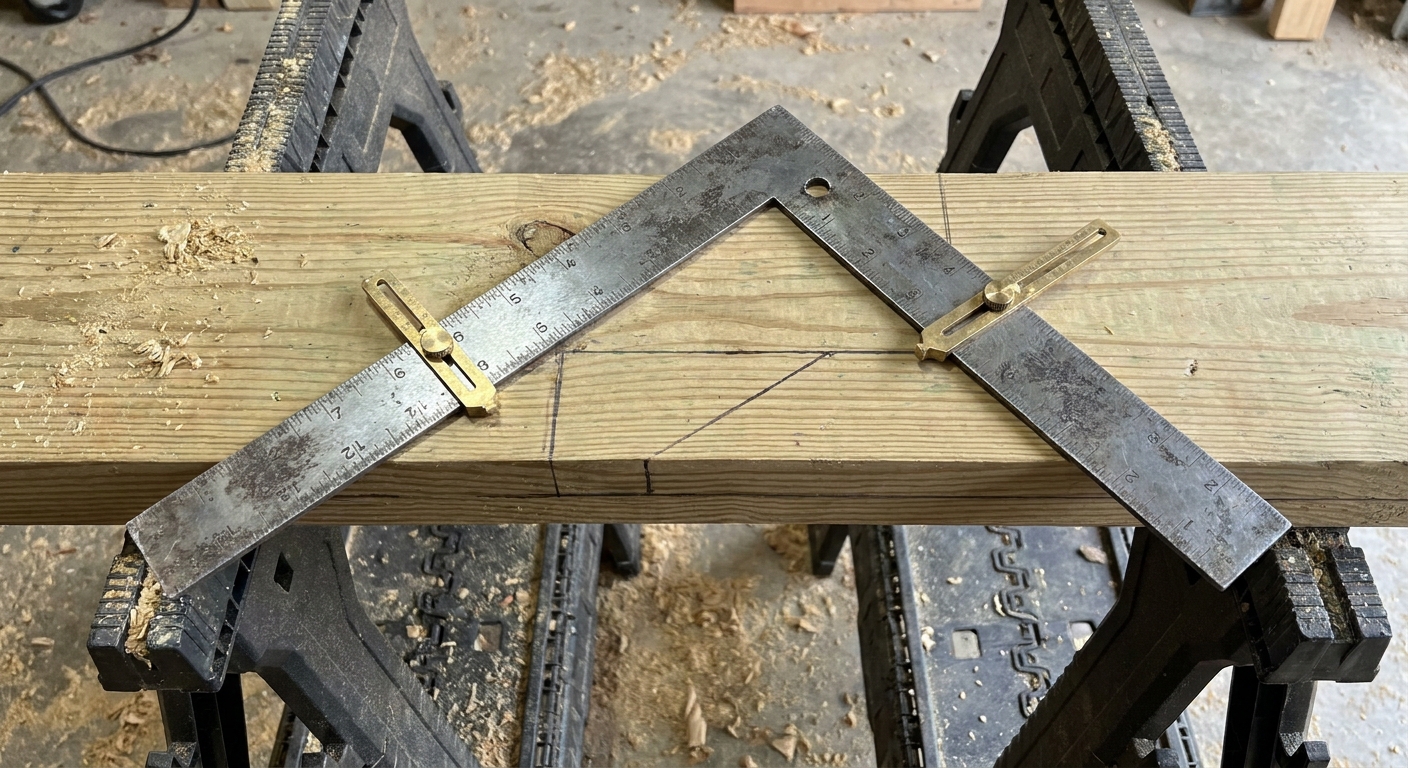
Mark and walk
- Crown your 2x12 and keep the crown up.
- Hook the square on the edge of the board so the gauges register tight.
- Mark the riser line and tread line along the square.
- Slide the square down so the run gauge lands on your last tread line and the rise gauge lands on your last riser line. Mark again.
- Repeat for the total number of treads you need.
Top and bottom cuts
After the notches are laid out, you need two end cuts:
- Top cut: where the stringer meets a header, rim area, or stair support framing.
- Bottom cut: where the stringer bears on the landing.
The cleanest results come from thinking about bearing first. You want solid contact at the bottom on a pad or footing, and solid contact at the top against framing that is actually designed to carry the load.
Step 6: Cut without weakening
Stringers fail when they are over-notched or when the remaining wood is too thin. Most deck stringers are cut from 2x12 because a 2x10 can get marginal fast if you have deeper treads or taller risers.
Mind the throat
The critical part of a notched stringer is the throat, which is the remaining wood between the bottom of the notch and the bottom edge of the stringer. If you notch too deep, you are building a crack starter. A lot of builders like to keep at least about 3 1/2 inches of throat as a practical minimum, but treat that as a field guideline, not a substitute for local requirements, span tables, or an engineer’s detail.
Also, throat needs depend on wood species, grade, stair span, and how the stringer is supported. Some prescriptive details and connector systems avoid deep notches altogether, which is one reason you will see metal bracket setups on tough jobsites.
Cutting technique
- Cut along each line with a circular saw, but stop short of the inside corner so you do not overcut.
- Finish the inside corners with a handsaw or jigsaw.
- Label the waste triangles clearly as you go so you do not cut the wrong side on a long day.
Pro habit: I like to knife or darken the keep side of the line. Pencil alone can disappear on treated lumber.
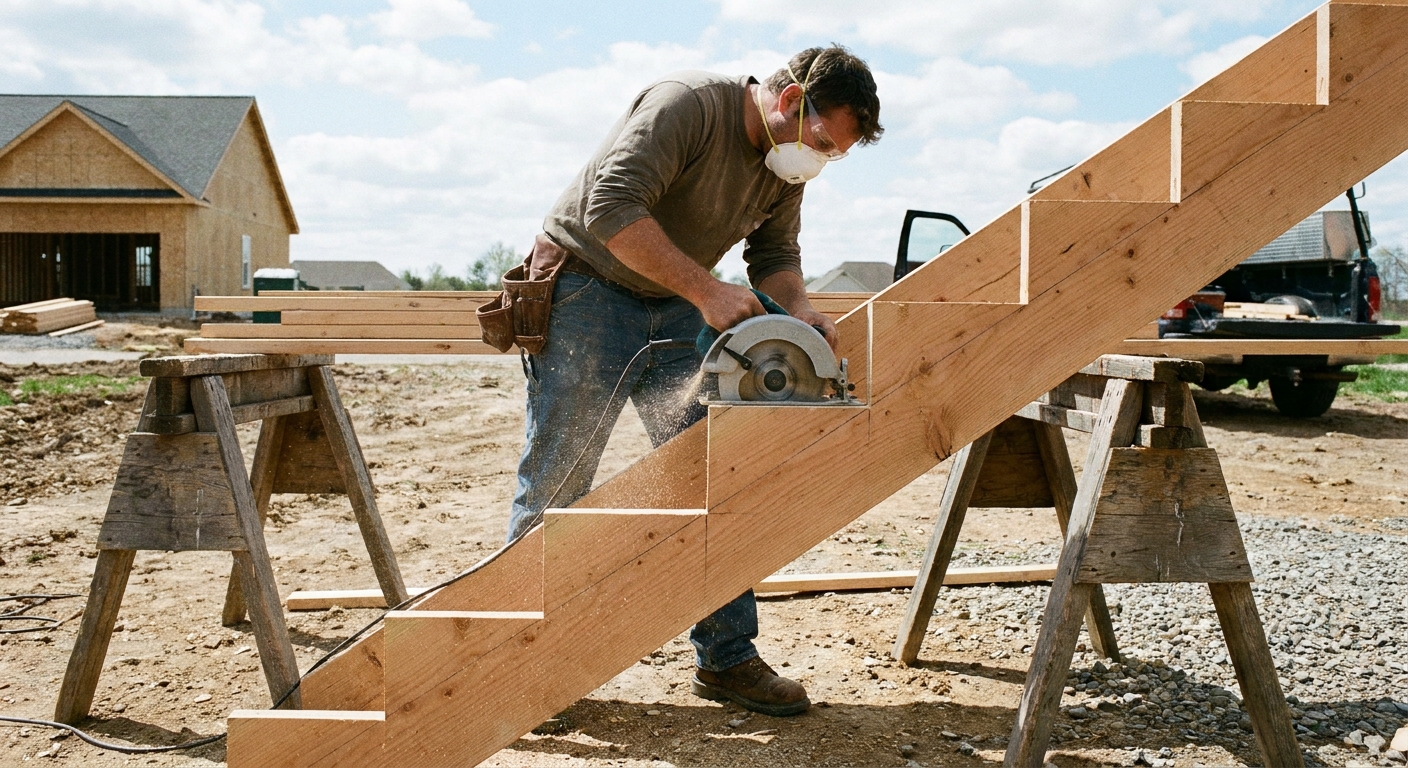
Step 7: Test-fit the first one
Your first stringer is the master. Do not mass-produce until it fits.
Dry fit checklist
- Does the bottom sit flat without rocking?
- Does the top land where you expected and meet solid support framing?
- Are the riser heights consistent when you account for tread thickness and the top condition?
- Does the stair projection (total run) land in the right spot?
Once it checks out, lay it on top of your other 2x12s, align the edges, and trace the pattern. Cut the rest to match.
Step 8: Install it solid
Exterior stairs live hard lives. Water gets trapped at joints, fasteners corrode, and tiny wobbles grow into squeaks.
Support and spacing
- Stringer spacing baseline: many wood deck treads feel solid with stringers around 16 inches on center. If you are using thinner decking, picture-frame edges, or composite treads, it is common to tighten to 12 inches on center (or whatever the tread manufacturer requires). More support is rarely a mistake on exterior stairs.
- Solid bearing at bottom: a proper pad or landing reduces rot risk and keeps stairs from settling. Keep the bottom out of soil contact, and plan drainage so water does not pond under the stringers.
- Top attachment matters: stairs get inspected at the top connection. Use rated connectors and fasteners that match the treated lumber and the load path. I am less worried about pretty here and more worried about can’t pull loose.
Stairs are part of the skeleton of your project. The same squareness and planning mindset I use in wall work applies here too. If you want a refresher on building accurately from the start, see /make-a-cut-list-before-buying-wood/ for how I prevent mid-project surprises.
Common mistakes
- Measuring to unfinished surfaces: decide your finished bottom landing height before you do stair math.
- Muddy tread depth wording: treat tread depth as the horizontal distance between the leading edges of adjacent treads. If you have nosings, think nosing to nosing.
- Forgetting tread thickness: it can throw the first or last riser out of tolerance. Handle bottom and top conditions on purpose, not by habit.
- Mixing attachment systems: notched stringers, metal connector systems, and housed-stringer details do not all share the same assumptions. Lay out to the method you are actually installing.
- Overcutting inside corners: it creates a crack starter. Stop short and finish by hand.
- Using twisted 2x stock: a stringer that is already wound will fight you during install.
- Not checking for level and plumb as you install: stairs can rack just like a wall frame. If squareness is not second nature yet, my method for checking assemblies is in /how-to-square-a-wall-frame-before-standing-it/.
Quick FAQ
What is a comfortable rise and run?
For most adults, a rise in the 7 to 7 1/2 inch neighborhood with a 10 to 11 inch tread feels natural. Exterior stairs often feel safer with slightly deeper treads if you have room.
Do I need 2x12 for stringers?
Not always, but 2x12 is common because the notches remove a lot of material. If you go smaller, the remaining throat can get too thin and weak. When in doubt, use 2x12 and keep cuts clean.
How many stringers do I need?
It depends on stair width and tread material. As a practical baseline, 16 inches on center is common for wood treads, and 12 inches on center is common when treads are thinner or more flexible. Always follow manufacturer requirements and local prescriptive rules.
Can I use a pre-cut stringer?
You can, but they are a one-size compromise. Custom-cut stringers fit your actual rise and landing conditions, and they help you keep riser variation within tolerance.
One last jobsite tip
If I can leave you with one habit: make a simple story pole. Grab a straight scrap, mark each riser height up the stick, and use it to double-check what you are about to cut. When the rain starts coming sideways and the treated lumber is slick, that story pole keeps you honest.
For more hands-on builds like this, browse the project hub at /guide-carpentry-projects/.