

I grew up sweeping sawdust in a small shop where the old-timers treated squeaks like a personal insult. Later, framing houses in the Pacific Northwest, I learned the hard truth: most squeaky floors are built in, not worn in. If you want a quiet floor, you win that fight during the joist and subfloor phase, when everything is open and you can still make wood behave.
This is the approach I use to build a floor that feels tight underfoot and stays that way: flatten the joist plane, glue with intention, fasten like you mean it, and add the right blocking so the system moves as one.
Know what causes squeaks
A floor squeak is usually friction. Two parts rub, slip, or flex against each other and you hear it as a chirp or creak. During framing, the usual culprits are:
- Subfloor to joist movement because the panel was not glued well, the joist crowns vary, or nails loosen with seasonal movement.
- Panel edges moving because tongue-and-groove is not seated, seams are unsupported, or fasteners missed the joist.
- Joists twisting or rolling because the system lacks lateral restraint (blocking, bridging, strapping), especially before the deck ties everything together.
- Connectors moving when hangers or hardware are not nailed per the manufacturer pattern. It is less common than subfloor movement, but metal-to-wood slip can chirp if the connector is undernailed or the joist is forced into place.
The fix is not one magic fastener. It is a chain of small choices that remove gaps, clamp parts together, and keep them aligned.
Start with a flat joist plane
If the tops of your joists are wavy, no fastening schedule in the world will keep panels tight everywhere. You end up with a subfloor that bridges high spots and floats over low spots. That is squeak territory.
Crown and sort before you set
- Crown every joist and keep crowns consistent, typically up. If you mix crowns, you create a roller-coaster plane.
- Sort ugly joists to shorter spans or blocking, and keep your best ones where the floor will be most noticeable.
Check the plane as you go
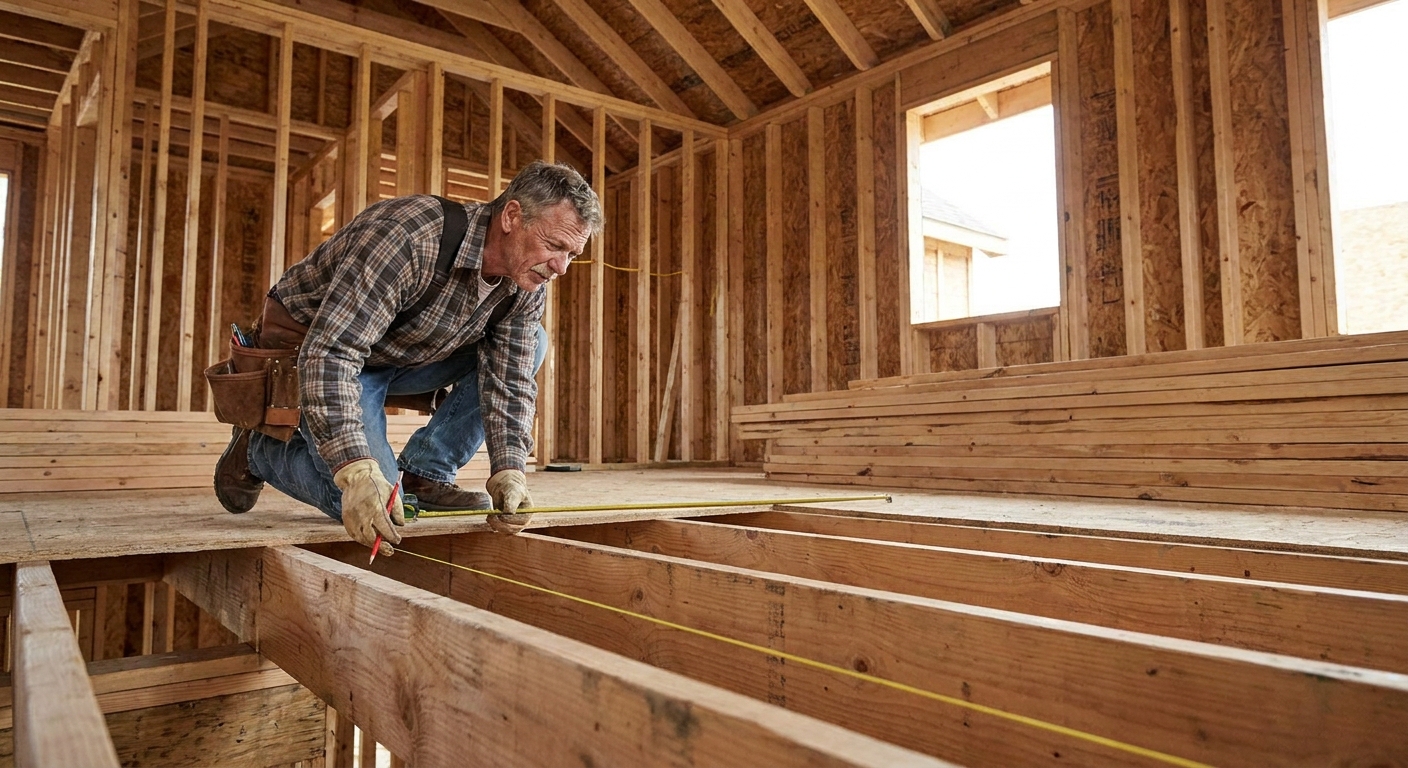
I like to run a long straightedge or a tight string line across a run of joists after a few are set. If something is proud, deal with it now. If something is low, figure out why. A low joist can be a crown flipped, a hanger set wrong, a bearing point off, or a joist that is simply smaller.
If you are still in layout mode on a remodel wall job, my mindset is the same as when I square a wall frame: get geometry and alignment right before you lock it in. The principle carries over even if the steps are different. If you want a refresher on tightening up a frame before it becomes permanent, see How to Square a Wall Frame Before Standing It.
Fix high spots, do not “pull them down”
Screws will pull a panel down some, but you are also storing tension in the assembly. That tension tends to show up later as movement and noise. If a joist is truly high, plane it or address the cause. If that sounds fussy, remember this is the phase where five minutes saves you years of annoyance.
Pick panels that stay stiff
You can do everything else right and still end up with a chatty floor if the subfloor is too thin for the span or the panel grade is wrong for the job. Thinner panels deflect more, and deflection is the gateway drug to squeaks.
- Match thickness to your joist spacing per the panel stamp and your plans. If you are on wider spacing, do not pretend a light panel will behave like a heavy one.
- Use T&G where the design calls for it because it supports edges between joists and reduces “pumping” at seams.
- Use rated sheathing intended for subfloors, not mystery sheets. The stamp matters.
Use adhesive the right way
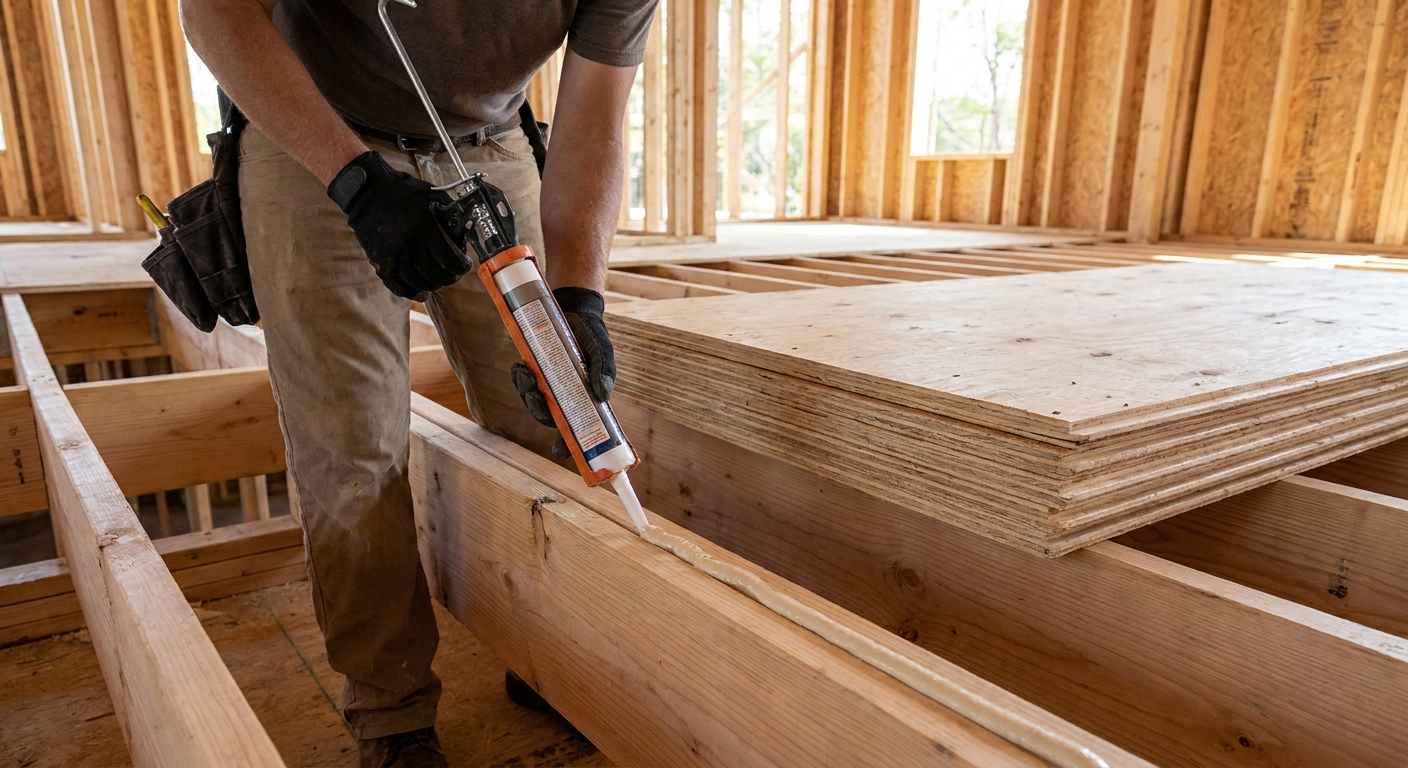
Adhesive is your first and best squeak insurance, but only when it is applied correctly. The goal is a continuous bond between the joist tops and the panel underside, not random blobs that skin over before the sheet lands.
Use subfloor-rated adhesive
Look for a construction adhesive labeled for subfloors and compatible with wood. Many subfloor products are designed to tolerate jobsite conditions and stay a bit forgiving as the structure moves.
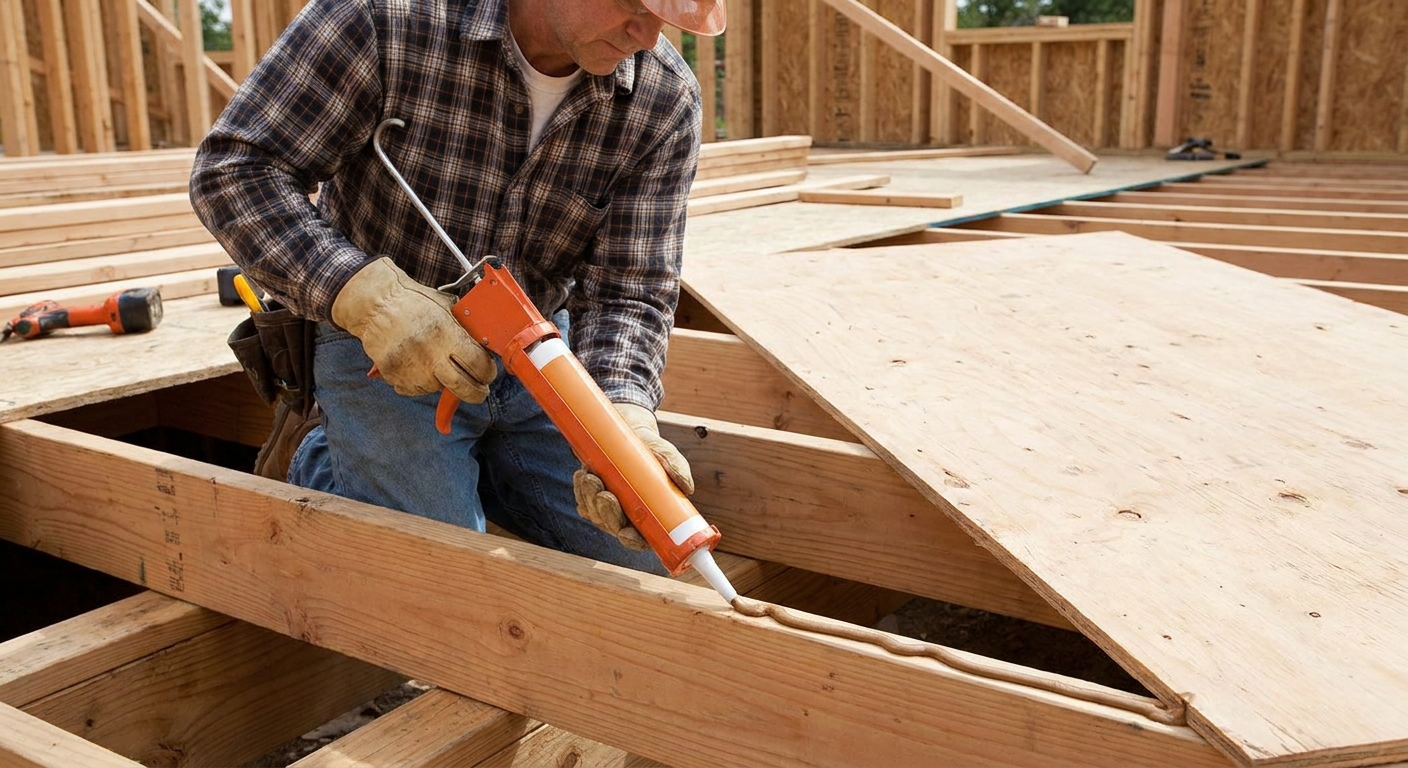
Run a continuous bead on every joist
- Bead size: a consistent, generous bead is better than a thin string. I aim for a bead that will compress and spread, not sit like a rope.
- Placement: center the bead on the joist top. If you ride an edge, you risk squeezing it out and leaving a dry spot where it matters.
- Rim and blocking: glue the rim or ledger bearing line and any solid blocking the panel will land on.
Work in sheet-sized sections
Do not glue the whole deck and then hunt for sheets. Adhesive starts to skin, especially on warm or windy days. Glue only the joists you can cover immediately, set the panel, seat it, and fasten it. Then move to the next bay.
Do not glue T&G joints unless approved
In most modern T&G subfloor systems, you want the joint seated tight but still able to accommodate seasonal movement. Many manufacturers do not want you gluing the tongue. Some assemblies and products do allow it. Let the panel instructions and your plans be the boss here.
Lay panels to stay tight
Even perfect adhesive can be defeated by sloppy sheet placement. A quiet floor is built from tight seams, proper gaps, and panel layout that shares loads.
Stagger joints and orient correctly
- Face grain across joists: plywood and OSB panels are designed to span with their strength axis perpendicular to joists.
- Stagger end joints: do not create long zipper seams that hinge.
- Start from a straight reference: a crooked first row multiplies problems. Snap lines and keep the deck honest.
Use the right gaps
Most subfloor panels want a small gap at ends and edges for expansion, often about 1/8 inch. Some T&G products build that spacing into the profile when you seat the tongue. Follow the panel manufacturer guidance, but do not jam sheets so tight that they have nowhere to go when humidity swings. Panels that swell and crush can create ridges and loosen fasteners later.
Seat T&G before fastening
This is where crews get into trouble. If you start fastening while the joint is still slightly open, you lock in a gap that will flex and squeak.
- Pull sheets together with a sledge and a sacrificial block, or a flooring pull bar.
- Walk the seam and listen for crunching or bounce before you commit to fasteners.
- If a tongue is damaged, fix it or replace the sheet. Do not hope adhesive will forgive it.
Fasten like you mean it
Fasteners are clamps. Your goal is consistent pressure and consistent holding power over time. That means a repeatable pattern, flush sets, and no misses.
Screws vs nails
If I am building for maximum squeak resistance, I like subfloor screws. They resist withdrawal better than nails as the framing dries and cycles through seasons. Ring-shank nails can also perform very well, especially with adhesive, but sloppy nailing or overdriving can reduce holding power.
If you are choosing tools for the job, it helps to understand how nailers behave in real framing work. I broke down the pros and cons here: Cordless vs Pneumatic Framing Nailers.
A common schedule (verify yours)
Always follow your plans, your local code, and your panel manufacturer. That said, a very common jobsite schedule for wood structural panel subfloors is:
- Edges: 6 inches on center
- Field: 12 inches on center
If your plan calls for tighter spacing, follow the plan. If you are on engineered framing, follow the engineered details. The point is not the exact numbers as much as it is even clamping pressure and fasteners that actually hit framing.
- Do not miss joists. Misses leave floating areas that rub and squeak. If you miss, pull it and re-fasten it correctly. Do not leave a maybe-it-grabbed fastener in place.
- Do not overdrive. If you crush the panel surface with a nail or bury a screw too deep, you reduce clamping force. Set fasteners flush or just slightly dimpled, not cratered.
Glue first, fasten right away
Once the sheet lands in adhesive, you want fasteners in promptly so the bond cures under pressure. Waiting around invites skinning and voids, and voids are where noise is born.
Blocking and bridging
Blocking is not only about stiffness. It is about alignment. When joists roll or twist, they drag the subfloor with them, and that micro-movement becomes noise.
Block where it matters
- Unsupported panel edges: If a panel edge does not land on a joist, it needs support, typically with blocking. Many T&G layouts avoid this, but transitions and odd bays happen.
- Under point loads: Kitchen islands, tubs, and concentrated loads benefit from extra attention per the design.
- At mechanical cuts: Big holes, notches, or chases can change how a bay behaves. Plan blocking and keep the top plane stable.
Install blocking tight and flush
Here is my rule: blocking that sits low might as well not exist for squeak control. If a panel edge lands partly on air, it can flex, rub, and complain forever.
- Cut blocks square and to a snug fit.
- Set them flush with the joist tops.
- Fasten them adequately so they do not spin or back out.
- If a panel will land on it, run adhesive on the block too.
Follow the joist system rules
Dimensional lumber floors and I-joist floors do not get blocked the same way. I-joists in particular often have manufacturer-specific requirements for rim details, squash blocks, web stiffeners, and where solid blocking is allowed. When in doubt, follow the engineered layout, not your habits.
If you are weighing joist options, engineered systems have their own rules for blocking and stiffening. I covered some of that decision-making here: Dimensional Lumber vs Engineered I-Joists for Floor Framing.

Details crews skip
Glue bearing lines and landings
Transitions are squeak magnets. Where subfloor meets a stair landing, a beam pocket, or a rim board, make sure you have continuous support and a good glue line.
Keep junk off joist tops
Sawdust, chunks of dried mud, and stray nails under a sheet can hold it up just enough to create a void. That void becomes flex, then squeak. Sweep joist tops before you glue. It is boring and it works.
Watch moisture
If your framing lumber is soaking wet and your panels are dry, you are building in movement. You cannot always control delivery conditions, but you can control storage and exposure. Keep panels covered and off the ground, and do not leave a deck open to weather longer than necessary.
Do not force warped joists
When you crank a twisted joist into position, it wants to return to its original shape. That stored stress can show up as future movement. Choose straighter stock for critical runs and correct alignment issues early.
If it already squeaks
If you are reading this after the fact, you are not out of options. You just lose the easy access.
- From below: snug the subfloor to the joists with screws driven up into the subfloor (hit the joists, do not just pepper drywall screws into hope). If there is a visible gap, a shim and construction adhesive can help, but do not jack anything so hard you create a hump upstairs.
- From above: if you have carpet or you are replacing finish flooring, you can add screws down into joists. Find the joists accurately and set screws flush so you do not create future floor problems.
- Be careful with glue injection kits: they can help in specific cases, but they can also miss the real void or make a mess. The best fix is still clamping wood to wood where it is actually moving.
My jobsite checklist
- Joists crowned consistently and the top plane checked with a straightedge or string line.
- Joist tops swept clean before adhesive.
- Subfloor thickness and rating matched to joist spacing per plans and panel stamp.
- Subfloor-rated adhesive applied in continuous beads only where the next sheet will land.
- Panels laid perpendicular to joists, seams staggered, and tongue-and-groove fully seated.
- Correct expansion gaps maintained per the panel manufacturer.
- Fasteners hit the joists, are not overdriven, and follow a consistent pattern.
- Blocking installed flush to the top where edges need support, and glued where panels bear on it.
FAQ
Is glue alone enough?
No. Adhesive helps most when it cures under clamping pressure from fasteners. Think of glue and fasteners as a system. Skip either one and you are betting against seasonal movement.
What is better, screws or ring-shank nails?
Screws generally win for long-term resistance to loosening, but ring-shank nails can be excellent when driven correctly and paired with adhesive. The bigger factor is consistency: correct placement, correct depth, and no misses.
Should I add more fasteners than required?
More is not always better if it leads to overdriving or missed joists. A clean, consistent pattern that clamps the panel evenly usually outperforms random extra fasteners.
Do I need blocking everywhere?
Not everywhere, but you need it where it controls joist roll, supports panel edges, and stabilizes high-movement areas. If an edge can flex, it will eventually talk back.