The first time I helped set mud sills on a new foundation, an old foreman told me, “If you get the sill wrong, you fight the whole house.” He was dead right. A mud sill, also called a sill plate, is the handshake between concrete and wood. In this article, I am talking about the treated sill plate that gets anchored to the top of the foundation. It has to be sealed against moisture, anchored like it means it, and flat and level enough that your walls do not start their lives already twisted.
This is a step where patience pays twice. Once you commit with anchors and washers, your “tweaks” get limited fast. You can sometimes loosen and nudge a plate a hair, but big corrections after tightening usually mean chewed holes, torn gasket, and a plate that never bears quite right.
What the mud sill does
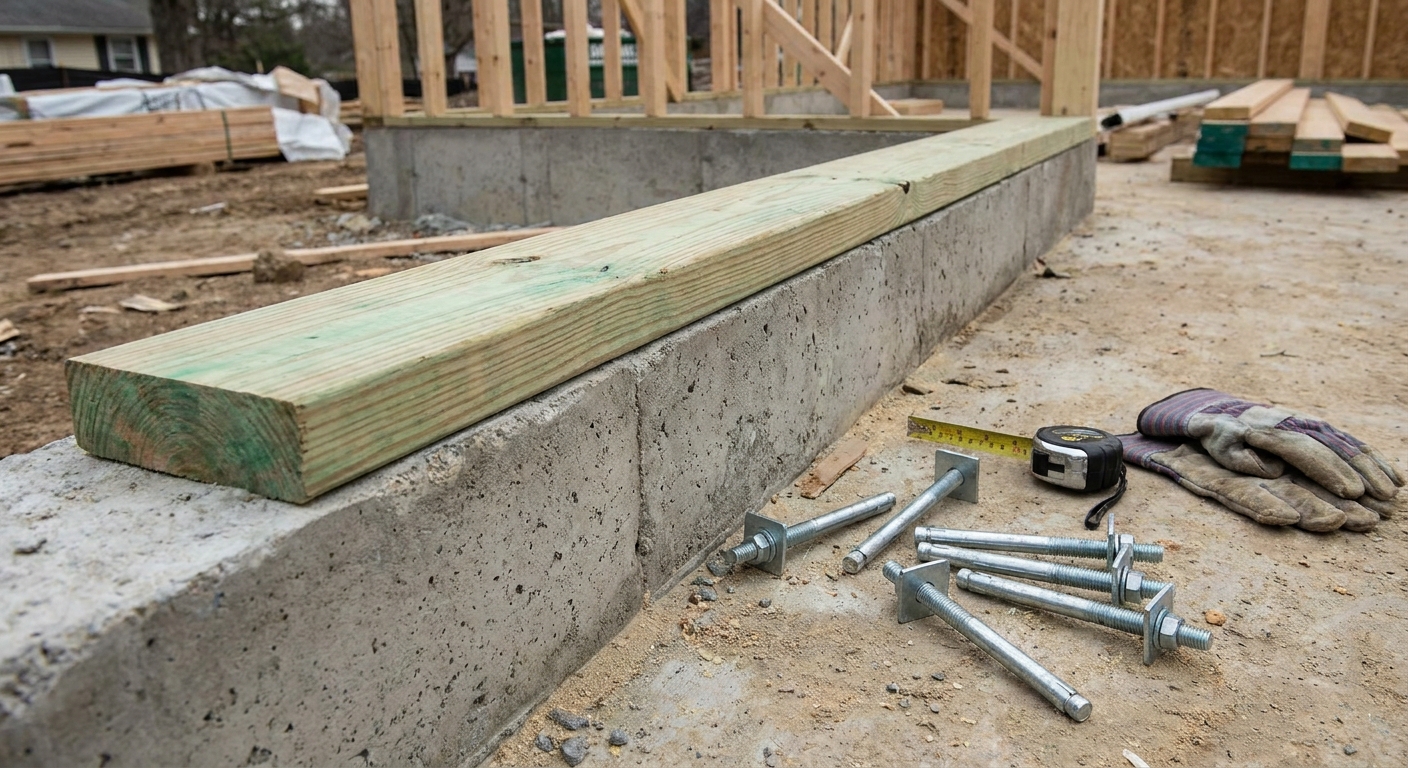
On a typical wood-framed house, the sill plate has three big jobs:
- Transfers load from the walls down into the foundation.
- Locks the building to the concrete so wind and seismic forces have a continuous path to the ground.
- Acts as a capillary break when paired with a sill gasket or membrane, slowing moisture wicking into framing.
Most foundations are not perfectly smooth, perfectly square, or perfectly level. Your sill installation is where you correct as much of that as practical so the rest of the framing goes fast and stays true.
Tools and materials I stage
- Pressure-treated lumber sized to match foundation thickness (commonly 2x6 on many homes, but follow plans)
- Foam sill sealer (the common thin foam roll)
- Sill gasket or membrane if required by plans or local practice (some details call for more than foam alone)
- Anchor bolts set in concrete, or approved retrofit anchors where needed
- Plate washers and nuts (often required in higher wind or seismic regions)
- Chalk line, tape, carpenter pencil, and a fine marker
- String line and line blocks (or batter boards if you are laying out from corners)
- 4-foot level and, even better, a long straightedge or laser level
- Hammer drill with masonry bits (for retrofit anchors)
- Impact driver or wrench for tightening nuts
- Non-compressible shims rated for structural use, or non-shrink grout for leveling (more on this below)
- Utility knife and stapler for gasket or membrane handling
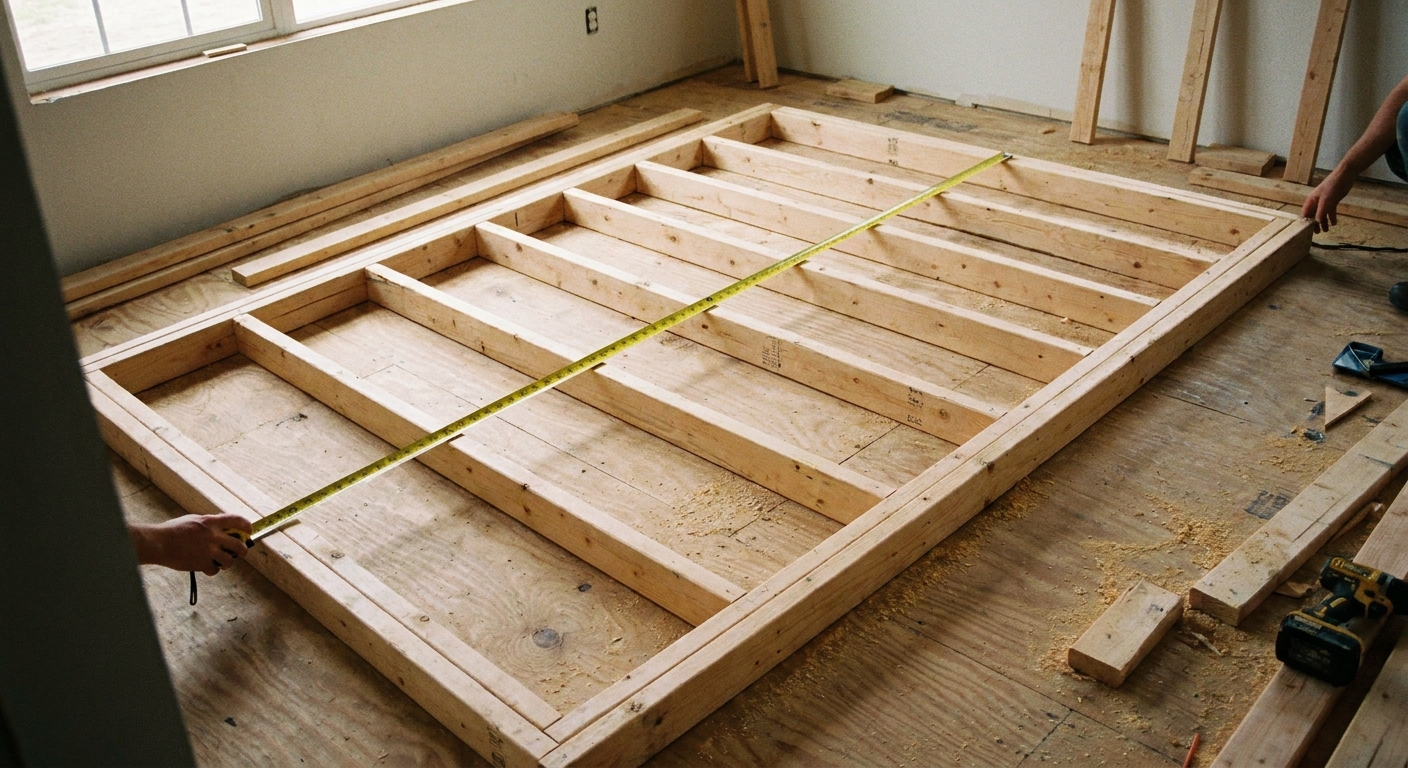
If you are new to layout, it also helps to review how small squareness errors compound. I walk through my favorite approach here: How to Square a Wall Frame Before Standing It.
Step 1: Confirm the foundation is ready
Check bolt location and spacing
Before you unwrap a single stick of treated lumber, walk the perimeter and confirm your anchors match the plan and local requirements. Minimums vary a lot by region, soil, and lateral design, so I treat the plan set as the boss here. Common issues I see:
- Bolts too close to corners, so washers hit the end of the sill or split it.
- Bolts too close to edges of the concrete, which can lead to breakout.
- Missing bolts at door openings, shear wall segments, or other critical areas.
- Bolts not plumb, which forces oversized holes and sloppy bearing.
If something is clearly off, fix it now with an engineer-approved or code-approved retrofit anchor. Do not “make it work” with giant holes and hope.
Scrape the top clean
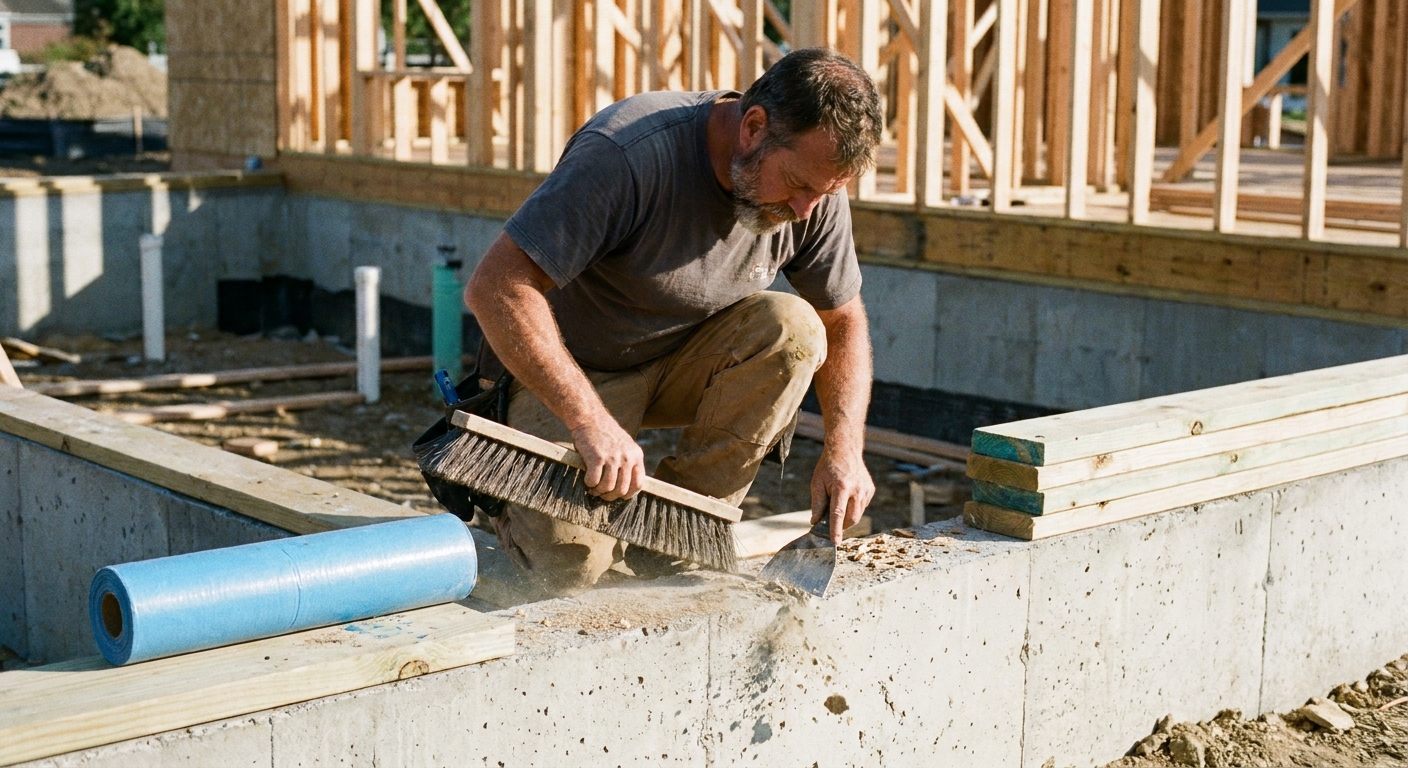
Concrete crews leave ridges, mud, snap ties, and bits of form lumber. Any bump under the sill becomes a high spot that holds the plate up, and that high spot telegraphs into your walls. I scrape and broom the bearing surface until it is clean and reasonably smooth.
Step 2: Install the moisture break
Concrete holds moisture and can wick water upward. Pressure-treated lumber helps, but it is not the whole strategy. You want a capillary break between the concrete and the wood. On most houses, that means some combination of foam sill sealer and a gasket or membrane, depending on the detail.
Foam sill sealer
For many builds, a foam sill sealer is the standard. It compresses under the plate, helps air seal minor surface texture, and helps reduce direct capillary contact. I do not rely on foam to “make up” meaningful voids or long low runs.
- Roll it out along the top of the foundation.
- Lap seams a few inches so you do not leave gaps.
- Cut around bolts cleanly so the foam lays flat, not tented.
Gasket or membrane systems
Some regions and some details call for a more robust sill gasket or membrane. If your plans specify one, follow the manufacturer instructions for laps, corner treatment, and fasteners. The goal stays the same: a continuous barrier under the full width of the sill.
One practical tip: keep the barrier slightly inset from the outside edge if your exterior finish details require it, but do not leave it so short that you expose concrete directly under the sill.
Step 3: Lay out and drill the plates
Pick the best boards for corners
Corners are where you want the straightest stock. If I have a crown or a slight bow, I avoid using that piece where it could force a corner out of square or lift off the gasket.
Plan splices so they do not cause trouble
I treat sill splices like they matter, because they do. I prefer tight butt joints, and I try to avoid splices right at corners or through short shear wall segments unless the detail calls for it. If I can choose, I would rather land a splice where I still have solid bearing and clean anchorage, not right where I need maximum stiffness.
One simple habit that helps: do not let a splice land so close to a bolt that the washer is half on one piece and half on the other. Give the washer full bearing on one plate whenever you can.
Mark bolt locations carefully
There are two reliable approaches:
- Transfer from the foundation: set the board in place, tap it against bolts, then mark centers.
- Measure and mark: hook from a known reference point and mark each bolt location.
On real jobs, I usually do a hybrid. I measure for speed, then verify by setting the plate down and checking alignment before drilling.
Drill clean holes, not sloppy craters
Oversized holes create two problems: the plate can shift during tightening, and washers can bite into unsupported wood. Drill just big enough for the bolt to pass without forcing. If a bolt is out of plumb, address that issue rather than ovalizing every hole to fit.
Step 4: Square the sill before tightening
This is the part that separates a smooth framing day from a long one.
Snap control lines
If your foundation has clear, accurate layout marks, use them. If not, establish your own control.
Most of the time, I snap a line for the outside face of the sill when I care about sheathing, overhangs, and keeping exterior lines clean. If the exterior is fussy or I am matching an interior layout reference, I snap the wall line the plan calls out. Either way, pick a control and commit so you are not “averaging” your way around the building.
Check the corners
At minimum, verify:
- Overall dimensions match the plan.
- Diagonals match, or are close enough that you are not building problems into the rest of the job.
- Long runs are straight (string line is your friend).
If the foundation is out of square, you often have to decide where to hide the error. I usually prioritize the longest, most visible runs, and areas where interior partitions need to land cleanly.
Once washers are snugged and the plate is seated, you are not going to shove it over a big amount without tearing up your gasket and chewing the holes.
Step 5: Level the sill without weak spots
Foundations are rarely level all the way around. The question is not whether you have variation. The question is how you deal with it without compromising bearing and anchorage.
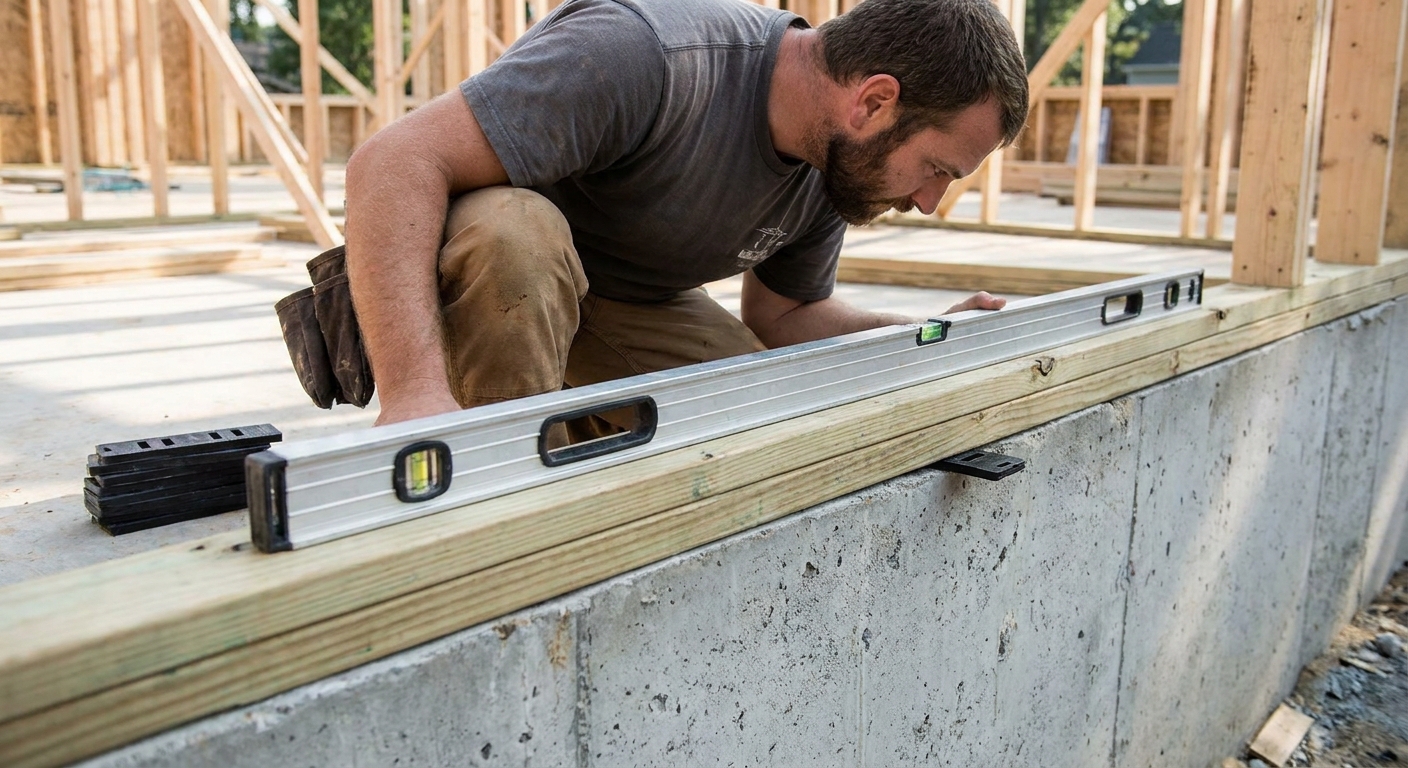
Find high and low points
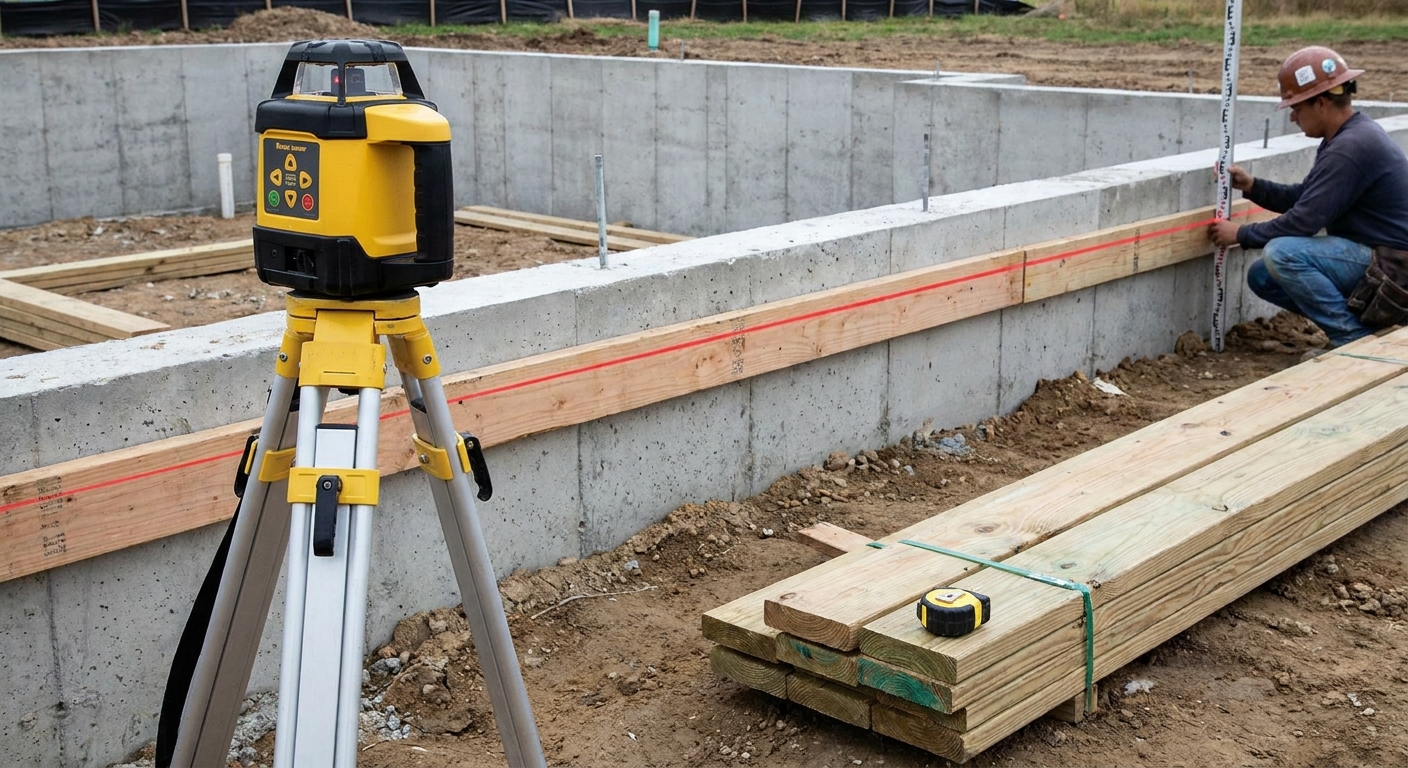
I like to locate the high point first with a laser or long level. From there, you can see how much shim or fill is needed as you work away from it.
My field test is simple: if a plate bridges and you can slide a pencil under it, or you can feel it rock when you step on it, that needs to be addressed before you tighten down.
Use the right method
Here is the rule I work by: the sill should have solid, continuous bearing as much as possible.
- Minor texture and tiny dips: the foam sill sealer can compress and help, but I do not count on it to fill real voids.
- Localized low spots: use approved, non-compressible shims rated for structural use. Keep stacks tight and minimal.
- Long low sections: consider non-shrink grout or a manufacturer-approved leveling product so you are not balancing the house on a row of little wedges.
Wood shims, including cedar, can be tempting because they are on every truck. The problem is not rot resistance as much as compressibility and inconsistent bearing over time, especially if you end up stacking them. If your jurisdiction or engineer allows a wood-shim detail, follow that detail exactly.
Step 6: Tighten anchors correctly
Washers matter
Standard round washers spread load a little. Plate washers spread load a lot and help resist the sill plate tearing or splitting under lateral forces. In many seismic and high-wind regions, plate washers are not optional.
Set washers flat, then run nuts down snug. Do not reef them down immediately at one spot while the rest of the plate is still floating. Work your way around, tightening gradually so the plate seats evenly onto the sill sealer and any leveling material.
Do not crush the wood
You want firm bearing, not a washer buried into the plate. Over-tightening can dish the wood and reduce the quality of the connection over time.
Retrofit anchors and holdowns
If you are adding anchors after the fact, follow the anchor manufacturer specs for hole diameter, embed depth, edge distance, and torque. That is not paperwork, that is the entire strength of the connection.
Step 7: Detail for real water
Even with a gasket, wind-driven rain and bulk water find weak points. I pay attention to:
- Splices: keep them tight and located away from corners when possible.
- End grain at corners: make sure the moisture break is continuous under both intersecting plates.
- Door openings: keep the plate line accurate so future sill pan or threshold details do not turn into improvisation.
If your wall system requires specific air sealing at the sill, do it now while the area is open and easy to inspect.
After the sill is down
Once the mud sill is straight, square, and anchored, wall layout starts behaving. Your 16-inch layout lands where you expect. Your corners build plumb instead of fighting a twist. If you want to tighten up your layout habits right after sill installation, I recommend reading Avoid Mistakes Laying Out 16-Inch OC Studs.
And when you are moving into more complex framing choices, especially around corners and insulation details, this is a good companion: California Corners vs Solid Corners.
Checklist before framing walls
- Moisture break is continuous, flat, and not torn around bolts
- Sill plates are straight, with tight joints and sane splice locations
- Building footprint is square enough that diagonals are close and layout will behave
- Plate is seated with solid bearing, not perched on random shim stacks
- Correct washers are installed and nuts are snug, not crushing the wood
- Any missing or questionable anchors are addressed with approved hardware
Common mistakes I see
Drilling holes before verifying bolt layout
It is fast until it is not. A few minutes of verifying bolt locations can save you from fighting misaligned holes for an hour.
Trying to pull things straight with washers
If the plate is bowed or the foundation line is wandering, tightening nuts rarely fixes it cleanly. You usually end up with a plate that is stressed, split, or not bearing evenly.
Ignoring level until the first wall rocks
Once you are standing walls, leveling gets harder and uglier. Do your leveling work while it is just you, a plate, and a wrench.
FAQ
Do I need pressure-treated lumber for sill plates?
Usually, yes. In most residential situations where wood bears on concrete or masonry, building codes and specs typically require preservative-treated lumber or an approved durable alternative. Follow your local code and your plan set.
How level does a mud sill need to be?
Level enough that your walls bear fully and do not require heroic shimming later. Small variation can be managed when you frame, but bigger swings create structural and finish problems. If you can feel a wall rocking on the sill, it was not level enough.
Should the sill plate hang over the foundation?
Generally, you want the sill fully supported by concrete. Slight alignment adjustments happen in the field, but intentional overhang is asking for crushed fibers, split wood, and fussy sheathing alignment. Follow the plan and keep the load path clean.