I grew up sweeping sawdust in a little woodshop where the old guys could spot a crooked wall from the parking lot. Years later, after framing plenty of new builds, I can tell you this: an aging shed or garage rarely leans because the wall studs forgot how to be straight. It leans because the base moved, the corners racked, or the structure lost the bracing that once kept everything honest.
The good news is you can usually pull a wood-framed outbuilding back into line with controlled force and patience. The better news is you can keep it there by adding permanent bracing in the right places instead of just pushing it straight and walking away.
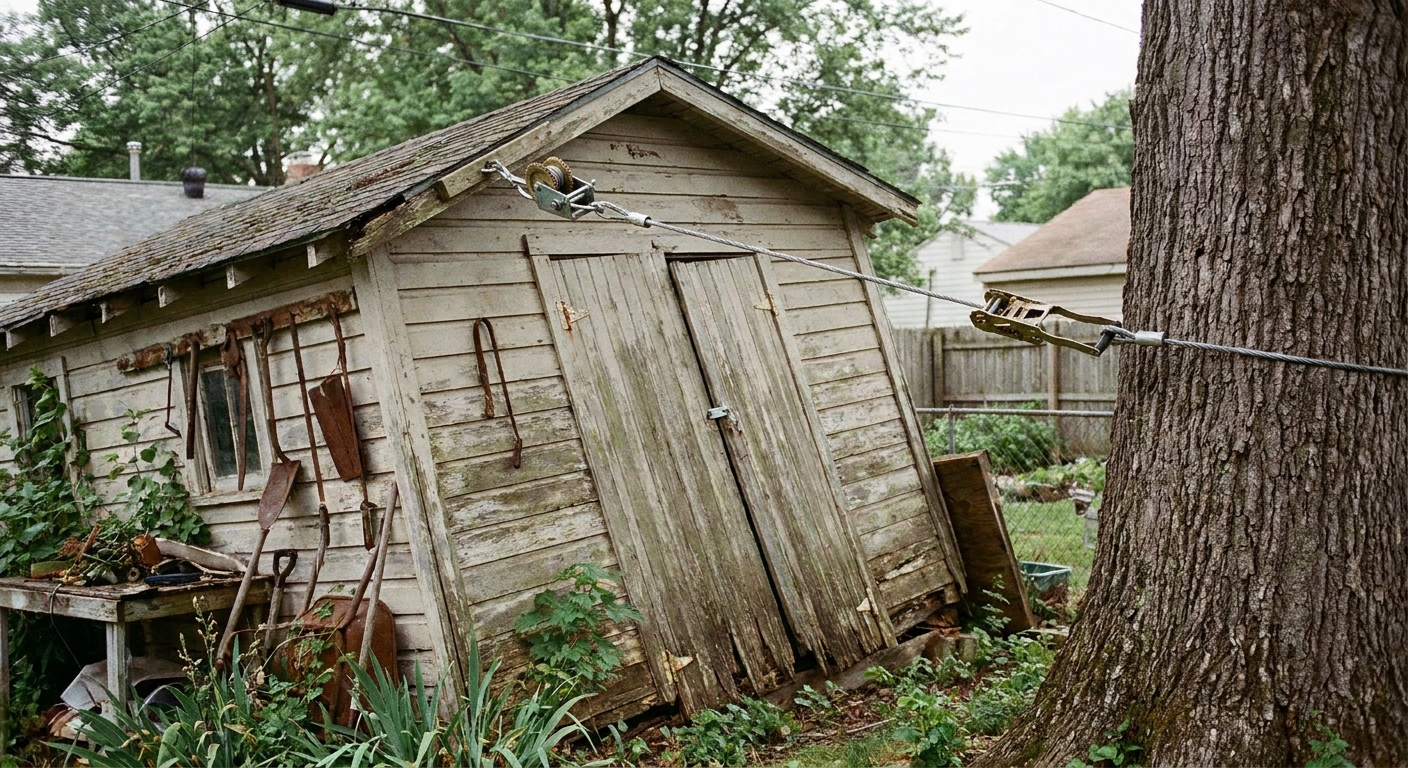
Before you pull: is it safe and fixable
There are situations where you should stop and get a pro involved before you start tensioning straps and winches:
- Rot at the bottom plate or posts that you can stab with a screwdriver.
- A failing roof system, broken rafters, or a ridge that is sagging hard.
- Foundation or slab issues such as large cracks, heaving, or obvious settlement at one corner.
- Masonry chimneys, brick veneer, or brittle finishes attached to the structure. Pulling can crack them fast.
- Overhead power lines anywhere near your pulling path or pole anchors.
Also, be honest about what you are working on. This article is aimed at light wood-framed sheds and small garages. Post-frame or pole buildings are a different animal, different load path, different anchors, and different failure modes. If you are not sure which you have, slow down and identify the structure before you start pulling on it.
If the building is basically intact but out of plumb and out of square, this process works well. Just remember: you are storing energy in straps and cables. Stand out of the line of fire, go slow, and never let kids or bystanders hang around the setup.
Tools and materials that keep it controlled
You can muscle a small shed with pry bars and a few friends, but a controlled pull is cleaner and safer.
Good options for the pull
- Come-along (ratcheting cable puller) for short, precise pulls.
- Hand winch (boat trailer style) for longer travel.
- Heavy ratchet straps for fine positioning after the main pull.
Bracing and fastening
- 2x4 or 2x6 stock for temporary and permanent braces
- 1/2 inch plywood or OSB for gussets or shear patches
- Structural screws (or 10d to 16d nails where appropriate)
- Construction adhesive (optional)
Layout and checking
- 4 ft level and a long straight 2x4 (or 6 ft level if you have it)
- Tape measure
- Chalk line
- Plumb bob (old-school, still great for corners)
Gear sanity check: use rated pulling gear and rated connectors. If you are using shackles, hooks, straps, or chain, make sure they have a working load limit and are not rusty, bent, or questionable. A cheap, mystery hook is not the place to save money.
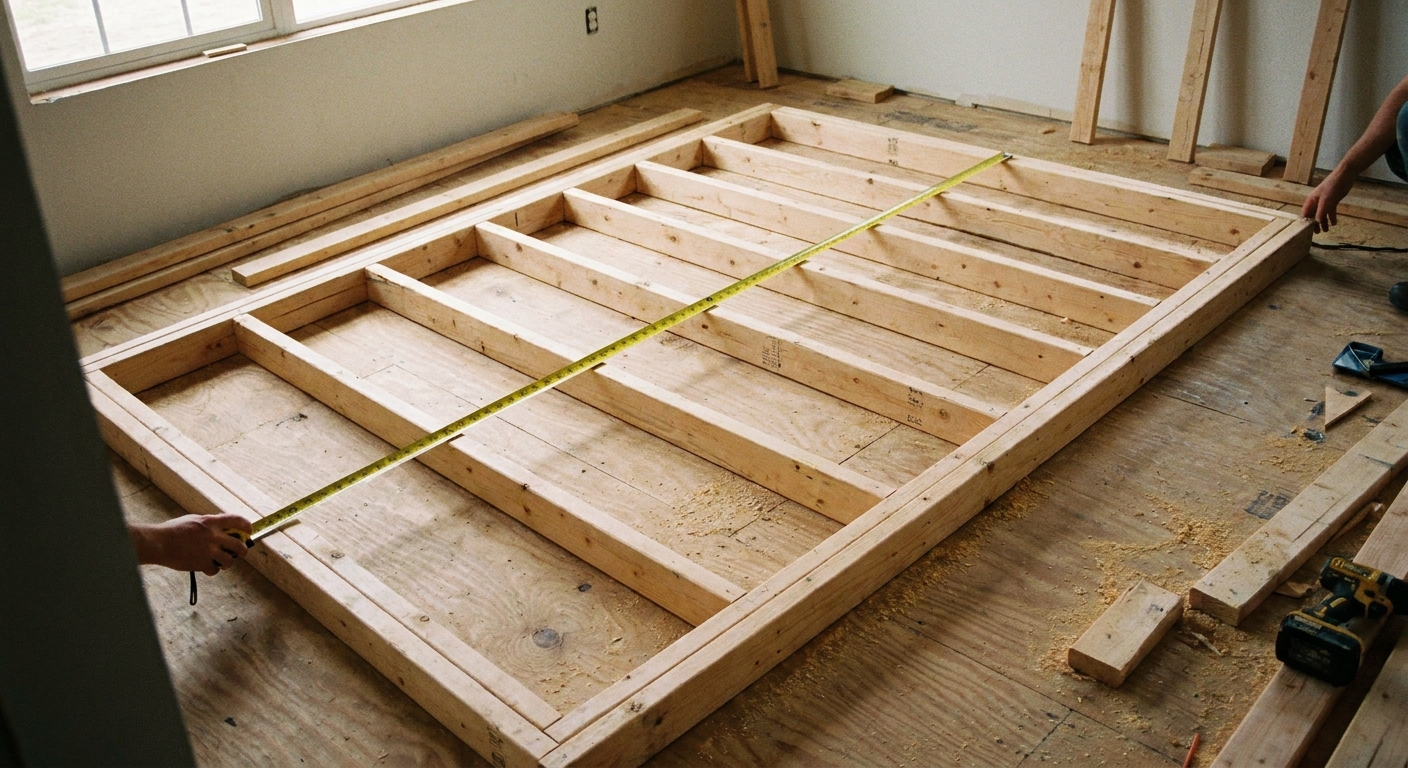
If you need a refresher on getting a wall truly square before it ever stands up, my process for new walls is here: How to square a wall frame before standing it. The same diagonal logic is what you will use to fix an existing building.
Step 1: Measure plumb and square
Most DIY confusion comes from mixing up these two terms:
- Out of plumb means the wall is leaning.
- Out of square means the building or wall face is racked like a parallelogram.
Start by answering one question: Is the whole building out of plumb, or is one wall racked?
- Check plumb at the corners. Put a 4 ft level on corner studs, door jamb studs, or exposed posts. Note how far out it is at the top.
- Check the base. Look for a slipped skid, a settled pier block, a rotted mud sill, or a slab edge that dropped.
- Check for racking. Measure diagonals across a wall with a big opening (garage door wall) or across the whole front face. If diagonals are different, it is racked.
Write your numbers down. If you pull without tracking progress, it is easy to overshoot and trade one problem for another.
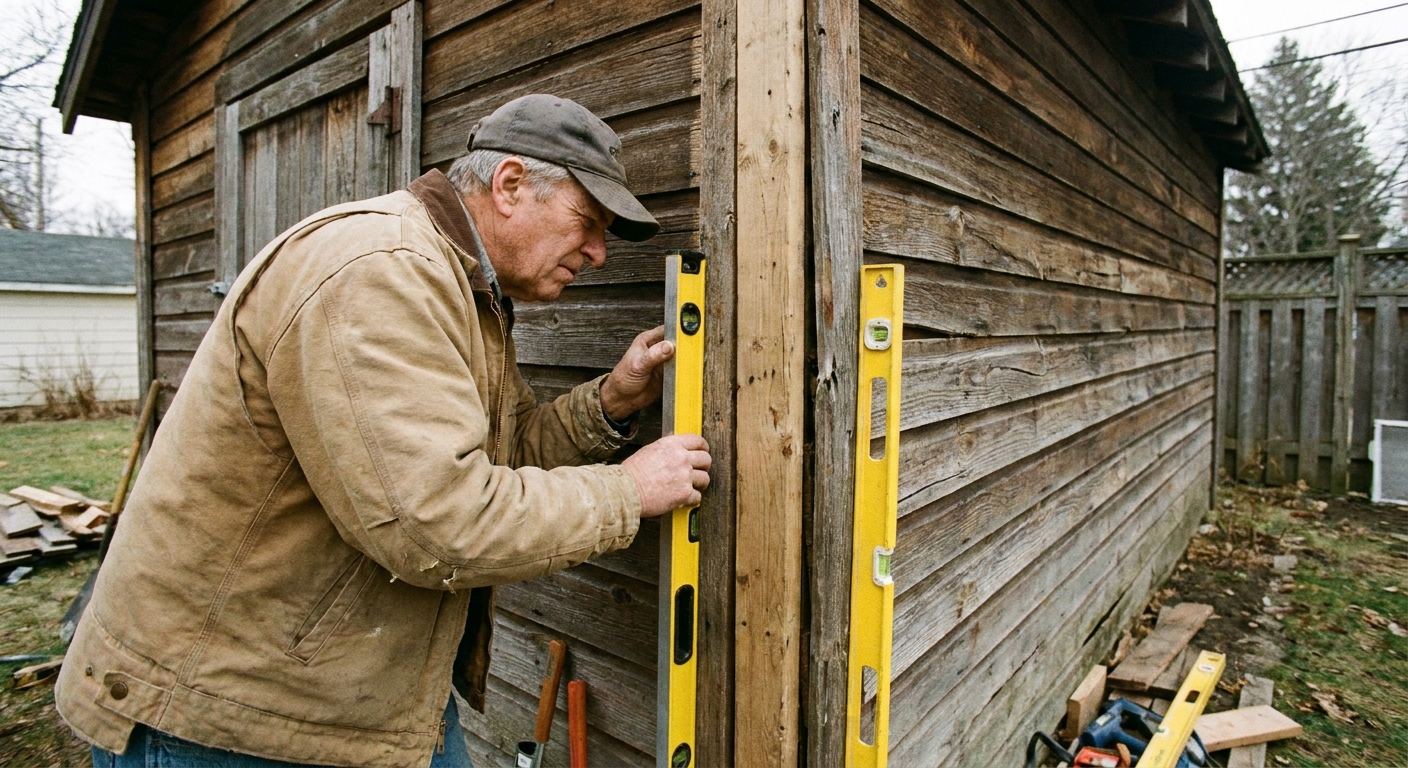
Step 2: Relieve binding and brace first
Old outbuildings often have interior shelving, random blocking, or half-nailed braces that make the frame bind when you try to move it. You want the structure to move as a unit, not tear itself apart.
- Remove interior sheathing panels only where needed to expose studs and plates.
- Back out or cut nails in broken diagonal braces that are already split.
- If the structure has a big door, open it or temporarily remove it so it does not act like a lever that twists the frame.
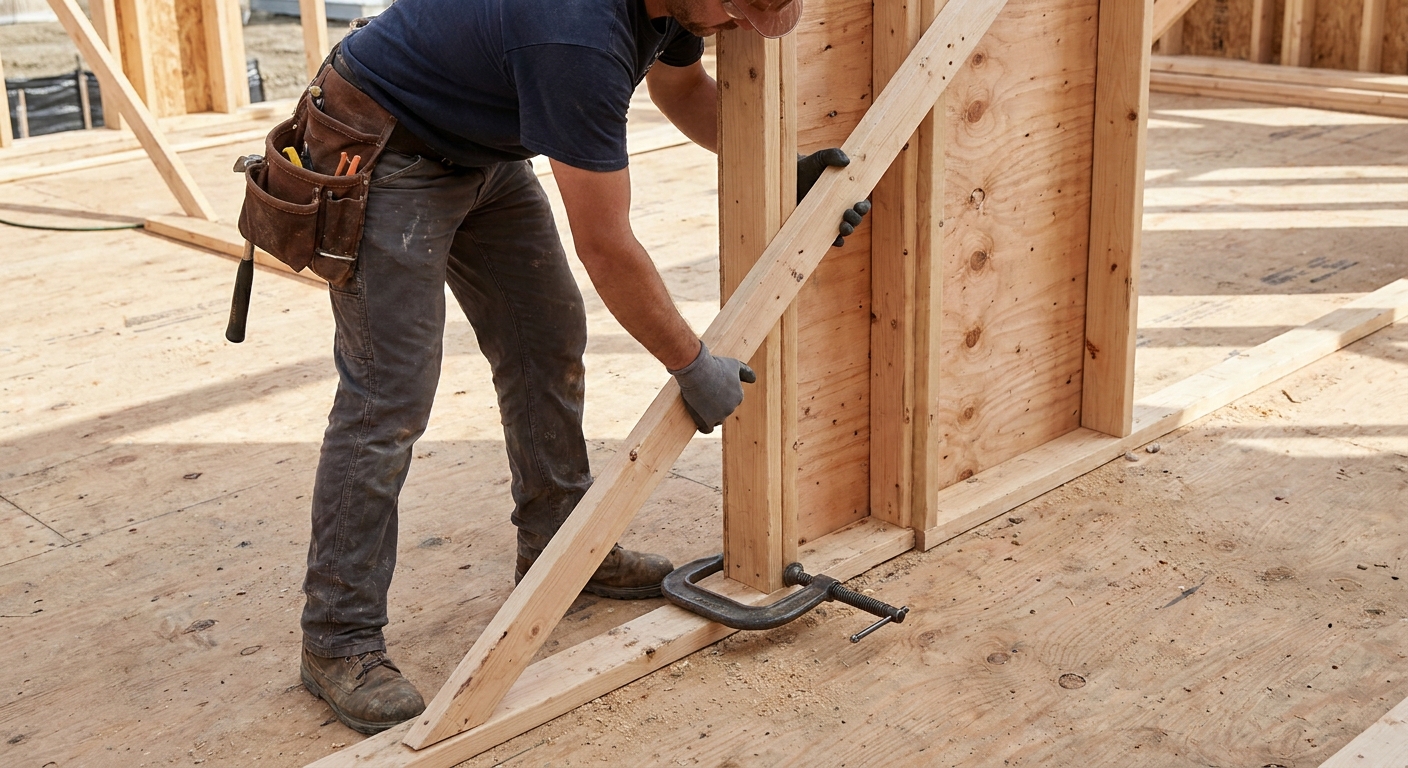
- If the building is badly racked, install temporary diagonal braces inside so the wall does not hinge suddenly while you pull.
One rule I follow: do not start stripping exterior sheathing on a wall you are relying on for stability until you have temporary bracing installed to replace what you are removing.
Temporary brace tip: screw a 2x4 from low on one corner stud to high on the opposite side. Screws make it easy to adjust as you creep toward square.
Step 3: Set safe anchors and attachment points
This is where most DIY fixes get sketchy. A come-along is only as safe as its anchor points. Do not hook to a flimsy fence post or an old deck rail and hope for the best.
Good anchors
- A large healthy tree with a wide strap around the trunk (not cable around bark).
- A ground anchor rated for pulling, installed per the manufacturer’s instructions.
- A vehicle or equipment can work, but it is my least favorite option. If you do it, use a rated tow point (not a bumper and not a hitch ball), keep the pull straight, set the parking brake, put the engine off, and chock the wheels on both sides. Suspension and movement can change your tension unexpectedly, so a tree or ground anchor is usually more consistent.
Good attachment points on the building
- Top plate at a corner (reinforced with a short 2x block screwed tight to spread the load).
- A doubled stud or post near the corner, again with blocking to prevent crushing.
- A strongback (a 2x6 or 2x8 screwed across several studs) if the wall is light framed and you want to distribute the pull.
Keep the pull line as straight as possible. Side loading a come-along hook or pulling at a weird angle is when things bend or slip.
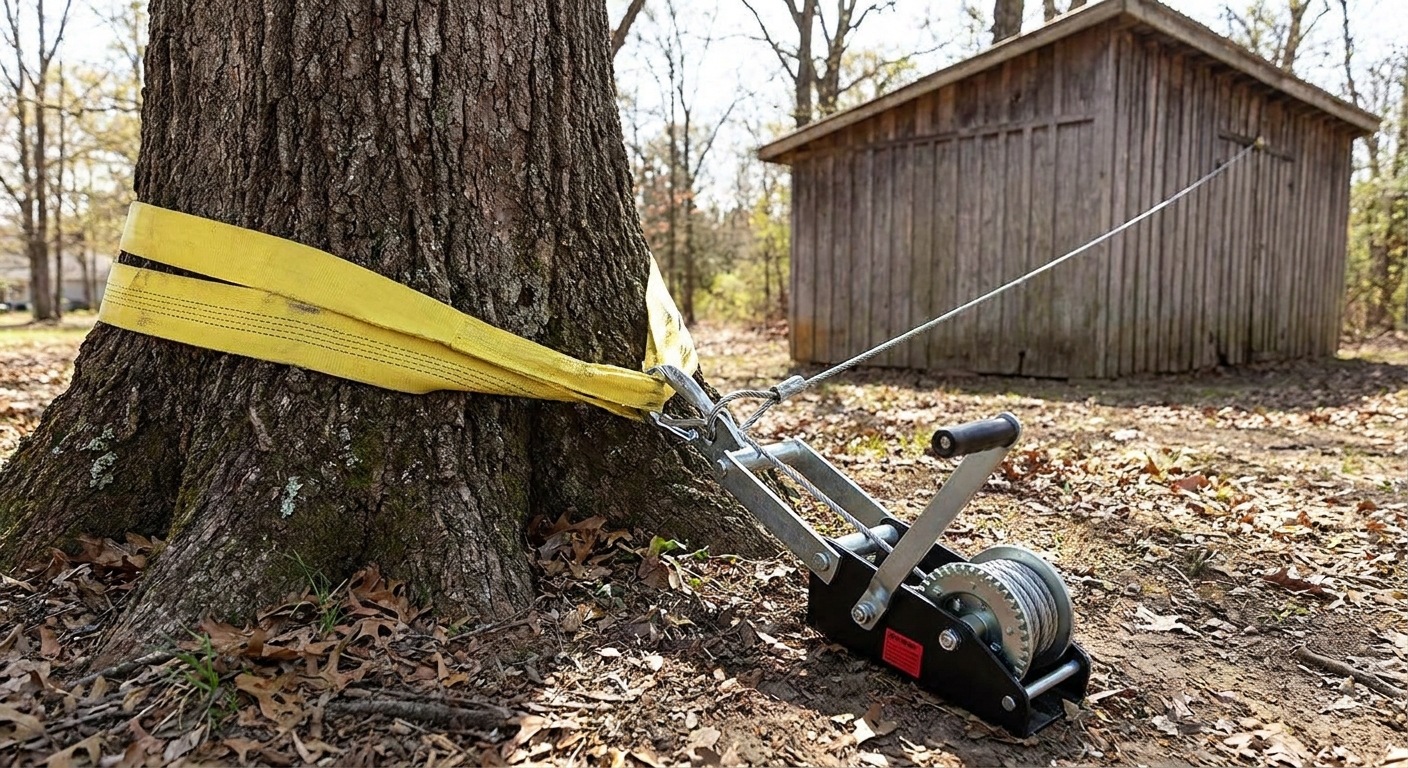
Step 4: Pull in small bites and keep checking
Here is the rhythm that works: tension, check, brace, repeat.
- Pre-tension the line until it is snug and the slack is gone.
- Pull a little, then stop. I like to work in 1/4 inch to 1/2 inch changes at the top corner.
- Check plumb at the corner and check diagonals for racking changes.
- Watch the base while you pull. The bottom can walk, twist, or climb a skid even when the top looks like it is behaving.
- Listen and look for signs of trouble: sheathing popping, nails squealing out, studs splitting, or the base sliding on its supports.
If the bottom plate is sliding on skids or a slab, you may need to temporarily screw cleats or blocks to the floor to keep the base from wandering while you straighten the wall.
Also, do not be surprised if the building wants to spring back a bit when you release tension. That is exactly why permanent bracing comes next.
Step 5: Add permanent bracing that actually holds
Once the building is plumb and square, you have a short window where everything is behaving. Use it to install bracing that keeps it from racking again in the next windstorm or rainy season.
Option A: Diagonal 2x bracing (good for small sheds)
A surface-mounted diagonal brace can help a light shed a lot, especially if it had no bracing at all. It is not the same thing as a properly sheathed shear wall, and it is easy to overestimate what a single 2x does on a taller wall, a big door opening, or a windy site.
- Run a 2x4 or 2x6 diagonally from near the bottom plate at one end up to the top plate at the other.
- Whenever possible, do this on the inside so the brace is protected from weather.
- Screw or nail into studs and both plates. Hit as many studs as you can.
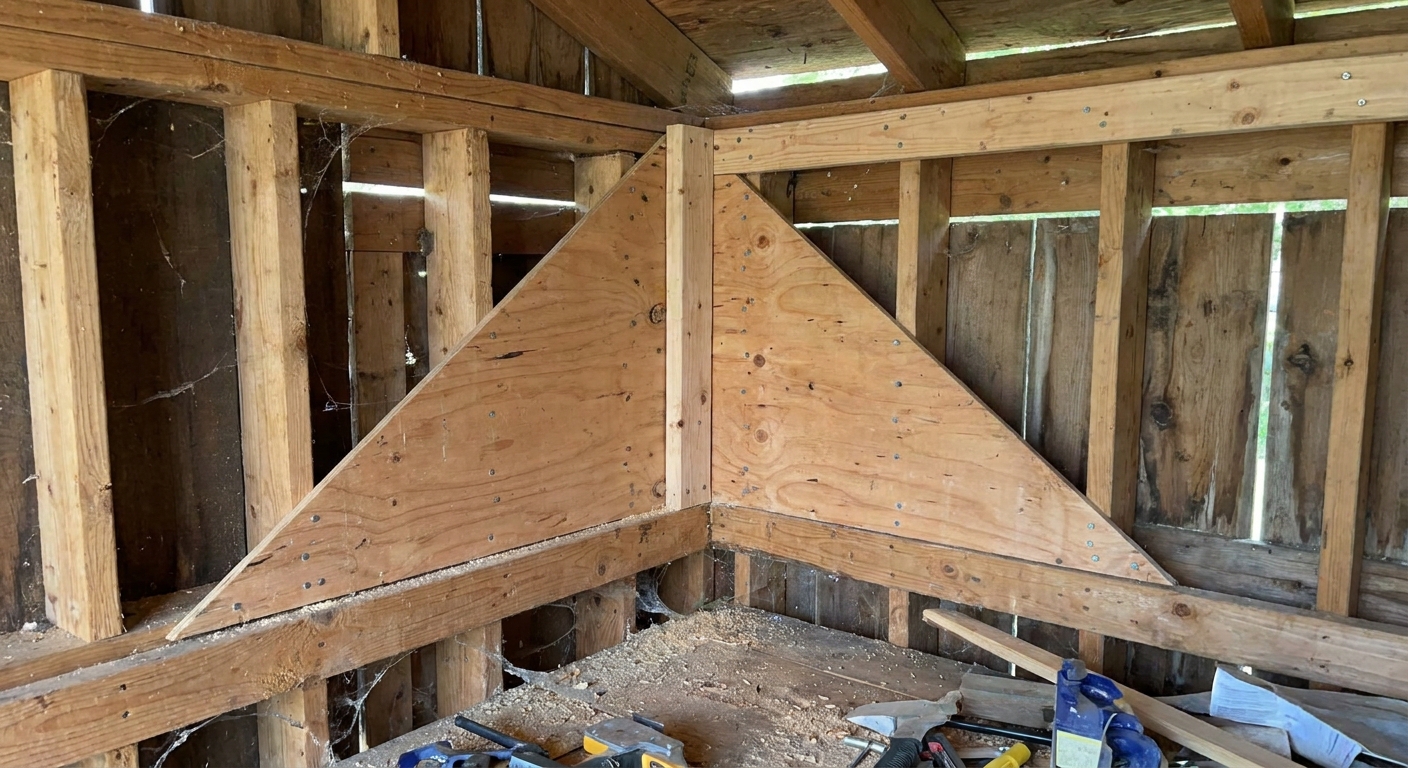
Option B: Plywood or OSB corner panels (best racking fix)
- Add 1/2 inch plywood or OSB panels at corners, oriented vertically, fastened into studs and both plates.
- If you cannot sheath the whole wall, even a 4 ft wide corner panel can dramatically stiffen a light building.
- Practical fastening: aim for fasteners about every 6 inches along panel edges and about every 12 inches in the field, hitting framing. More fasteners is usually better than fewer, as long as you are not splitting the framing.
- If you use construction adhesive, treat it as a bonus, not the plan. Mechanical fastening is what counts, and glue can make future repairs more annoying.
If you are working around cabinets or utility items, strategic blocking helps too. I cover the idea here: Strategic in-wall blocking. In sheds and garages, blocking plus real corner bracing makes a noticeable difference in how solid the building feels.
Step 6: Fix what moved at the base
If you only straighten the walls but ignore the base, you are basically resetting the clock. The most common culprits are moisture and movement.
What typically moves
- Sheds on skids: skids can rot at the ends, sink, or slide, especially on wet soil.
- Sheds on pier blocks: one pier settles and the whole building twists, then the walls rack to match.
- Slab garages: corners can drop, or the wall can slip where anchors are missing or rusted out.
Common base fixes
- Replace rotted bottom plates and repair any damaged studs. This is a staged repair where you support the load first (temporary wall, jacks and cribbing, or other safe support), then cut out bad sections and splice in new treated material.
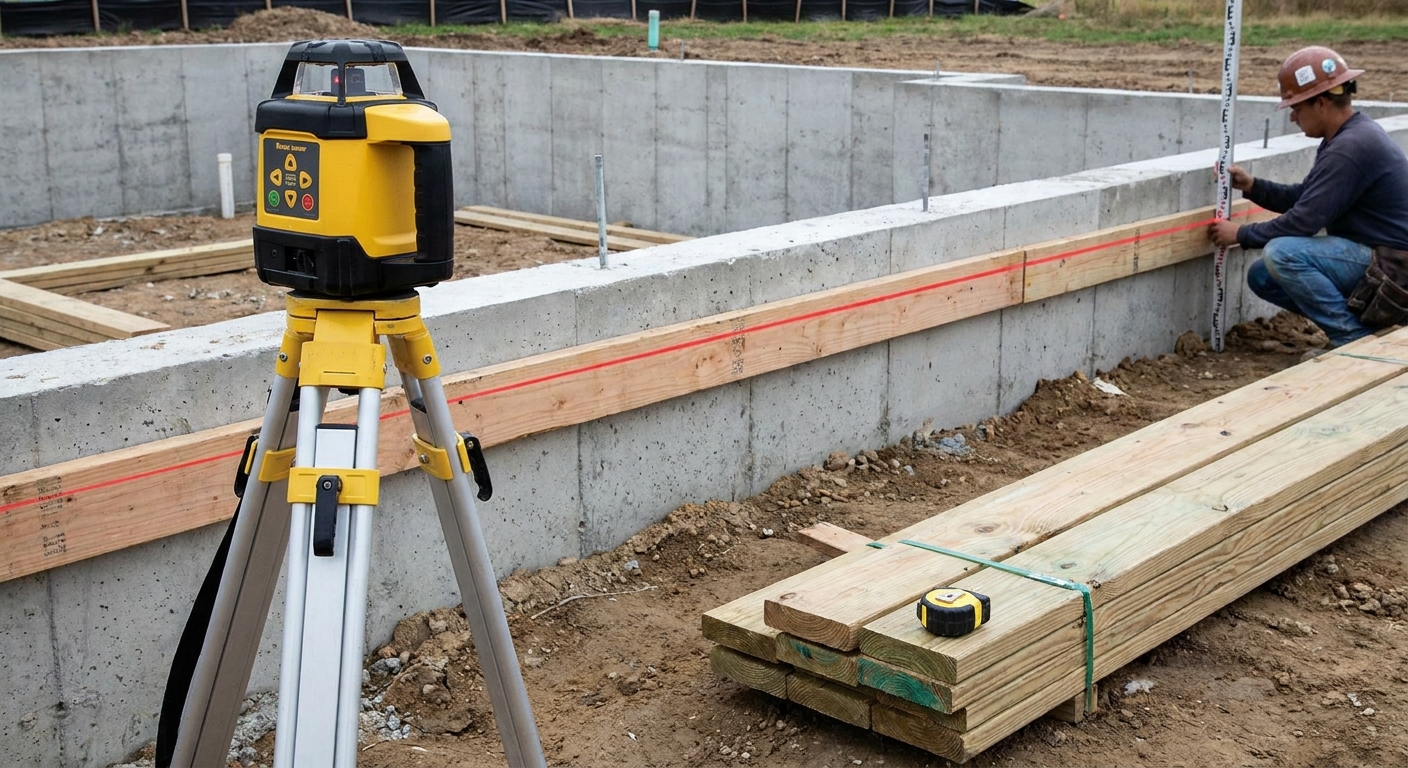
- Re-level skids or blocks under a shed. Add proper supports where the building is currently floating or sagging.
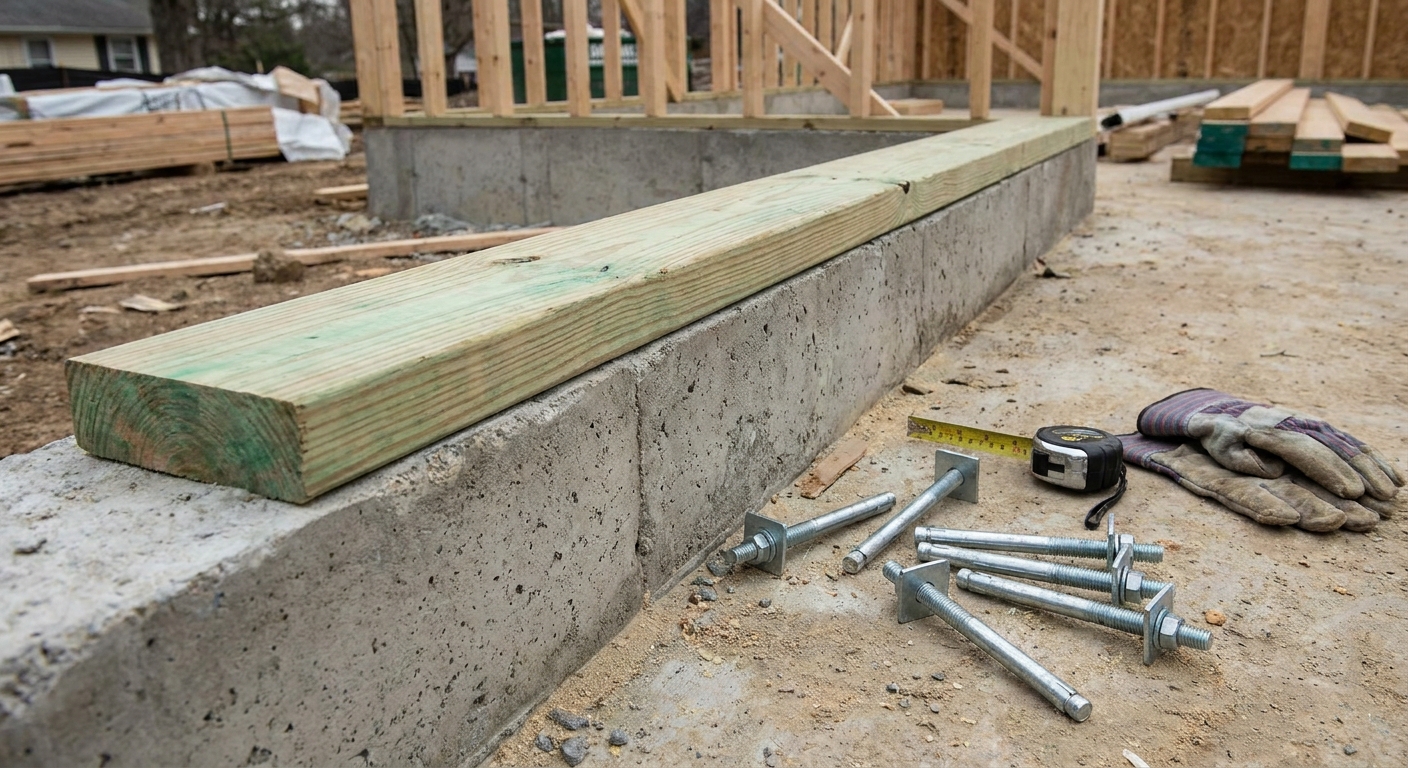
- Add anchors so the structure cannot creep. Depending on your foundation type, that can mean straps, brackets, or proper anchor bolts.
If you are dealing with a structure sitting on a wood sill or mud sill detail, this walkthrough will help you think through moisture, fastening, and layout: Installing mud sills the right way.
Pacific Northwest note from my own projects: if you have splashback and wet soil right at the base, improve drainage and keep the bottom edge dry. A perfectly braced wall still loses the fight if it stays wet year-round.
Step 7: Brace, release tension, and tune
Before you unhook the come-along, install temporary braces that hold your corrected position. Then release tension slowly.
- Install temporary diagonals inside (screwed, not nailed) so you can tweak.
- Release tension slowly and watch for spring-back.
- Re-check plumb and square. If it moved, re-tension and adjust bracing until it holds.
- Finalize fastening. Add the remaining screws or nails in your permanent braces or plywood panels.
A nice finishing check is to confirm doors and openings behave. If the building was racked, the first sign you are winning is a door that stops rubbing and starts latching like it used to.
Special cases to watch
The roof is the thing holding it crooked
Sometimes the wall is not fighting you. The roof plane is. If you pull a wall and the roof framing is acting like a rigid triangle, you may need to add or repair bracing in the roof or ceiling plane before the wall will stay put. Look for broken collar ties, missing rafter ties, or ceiling joists that are no longer tying the walls together. Fix the roof bracing first, then go back to the wall.
Big door openings
A garage door wall is notoriously weak if it is not properly braced. If your lean or rack shows up most at the big opening, lean hard toward plywood/OSB corner panels and solid anchoring at the base. A single diagonal 2x is often not enough.
Quick troubleshooting
The wall will not move
- Look for hidden fasteners tying the wall to a slab or skid in one spot.
- Check if the roof framing is acting like a rigid triangle that is holding the wall out of plumb.
- Reduce friction at the base by lifting slightly with a jack and cribbing, but do it carefully and evenly.
The base slides instead of the wall straightening
- Screw temporary cleats to the floor or skid to keep the bottom plate from walking.
- Change your pull point higher or distribute the load with a strongback.
It straightens, then springs back
- You need more permanent shear resistance. Add corner plywood panels or additional diagonal braces.
- Confirm the base is stable and not rocking on uneven supports.
Safety reminders I do not skip
- Never straddle a tensioned cable or strap. Work off to the side.
- Wear eye protection and gloves. Old cable strands and rusty hardware are unforgiving.
- Use rated gear. If the come-along, strap, hook, shackle, or attachment point looks questionable, it is not worth gambling on it.
- Go slow. The building took years to lean. You get better results when you pull it back over an hour, not 90 seconds.
When rebuilding is the smarter call
Sometimes the smartest repair is a partial rebuild: new bottom plates, new corner studs, new sheathing, and modern anchors. If you see widespread rot, insect damage, or a foundation that is actively moving, straightening becomes temporary theater.
But if your structure is mostly sound and just tired, these seven steps will get it back into plumb and keep it there. Measure, pull in small bites, brace like you mean it, and fix the base. That is the difference between it looks better and it is actually solid.