

I grew up sweeping sawdust in a little woodshop where the standing rule was simple: measure twice, cut once. Years later, framing houses in the Pacific Northwest, I learned the companion rule the hard way: calibrate your tools before you blame your layout. A miter saw that is even a hair out of square will turn “perfect” measurements into gaps, twisted assemblies, and trim joints you cannot unsee.
This is my jobsite method for truing a miter saw. We will square the fence, align the blade, set the miter detents, and dial in the bevel stops so your crosscuts land dead-on.
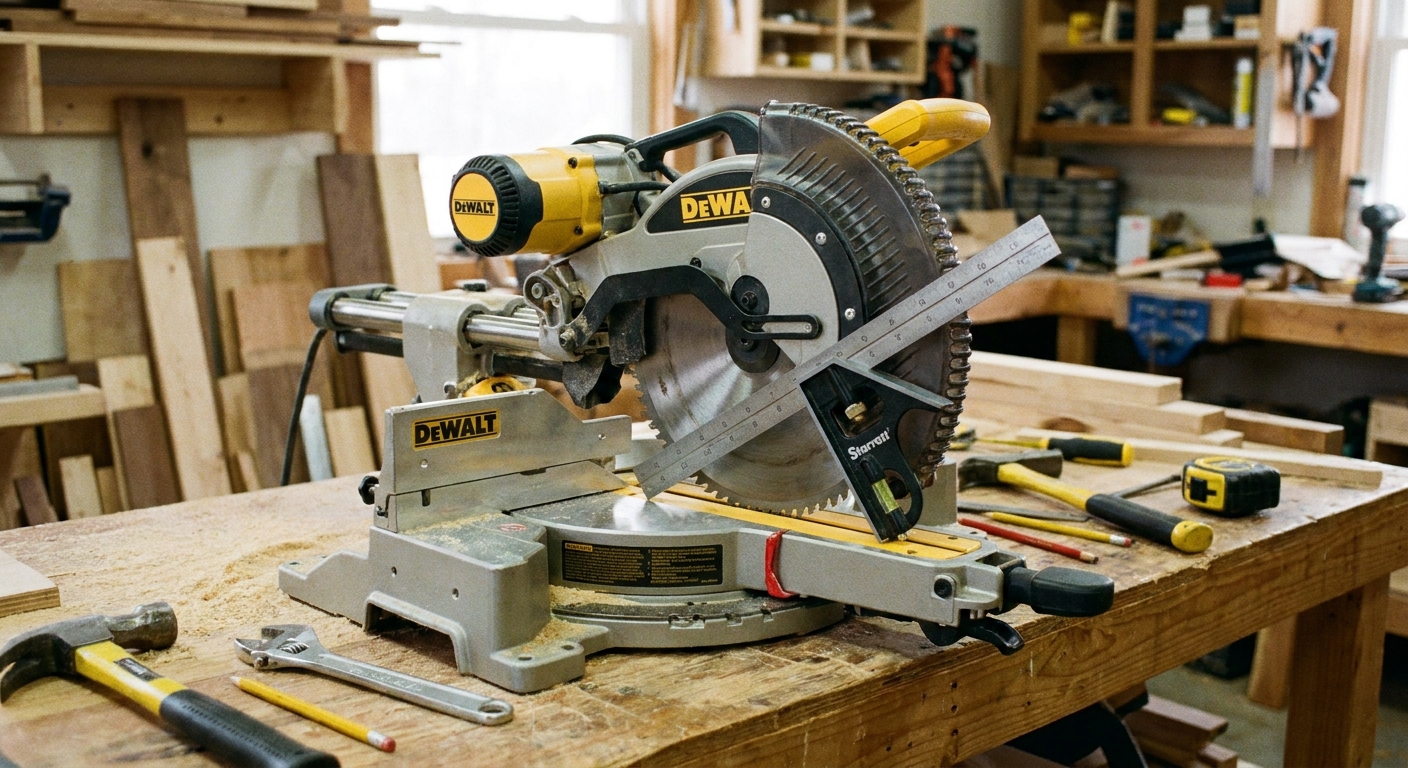
Before you adjust anything
Safety and setup
- Unplug the saw or pull the battery. Do not trust the trigger.
- Lock the head down if your saw has a transport lock. If not, lower the head and keep a hand on it while checking alignment. Keep fingers clear of pinch points.
- Clean the table and fence faces. A single chip of pitch or a curled shaving can throw your “square” off.
- Remove accessories that interfere (laser guide attachments, bulky blade stabilizers, sacrificial fences) until calibration is done.
Use a blade worth calibrating to
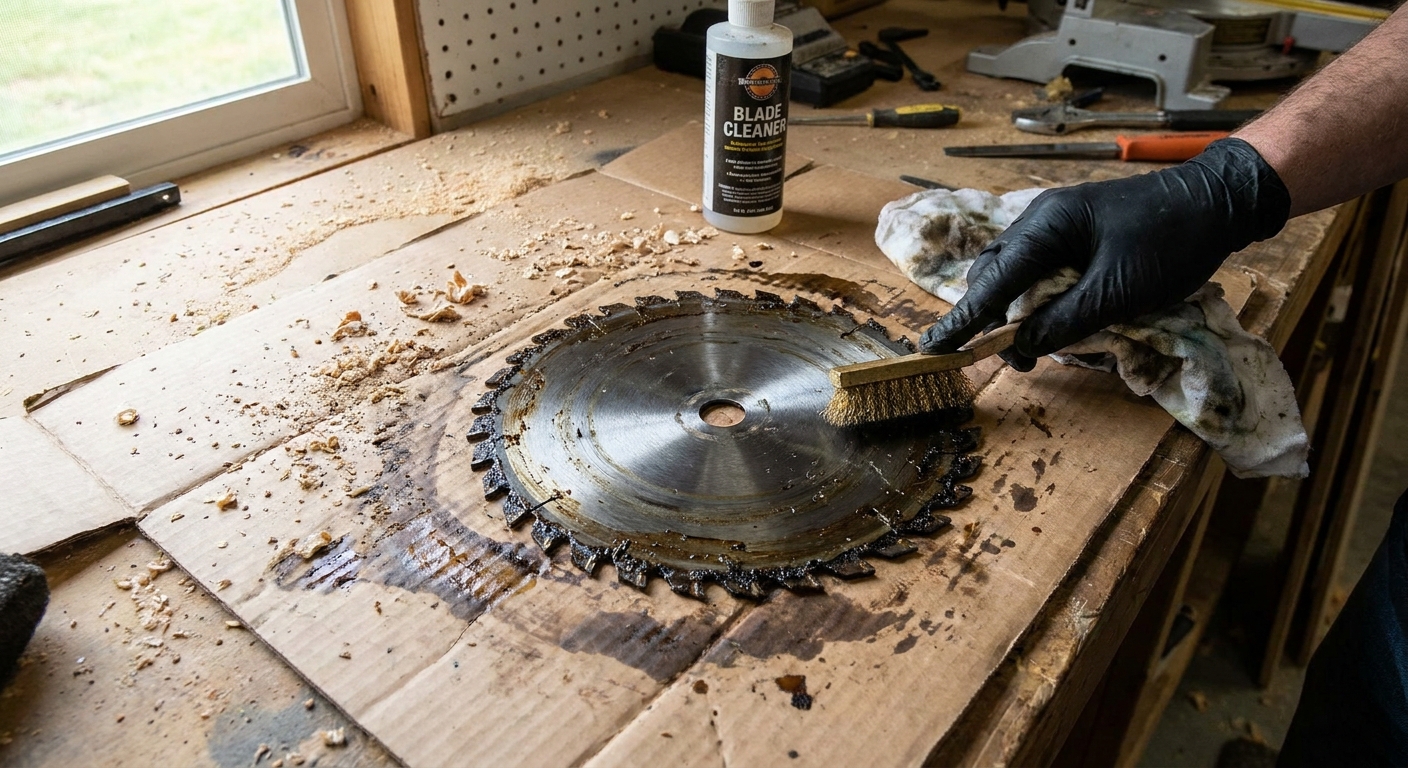
If you tune a saw with a bent blade or a blade packed with pitch, you are tuning to a lie. For calibration, I like a clean, sharp, quality blade that you intend to keep on the saw most of the time.
- Clean resin off the blade first if needed.
- Make sure the blade is seated fully and the arbor flange is clean.
- Do a rough “runs true” check by slowly rotating the blade by hand and watching the plate (not the teeth). You are looking for obvious wobble. If you think you see it, mark the blade, rotate it to a different arbor position, and re-check. If the wobble follows the blade, it is the blade. If it stays in the same spot, look at the flange, arbor, or debris behind the blade.
The two tests that tell the truth
You can get lost trying to “square” a saw by eyeballing the blade to a square. The problem is that most blades have tooth set and some runout, and the typical carpenter square is not a machinist reference. Instead, I like two practical checks that reveal real-world error.
Test 1: Flip test for 90 cuts
- Set the saw to miter 0 and bevel 0.
- Cut a piece of straight 1x4 or 1x6 that is at least 10 to 12 inches long.
- Flip one half over like turning a page in a book and bring the two freshly cut ends together.
- Look for a gap. A gap at the top or bottom means your cut is not square.
This test doubles the error, so tiny misalignment becomes obvious.
Test 2: Four-cut frame test for 45s
On a jobsite, I would rather trust a simple test that matches how a miter saw is actually used. This one tells you fast if your 45 stops are doing you dirty.
- Cut four pieces at 45 degrees (all at the same miter setting), keeping the same face against the fence for every cut.
- Put them together into a rectangle or square on a flat surface.
- If the last joint will not close, or opposite corners rock, your 45 is off (or your stock is not registering consistently).
If you are coming from the woodworking world, the 5-cut method is still a great concept, but it is traditionally used for table saw sleds and crosscut fences. On a miter saw, the flip test and a four-cut frame test get you the same answer with less fuss.
Step 1: Check fence and table
Most crosscut problems that look like “the blade is out” are really registration issues. If the stock is not sitting flat to the table and tight to a straight fence, the saw can be perfect and your cut can still be wrong.
Check the fence
- Run your hand along the fence faces and look for burrs, dings, or packed pitch.
- If you find a proud nick, knock it down carefully with a fine file or stone so stock cannot hang up.
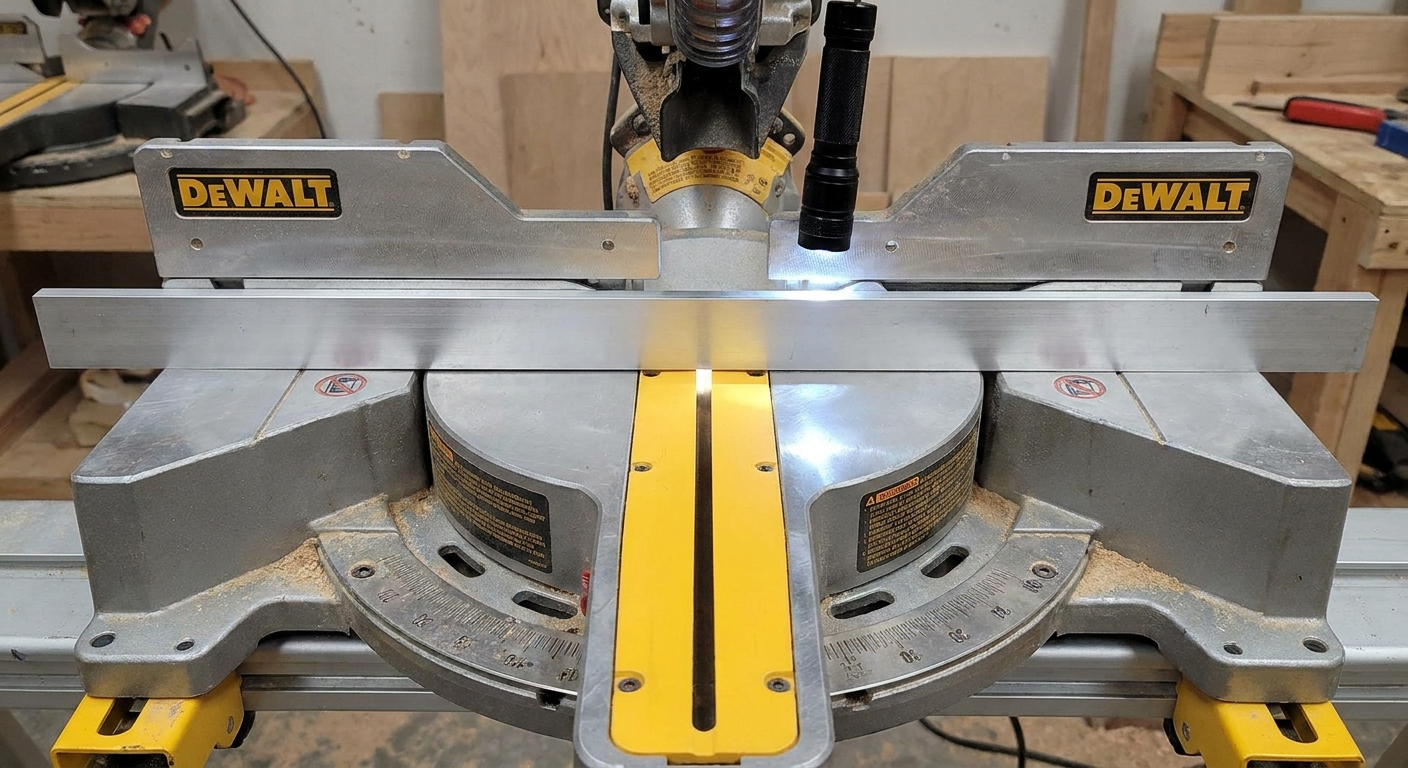
- On two-piece fences, place a reliable straightedge across both fence faces.
- Shine a light behind it and look for daylight or rocking.
- If one fence half sits proud, loosen that fence’s bolts and adjust until both faces are coplanar.
If your fence faces are chewed up from years of framing, add a clean sacrificial fence, but only after calibration.
Check the table insert
Make sure the throat plate or insert is not sitting proud or low. A proud insert can tip a board just enough to make a “mystery” gap show up in casing or returns. If your insert is adjustable, set it flush. If it is damaged or warped, replace it before you chase tiny angle corrections.
Step 2: Square miter 0
This is the heart of flawless crosscuts. With bevel at 0, the blade should be exactly 90 degrees to the fence when the saw is locked at miter 0.
Use a square the right way
- Use a good combination square or try square.
- Avoid touching the teeth. Reference the square to the blade plate between teeth.
- Make sure the square’s stock is flat against the fence, not hung up on a fence seam or debris.
Adjust miter 0 (common approaches)
Different saws adjust differently, but the workflow is similar.
- Set the saw to 0 on the miter scale and lock it.
- Check blade-to-fence squareness with your square.
- If it is off, do not force the detent. Find the adjustment point, usually one of these:
- Miter pointer adjustment (changes what the scale reads, not the actual stop).
- Detent plate or stop adjustment (changes where the saw locks at 0).
- Fence adjustment (some saws have fences that can be shifted slightly to square the system).
My preference is to adjust the mechanical stop or detent so the saw actually cuts square at the locked 0 position, then set the pointer to match.
Confirm with the flip test
Once you think it is square, make a fresh cut and do the flip test. Trust the wood over the scale.
Step 3: Square bevel 0
Even with a perfect miter 0, a bevel that is leaning left or right will give you a crosscut that is not truly square in the other axis. You will see it when you try to stand pieces on edge or when casing joints look tight at the face but open at the back.
Check bevel 0
- Set bevel to 0 and lock it.
- Place a square on the table and bring it to the blade plate (again, not the teeth).
- Check for gaps.
Adjust bevel 0
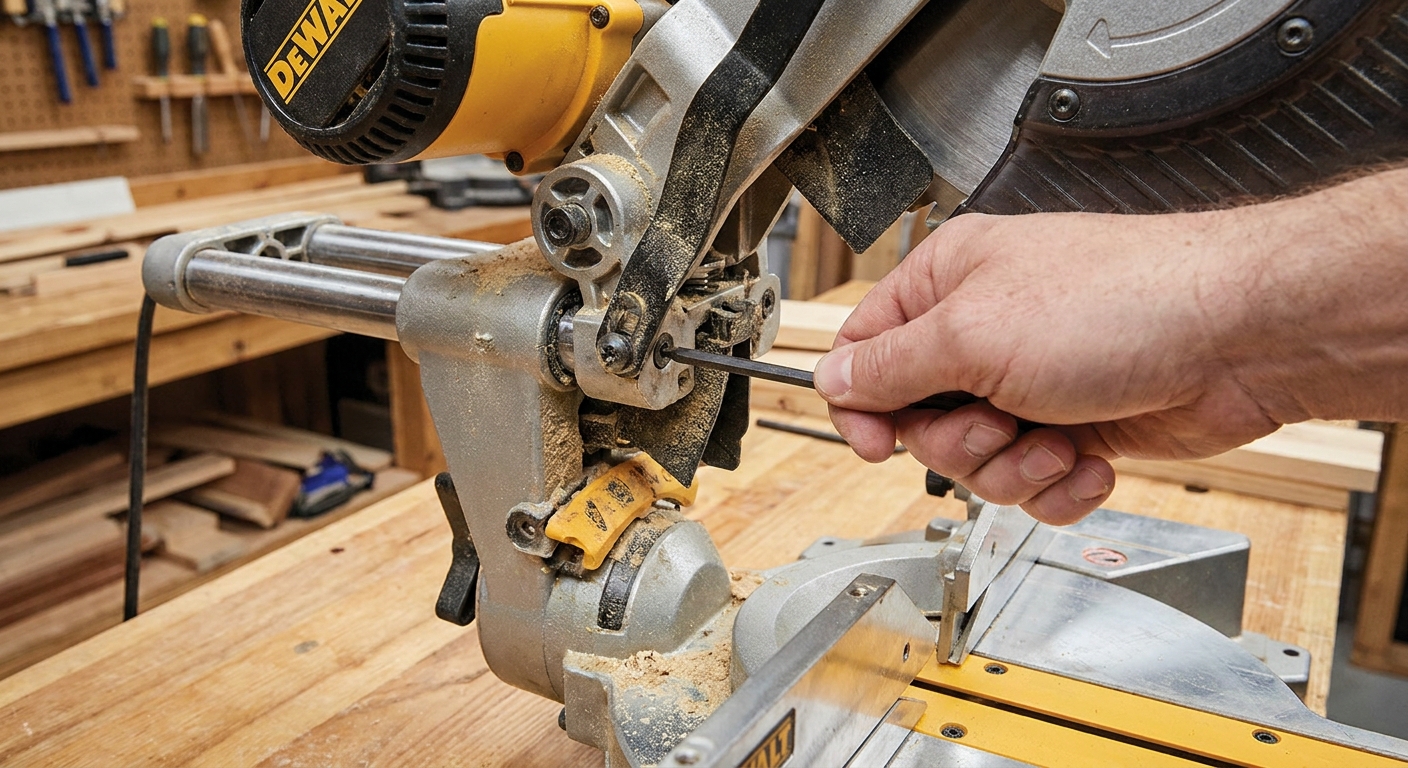
Most compound miter saws have a 0-degree bevel stop screw (and often a separate one for 45 left and 45 right). With the saw unplugged:
- Loosen the bevel lock.
- Bring the blade perfectly vertical using the square as your reference.
- Adjust the bevel stop screw so the saw stops exactly at that position.
- Lock bevel and re-check.
After you set the mechanical stop, adjust the bevel scale pointer if your saw allows it, so the readout is honest.
Step 4: Set 45 miter stops
If you do any trim or picture-frame style assemblies, your 45-degree stops matter as much as 90. A 45 that is off by half a degree becomes a visible gap when two pieces meet.
Fast check
- Cut two pieces at 45 degrees (same miter setting), keeping the same face against the fence.
- Put them together to form a 90-degree corner.
- Check the outside corner with a square and look at the seam.
If you want a more sensitive read, do the four-cut frame test from above. It shows small errors quickly.
Adjust 45 detents
Some saws have adjustable detent plates. Others rely on factory-set detents and only let you correct the pointer. If your saw allows mechanical adjustment, tune the detent stop so the locked 45 actually cuts 45, then correct the pointer last.
If your saw does not allow it, you can still work accurately by ignoring the detent for fine work and sneaking up on the angle using test cuts. For a daily-use saw, I prefer one that can be calibrated properly.
Order matters: after any detent or fence change, re-confirm your 90 with the flip test before you call it done.
Step 5: Set 45 bevel stops
Bevel stops matter when you are beveling edges or cutting crown nested, and they also show up when you tilt for compound miters.
Check and adjust
- Set the bevel to 45 and lock it.
- Use a bevel gauge, digital angle gauge, or a known-good 45 reference block to verify.
- Adjust the 45 bevel stop screw (left or right depending on the tilt direction) until it hits true.
A digital angle gauge is handy here because it references the table directly, but you can absolutely do this with careful test cuts if that is what you have.
Order matters here too: after you mess with bevel stops, re-check bevel 0. Stops can interact.
Step 6: Check full slide travel
If you have a sliding miter saw, you can have a saw that is square at the front of the cut and slightly off at the back if the rails are not running true.
Slider check
- Set miter 0 and bevel 0.
- Pull the head toward you.
- Plug in only when you are ready to make the test cut. Lower into the work and push through smoothly without side pressure.
- Do the flip test on a wider board (like a 1x8) so the blade uses more of the travel.
If you see inconsistency, check for play in the slide mechanism and make sure your cutting technique is not introducing side load. Some saws have rail adjustment points to remove slop, but do not overtighten them. A slider should feel smooth, not gritty or forced.
How close is close enough
This is where I see people burn an hour chasing a half-hair they will never see in the finished work.
- Framing: If the flip test shows no visible gap and your cuts assemble without fighting, you are good. Wood movement will be a bigger “tolerance” than your saw.
- Trim and finish: Chase it tighter. If a flip test shows a sliver of daylight on a 10 to 12 inch sample, it will show up in long runs of casing and base.
- Built-ins and fussy returns: Dial in 90 and 45, then keep test-cutting the actual material until joints close clean.
Common problems that look like miscalibration
Your board is not straight
In framing, we constantly fight lumber that wants to twist. If the board is bowed, it will not register consistently against the fence. If you are chasing accuracy in suspect stock, it helps to correct it at the source. See 4 ways to straighten a bowed wall stud.
Fence pressure changes mid-cut
Most “miter saw is out of square” complaints I see are really operator pressure. Keep steady pressure into the fence, keep the piece flat to the table, and let the blade do the work. If you twist the stock into the blade, the saw will happily cut the angle you forced.
Blade deflection from technique and blade choice
A thin, aggressive construction blade can deflect under load, especially with a fast feed, wide stock, dense material, or a saw with some flex. Slow down, support the offcut, and consider a higher tooth count crosscut blade when accuracy matters.
Zero-clearance fences and inserts
Aftermarket inserts and shop-made sacrificial fences are great, but install them after calibration. If they are not flat or they pinch the work, you can create error even with a perfectly tuned saw.
My 10-minute routine
- Clean table, insert, and fence faces.
- Verify fence halves are coplanar and free of burrs.
- Square miter 0 (bevel 0), then confirm with the flip test.
- Square bevel 0, set the stop, then confirm with a fresh cut.
- Cut and check two 45s into a 90 corner or do a quick four-cut frame test.
- After any adjustment, re-check 90 before you pack up.
Once the saw is dialed, protect the setup. Do not toss it in the truck bed loose, and do not use the fence as a pry bar. Accuracy is a habit, not a one-time event.
FAQ
How accurate can a miter saw be?
A good saw, tuned well, can produce extremely accurate crosscuts for framing, trim, and most built-ins. For fine furniture joinery, a table saw sled or shooting board still has the edge, but a calibrated miter saw should deliver tight, gap-free joints in typical carpentry work.
Square to the teeth or the blade plate?
Square to the blade plate between teeth. Tooth set varies, and it will mislead you.
Why are my 45s tight at the front but open at the back?
That is commonly bevel not being true, the stock not sitting flat, the fence faces not being coplanar, or the insert tipping the work. Start with fence and bevel 0 before you chase the 45 detents.
Is a digital angle gauge worth it?
If you do frequent trim or cabinet work, yes. It speeds up bevel calibration and removes some guesswork. For occasional use, careful test cuts and the flip test get you very close.