

I grew up sweeping sawdust in a little woodshop where the first rule was simple: measure twice, cut once. Years later, framing houses in the Pacific Northwest, I learned the second rule the hard way: carry smart, not heavy. A sloppy tool belt does two things every day on site. It wastes time with constant fishing around for tools, and it quietly beats up your lower back and hips by loading weight in all the wrong places.
This is how I set up a framing tool rig for maximum efficiency with less strain. The goal is not to carry everything you own. The goal is to carry what you touch all day, put it in the same place every time, and balance the load so your body is not fighting your belt from sunup to cleanup.

The two rules that make it feel lighter
Rule 1: Put the weight on your hips
A belt feels brutal when it rides on your waist like a loose hula hoop. You want the belt sitting on the bony shelf of your hips so more of the load is borne by your pelvis and less by your lower back.
- Run it snug. Not choke tight, but tight enough that the pouches do not bounce when you climb ladders or step over plates.
- Use suspenders if you are carrying a lot. Suspenders do not replace hip support. They help keep the rig from sagging and spread some load across your shoulders.
- Keep the center of your back clear. In my experience, a big tool pile right over your spine turns into fatigue fast, especially when you are bending and climbing.
Rule 2: Dominant hand grabs, other hand feeds
Most framers naturally work like this: your dominant hand grabs the hammer or nailer and drives fasteners. Your other hand positions stock, holds layout tools, and feeds fasteners. Organize the belt so each hand has what it reaches for most, without crossing your body.
Start with the daily carry
Before you rearrange anything, empty the belt onto a tailgate and be honest about what you actually use all day.
Core framing carry
- Hammer (or nailer plus a hammer for persuasion and toenails)
- Tape measure
- Speed square
- Pencil and a backup pencil
- Utility knife
- Chalk line (depending on task)
- Cat’s paw or small flat bar (depending on task)
- Fasteners you are actively shooting or hand-driving
If you are doing layout-heavy work, I would rather make room for layout tools and carry fewer fasteners. If you are standing walls all day, fastener capacity matters more. Match the rig to the day’s work, not the fantasy version of “being prepared.”
For layout fundamentals that reduce rework, see Avoid Mistakes Laying Out 16 Inch OC Studs.
Pick a belt that fits the job
I am not going to turn this into a product guide, but fit matters more than brand. A few quick principles:
- Wider belts usually feel better under load. A 3-inch belt (often with some padding) tends to spread pressure out better than a skinny belt when you are carrying fasteners all day.
- Modular vs fixed pouches. Modular rigs make it easier to re-balance and reconfigure. Fixed pouch rigs can be tough and simple, but you live with the layout.
- Suspenders are a tool, not a crutch. If the belt is constantly sagging, suspenders help. If the belt is just overloaded, suspenders just help you suffer longer.
Where everything goes
There are a lot of belt styles, but the logic stays the same. You want quick access, repeatable placement, and balanced weight. Below is the setup I recommend as a starting point. Adjust for left-handedness by mirroring it.
Hammer side (dominant side)
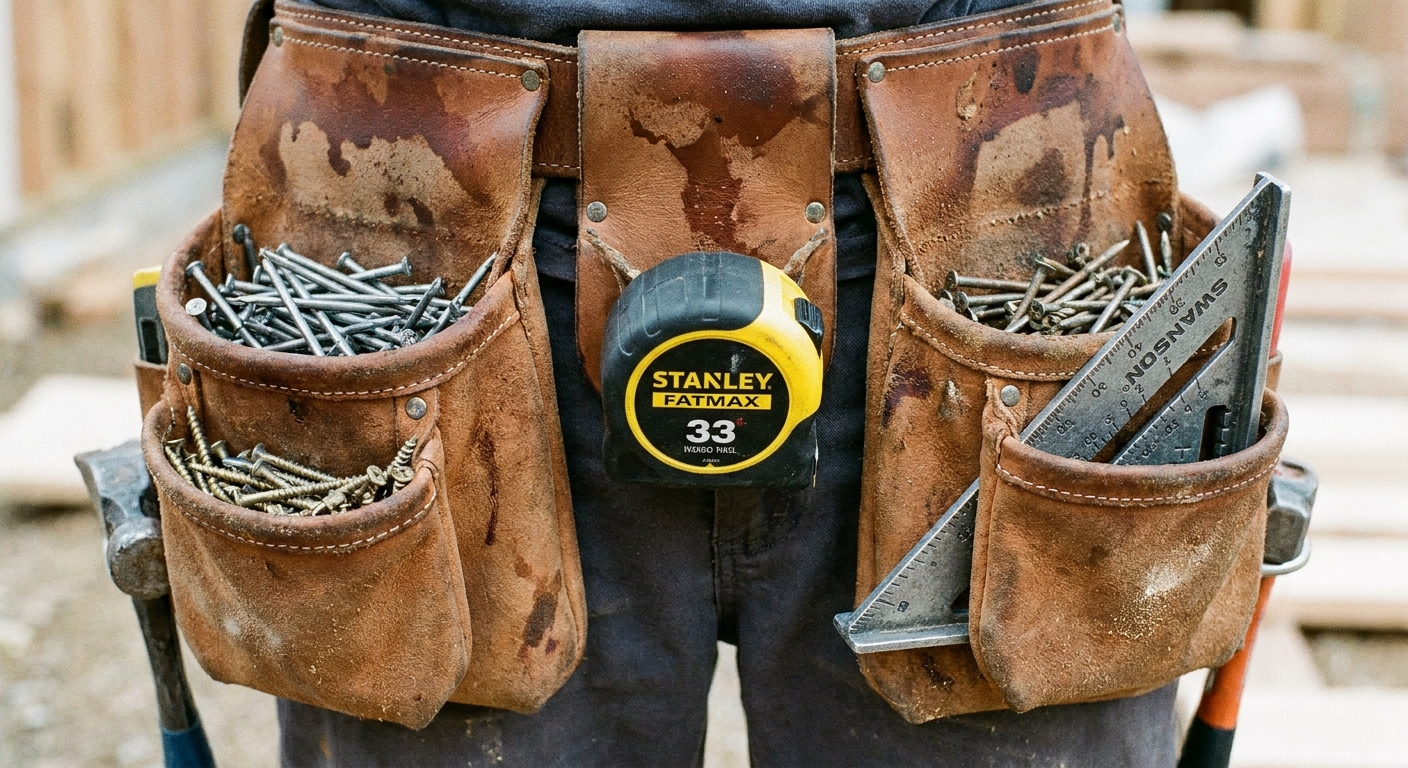
- Hammer loop: slightly behind your hip, not on the point of your hip bone. If it is too far forward, it bangs your thigh every step. Too far back, it catches on studs and ladders.
- Small grab pocket: a spot for pencil and knife where your dominant hand can snag them without looking.
- Do not overload this side. The hammer already adds swing weight and pull.
Fastener side (non-dominant side)
- Main fastener pouch: this is your workhorse. It should sit a little forward of your hip so you can reach in while holding material with your non-dominant hand.
- Secondary pouch: keep a different fastener type separated. For example, framing nails in one and hanger nails in the other, or 16d nails in one and 8d or 10d in the other, depending on what you are building that day.
- Fastener depth: deeper pouches carry more but force more wrist digging. I prefer carrying less and refilling more often.
Center front tools
- Tape measure: front center or slightly dominant side. It is the most-used tool on most framing tasks.
- Speed square: front or slightly non-dominant side. You want it easy to pull and easy to re-holster without staring at your belt.
Back-of-belt tools
- Chalk line: back of belt, but not centered on your spine. Offset it.
- Flat bar or cat’s paw: back of belt, vertical if possible so it does not jab you when you sit or crouch.
- Avoid bulky items: big tape rolls, giant nail sets, or heavy pry bars back there turn into a pressure point all day.
If you are choosing between rigs or deciding when a nailer makes more sense than a hammer for your workload, I broke down the practical differences here: Cordless vs Pneumatic Framing Nailers.
Balance the load
The biggest strain problem I see is a belt that is heavy on one side. It makes your hips hike up and your spine compensate. You might not notice at 8 a.m. You will notice at 3 p.m.
A quick balancing check
- Load your belt like you are going to work. Put in the nails, screws, chalk line, everything.
- Pick it up by the back center. It should hang close to level. If it nose-dives to one side, rebalance.
- Move bulk, not micro-tools. Shifting a chalk line or a nail pouch position fixes more than relocating a pencil.
- Cut fastener quantity first. If you are loaded with nails, you are carrying pounds you can stage nearby instead.
On a framed deck or floor system, I like staging fasteners in a bucket or small box nearby rather than hauling a full pouch all day. The walking is cheaper than the back pain.
Set up for repeat motions
Efficiency is mostly about eliminating extra moves. If you can take two steps out of a task loop, you save hundreds of steps a day.
Common loops
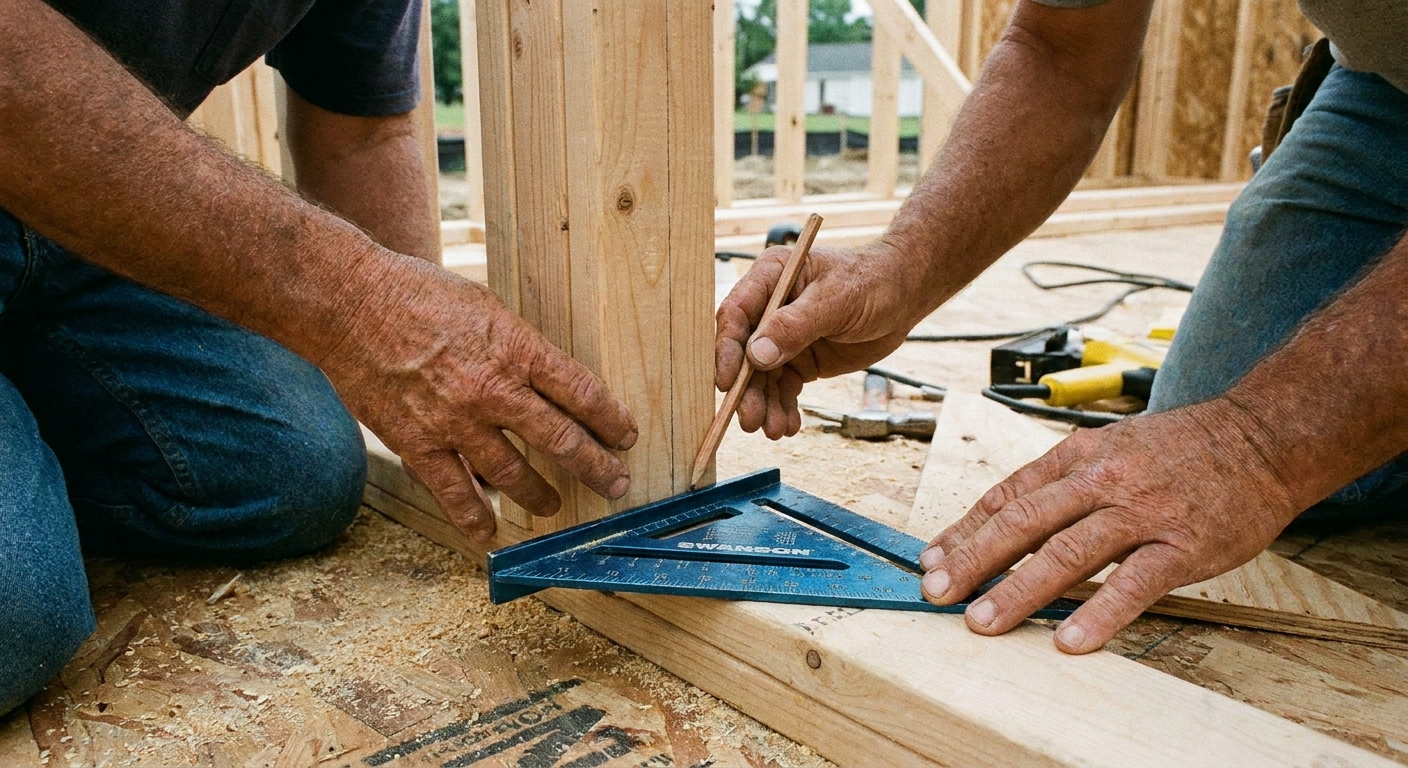
- Layout loop (tape, pencil, square): keep tape and pencil front and high, square in a dedicated sleeve so it slides in cleanly.
- Fastening loop (nails, hammer or nailer): nails on the support-hand side, hammer on the dominant side, with a clear path between.
- Cut and fit loop (knife, tape, pencil): knife should be reachable one-handed, and returned safely without looking.
If your square keeps falling out or jabbing you, it is usually because the sleeve is too loose or the square is riding too far back. Move it forward until it clears your ribs when you bend.
Reduce strain with smarter habits
Tool belt strain is not just weight. It is also how you move while wearing it.
Small adjustments that help
- Keep your most-used tools above the pouch line. If you have to dig down for your tape measure, you are bending and twisting all day.
- Use a shorter pry bar on the belt. Leave the big wrecking bar staged nearby.
- Trim duplicates. Two knives, three pencils, and a backup tape sounds harmless until your hips are carrying extra pounds.
- Mind the kneel test. Kneel down like you are toenailing a stud. If the belt pinches, shifts, or tips you forward, something is riding too low or too far back.
When you are working low to the deck, back strain often shows up as sloppy floor work. If you are laying subfloor and want fewer call-backs, see Prevent Floor Squeaks Before the Subfloor Goes Down.
Fastener organization that saves time
Dumping mixed fasteners into one pouch is the fastest way to slow yourself down. You end up looking, sorting, and grabbing the wrong thing with gloves on.
How to separate fasteners
- One pouch, one primary fastener. If you are framing walls, that might be nails for hand nailing or a small supply of backup hand-drive nails if you are running a nailer.
- Use the secondary pouch for support fasteners. A small quantity of structural screws, hanger nails, or a different nail length, depending on what you are doing.
- Keep specialty fasteners out of the belt. Stage them in a small box near the work area and grab as needed.
- Refill on your terms. Instead of topping off constantly, refill at natural breaks like after standing a wall or after sheathing a run.
A quick Monday reset
Belts drift. You add a tool for one task, then it lives there for three months. A quick reset keeps the rig working for you.
- Empty the belt completely.
- Brush out sawdust and chips.
- Put only the daily-carry tools back in.
- Set the belt on your hips and check ride height.
- Load fasteners for the day and rebalance side-to-side.
- Do a kneel, bend, and ladder climb test before you start cranking.
This is also when you decide what stays in the truck. You do not get extra points for suffering.
Safety notes
A belt setup that saves you 10 seconds is not worth it if it makes you less safe on ladders or when you are carrying sheets.
- Re-holster sharp tools the same way every time. Especially knives. Make it a blind habit, and do not leave an open blade floating in a pouch.
- Keep tools from snagging. Anything hanging loose can catch on brackets, rebar, ladder rungs, and framing, right when you are stepping or turning.
- Do not overload the belt. If your rig throws your balance off on a ladder, it is too much. Stage material and fasteners closer instead.
Troubleshooting
My belt keeps sliding down
Usually it is either too loose, too heavy, or the pouches are dragging it down unevenly. Tighten it, reduce fasteners, and consider suspenders to stop sag.
My lower back hurts even with a light load
Check where the belt rides. If it is sitting above your hips on your waist, your back does more of the work. Lower it onto your hip shelf. Also keep the middle of your back clear so nothing creates a pressure point.
My hammer bangs my leg all day
Move the hammer loop slightly behind your hip. A loop that sits too far forward becomes a pendulum against your thigh.
I’m always losing my pencil
Give the pencil a dedicated slot and add a backup in a different location. On a wet PNW day, I like a carpenter pencil for one spot and a mechanical pencil for layout in another, so I am not dead in the water when one disappears.
The real goal
A good belt setup feels boring, and that is the point. Your tape is always where your hand expects it. Your square re-holsters clean. Your fasteners stay separated. When your rig is steady and familiar, your brain is free to focus on what matters: straight walls, square corners, and clean layout.
If you want more tool-centric how-tos from the bench, start at Guide: Tools.