

I grew up sweeping sawdust in a small woodshop, and the first “real” tool I was trusted with was a speed square. It looked too simple to be special. Then I watched an old framer lay out a roof cut, strike dead-straight lines, and guide a circular saw with the same little triangle. That was the day I learned the speed square is less of a square and more of a pocket layout system.
Here are seven hidden features and techniques I use on real jobs to move faster, stay consistent, and cut down on rework.
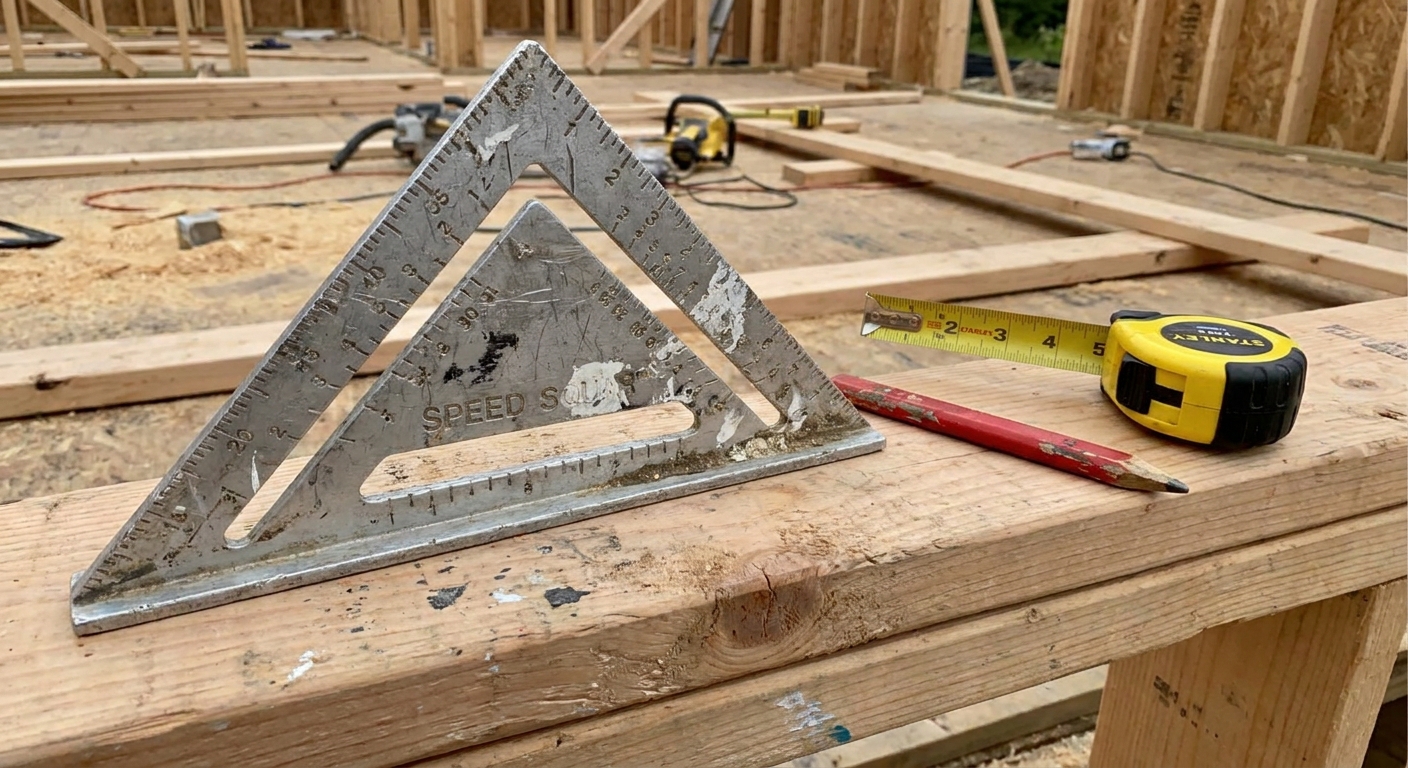
1) Pivot trick for quick angle lines
Most people use a speed square like an L. The faster way is to use it like a protractor that can also draw the line.
How it works
- Hook the lip on the edge of your board so the square can pivot without slipping.
- Pick your angle using the degree marks on the hypotenuse edge.
- Pivot the square until the angle mark lines up with the board’s edge.
- Strike your line along the flat straightedge (the long ruler edge), not the fence.
Where it saves time: back bevels, quick braces, miters for blocking, and any time you need a consistent angle across a stack of parts.
My field note: Don’t chase microscopic perfection for rough framing. Chase repeatability. The pivot trick shines when every piece is the same.
2) Common rafter reference
On many speed squares you’ll see a Common scale (sometimes paired with a Hip-Val scale). That scale is there to help you lay out roof rafter angles fast.
Use it for seat cuts and plumb cuts
- Set the pitch by aligning the pitch number on the common scale with the edge of the rafter.
- Mark the plumb cut along the square’s straightedge.
- Flip and repeat for consistent layout on multiple rafters.
If you want to go deeper on the math behind those cuts, I break it down step by step here: Mastering Rafter Math: Roof Pitch and Cut Lengths.
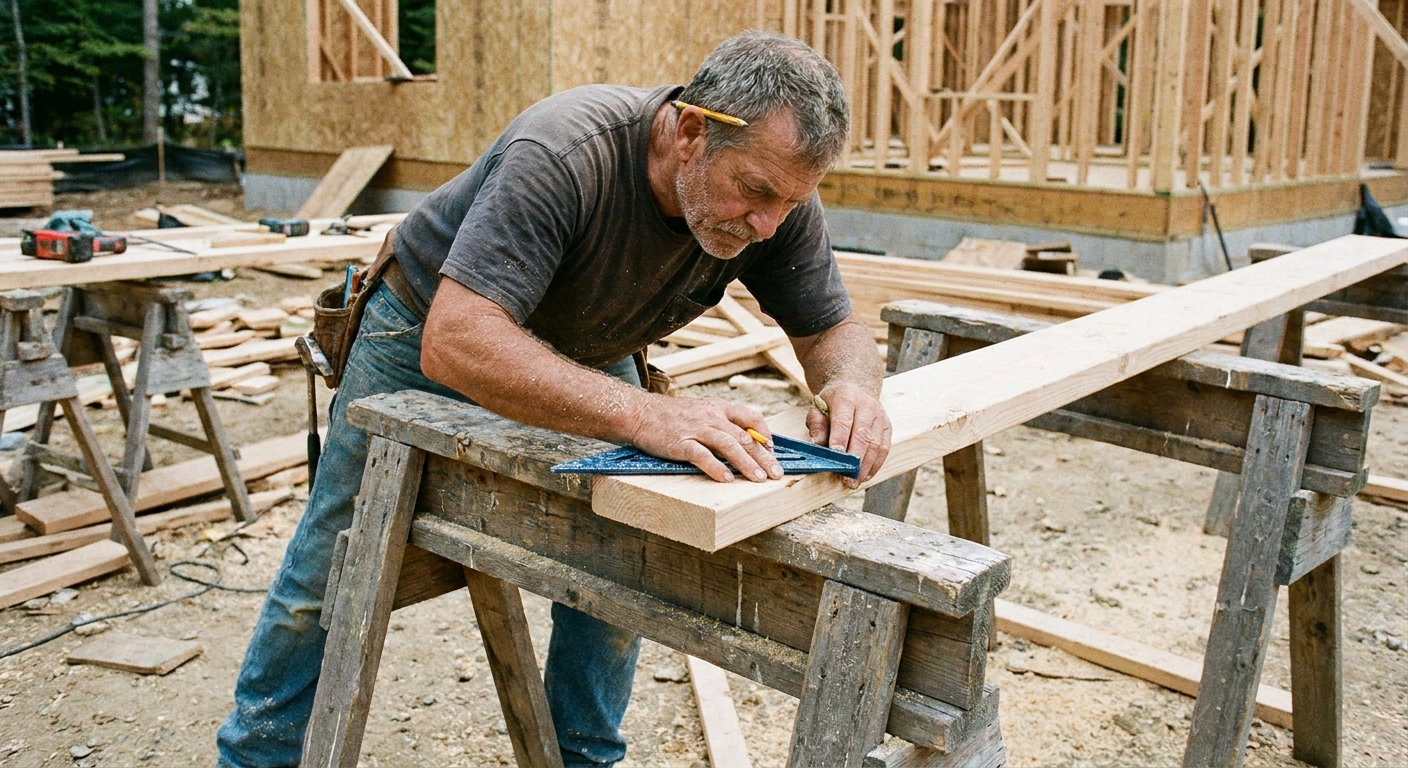
3) Use it as a saw guide
This is the classic trick, but most folks still do it wrong. A speed square is a solid circular saw guide when you clamp it or control it correctly.
Two ways to do it
- Fast hand-held guide: Hook the fence on the board edge, press the square down hard with your off hand, then run the saw shoe tight to the square’s straightedge.
- Cleaner and safer guide: Clamp the speed square to the workpiece so nothing can shift mid-cut.
Accuracy tip that matters
Different saws have different distances from the blade to the edge of the shoe. If you’re cutting to a tight mark, do one quick test cut on scrap and confirm where your saw actually tracks against the square.
Where it saves time: trimming studs to length, cutting blocking, squaring up sheathing patches, and anything you would otherwise “freehand and hope.”
4) Pencil control and scribe notches
A speed square can strike a great line. But here’s the hidden upgrade: use the tool to control your pencil so the line is the same thickness and position every time.
How to do it
- Use a sharp carpenter pencil (or a mechanical pencil for finer work).
- Keep the pencil tipped slightly into the square, not straight up and down.
- Pull the pencil along the square edge in one smooth motion.
The part most people ignore
Most speed squares also have scribe notches (little staggered cutouts) inside the triangle. Drop your pencil in a notch and slide the square. It helps keep your pencil from wandering and it makes it easier to run a line that stays consistently parallel to an edge.
Why it matters: When you’re laying out plates or stair parts, a fat wandering line becomes real cumulative error.
If you’re doing wall layout, this ties in directly with getting your spacing right the first time: Avoid Mistakes Laying Out 16-Inch O.C. Studs.
5) Fast stair marks
Speed squares and stair layout go together better than people think. Yes, a framing square is the classic stair tool. But on small stair repairs, basement steps, or quick stringer checks, I’ll often use a speed square to speed up repeat marks.
Two quick applications
- Repeat a consistent angle for tread supports, cleats, or small wedges by using the pivot trick and striking identical lines.
- Index off an edge with the square’s fence to keep your marks consistent when transferring measurements down a stringer blank.
For full stringer layout, this is still the best deep dive on the site: How to Calculate and Cut Stair Stringers.
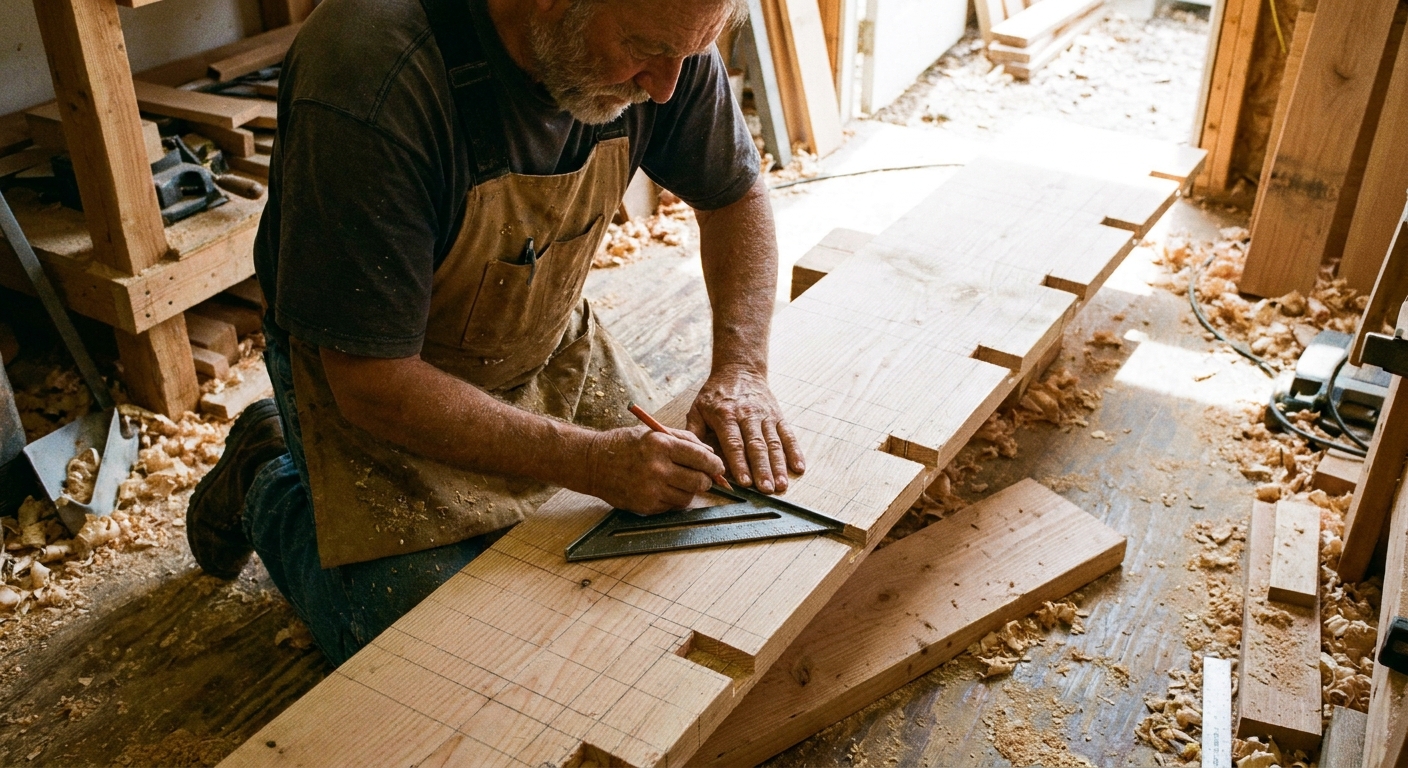
6) Scribe and transfer edges
Speed squares are rigid, flat, and have reliable edges. That makes them surprisingly handy for scribing tight fits where a tape measure feels clumsy.
Quick scribe methods
- For a simple transfer line: Hold the square tight to the surface you want to reference (a stud face, subfloor edge, or existing framing member). Set your pencil against the square and slide the square along the surface.
- For a steadier parallel line: Use the scribe notches. Put your pencil point into a notch and slide the square. The notch helps the pencil track without skipping off the edge.
- Cut to the line and test fit.
Where I use it: subfloor patches, filler strips, and repair blocks where you want a clean transfer without guessing.
When I’m patching floors, straight reference lines are everything. This pairs well with: How to Patch a Rotted Bathroom Subfloor.
7) Quick checks for square and twist
Hidden feature: the speed square’s fence gives you a quick way to check whether a corner is actually square and whether a member is rolled or twisted.
Three fast checks
- Stud edge to face: Hook the fence on the stud edge and check if the face stays tight to the square. If you see daylight, the stud is crowned, twisted, or your cut is off.
- Quick 90 for blocking: Use it like a try square to verify your blocking is sitting square before you nail it off.
- Plumb reference in a pinch: On short checks, a speed square against a level line can help you see if something is drifting out before it becomes a bigger fight.
If you’re wrestling a frame into square before it goes up, this is the process I follow: How to Square a Wall Frame Before Standing It.
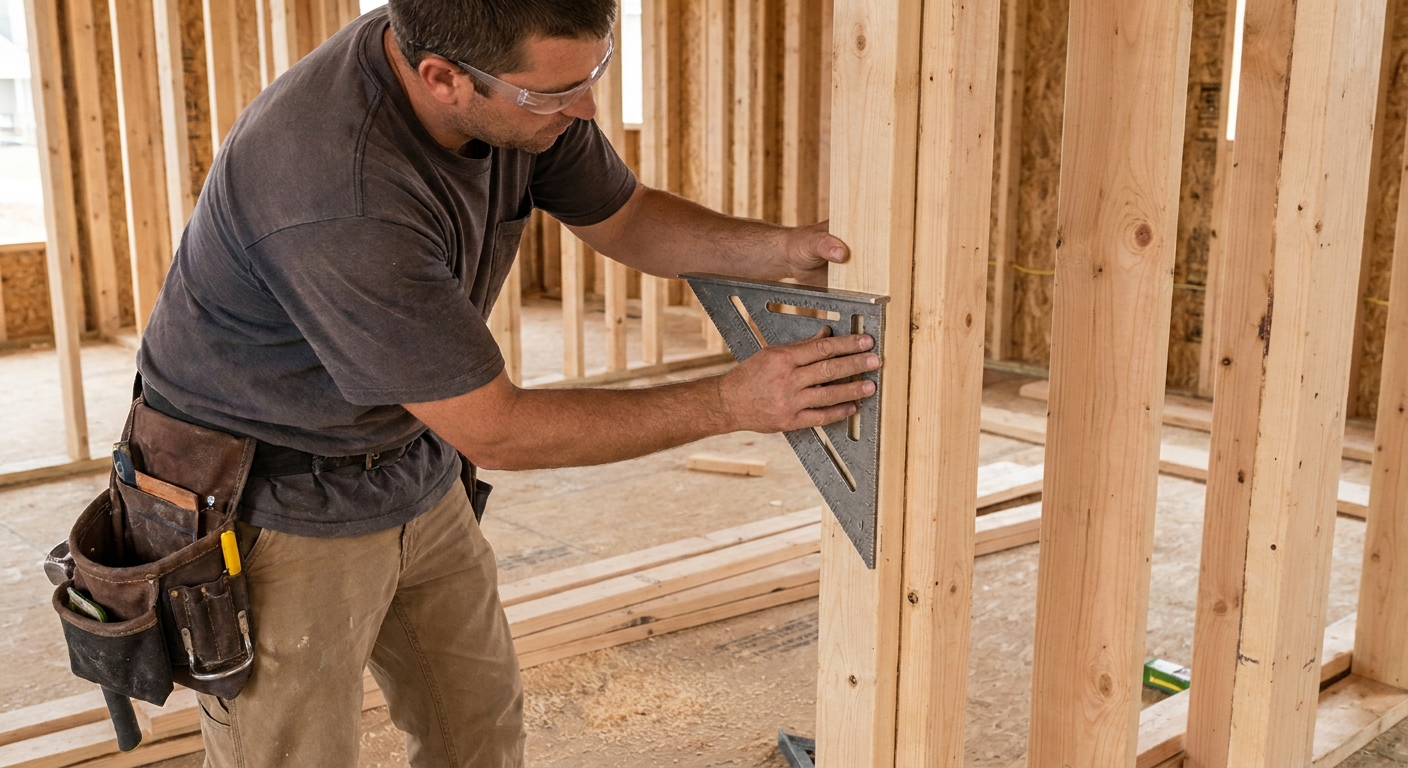
Speed square habits
- Keep one pencil sharp: a crisp line is faster than second-guessing.
- Use the same square all day when consistency matters. Different brands can vary slightly in thickness and markings.
- Check for burrs: if your square has been dropped and the edge is dinged, it can steer your saw shoe or fuzz your layout line.
- Know when to upgrade: for production rafters and complex roofs, a framing square and a story pole still earn their keep. The speed square is the quick-draw tool, not the whole toolbox.
For more tool-focused framing advice, you can browse the Tools guide here: Guide: Tools.
Quick FAQ
Can I use a speed square to cut angles with a circular saw?
Yes. Mark the angle using the pivot method, then use the speed square as a saw guide for the cut. Clamp it if the cut matters and you want zero drift.
Are the angle marks on speed squares accurate enough for framing?
For typical framing work, yes. The bigger issues are pencil thickness, tool slop, and board crown. Focus on consistent technique and test fit when the joint is visible.
What’s the biggest mistake people make with a speed square?
Letting it slip while marking or cutting. The fence is your friend. Hook it firmly, keep pressure consistent, and clamp when accuracy matters.