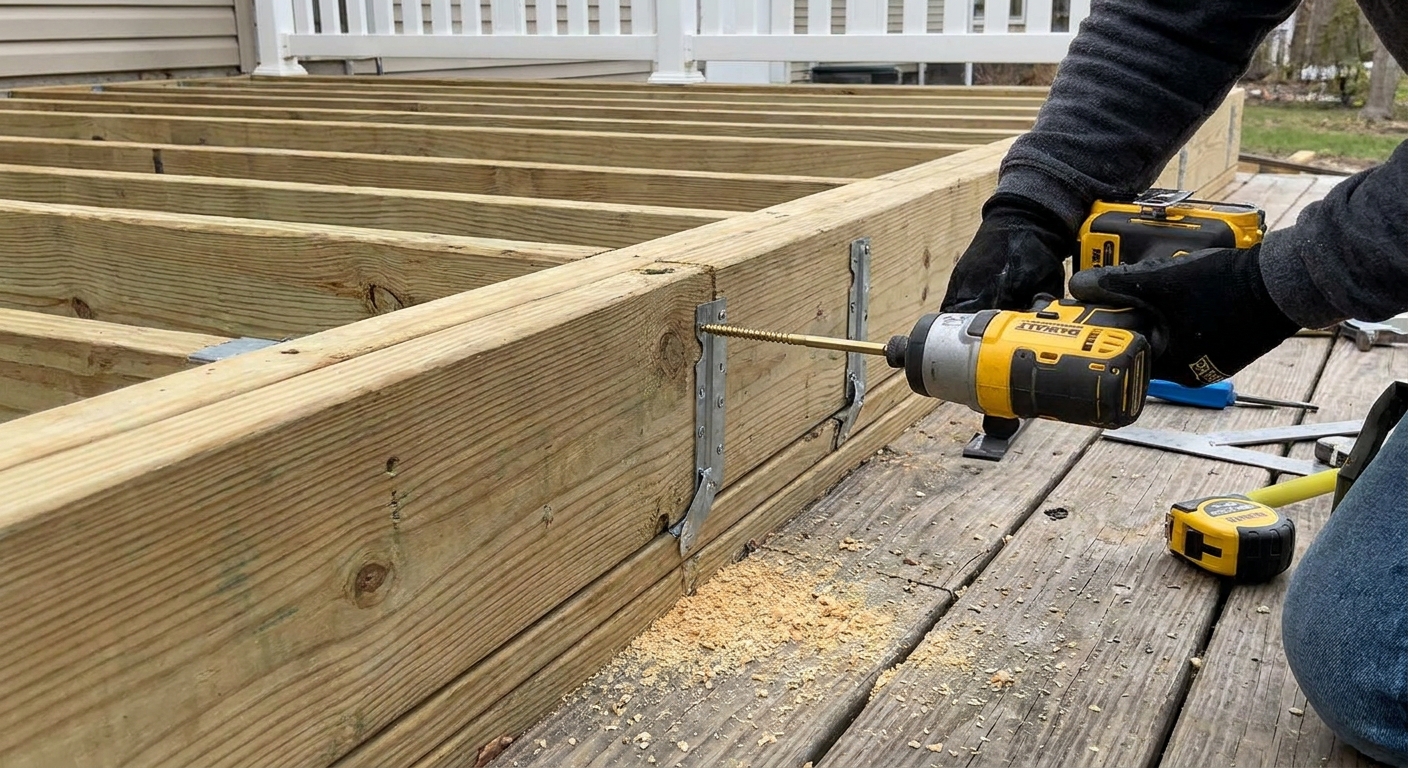
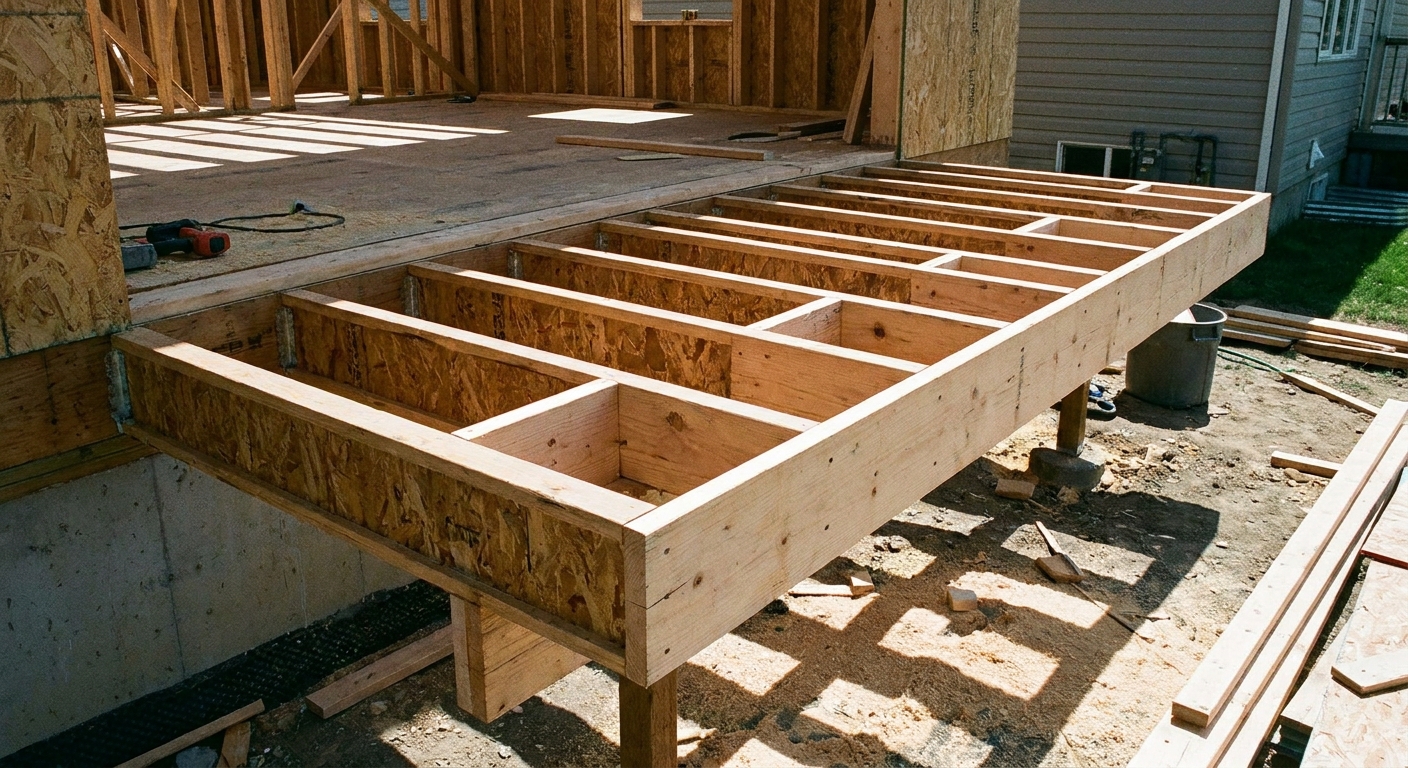
I grew up hearing “measure twice, cut once,” but if there’s a deck lesson that tops it, it’s this: water always wins. A ledger board is where a deck and a house shake hands, and if that handshake traps moisture or relies on the wrong fasteners, you can end up with rot at the rim joist or a ledger that slowly loosens until it fails.
This guide walks through the three things that matter most when you install a deck ledger: waterproofing, fastening, and structural rules. Local codes vary, so use this as solid jobsite logic and then confirm details with your building department and your fastener manufacturer’s specs. This also does not replace an engineered detail for veneers, cantilevers, or unusual wall systems.
Before you start: is a ledger allowed
Not every house wall is a good candidate for a ledger. The cleanest ledger install in the world still fails if it is tied into the wrong structure or the wrong wall assembly.
Good situations for a ledger
- The house has a solid rim joist (also called a band joist) you can positively fasten into.
- You can flash it correctly at the water control layers (WRB, siding, and any existing flashings).
- The deck elevation works with door thresholds and step rules without burying framing in soil.
Situations where you should avoid a ledger
- Cantilevered floors where the rim area is not designed to take ledger loads without engineering.
- Brick veneer or stone veneer walls. Veneer is not structural, and through-bolting gets complicated fast.
- Stucco and EIFS walls. These are high risk for trapped moisture and wrong flashing tie-ins. If you do not have a proven detail for that exact assembly, do not improvise.
- Engineered rim assemblies (I-joist rim boards, LVL rims, and proprietary rim products) without a clear manufacturer-approved attachment detail.
- Walls with exterior foam or thick continuous insulation where the ledger would be held off the structure without a listed spacer system.
- Houses with water history at that wall, or where roof drainage dumps onto the deck zone.
If any of those describe your project, a free-standing deck with posts near the house is often the smarter build.
If you want a deeper dive on planning and sequencing before you buy materials, I’m a big believer in making your list and your plan first. It prevents “midair redesign” once you open the siding. See Make a Cut List Before Buying Wood.
Tools and materials I consider non-negotiable
- Ledger board: pressure-treated lumber sized to match your deck joists (commonly 2x8, 2x10, or 2x12).
- Structural fasteners: hot-dip galvanized or stainless, rated for ledger attachment (lag screws or through-bolts, or manufacturer-listed structural screws).
- Flashing system: corrosion compatible metal Z-flashing plus flexible flashing tape or a manufacturer-approved membrane.
- Ledger spacers (only when the detail calls for them): a purpose-made, code accepted stand-off spacer system. Do not “build” a spacer out of random stacks of washers.
- Sealant: exterior grade, compatible with flashing tape and metal (use it strategically, not as your main waterproofing).
- Drill and bits: including a bit sized for proper pilot holes and a longer bit for through drilling.
- Level, chalk line, and layout tools.
Fastener and connector corrosion is real, especially in wet climates like the Pacific Northwest. Pressure-treated lumber treatments can be hard on standard zinc hardware. Match fasteners, hangers, and flashing metals so you do not create a corrosion problem you cannot see until it is too late.
Step 1: find solid structure
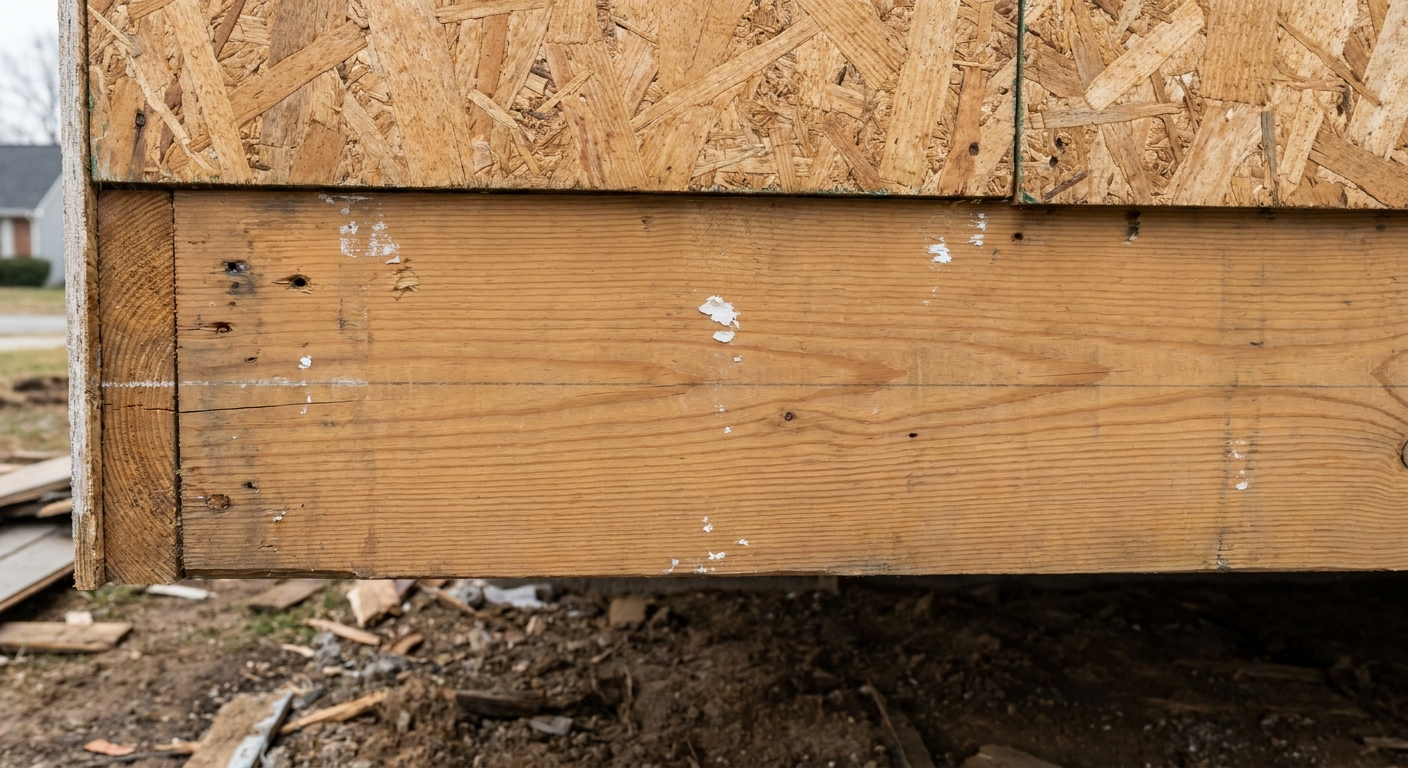
A ledger needs to connect to the rim joist or other approved structural framing, not just sheathing. That usually means removing siding carefully and exposing the water-resistive barrier (WRB) and the sheathing so you can build the flashing correctly.
What I check once the wall is opened
- Rim condition: no rot, no punky wood, no termite damage, no long splits.
- Rim type: sawn lumber rim, rim board, LVL, or other engineered product. The attachment detail changes with the product.
- Rim thickness: you need enough meat for the fastener embedment required by the hardware schedule.
- Clearance to floor system: watch for plumbing, wires, and HVAC that could get hit by bolts.
- Floor framing direction: verify you are actually at the rim and not at a non-structural skirt detail.
If your rim is engineered, slow down
Plenty of homes have engineered rims, and that is not automatically a deal breaker. It does mean you need a real attachment detail. Do not assume lag screws into an OSB rim board are good just because they feel tight. Use the rim manufacturer’s and fastener manufacturer’s approved ledger attachment schedule, or get an engineered detail when required.
If you want a quick refresher on engineered floor framing and what makes it different, see Dimensional Lumber vs Engineered I-Joists for Floor Framing.
Step 2: lay out ledger height
Ledger height drives everything: stair rise, door clearance, joist bearing, and whether water wants to run back toward the house.
My layout routine
- Pick a finished deck height that keeps you safely below door thresholds and respects siding and grade clearances required by your code and siding manufacturer.
- Snap a level line for the top of ledger (or the top of joists if you prefer to work backward).
- Plan drainage the right way. In most standard builds, keep the ledger level for clean structural alignment, and create slope at the decking system or with your framing method, depending on what you are building.
If you want to keep layout habits sharp, especially when you are transferring marks or building assemblies flat and then standing them, the same discipline applies here. My squaring process for wall frames is the same mindset: establish a true reference, then build everything off it. See How to Square a Wall Frame Before Standing It.
Step 3: waterproofing and flashing
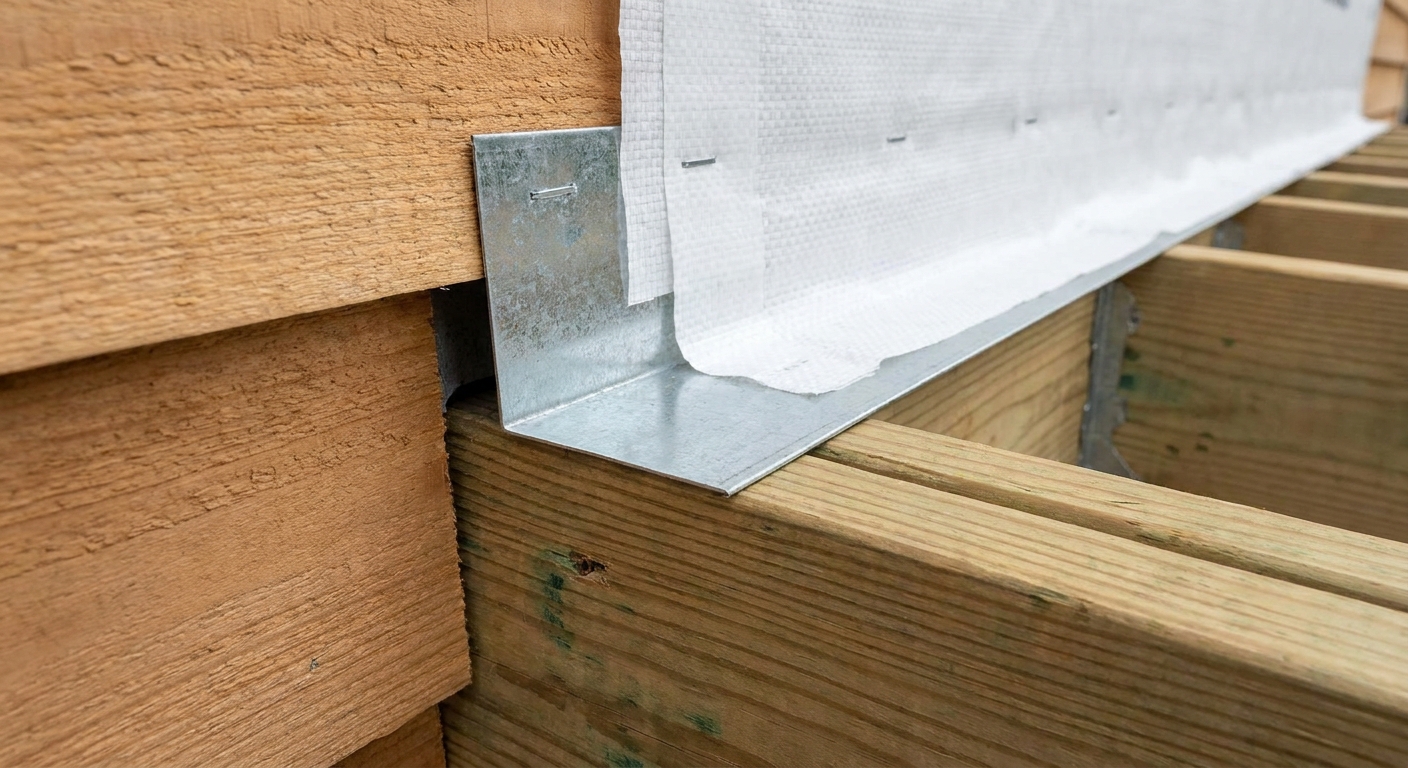
Fasteners hold the deck up. Flashing keeps the house from rotting out behind it. A ledger detail should shingle-lap water outward, meaning every upper layer overlaps the layer below so gravity does the work.
The basic water-management stack
- WRB integration: If housewrap or building paper is present, it needs to lap over the top flashing so water stays on the exterior face of the WRB.
- Ledger zone protection: Many good details use a strip of flexible flashing membrane behind the ledger area, integrated to the WRB, to protect penetrations.
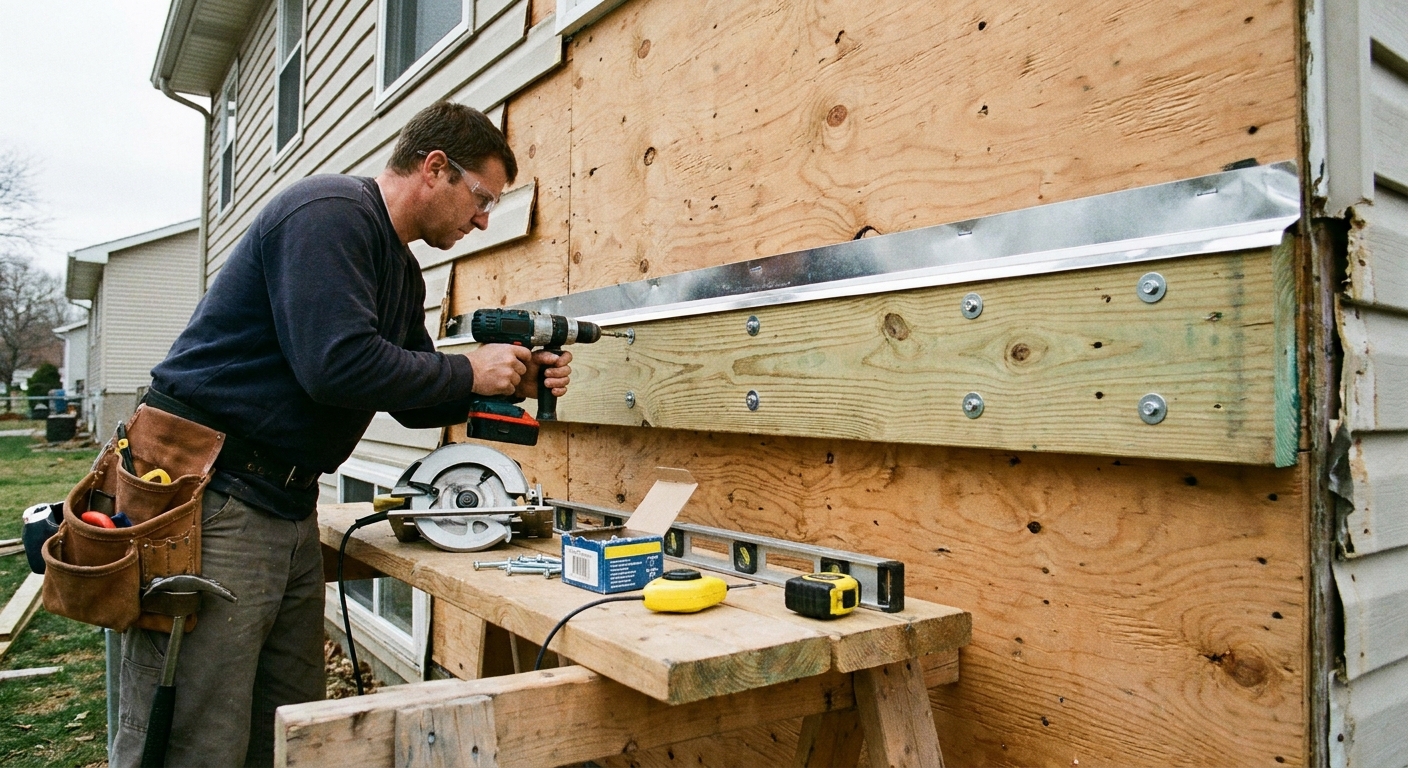
- Metal Z-flashing: Install metal flashing above the ledger that extends up behind WRB and out over the face of the ledger.
- End control: The ledger ends are where water likes to sneak behind. Your detail should keep water from running into the ends, and the cut ends of treated lumber should be protected per product guidance.
A practical sequence for common lap siding
This sequence fits a lot of typical lap siding situations. It is not a universal detail for every cladding. Stucco, EIFS, and veneer systems are different animals and deserve their own proven details.
- Remove siding where the ledger will sit, keeping cuts clean and square.
- Inspect the sheathing and rim, then repair any damaged material before you trap it behind a ledger.
- If needed, cut a horizontal slit in the WRB above the ledger line so the top leg of metal flashing can tuck behind it.
- Install a strip of flexible flashing membrane where your detail calls for it, rolling it tight so it seals around future penetrations as best as possible.
- Mount the ledger with approved fasteners and spacing.
- Install metal Z-flashing over the ledger, tucked behind WRB above and lapped over the ledger face.
- Tape the WRB slit with compatible flashing tape so water cannot sneak behind.
Do not rely on caulk as your flashing
Sealant is a helper, not a system. It cracks, it shrinks, and it fails when the deck and house move differently. Use sealant only where the flashing manufacturer and detail require it, and let the laps do the real waterproofing.
Step 4: fastening rules
A deck ledger is a structural connection. Nails are not the answer for ledger-to-house attachment. Drywall screws are not the answer. The right fastener installed the right way is the difference between a deck that feels solid for decades and one that slowly loosens as seasons cycle.
Use rated ledger fasteners
In the field you will typically see one of these approaches, depending on your house construction and local requirements:
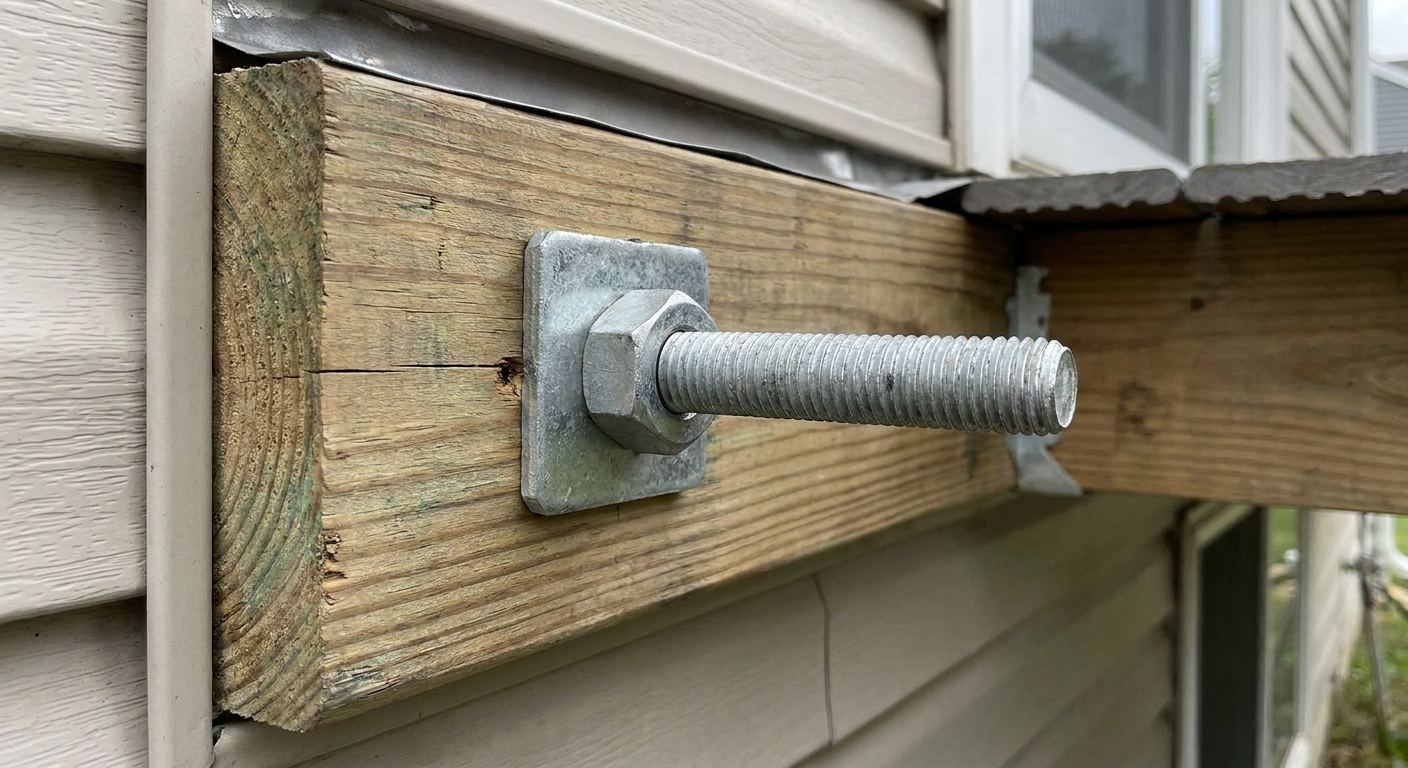
- Through-bolts with washers and nuts (classic and very reliable when you have access inside).
- Lag screws with proper pilot holes and washers (must meet code and manufacturer requirements).
- Ledger-rated structural screws (only if the manufacturer explicitly lists them for ledger attachment with a tested schedule).
Pilot holes and edge distances matter
Most ledger failures I have repaired started with small stuff: bolts too close to the ends, lags driven without pilots that split the rim, or fasteners patterned by feel instead of laid out.
- Drill pilots per the fastener manufacturer. Too small and you split wood. Too big and you lose holding power.
- Respect edge and end distances so you do not blow out the rim or ledger.
- Stagger fasteners in two rows when required so the ledger does not split along a single line.
Spacing is not a guess
Fastener spacing depends on deck joist span, deck width, loading, and the fastener type. Codes provide prescriptive tables, and fastener manufacturers provide tested schedules. Pick one path and follow it exactly. If your layout does not fit the table because of an obstruction, adjust the detail with an approved method, not by adding a couple extra bolts wherever.
Washers are part of the connection
Use the correct washers under bolt heads and nuts. They spread load and help prevent hardware from crushing into wood fibers over time.
Step 5: lateral load
Even when a ledger is well fastened, decks can rack and pull away from the house under movement and live loads. Some code paths require lateral load connectors (often called tension ties) that tie the deck framing back into the house framing in a tested way.
The important takeaway is this: a ledger connection is not just about vertical gravity loads. It is also about keeping the deck from peeling away from the house. Follow your locally adopted code, and use connectors that are listed for the purpose and installed exactly as specified.
Details people miss
Foam sheathing needs a real spacer system
If your house has exterior foam or thick continuous insulation, you cannot just crush it with bolts and call it good. That creates a squishy connection and a water trap. This is where you either build a free-standing deck, or you use a code accepted spacer system and fastener schedule that is designed for that wall thickness and compression risk.
Do not trap the ledger against wet layers
Some assemblies benefit from a small stand-off to reduce moisture trapping and allow drainage and drying. Other assemblies are designed for a tight ledger with proper flashing. Either way, the goal is the same: do not create a sponge sandwich where water sits between ledger and wall.
Joist hangers: match materials and nails
Ledger-to-house attachment should not be nails, but the joist hangers that hang off the ledger usually do require specific nails or structural connector screws. If the ledger is treated lumber, hangers and nails need to be corrosion resistant and compatible. Also, hanger nails are not interchangeable with whatever is in your pouch. Use the nail type and size required by the hanger manufacturer.
Rim reinforcement is sometimes required
Older homes, remodel situations, and certain rim assemblies may need reinforcement or an engineered detail. If the rim is compromised, sistering, blocking, or adding an interior ledger plate might be part of the fix. When in doubt, get eyes on it.
Water above the deck matters
Gutters, drip edges, and roof runoff have a huge impact on ledger longevity. A perfect flashing job can still get overwhelmed if a valley dumps water right onto the ledger line all winter.
Inspection checklist
- Ledger is level and at the correct elevation for door clearance and finish height.
- All fasteners match the approved type and are installed with correct washers.
- Fasteners are laid out in the required pattern, with proper edge and end distances.
- Metal flashing is installed above ledger and properly lapped with WRB.
- Flashing tape is compatible and firmly rolled down where used.
- No exposed raw cuts in WRB without a shingle-lapped repair.
- Joist hangers are the right size, properly fastened with approved nails or screws.
- Lateral load connectors are installed when required by your jurisdiction or design.
Common ledger mistakes
- Bolting through brick veneer and assuming it counts as structure.
- No flashing, or flashing that is installed but not integrated with the WRB.
- Caulk-only waterproofing.
- Using deck screws or miscellaneous fasteners instead of rated ledger hardware.
- Fasteners too close to ends, splitting the ledger or rim.
- Ignoring rot because it seems solid enough. Rot spreads and connections fail.
- Crushing foam or siding under a ledger with no approved spacer system.
When to call in help
I’m all for ambitious DIY builds, but I also like decks that stay attached to houses.
- If the house has cantilevered framing at the ledger line. See Cantilevered Floor Bump Out Framing.
- If you see rot or moisture staining at the rim or sill area.
- If you are attaching to masonry veneer, stucco, EIFS, or any unfamiliar wall assembly.
- If your rim is an engineered product and you do not have a clear manufacturer attachment detail.
- If your deck is tall, heavily loaded, or has a complicated roof tie-in.
That is the moment to bring in a qualified builder, engineer, or inspector to confirm the attachment detail.
Related guides
Quick FAQ
Can I install a deck ledger over siding
Sometimes, but it is rarely my first choice. You want a flat, inspectable surface with a flashing detail that ties into the WRB. Many siding materials compress or trap water. If you use a stand-off or spacer system, use a listed system with an approved detail, not improvised spacers.
Should I use nails for a ledger board
Not for ledger-to-house attachment. Ledger attachment requires bolts, lags, or listed structural screws with an approved spacing schedule. Nails are commonly part of the system for joist hangers and connectors, when they are the specified fastener.
Is flashing tape enough without metal flashing
Usually no. Tape is great for sealing and transitions, but the top of a ledger wants durable metal flashing that sheds bulk water for the long haul.
How do I know my fastener spacing is correct
Use the prescriptive ledger fastening table in your adopted residential code, or use a manufacturer’s tested fastening schedule for the specific fastener you are installing. Do not improvise spacing.