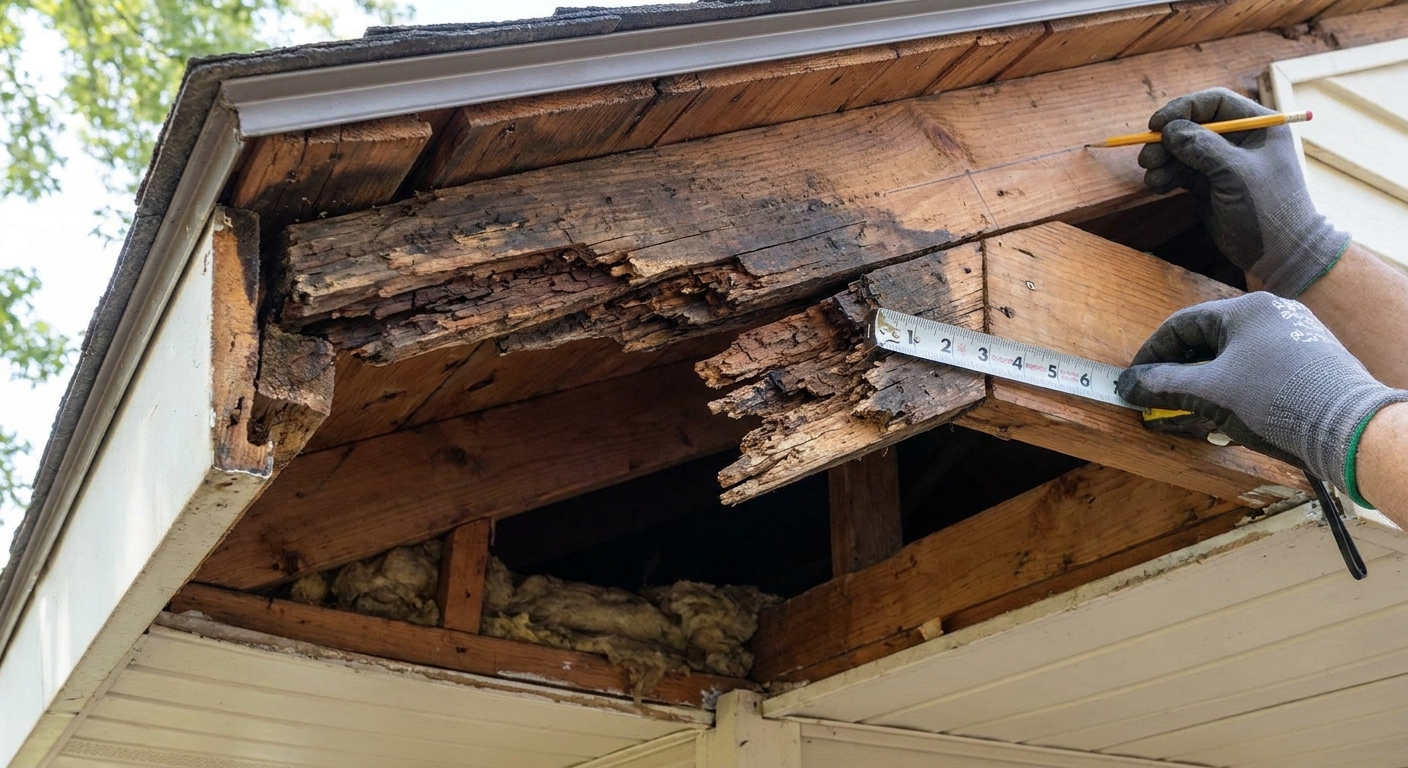
I’ve lost count of how many “mystery leaks” I’ve chased that ended up being a soggy rafter tail hiding behind a pretty fascia board. Up here in the Pacific Northwest, the eaves take a beating. Wind-driven rain, pine needles packed in gutters, and a drip edge that never quite did its job can turn the last 12 to 24 inches of a rafter into something you can poke with a screwdriver.
The good news is you often do not need to reframe the entire roof to fix it. If the rot is localized to the overhang, you can cut back to solid wood and splice on a new tail that is structurally tied into the existing rafter. The trick is being picky about where you cut, and generous with reinforcement so the repair acts like one continuous member. If you start finding widespread decay, sagging, or anything that affects the structural span inside the wall line, that is where the scope can jump fast, and it may be time for permits, engineering, or a bigger tear-off.
When a rafter tail splice is the right fix
A splice repair is a great option when the damage is limited to the overhang area and the rafter is still doing its structural job back in the attic. Here’s what I look for before I commit to a splice.
Good candidates
- Rot is mostly in the last foot or two of the rafter tail.
- The roof plane is straight, with no sagging ridge or wavy eave line.
- The rafter is sound where it bears on the top plate and farther inboard.
- The damage was caused by a fixable water issue (failed drip edge, overflowing gutter, missing kickout flashing).
Stop and reassess if you see this
- Deep rot extends past the wall line into the structural span.
- Multiple rafters are compromised and the eave is visibly dropping.
- Termites or carpenter ants are active.
- Trusses are involved (repairs can require an engineered detail).
If you’re unsure whether you’re cutting into structural roof framing, slow down and open a little more area for inspection. I’d rather remove extra soffit now than discover later that the decay runs behind the wall.
Safety and prep
This is overhead work, usually off a ladder. A few basics keep a small repair from turning into a bad day.
- Set ladders on firm ground, tie them off when you can, and do not overreach.
- Wear eye protection. Soffits and fascia love dropping grit and rusty fasteners.
- Watch for hidden wiring. I have found exterior lights and soffit receptacles fed through the overhang more than once.
- If the tail is badly degraded, plan on temporary support before you start cutting.
Tools and materials I actually use for this
You can do a clean splice with ordinary carpentry tools. Where people get in trouble is trying to “make it work” without enough fasteners or without a solid reinforcement plan.
Tools
- Pry bar and trim puller (for soffit and fascia removal)
- Oscillating multi-tool (great for controlled cuts near siding)
- Circular saw plus handsaw or recip saw (finish cuts safely)
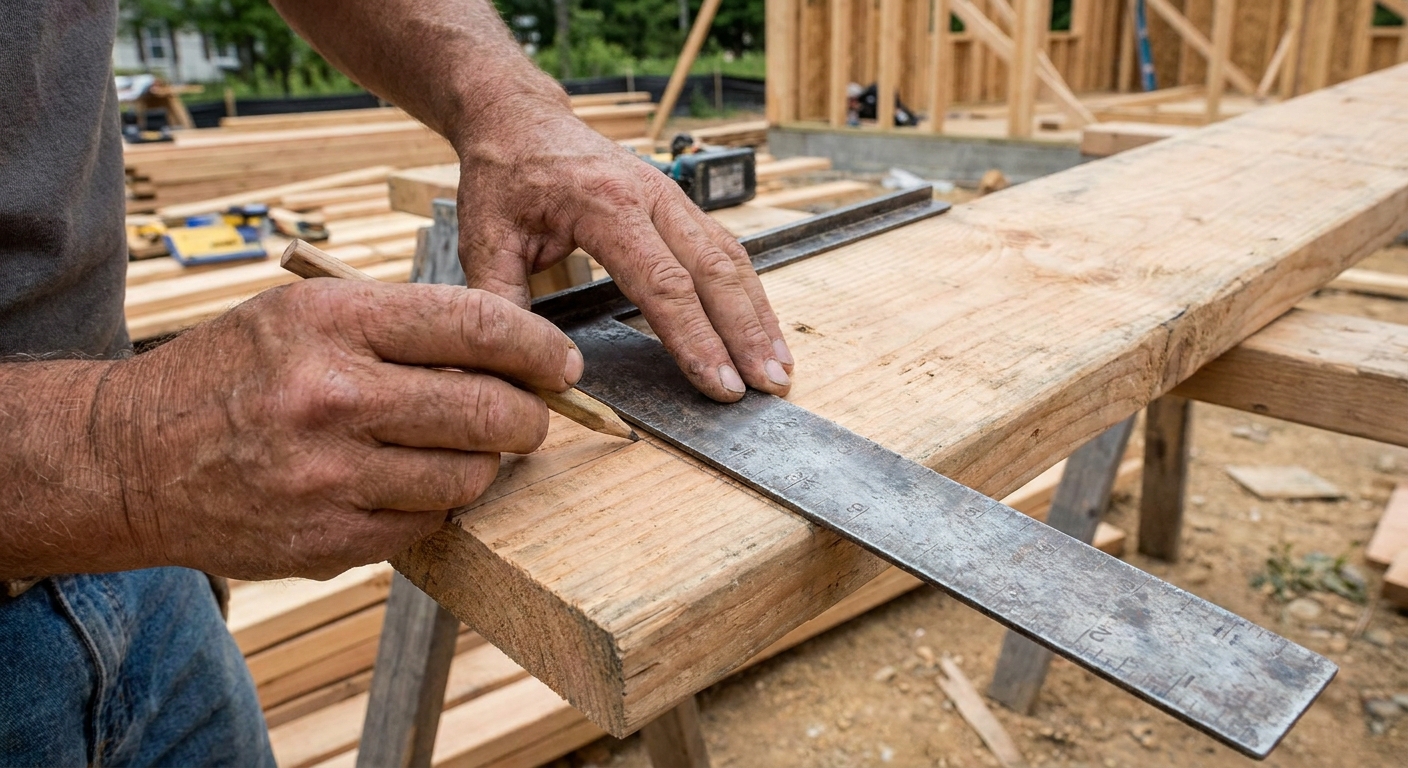
- Speed square, framing square, and a good level
- Drill and impact driver
- Clamps (help a lot when aligning tails)
- Moisture meter (optional, but helpful)
Materials
- Matching lumber for tails (often 2x6, 2x8, or 2x10 to match existing rafters)
- Sister blocks or scabs (same depth as rafter if possible)
- Structural screws (my go-to for splices) and or nails where appropriate
- Exterior-rated construction adhesive (optional, not a substitute for fasteners)
- New fascia and soffit material as needed
- Metal connectors if the detail calls for it
- Primer and paint for cut ends and new wood
If you’re deciding between nailers, this kind of work is one reason I like having both options handy. I broke down the tradeoffs here: Cordless vs Pneumatic Framing Nailers.
Step 1: Fix the water problem first
Rafter tail rot is a symptom. Before you cut anything, figure out why water was getting there.
- Gutters: clogged, undersized, backpitched, or no kickout at a wall.
- Drip edge: missing, installed wrong, or not integrated correctly with underlayment.
- Roofing: shingle edges overhanging too far or too short, damaged starter course.
- Flashing: failed step flashing or no kickout where a roof dies into a wall.
A quick clarification on drip edge, because the details matter. At eaves, many common best-practice details have underlayment (or ice and water membrane) lapping over the drip edge flange so water sheds onto the metal and into the gutter. At rakes, drip edge is often installed over the underlayment. If you are not sure what your local code or manufacturer wants, check before you rebuild it.
If you repair wood without addressing water, you are just installing future rot with fresh lumber.
Step 2: Open the eave and expose solid framing
Work like you’re doing surgery, not demolition. You want to remove enough to see the problem clearly, without wrecking material you could reuse.
Remove in this order
- Gutter in the repair area (or detach and swing it down if the system allows it). Support it so you do not kink long runs or tear hangers out of the fascia.
- Fascia board (watch for hidden fasteners and metal drip edge).
- Soffit panels or plywood soffit so you can see the underside of tails.
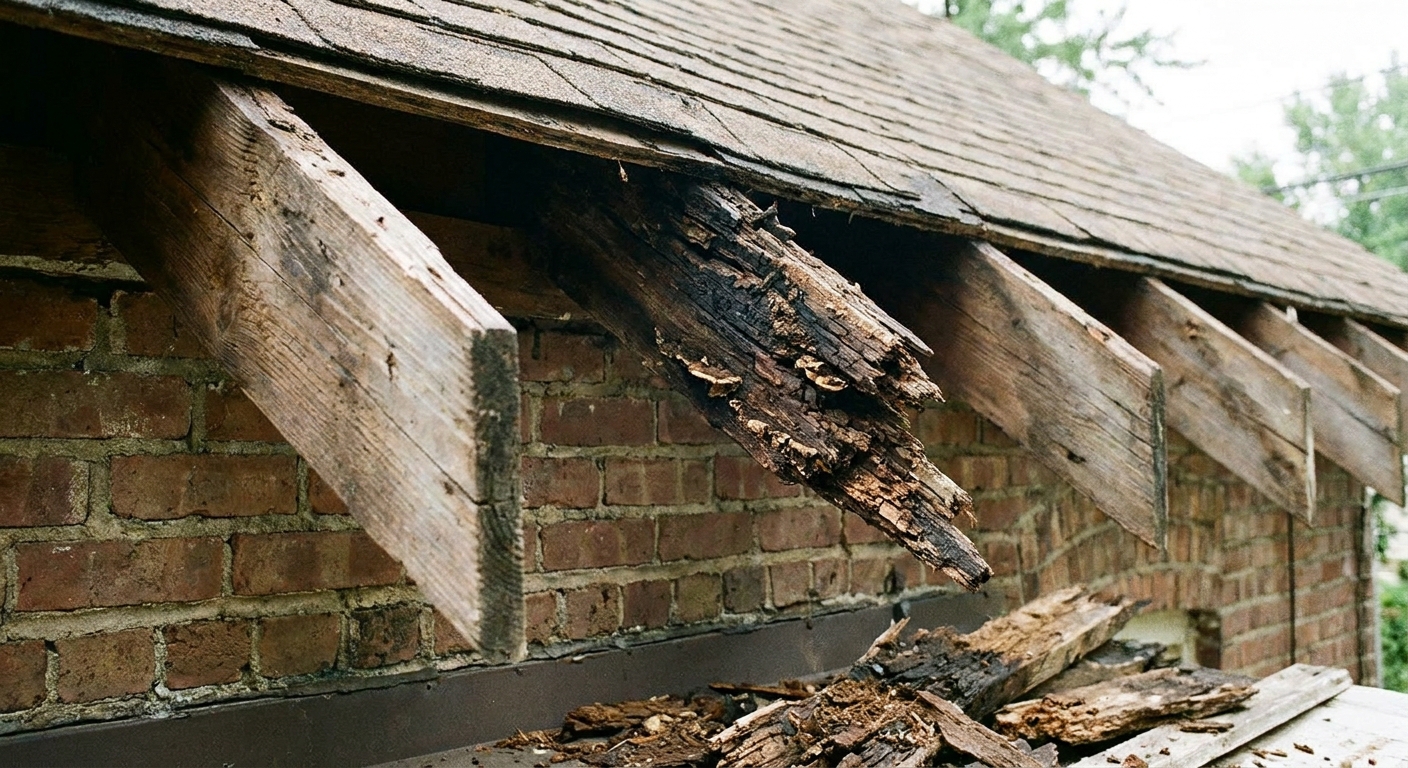
Once it’s open, probe every rafter tail in the area with an awl or screwdriver. Rot spreads sideways too, especially if water has been trapped behind fascia for years.
Step 3: Decide your cut line
This is where a lot of DIY repairs go wrong. People cut exactly where the rot looks like it ends. I cut back farther until I’m confident I’m into wood that is dry, dense, and holding fasteners.
How to choose the cut location
- Cut back to clean, hard wood that does not crush under a screwdriver.
- Avoid cutting right at a crack, knot cluster, or old notch.
- Whenever possible, make your cut where your reinforcement can overlap well back onto sound rafter length.
Keep the eave line straight
Before you cut the damaged tails off, establish a reference line for the finished tail length.
- Snap a chalk line across the ends of the good tails.
- Or clamp a straight 2x along the eave and use it as a visual guide.
The fascia only looks as straight as your tails allow. If the tails wander, the fascia will telegraph every bump.
Step 4: Support and cut out the rot
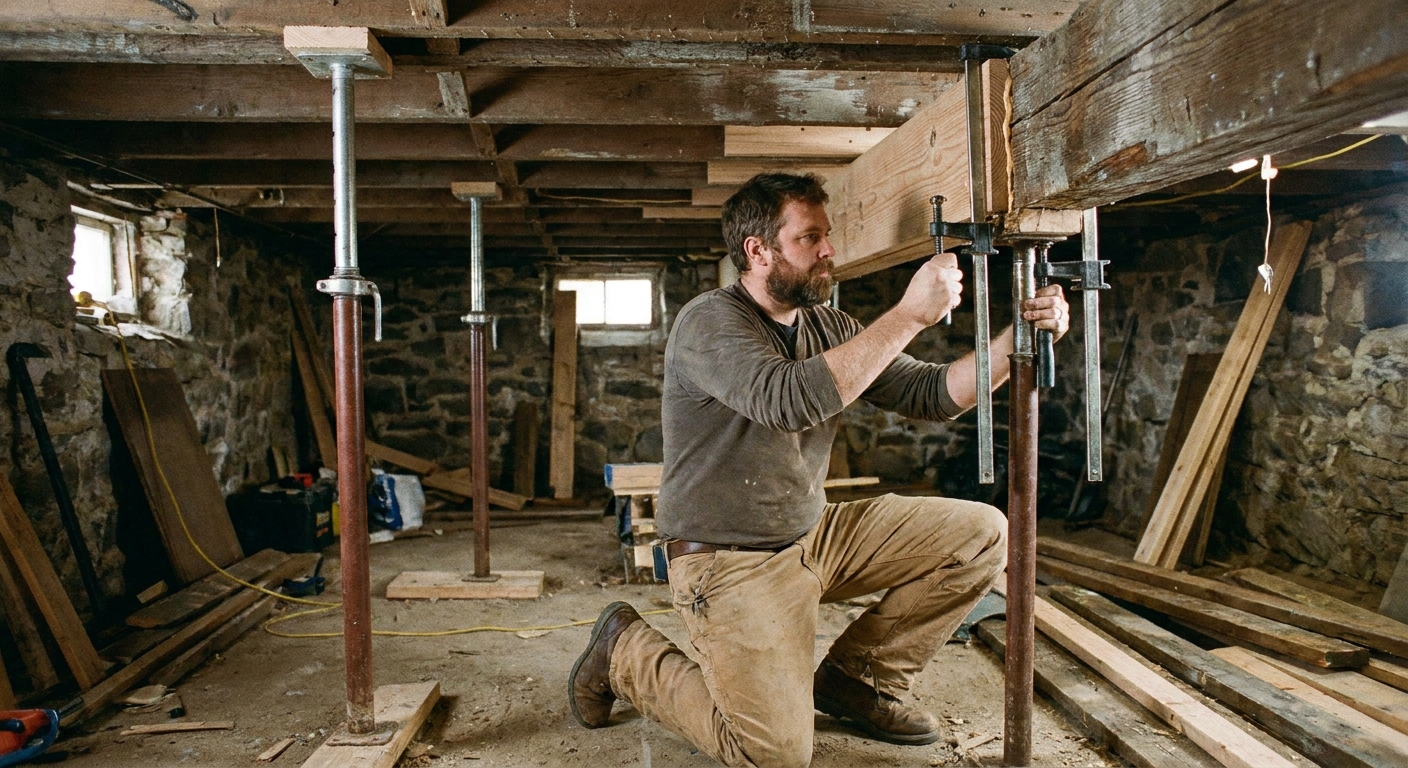
If a tail is badly punky, do not assume the roof edge is self-supporting. A simple temporary cleat screwed to the side of the rafter, or a short prop from below to take the wiggle out, can make the cut safer and keep you from cracking sheathing at the edge.
My safest cut method
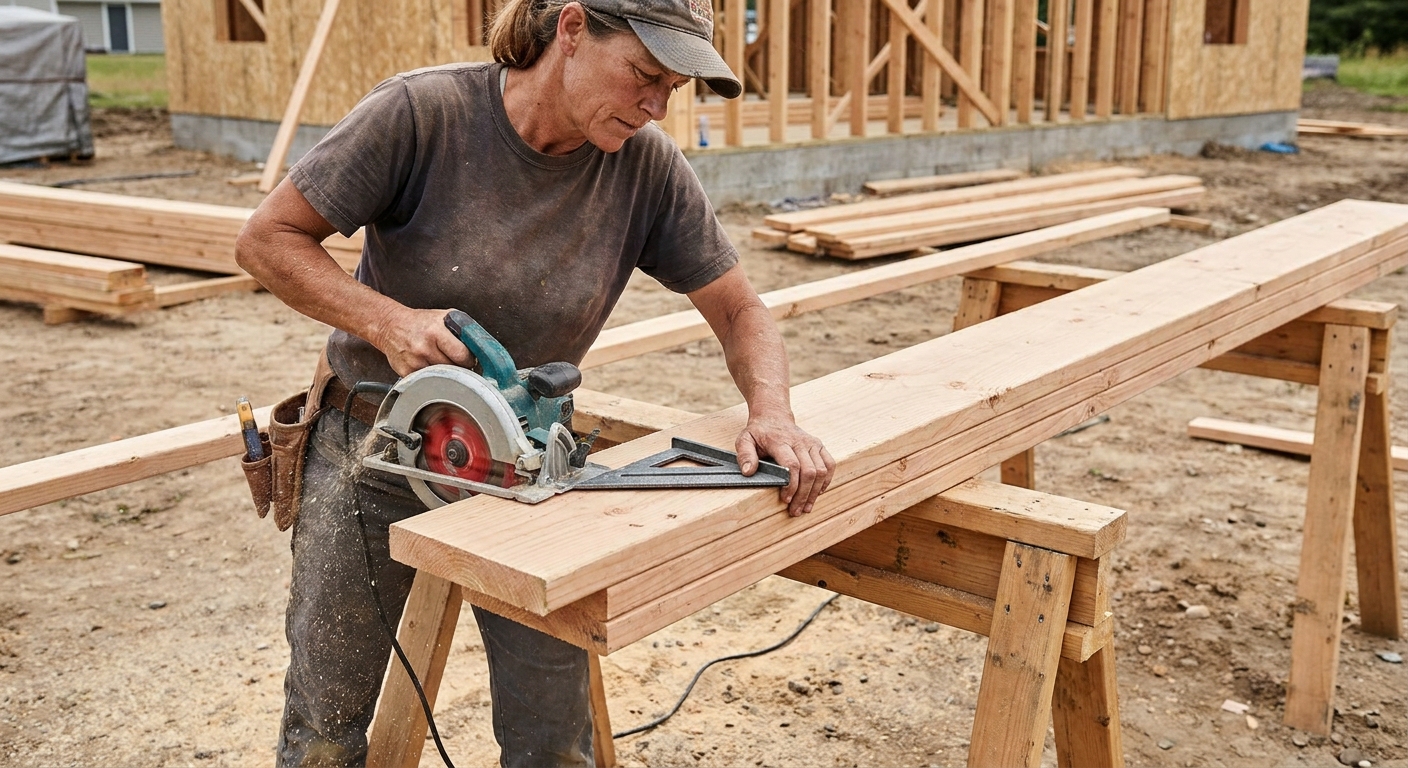
- Set your circular saw depth so you do not accidentally slice into sheathing above.
- Make the main cut square across the rafter tail.
- Finish the last bit with a handsaw or multi-tool if you are near siding or a wall intersection.
A square cut is fine as long as the reinforcement spans the joint and the fasteners do the real work. Some carpenters prefer a beveled or scarf-style cut for extra glue surface. I do not rely on glue for structure in an exterior repair, so I focus on solid overlap, clamping everything flush, and a fastener pattern that does not split the wood.
If you find punky wood farther inboard once you’ve cut, do not force the splice. Cut again until you hit sound stock.
Step 5: Build the new tail
Your replacement tail should match the original rafter size and sit flush in plane with the roof. That means the top edges align so your sheathing support is consistent, and the bottom edges align so the soffit has something to land on.
Layout tips
- Use an existing good rafter tail as a pattern for length and plumb cut.
- Mark the new piece so the grain crowns the same direction as neighboring rafters, if possible.
- Prime or seal cut ends before installation, especially end grain at the fascia line.
Do not forget sheathing support
If your roof sheathing edge was relying on the last bit of rafter tail, you may need to restore backing at the edge. That can mean adding a short plywood patch, a cleat, or blocking so the sheathing and fascia line do not end up floating. This is one of those details that is easier to fix now than after the fascia is on.
If the tails include a birdsmouth or you are rebuilding more than just the overhang, you may want to brush up on roof math and layout. I keep the fundamentals here: Mastering Rafter Math: Roof Pitch and Cut Lengths.
Step 6: Splice it like you mean it
A butt joint with a couple nails is not a repair. What I mean by a reinforced splice is simple: the new tail meets the old rafter at a cut line, and then a sister or scab overlaps across that joint far enough to transfer load and resist twisting.
There are a few ways to do this depending on access and how much rafter length you can overlap.
Best access: full-depth sister
If you can open enough area to work cleanly, a full-depth sister alongside the rafter is hard to beat.
- Cut your new tail to meet the old rafter at your cut line.
- Add a full-depth sister (same size as the rafter) alongside, overlapping back onto sound wood.
- As a field minimum, I try for 24 inches of overlap when conditions allow, and more is better. The real answer depends on loads, span, species, and fastener schedule, so follow local requirements and your fastener manufacturer tables.
Common access: scabs on both sides
If you cannot fit a full sister, you can use scab plates. I prefer scabs that are as tall as practical and long enough to get real bite into solid fibers.
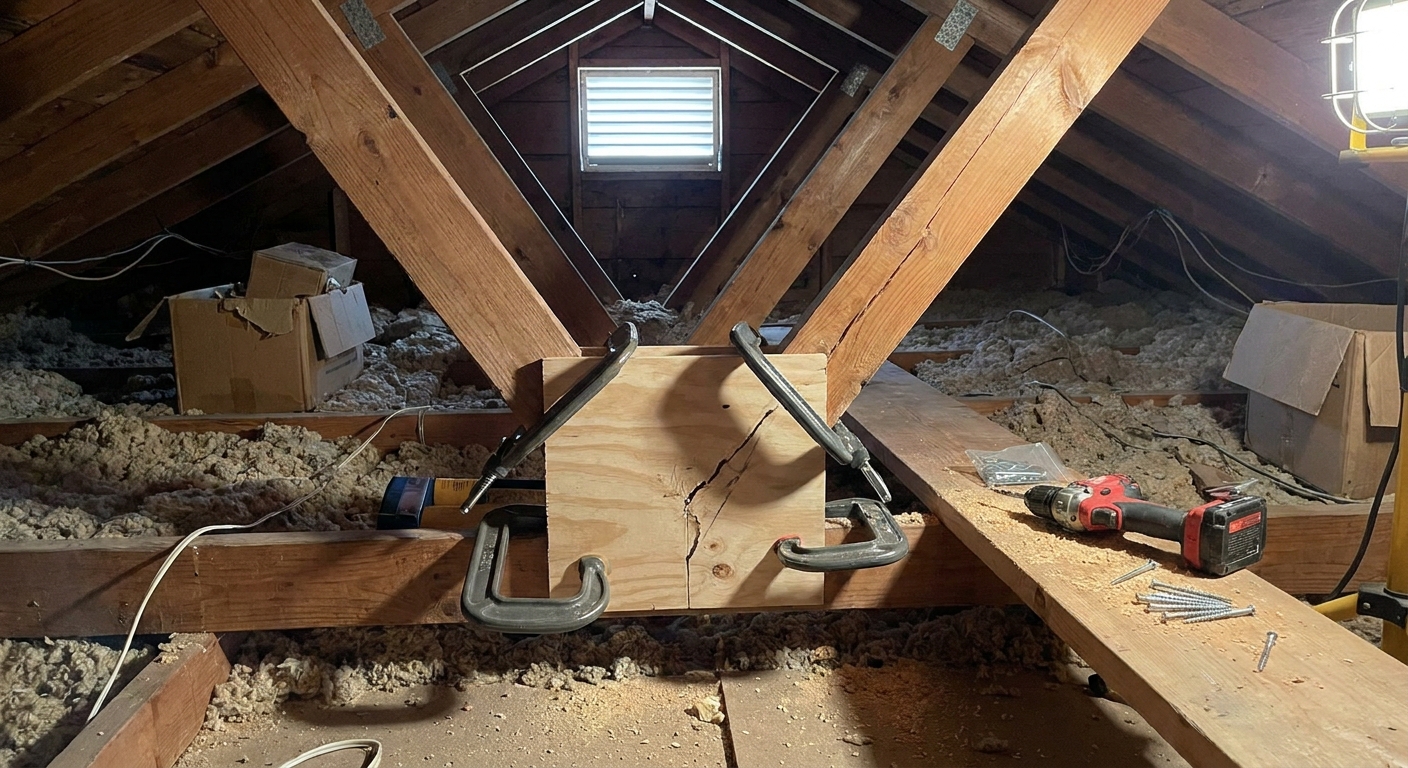
- Use two scabs, one on each side of the rafter, spanning the joint.
- Make sure the scabs extend well past the joint onto solid wood.
- Clamp everything flush before fastening so you do not lock in a twist.
A practical fastener example
I am not going to pretend one screw pattern fits every roof. That said, here’s a workable starting point for many conventional rafter tail splices using structural screws:
- #9 or #10 structural wood screws long enough to get solid penetration into the member behind (often 3 to 4 inches, depending on thickness and how many plies you are fastening)
- Two rows, staggered, about 6 to 8 inches apart along the length of the sister or scab
- Keep screws about 3/4 inch to 1 inch off edges, and at least 2 inches back from the ends to reduce splitting
If you are in high-wind or heavy-snow country, or the repair ties into uplift hardware, treat this as a structural detail, not a guess. When in doubt, ask your building department what they expect.
Adhesive is optional. I treat it like a helper, not the structure. The structure is wood-to-wood contact plus mechanical fasteners.
If you want a broader sistering mindset for framing members, the principles are similar to floor work, just in a different orientation: How to Sister Floor Joists.
Step 7: Rebuild fascia and soffit backing
Rot often takes out more than the rafter tail. The subfascia, lookout blocks, and soffit nailers can be soft too. Rebuild the attachment points now while everything is open.
What to check
- Fascia nailing: Do you have solid wood to fasten into across the run?
- Soffit support: Is there a straight line for the soffit edge to land on?
- Lookouts or ladder framing: On gable overhangs, these pieces often rot first.
If you need to add blocking for cleaner attachment and stiffness, my general approach to smart blocking is the same as what I do indoors for cabinets and TVs: Strategic In-Wall Blocking. Different location, same principle: put wood where you need fasteners and future strength.
Step 8: Close it up better than before
Once the tails are solid and aligned, rebuild the layers that keep weather out.
- Drip edge: Integrate it correctly with underlayment for the location (eave versus rake) so water sheds into the gutter, not behind fascia.
- Fascia: Prime all sides if possible, especially end grain and cut ends.
- Soffit: Reinstall panels or plywood. Maintain ventilation if the roof design requires it.
- Gutter: Set slope correctly and confirm downspouts can keep up in a heavy rain.
If your repair opens a pathway into wall cavities or chases, treat that seriously. This is where fireblocking can come into play, especially if you can see into stud bays from the soffit area. Local rules vary, but the concept is constant: block hidden pathways. This overview helps: Fire Blocking in Residential Framing.
Quality checks
Alignment
- Sight down the tails. The new one should be in plane, not rotated.
- Hold a straightedge on the tail ends where fascia lands. Fix proud or shy tails now.
Fastener bite
- If a screw spins out, the wood is not sound enough. Cut back farther or reinforce more.
- No fasteners should be so close to the end grain that the wood is split.
Water management
- Run water from a hose briefly and watch where it goes. You want it into the gutter, not behind trim.
- Check for areas where water can pond, especially at corners and roof-to-wall intersections.
FAQ
How far back should I cut?
Far enough that you are fastening into solid, dry wood. If you can dent it with a screwdriver, it is not solid. I’d rather cut an extra 6 inches than build a splice onto questionable fibers.
Can I use pressure-treated lumber for the new tails?
You can, but make sure it is compatible with your fasteners and connectors. Pressure-treated lumber is also often wetter and can twist as it dries. If you use it, pick straight stock and fasten it well so it stays put while it acclimates.
Do I need metal plates?
Sometimes. Many solid repairs are done with properly sized wood reinforcement and structural screws. Metal connectors can be helpful in tight spaces or where uplift resistance is a concern. If you are in high-wind or high-snow country, or the repair affects load paths, it is worth asking your local building department what they expect for a repair like this.
What if the rot reaches back past the exterior wall?
That’s the line where I stop calling it a tail repair. You may be looking at deeper rafter replacement, a longer sister, or an engineered fix depending on what’s carrying load. Open up more area and reassess before you commit to a patch.
A final note from the job site
The cleanest rafter tail repairs I’ve done all had one thing in common: I took my time on layout. A straight reference line, square cuts back to sound wood, and reinforcement that overlaps farther than you think it needs to will make the repair disappear once the fascia goes back on. And when the next big storm hits, you’ll be glad you fixed the cause, not just the symptom.
If you want more repair-focused walkthroughs, the hub for that is here: Home Repair Guide.