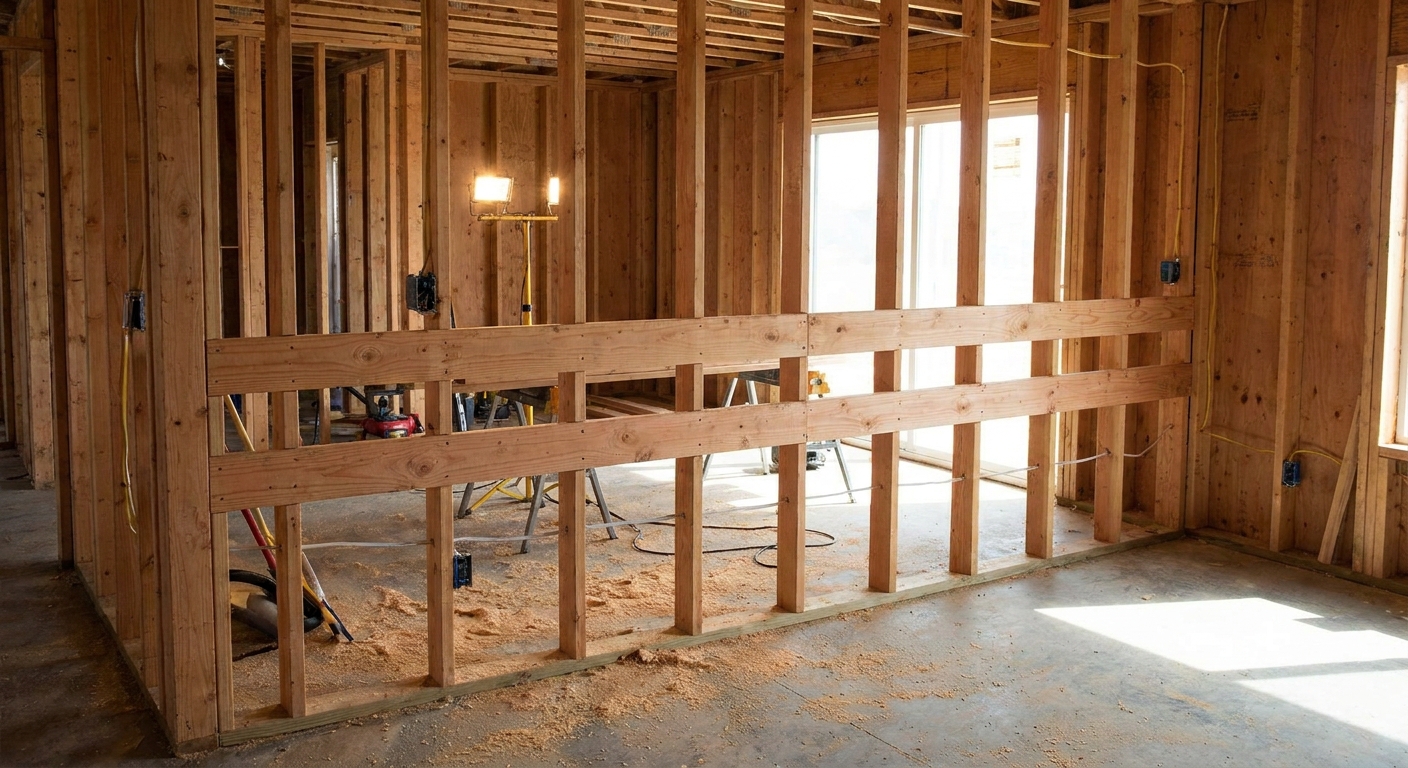
The first pony wall I built in a remodel looked great until somebody leaned on it like it was a bar top. The whole thing gave a little sigh and wiggled. That moment taught me a rule I still follow: a half-wall is not a “short wall.” Structurally, it is a lever. You have less height, but you are asking it to resist more twisting.
This walkthrough is how I frame pony walls so they feel like they grew out of the house. We will cover layout, framing details that add stiffness, and anchoring options that actually stop wobble over time.
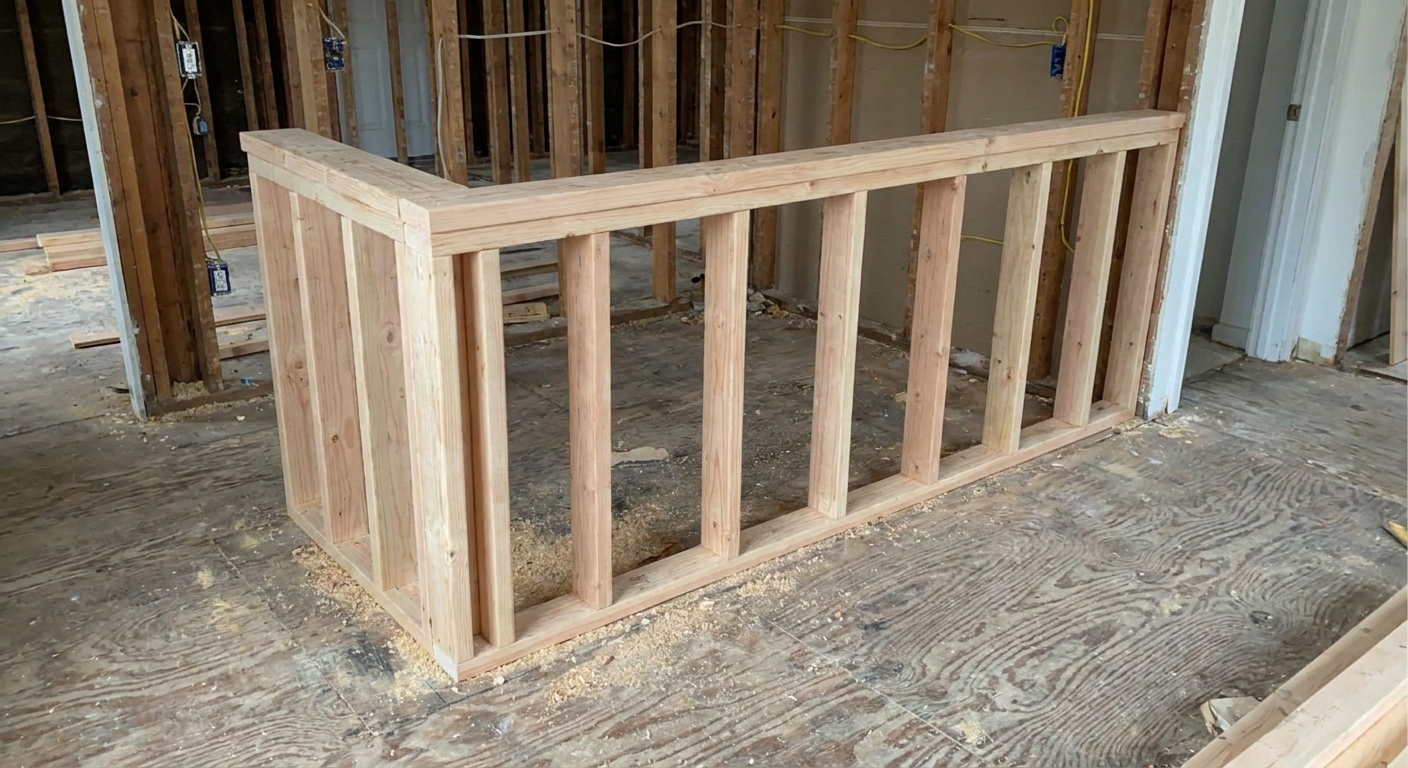
What makes pony walls wobble
Wobble is almost always one of these problems:
- No real base connection. Toenails into subfloor only, or screws into plywood without hitting framing below.
- Weak end condition. The free end is just studs and drywall, with no post or blocking to resist racking.
- Springy top. Light top framing and wide stud spacing can let the top edge flex, especially when someone leans on a cap.
- Wrong fasteners or not enough of them. Drywall screws and finish nails do not belong in the structural part of this job.
- Movement under the wall. Subfloor that squeaks, flexes, or is not well fastened will telegraph motion into the pony wall.
If you want the wall to feel solid, you need stiffness inside the wall and an anchor plan that transfers load into joists, blocking, or concrete. Most “wobbly pony wall” fixes fail because they address one and ignore the other.
Plan first: height, ends, and purpose
Decide if it is structural or just a divider
Most half-walls are not load bearing, but they still have to resist people, doors, kids, and furniture. If the pony wall is supporting a counter, a glass panel, or a handrail, treat it like a high abuse element and overbuild it.
Important: If this pony wall is acting like a guard at a drop-off or stairs, it is not automatically “a guard” just because it is 36 or 42 inches tall. Guard height and strength requirements vary by location and use, and the connections matter as much as the framing. Check local code and build the post and hold-down connection like it is safety equipment.
Lock in the height
Common finished heights are 36 inches for a lot of counters and half-wall dividers, and 42 inches for a taller visual break. But if the wall is functioning as a guard, do not guess. Confirm the required height in your jurisdiction and design the build around that.
Remember the stack-up: framing height plus drywall plus any cap. If you are adding a thick wood cap, you might frame an inch or so lower to land on a clean finished number.
Think hard about the free end
A pony wall that dies into existing framing on one end and is free on the other is where wobble lives. Your best friend is a stout end post tied into the floor framing. We will build that in from the start.
Tools and materials
- Lumber: straight 2x4 studs, plus extra material for blocking. For high stiffness, consider a built-up end post (two or three studs laminated).
- Plates: pressure-treated bottom plate is common and often required when a plate sits directly on concrete. Use what your local code and specs call for, and use a sill sealer or gasket where appropriate.
- Fasteners: nails or structural screws sized for framing connections. Many framers use 16d for stud-to-plate work on full walls. On pony walls I often use structural screws where placement matters, and nails where speed makes sense. If you are using rated connectors, follow the connector manufacturer schedule.
- Anchoring hardware (choose by floor type): structural screws into joists, angle brackets, hold-downs, or concrete anchors for slab.
- Tools: level (4 foot), framing square, drill/driver, impact driver, chalk line, stud finder, oscillating tool for subfloor openings if needed.
If you want to nerd out on fastening tools, see my breakdown of cordless vs pneumatic framing nailers. For pony walls I often end up using an impact driver and structural screws because placement matters more than speed.
Frame it stiff
1) Lay it out like a real wall
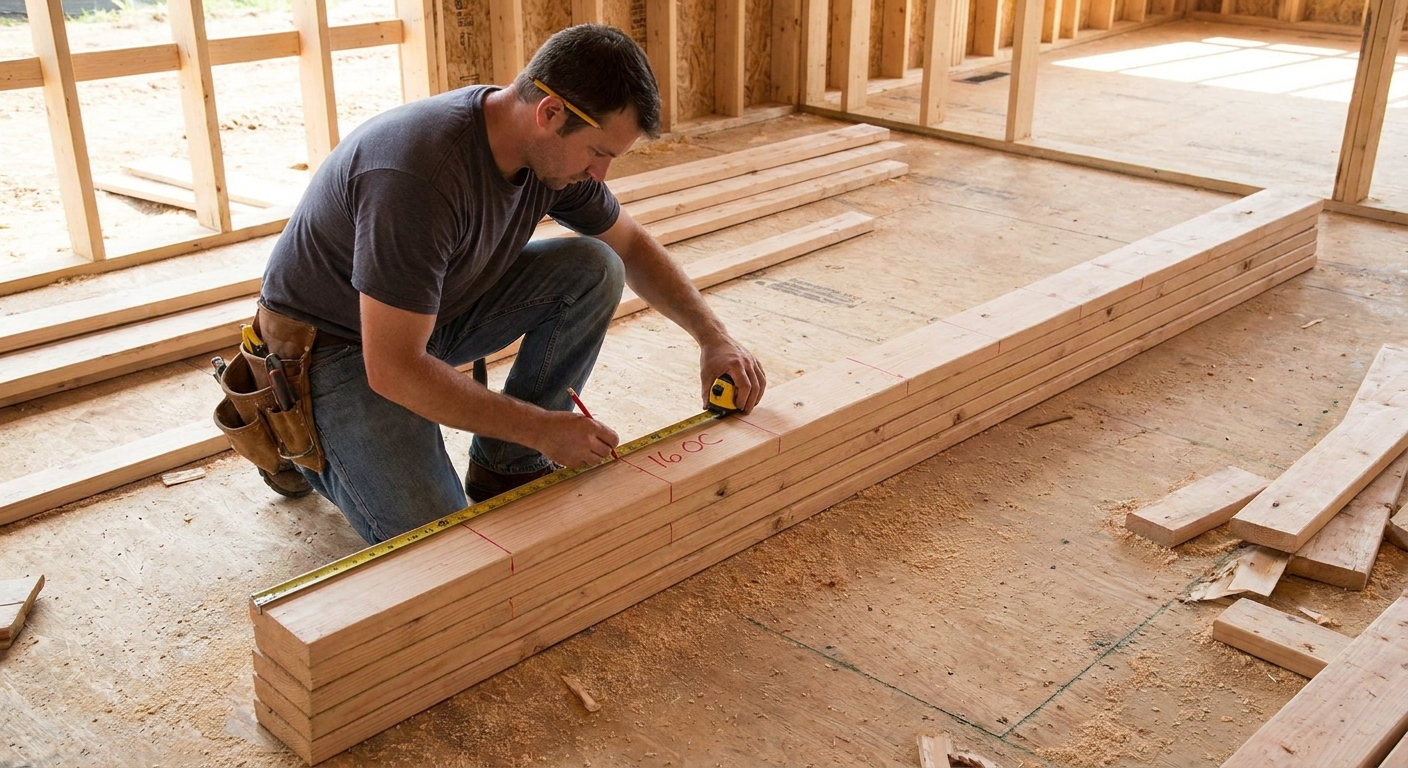
Snap a chalk line for the wall. Mark both sides if you can. If the wall ties into an existing wall, find studs first so you know where you can stitch framing together later.
For stud layout, 16 inches on center is the baseline. If the wall will get leaned on a lot or carry a cap that wants to flex, I go tighter at 12 inches on center or add blocking. If you need a refresher on clean layout habits, I cover the common pitfalls in avoiding mistakes laying out 16 inch OC studs.
2) Double the top plate when it helps
I often add a second top plate on pony walls. It ties the studs together and makes the top edge feel less springy, especially on longer runs and walls that get a wood cap. Is it the only thing that matters? No. End-post anchorage usually controls the “wobble” feel. But a double top plate is cheap stiffness, and I rarely regret it.
If your pony wall turns a corner or intersects another short wall, lap the top plates just like full height walls.
3) Build a real end post
At the free end, build a post that can take twisting:
- Minimum: two studs nailed or screwed together (laminated) with crowns matched.
- Better: three-stud post if you have space, especially if a heavy cap, rail, or glass hardware will be attached.
- Even better: add solid blocking between studs at the end bay, so the drywall and cap have something to bite into.
The end post is only half the story. The other half is how it connects below the floor, which we will get into next.
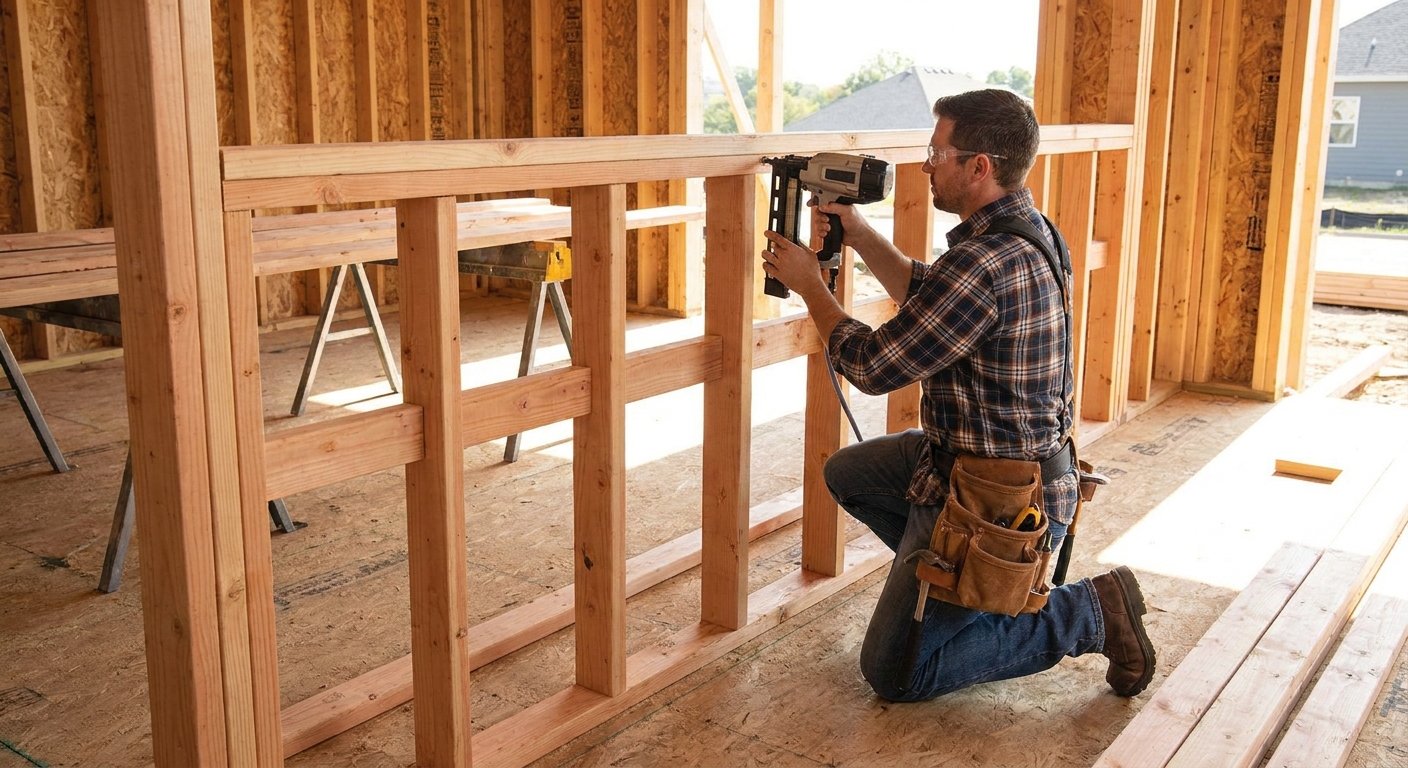
4) Add mid-height blocking for torsional stiffness
Blocking is cheap stiffness. I like at least one row of solid 2x blocking centered in the wall. If a handrail, glass clamp, or countertop bracket will attach, I add blocking exactly where the fasteners will land.
This is the same mindset I use for future-proofing walls in general. If you want a broader strategy, see strategic in-wall blocking for cabinets, grab bars, and TVs.
5) Square it before you lock it down
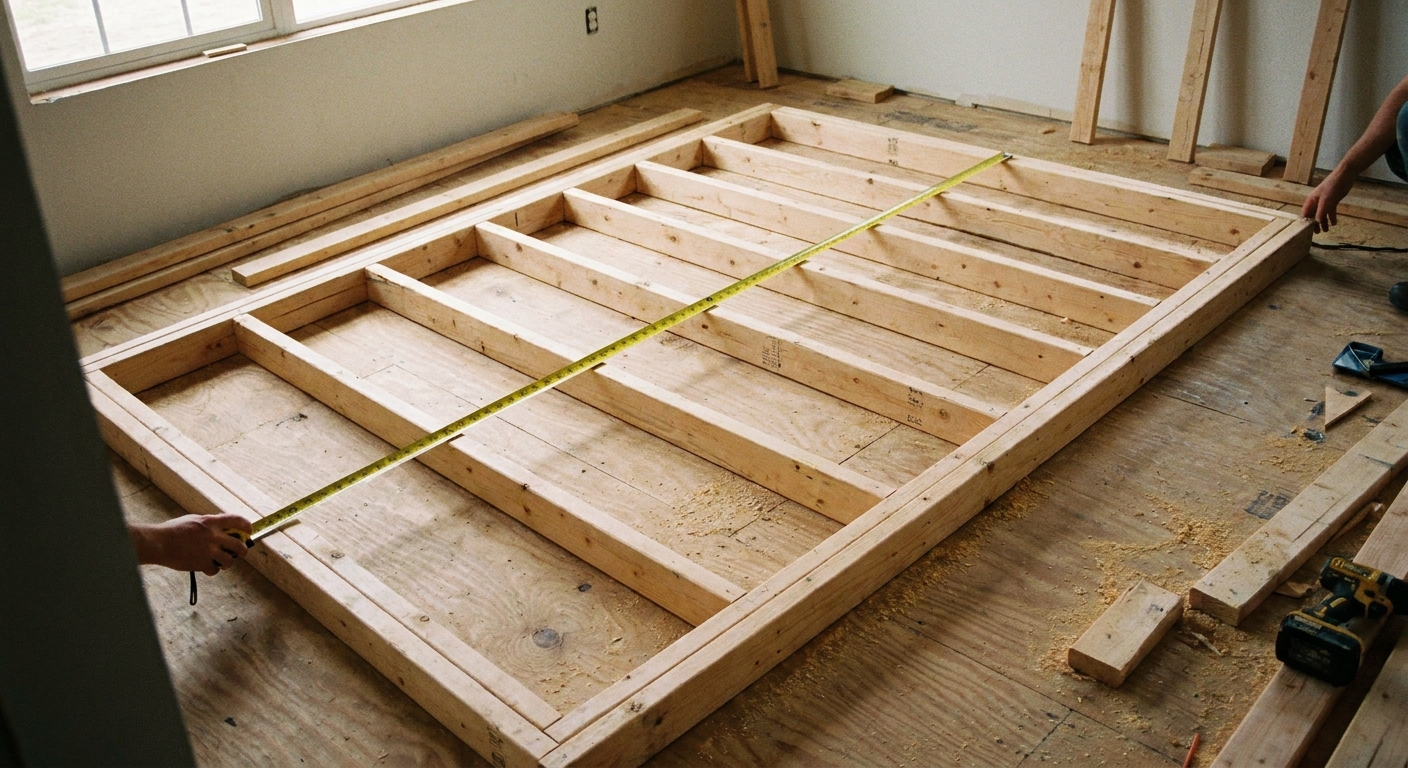
A pony wall that is slightly out of square wants to rack. Assemble it on the floor if possible, square it, then stand it. If you are building in place, check plumb at both ends and sight the top for straightness. My step-by-step for squaring a frame is here: how to square a wall frame before standing it.
Anchoring methods that work
Your anchoring goal is simple: connect the pony wall into something that cannot flex. That is usually a joist, a rim joist, solid blocking between joists, or a concrete slab. If the wall is acting like a guard or rail support, step up the hardware and follow rated fastening schedules.
Option A: Over wood framing with access below
If you can access the underside of the floor, you can make a pony wall feel rock solid.
- Locate joists. You want the wall line to land over a joist or over blocking you add.
- Add solid blocking between joists under the wall line. Use 2x material the same depth as the joists, installed tight with nails or structural screws. If the wall runs parallel to joists, add a continuous line of blocking beneath it.
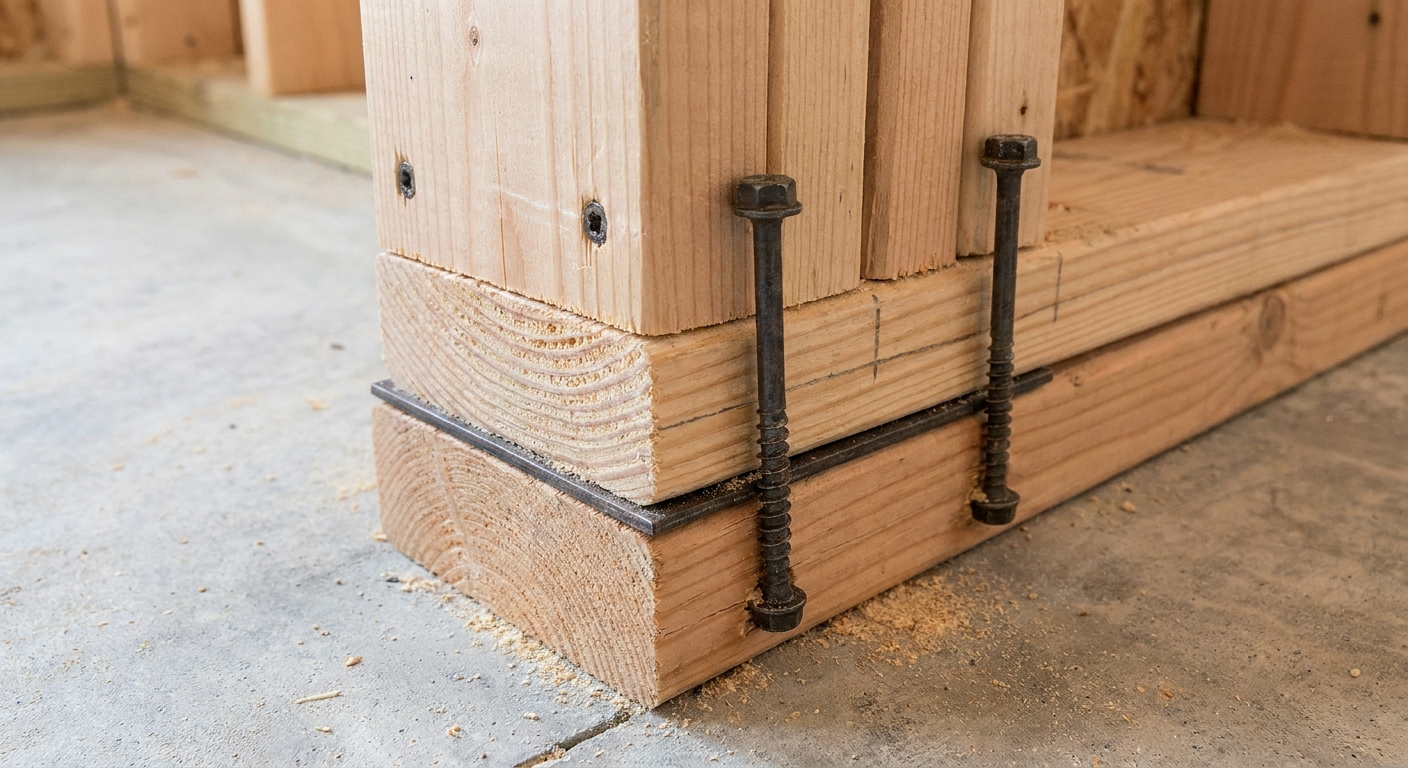
- Through-bolt the end post. Drill through the end post and subfloor, then bolt into a block or plate below using washers. This is one of the most effective anti-wobble moves.
- Screw the bottom plate down into framing, not just plywood. Structural screws at regular spacing beat random deck screws every time.
This method turns the end of the pony wall into something like a guard post connection, which is exactly what resists leverage.
Option B: Over wood framing with no access below
No basement, no crawl, finished ceiling below. You can still do a strong connection, but you have to be intentional.
- Find the joists precisely. A stud finder can help, but do not trust it blindly through thick subfloor or underlayment. Confirm by probing in a spot that will be covered by the wall, or by referencing framing from an opening or register nearby.
- Open the subfloor at the free end. Cut a neat rectangle inside the wall footprint near the end post location, remove it, and install blocking between joists. Then replace the subfloor patch with glue and screws. Now your end post can be lagged into that blocking.
- Use a metal hold-down if needed. If the wall is acting like a guard or gets heavy use, a hold-down style connector that ties the post to blocking below is worth it. Follow the connector manufacturer schedule.
If your floor is already squeaky or loose, fix that first. A pony wall cannot feel solid on a trampoline floor. My approach is in prevent floor squeaks before the subfloor goes down. In a remodel you are doing the same principles, just more surgically.
Option C: On a concrete slab
Slabs are great for pony walls because the base can be truly rigid, but you have to anchor correctly.
- Use the right bottom plate for concrete contact. Pressure-treated is common practice and often required when wood contacts concrete. Use a sill sealer or foam gasket, and follow local code and specs for your plate material.
- Anchor with concrete fasteners sized for the load. Wedge anchors or sleeve anchors are common. Drill straight, clean the hole, and tighten carefully so you do not spin out the bite.
- Pay attention to edge distance. Keep anchors away from slab edges and cracks. If you are close to an edge, consult the anchor manufacturer specs.
- Match fasteners to treated lumber when needed. If you are using treated plates or treated blocking, use fasteners/connectors rated for that exposure so you do not create a corrosion problem.
For half-walls that will take serious lateral load, I still like a reinforced end post detail and hardware that ties the post down, not just the plate.
Option D: Tie into an existing wall
If one end hits an existing full-height wall, connect framing to framing:
- Remove a strip of drywall where the pony wall meets the existing wall so you can fasten into studs.
- Add blocking between existing studs if your pony wall top needs a solid tie point.
- Fasten the pony wall end studs into the existing studs with structural screws.
Drywall joint compound is not structure. The connection has to happen in wood.
Brace it plumb as you go
Before the anchors are fully tightened, a pony wall can wander out of plumb. I brace it like this:
- Temporary diagonal brace to the floor: screw a 1x or 2x from the top of the pony wall down to the subfloor at an angle.
- Two-direction check: plumb the end post, then plumb the long face.
- Lock it, then re-check: after you sink fasteners, re-check plumb and straight. Fasteners can pull a short wall out of position quickly.
If the wall will get a thick cap, I dry fit the cap material early to make sure the top is dead straight. A cap can hide small sins, but it can also highlight a bow if you are unlucky.
Details that stay solid after drywall
Use adhesive where it counts
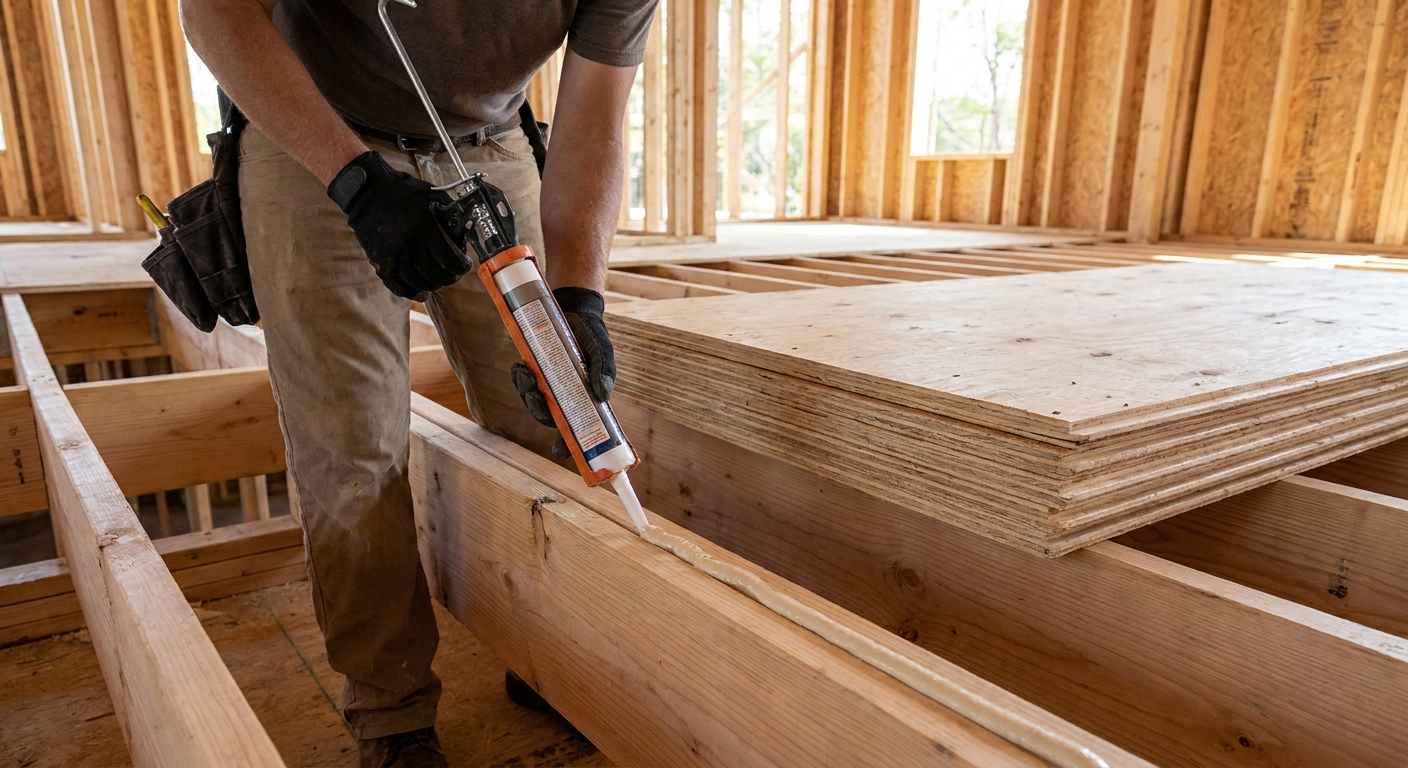
A bead of construction adhesive under the bottom plate and between laminated studs in the end post reduces future micro-movement. Think of it as taking the slack out of the system.
Adhesive is a supplement, not an anchor. You still need mechanical fasteners into framing or rated concrete anchors to stop wobble long-term.
Sheath one side for serious stiffness
When a pony wall is long and exposed, drywall alone might not give the racking resistance you want. Adding plywood sheathing to one side under the drywall can make it feel dramatically stiffer. Fasten the plywood well to studs and plates, then drywall over it.
Cap smart
A wood cap that is well fastened and glued can act like a beam along the top. Make sure you have solid backing at joints and at ends.
Do not rely on finish nails alone. Predrill if needed, and use screws at sensible spacing into blocking or the top plate so the cap cannot work loose from years of leaning.
Common mistakes
- Relying on toenails into subfloor. It might feel okay today, but it loosens over time.
- No blocking under the free end. The end post must tie into something substantial.
- Building the wall, then trying to “fix wobble” with trim. Trim hides gaps. It does not add structure.
- Forgetting about plumbing and electrical. If outlets, switches, or low-voltage run through the wall, plan chases and nail plates before you close it up.
- Skipping fire blocking where required. Depending on layout, a pony wall can create concealed cavities that need fire blocking. If you are unsure how the rules apply in your situation, read fire blocking in residential framing and follow local code.
Quick build checklist
- Stud layout planned, tighter spacing if high abuse
- Double top plate added when it helps stiffness
- Built-up end post at free end
- Mid-height blocking installed, plus target blocking for cap, rail, or brackets
- Bottom plate glued and mechanically fastened into framing
- End post tied into joist or solid blocking (or properly anchored to slab)
- Wall plumbed and temporarily braced until fully fastened
- Optional plywood sheathing added if extra stiffness is needed
When to slow down and call in help
If your pony wall functions as a guard at a stair or loft edge, supports a heavy stone top, or is part of a permitted remodel with inspection requirements, treat it like safety equipment. Hardware selection and fastening schedules matter. When in doubt, check local code and talk with your inspector or a qualified pro. It is much easier to overbuild a pony wall now than to chase a wobble after paint.
If you want more hands-on project planning like this, start at Carpentry Projects. And if you have a specific situation that is giving you trouble, you can reach me through the site contact page.