
Woodworking is an art that demands a keen understanding of materials and techniques. One critical aspect often overlooked is wood's interaction with moisture. Recognizing how wood absorbs and releases moisture can significantly impact the quality and longevity of your projects.
Understanding Hygroscopic Nature
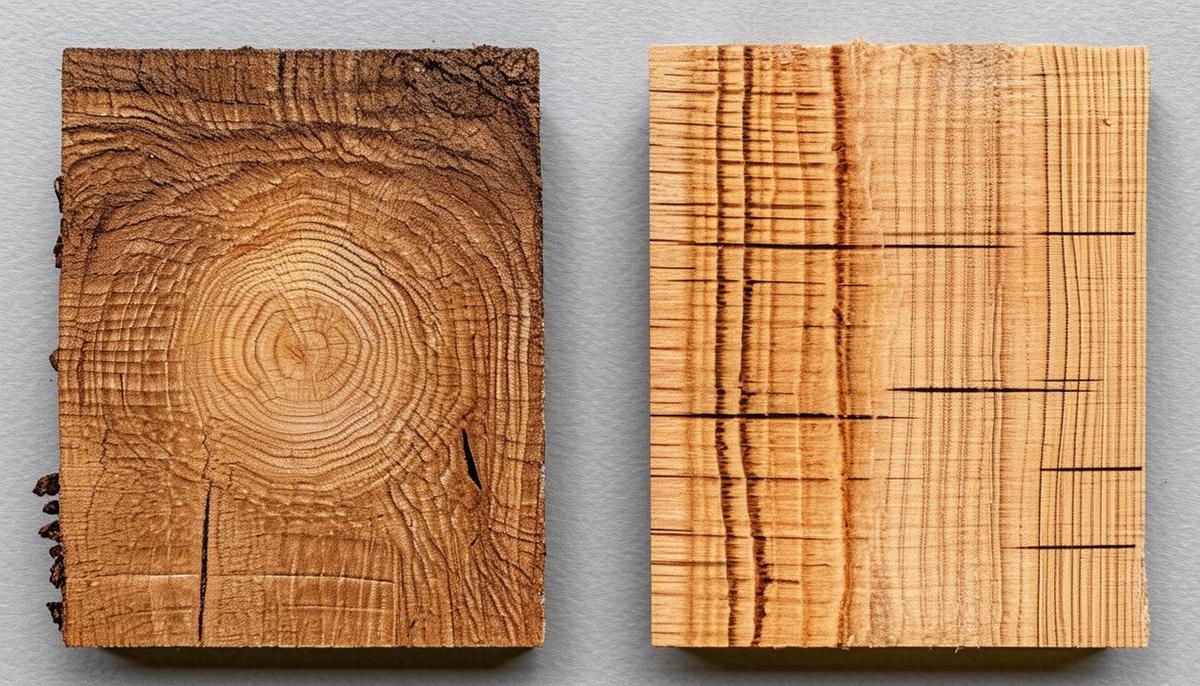
Wood's ability to absorb and release moisture, termed as its hygroscopic nature, is crucial in woodworking. This behavior causes wood to expand and contract, which can lead to warping, cracking, and splitting if not properly managed.
To handle this, choose the right wood for the job. Hardwoods like oak and maple tend to be more stable than softwoods like pine. Consider the final environment when selecting wood.
During construction, use techniques that allow for wood movement. Tongue and groove joints, dados, and rabbets provide stability while accommodating natural shifts. Using well-seasoned or kiln-dried wood can reduce unforeseen problems.
Applying finishes isn't just for aesthetics; it also helps regulate moisture exchange. Sealers, varnishes, and oils form barriers that slow down how fast wood absorbs and releases moisture.
Consider the environment where the finished product will live. A piece for a moisture-heavy zone like the beach requires different construction strategies than one for a dry, heated home.
Good woodworking means thinking ahead. By understanding wood's hygroscopic nature, you can anticipate potential problems and build sturdy, lasting pieces.
Acclimating Wood
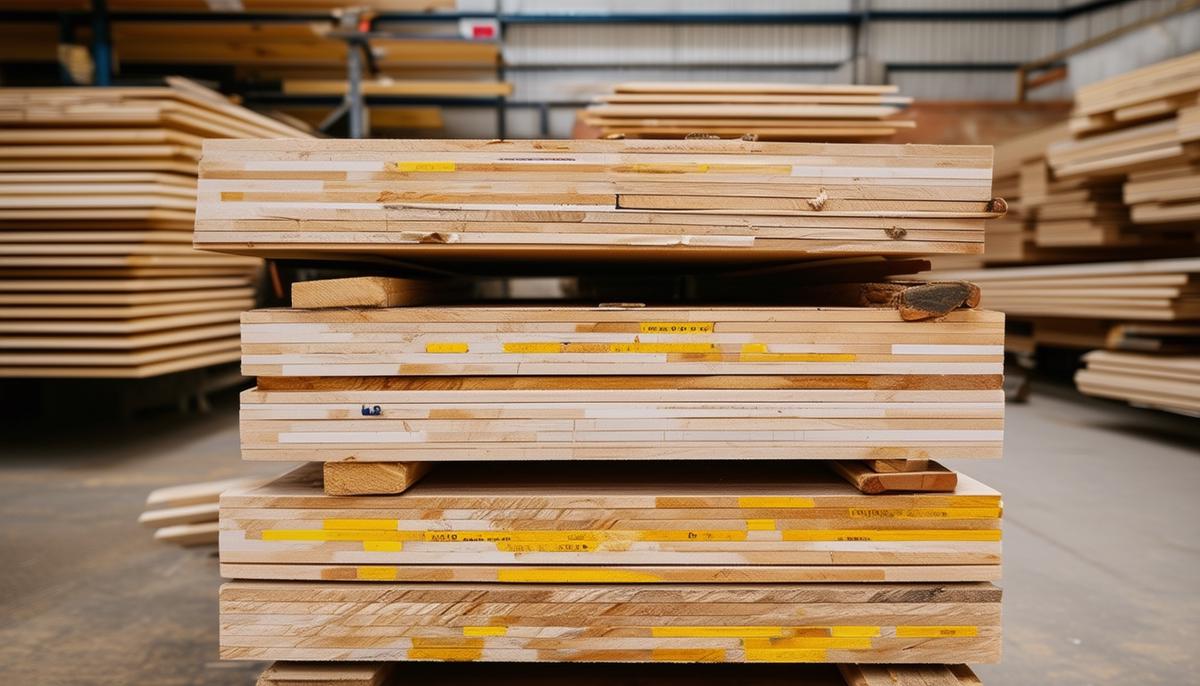
Acclimating your wood is a crucial step in woodworking. When you bring wood into your workshop, let it sit for at least a couple of weeks. This allows the wood to adjust to the local humidity and temperature, aligning itself with the conditions it will eventually face.
- Place the wood flat and spaced out, so air can flow around it.
- If it's a stack, use stickers (thin pieces of scrap wood) between the layers to allow air to circulate.
- For outdoor furniture, store the wood in a shed or garage.
- For indoor furniture, store wood in a similar indoor setting.
During acclimation, check the moisture content with a moisture meter. Ideally, the wood's moisture content should match the equilibrium moisture content (EMC) of the room where it will end up.
By giving wood time to acclimate, you're investing in the longevity of your project. This approach promises durability and signifies quality craftsmanship.
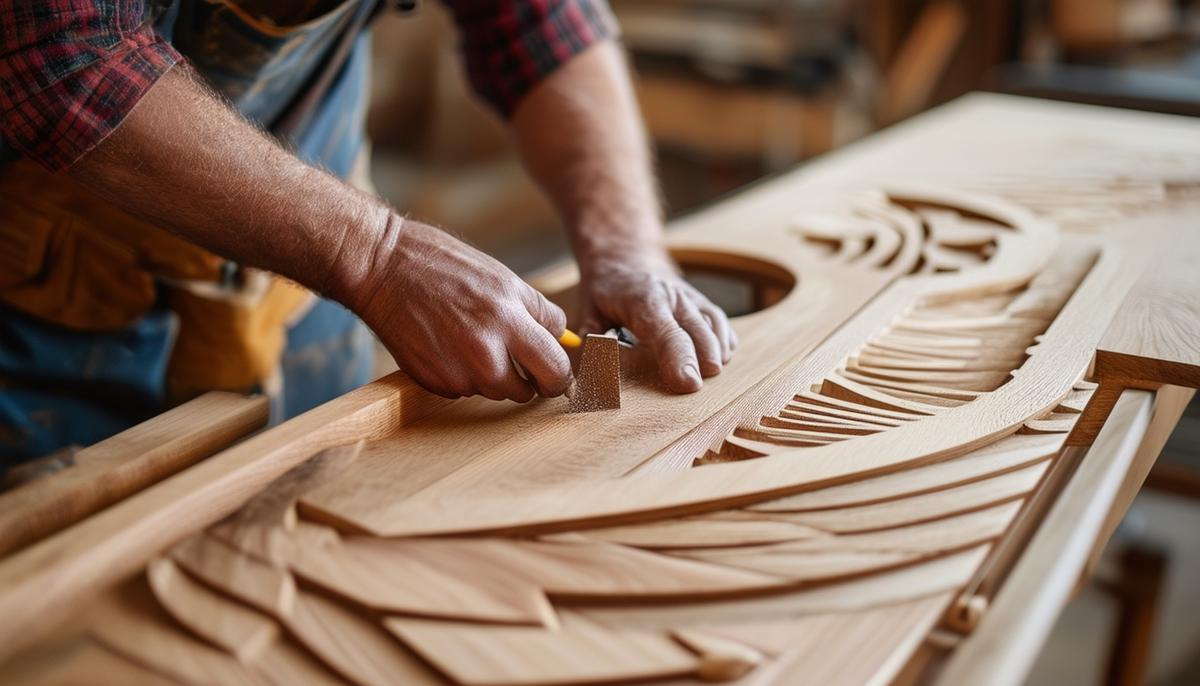
Designing for Movement
Designing with wood movement in mind is crucial for creating furniture that lasts. Here are some techniques to incorporate:
- Floating Panels: Used in door and cabinet construction, these panels "float" within a frame, allowing for movement without causing stress to the surrounding wood.
- Breadboard Ends: Useful for tabletops, these narrow pieces run across the end grain of wider boards, helping to keep them flat and counteract warping.
- Button Clips and Slotted Screws: These methods allow for attaching tops to bases while permitting movement. Button clips fit into slots cut into the tabletop's underside, while slotted screw holes give screws space to move.
- Drawer Fitting: Leave a tiny gap around the sides of drawers to allow for movement, ensuring smooth operation year-round.
- Spline Joints and Biscuit Joints: These joints add strength while allowing for some give, essential for accommodating wood movement.
- Seasonal Construction: For large projects, consider assembling parts in the season the furniture will be used the most.
By incorporating these techniques, you're ensuring your furniture adapts to environmental changes, creating pieces that endure over time.
Applying Finishes
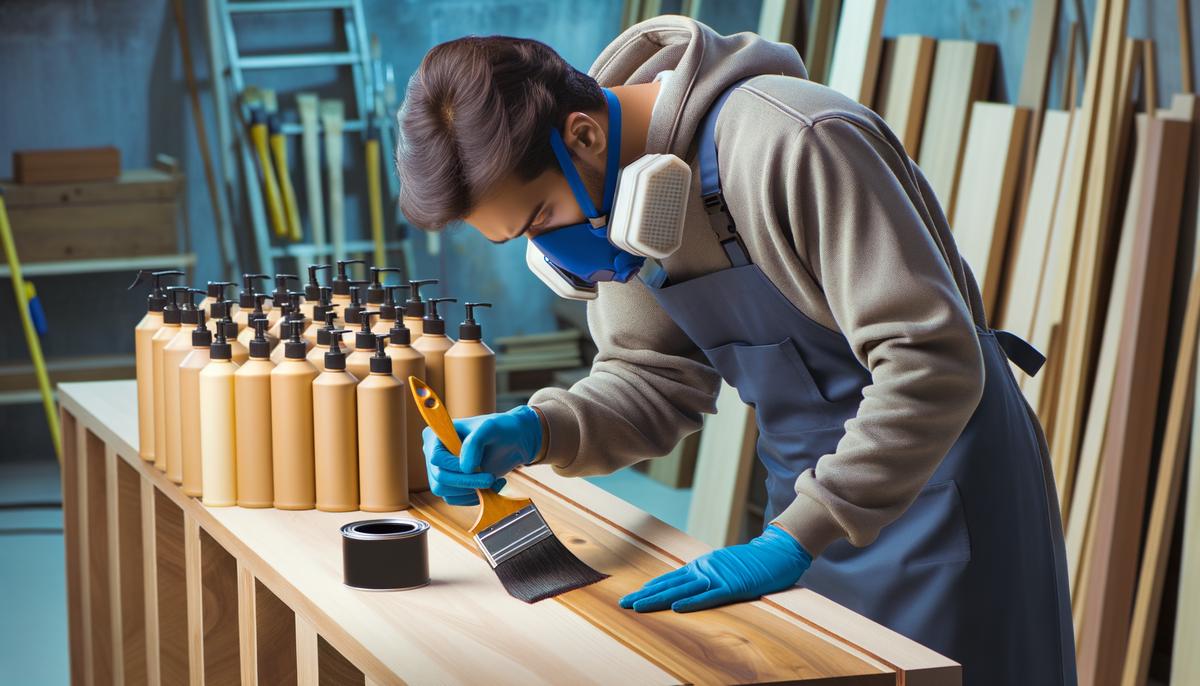
Applying finishes helps regulate moisture exchange in wood pieces. It's essential to finish all sides equally to prevent uneven movement.
Types of finishes include:
- Lacquers
- Varnishes
- Oils
- Waxes
Lacquers and varnishes form a hard, protective shell, ideal for high-wear surfaces. Oils penetrate the wood, enriching its natural beauty. Waxes offer a softer finish that enhances the wood's look but provides less protection.
Start by prepping your wood through sanding, progressing from coarse to fine grits. Apply your chosen finish in thin, even coats using a quality brush, sponge, or cloth. Allow each coat to dry completely before lightly sanding and applying the next. Repeat until you achieve the desired depth and sheen.
Don't forget to finish underside and hidden parts of furniture. These areas are still susceptible to moisture changes.
Consider the furniture's eventual location when choosing a finish. A kitchen table might need a durable varnish, while an outdoor piece requires exterior-grade products.
By applying your finish methodically, you're investing in the life and beauty of your woodworking project. Each coat adds protection and enhances the appearance of your finished piece.
In woodworking, anticipating wood movement isn't just a precaution—it's essential for creating durable, beautiful pieces. By mastering these techniques, you can craft furniture that stands the test of time and environment.
- Hoadley RB. Understanding Wood: A Craftsman's Guide to Wood Technology. Taunton Press; 2000.
- Spear M, Walker J. Dimensional stability and wood movement. In: Walker JCF, ed. Primary Wood Processing. Springer; 2006:95-120.
- Feirer JL. Wood Technology and Processes. McGraw-Hill Education; 2012.