
Wood Grain Basics
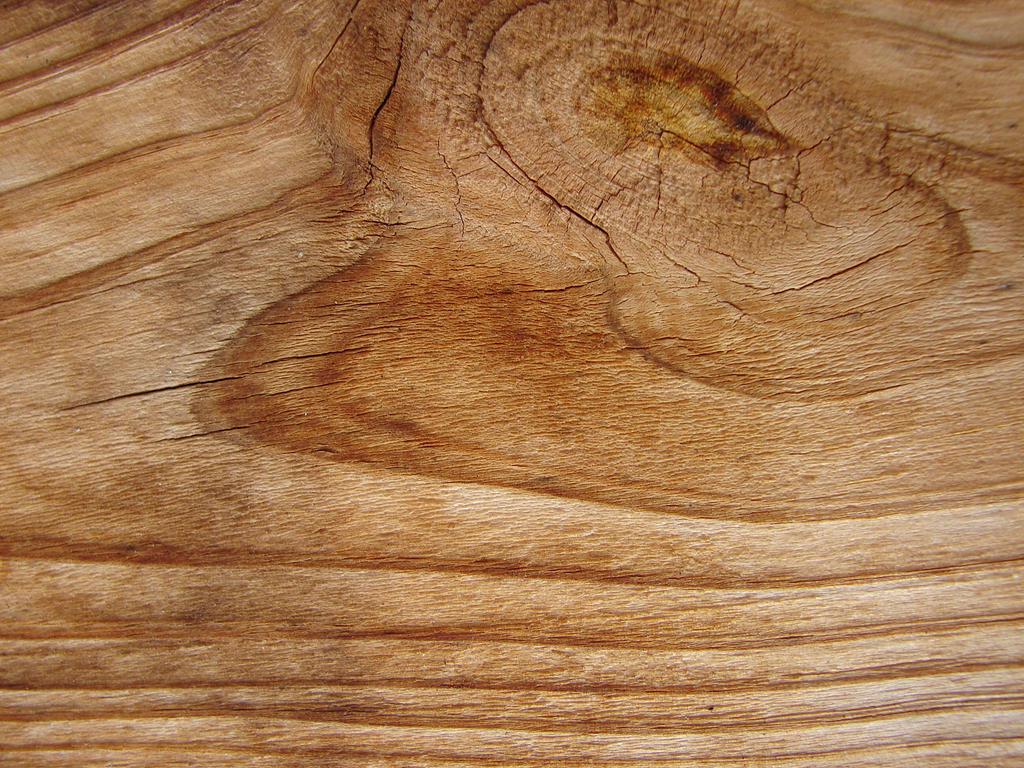
Wood grain refers to the layout of wood fibers influenced by the tree's growth rings. Understanding this helps in picking the right wood for specific jobs, ensuring both functionality and visual appeal. Wood grain is the unique linear structure observed in wood planks – it's what makes each piece one-of-a-kind, like fingerprints.
Grain Orientation
- Long Grain
This runs parallel to the length of the board. It's sturdy and stable, making it great for structural elements like table legs and chair frames. - End Grain
Seen when wood is cut across its growth rings, it shows as circular or oval patterns. It's durable and perfect for cutting boards and butcher blocks.
Common Grain Patterns
- Straight Grain
Fibers run uniformly in one direction, common in trees like oak. This gives a tidy, regular appearance ideal for furniture and flooring. - Curly Grain
This looks like wavy or rippled lines in the wood, often found in maple or cherry. It adds a unique visual flair to any project. - Bird's Eye Grain
Tiny swirling dots resemble bird's eyes, usually found in maple. This pattern adds elegance to furniture and decorative items. - Rift Grain
Diagonal lines across the face of the board, seen in oak and walnut. It's made by cutting the log at a slight angle to the growth rings, adding a modern touch to cabinetry. - Cross Grain
Fibers intersect or twist irregularly, often in mahogany and teak. Though it's visually striking, it can be tricky to work with due to its tendency to cause tear-out.
Practical Usage
For strong, stable pieces like table legs, straight grain is the way to go. If visual appeal is your goal, curly or bird's eye patterns add that wow factor. For detail work or unique designs, cross or rift grain are worth considering, though they may demand extra effort. End grain is great for surfaces that endure heavy use, like cutting boards.
Textural Variations
- Open Grain: Found in hardwoods with large pores like oak and ash. These need a grain filler for a smooth finish.
- Closed Grain: With smaller, more consistent pores, woods like maple and cherry offer a cleaner, smoother texture that finishes beautifully.
Workability
Straight grain is the easiest to work with, offering reliable and consistent results. Interlocked and irregular grains can be tricky, prone to splitting and tear-out. For finishing, open-grained woods show the grain more, while closed-grained woods like maple and cherry provide a more even finish.
Sawing Methods and Their Grains
| Method | Description |
|---|---|
| Live Sawn | Cuts straight through the log, showing a variety of patterns. Often used for flooring. |
| Quarter-sawn | Cuts at 60 to 90 degrees to show growth rings, resulting in a vertical, tight grain pattern. |
| Plain Sawn | Cuts at a 45-degree angle to the growth rings, often resulting in a cathedral grain pattern. |
| Rift Sawn | Cuts at 30 to 60 degrees, reducing grain activity and perfect for flooring. |
Types of Wood Grain Patterns
Figured Grains: Going Beyond the Basics
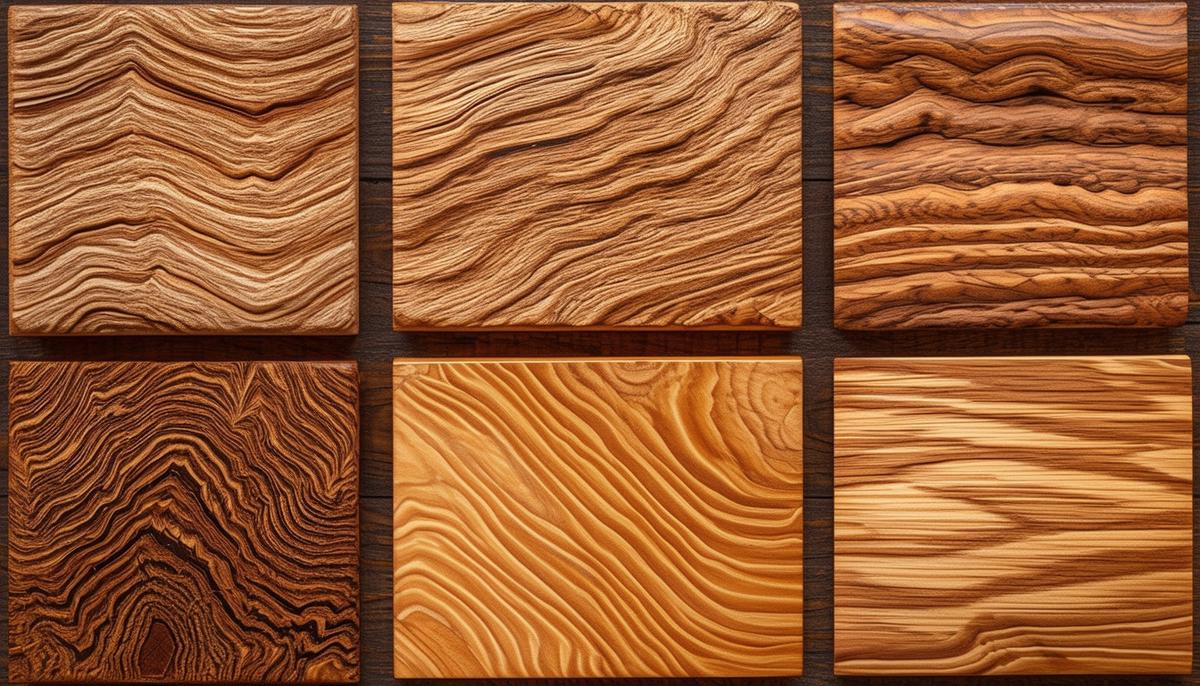
The world of grain patterns doesn't stop at straight, curly, and bird's eye. Knowing the following patterns can also be useful:
- Quilted Grain
Quilted grain gives a bubble-like, rippling pattern, often seen in maple. It adds depth and a captivating visual effect, making it ideal for high-visual-impact pieces like table tops or small decorative items. - Crotch Grain
This pattern forms when a tree branches out, creating a V or Y shape in the grain. Crotch grain is commonly found in woods like walnut and mahogany. It's ideal for statement pieces where you want to showcase natural beauty.
Choosing the Right Pattern for Your Project
Selecting the appropriate wood grain pattern for your specific project can hugely influence both the visual appeal and functionality. Here's a quick guide:
- Structural Needs: Opt for straight grain for stability and strength in elements like table legs, chair frames, and beams.
- Visual Appeal: Choose curly grain or bird's eye for pieces that are meant to stand out, like high-end furniture or accent pieces.
- Ease of Work: Straight grain is your go-to for ease of cutting and consistency. Curly and cross grains might need more effort.
- Durability: For cutting boards or butcher blocks, end grains are highly durable and can take a beating without much wear.
Understanding wood grain patterns isn't just for show—this knowledge directly impacts your project's outcome, from ease of work to final aesthetics. Whether you're building a sturdy table, a flashy guitar, or a delicate inlay, knowing your grains can make all the difference.
Open vs Closed Grains
Open and closed grains are essential to understand when selecting wood for your projects because they significantly affect both appearance and workability.
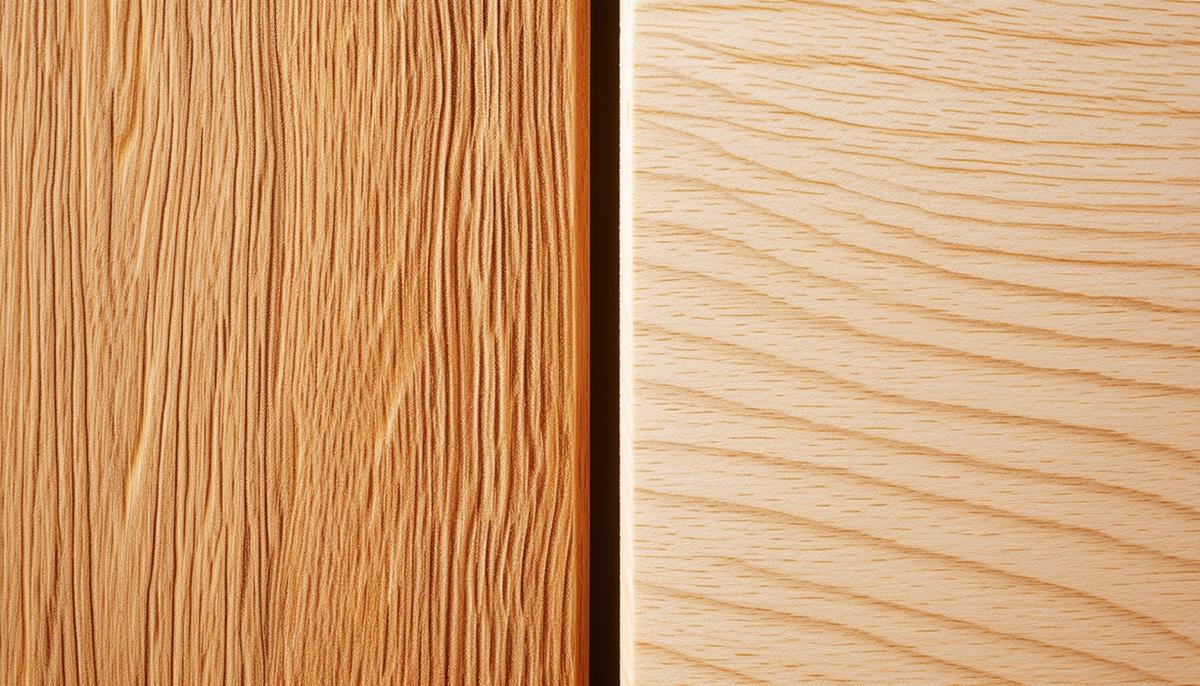
Open Grain Woods
Open grain woods, like oak and ash, have larger pores easily visible to the naked eye. This porosity creates a pronounced texture and a more rough, natural feel. These large pores occur because these trees grow quickly during spring and more slowly in summer, causing variations in cell arrangement and size.
Working with open grain woods can be a bit of a mixed bag. The visible texture can add a rich, tactile quality to your piece. However, achieving a smooth finish often requires extra steps. Before finishing, you'll typically need to use a grain filler. This filler seeps into the pores, creating a flat, even surface ready for sanding and finishing.
Popular open grain woods include:
- Red Oak: Known for its strong, distinctive grain and versatility. Excellent for rustic furniture or flooring.
- American White Ash: Offers a straighter, more uniform grain, often chosen for its subtle yet bold pattern.
- Zebrano: An exotic hardwood with wild, stripy patterns perfect for bold, decorative items.
Closed Grain Woods
In contrast, closed grain woods, such as maple and cherry, have smaller, tighter pores that aren't as visible. This gives them a smoother texture and a more uniform appearance. These woods grow more consistently, resulting in tight growth rings and less variability in the cell size and arrangement.
Closed grain woods are often preferred for projects requiring a sleek, polished look. Because of their small, uniform pores, they don't need as much preparation to achieve a smooth finish. This makes them ideal for furniture and cabinetry where a clean, modern look is desired. Closed grain woods also tend to accept finishes more evenly, allowing for more accurate staining and varnishing.
Popular closed grain woods include:
- American Hard Maple: Known for its straight, consistent grain. It's durable and ideal for high-use surfaces like countertops and flooring.
- American Cherry: Offers a rich, warm tone and fine grain, making it a favorite for elegant furniture and detailed carvings.
- Basswood: Nearly invisible grain pattern, making it great for painted projects or intricate carvings.
Workability
From a workability perspective, each type has its own perks and challenges. Straight grain, closed grain woods like maple and cherry are usually easier to cut and shape. They offer reliable results and are less prone to tear-out during machining, which makes them a dream for precision work.
Open grain woods require more care. Their larger pores increase the risk of splitting and tear-out, meaning you need to take your time. However, the effort can be worth it for the dramatic visual impact these woods can provide.
Choosing Between Open and Closed Grains
The decision between open and closed grain wood often comes down to the desired aesthetic and the practical needs of your project. If you're aiming for a textured, rustic look, open grain woods will fit the bill. But if your goal is a sleek, modern finish, closed grain woods are the way to go. Remember, the effort you put into preparing these woods will be visible in the final product, so choose accordingly to match your skill level and the project's demands.
"The beauty of wood lies not just in its color, but in the intricate patterns of its grain. Understanding these patterns is key to unlocking wood's full potential in any project." – Anonymous Woodworker
Cutting Methods and Grain Appearance
The way a log is cut affects the grain appearance, stability, strength, and workability of wood. Understanding these cutting methods can help you make informed decisions for your projects. Here are the main cutting methods and their characteristics:
Plain-Sawn (or Flat-Sawn)
This common, cost-effective method cuts logs parallel to the growth rings.
- Grain Appearance: Creates a "cathedral" or "flame" pattern.
- Stability: Tends to expand and contract more across the width, potentially leading to warping or cupping.
- Strength and Workability: Generally easy to work with due to straight grain.
Quarter-Sawn
Involves cutting a log into quarters lengthwise and then sawing each quarter perpendicular to the growth rings.
- Grain Appearance: Creates a straight grain pattern, often showing ray flecks in species like oak.
- Stability: More stable than plain-sawn wood, less prone to warping and cupping.
- Strength and Workability: Good strength, well-suited for precise joinery. More expensive due to lower yield.
Rift-Sawn
Cuts the log at a 30 to 60-degree angle to the growth rings.
- Grain Appearance: Produces the straightest, most consistent grain pattern.
- Stability: Extremely stable, ideal for projects requiring dimensional accuracy.
- Strength and Workability: High strength, less prone to warping. Requires careful machining.
Live-Sawn
Cuts straight through the log without turning, displaying a mix of plain, rift, and quarter-sawn grains.
- Grain Appearance: Variety of grain patterns on a single board.
- Stability: Moderate stability with mixed grain effects.
- Strength and Workability: Versatile but requires attention during finishing.
Practical Usage
| Cutting Method | Best Applications |
|---|---|
| Plain-Sawn | Large surfaces like tabletops and floors |
| Quarter-Sawn | Durable pieces like cabinetry and musical instruments |
| Rift-Sawn | Elegant, high-end applications |
| Live-Sawn | Projects highlighting wood's natural variability |
Choosing the appropriate cut can significantly impact your project's outcome in terms of stability, strength, and aesthetic appeal.
Grain and Wood Workability
Grain patterns influence the ease of cutting, shaping, and finishing wood. Understanding these patterns helps ensure smoother workflows and reduces errors.
Straight Grain
Straight grain wood, with fibers running in a consistent direction, is easier to work with. It's ideal for projects requiring tight joinery or precise machining, like cabinetry and tables. Woods like maple and oak offer smooth cutting experiences and require less effort in shaping.
Interlocked Grain
Interlocked grain, where wood fibers twist in opposite directions, poses more challenges. It's common in woods like sapele and mahogany. Working with interlocked grain requires:
- Slower, more cautious approach
- Sharp blades
- Higher angle on tool planes
- Shallower passes
Effects on Cutting and Shaping
Straight grain allows for cleaner cuts and better finishes. Interlocked grain can cause "grain tear-out," leaving rough surfaces. This is particularly problematic with power tools.
Finishing Considerations
Open grain woods with straight grain absorb stains evenly. Closed grain woods, especially with interlocked patterns, may reveal blotches or uneven coloration. Using a wood conditioner or sealer before finishing can help achieve a uniform appearance.
Tips for Success
- Use sharp tools to reduce tear-out and splintering.
- Make test cuts on scrap pieces, especially with interlocked grain.
- Work slowly for more control, particularly with interlocked grain.
- Align cuts with the grain when possible.
- Use grain fillers for open grain woods if a smooth surface is desired.
By considering grain patterns, you can improve both your workflow efficiency and the quality of your finished pieces. Choose woods wisely based on your project needs, keep your tools sharp, and stay attentive to the grain for successful woodworking.

Finishing Techniques for Different Grains
Mastering finishing techniques for different grains is crucial for a polished, professional look. Here's how to effectively finish open and closed grain woods:
Open Grain Woods (e.g., oak, ash, mahogany)
Using Grain Fillers
- Choose a filler matching the wood color or intended finish.
- Apply with a scraper, pressing into pores along the grain direction.
- Remove excess after drying.
- Sand smoothly with fine-grit sandpaper.
Applying the Finish
- Consider using a pre-stain conditioner to prevent blotchiness.
- Apply a sealant to lock in the filler and stain.
- Finish with a topcoat suitable for the wood and project use.
Closed Grain Woods (e.g., maple, cherry, birch)
Preparation
- Sand smoothly, progressing from 150-grit to 220-grit sandpaper.
- Apply a wood conditioner to ensure even stain absorption.
- Consider using a sanding sealer for a smoother final look.
Applying the Finish
- Apply stain evenly, wiping off excess to avoid blotchiness.
- Use a clear sealant as a base for the topcoat.
- Apply an appropriate topcoat for the wood and project function.
Tips for Success
- Apply thin, even coats of stain and finish.
- Lightly sand between coats with very fine-grit sandpaper.
- Use high-quality brushes or rags to avoid leaving bristles or lint.
- Allow adequate drying time between coats.
By understanding the needs of different grain types, you can adjust your techniques to ensure a smooth, professional-looking final product.

Understanding wood grain patterns can significantly impact your woodworking projects. Whether you're crafting a sturdy table or an intricate inlay, knowing your grains will help you achieve the best results. Keep this guide handy as you embark on your next carpentry challenge.
"The grain of the wood is nature's guide to the craftsman."