
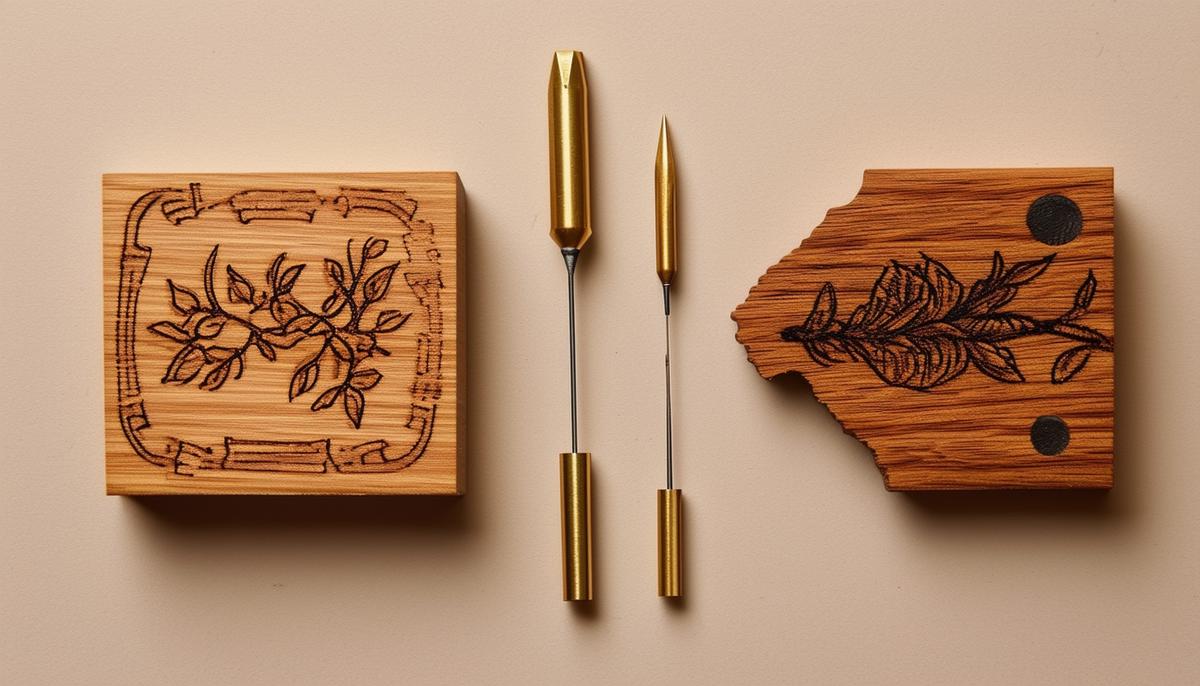
Choosing Your Wood Burning Tool
When selecting a wood burning tool, you have two main options: brass tip kits or wire tip kits. Each has its advantages and drawbacks.
Brass Tip Kits
Advantages:
- Budget-friendly and easily found in local craft stores
- Ideal for beginners and smaller, simpler projects
Drawbacks:
- Don't reach high temperatures quickly
- Slower burning speed
Brands to Consider:
- Truart: Offers single and double wand kits with multiple nibs
- Walnut Hollow: Their Versa Tool has adjustable temperatures
- Chandler Tool: Known for simplicity and durability
Wire Tip Kits
Advantages:
- Higher precision and heat
- Quick heating and consistent performance for detailed designs
- More variety in tips for different effects
Drawbacks:
- More expensive, often $200 or more
- Steeper learning curve
Brands to Check Out:
- Truart: Dual pen kit includes over 60 nibs
- Razertip: Known for excellent quality and customer service
Deciding Factors
| Factor | Recommendation |
|---|---|
| Usage Frequency | Occasional use: Start with brass Serious pursuit: Invest in wire tip |
| Project Type | Simpler projects: Brass tips Intricate work: Wire tips |
| Budget | Limited funds: Brass tips Larger budget: Wire tips |
Your choice depends on your needs, projects, and budget. Pick one and start your wood burning adventure!
Preparing Your Wood
Choose light-colored, smooth, and knot-free wood like basswood, birch, or maple for best results. Light woods create better contrast with burn marks.
Selecting Your Wood:
- Basswood: Lightweight, fine-grained, excellent for beginners
- Birch: Often available as plywood, provides a solid, smooth surface
- Maple: Great for experienced wood burners, beautiful grain
Avoid treated, stained, or high-sap woods. Pine or cedar produce uneven burns and toxic fumes.
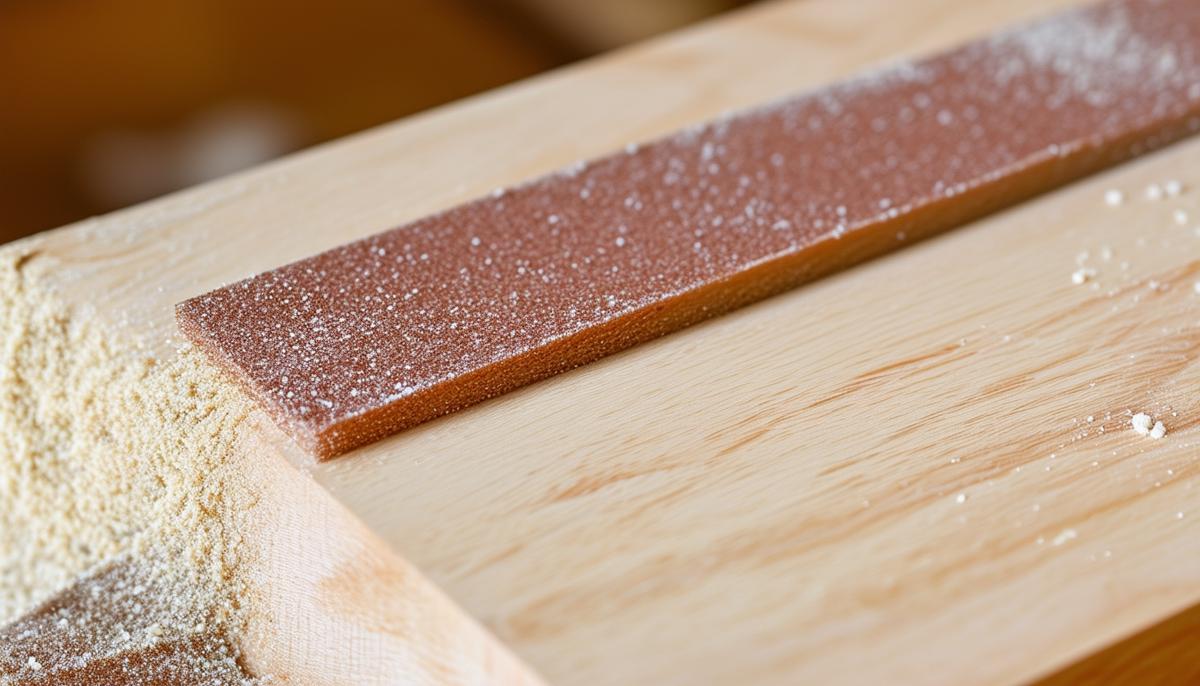
Sanding Is Key:
Use fine-grit sandpaper (around 220-grit) to create a smooth, even surface. This helps achieve cleaner, crisper burns and gives you more control.
Avoiding Pitfalls:
- Knots: Can be unpredictable and lead to uneven burns
- Sap: Can gum up your tips and cause irregular burns
- Treated Woods: Produce toxic fumes and make consistent burns difficult
Safety First:
Ensure good ventilation, wear protective gloves and a mask. These steps are essential for safe and productive wood burning.
Final Prep:
Wipe your prepared wood with a damp cloth to remove dust before burning.
Basic Pyrography Techniques
Mastering the basics of pyrography creates a solid foundation for more complex projects. Start by practicing simple strokes on scrap wood without pressure.
Basic Techniques
Fine Lines:
Hold the pen at about 45 degrees and move slowly. The lighter you press, the finer the line. Practice straight lines, curves, and shapes.
Shading:
Use your pen in a circular motion, lightly touching the surface. Start with larger, gentle circles and gradually decrease the size as you layer.
Dotting (Stippling):
Touch the pen tip to the wood and pull away quickly to create small dots. This technique works well for textures like fur or rough surfaces.
Varying Pressure:
Light pressure makes subtle marks, while heavier pressure produces darker burns. Practice applying different pressure levels.
Practice Tips
- Get comfortable with your tool and materials before starting a project
- Take your time; slow, controlled movements yield the best results
- Combine techniques to explore how they work together
- Observe how different woods react to heat and pressure
Investing time in these basic techniques builds a strong foundation for your wood-burning journey. With practice, your burning will become more intuitive and fluid.

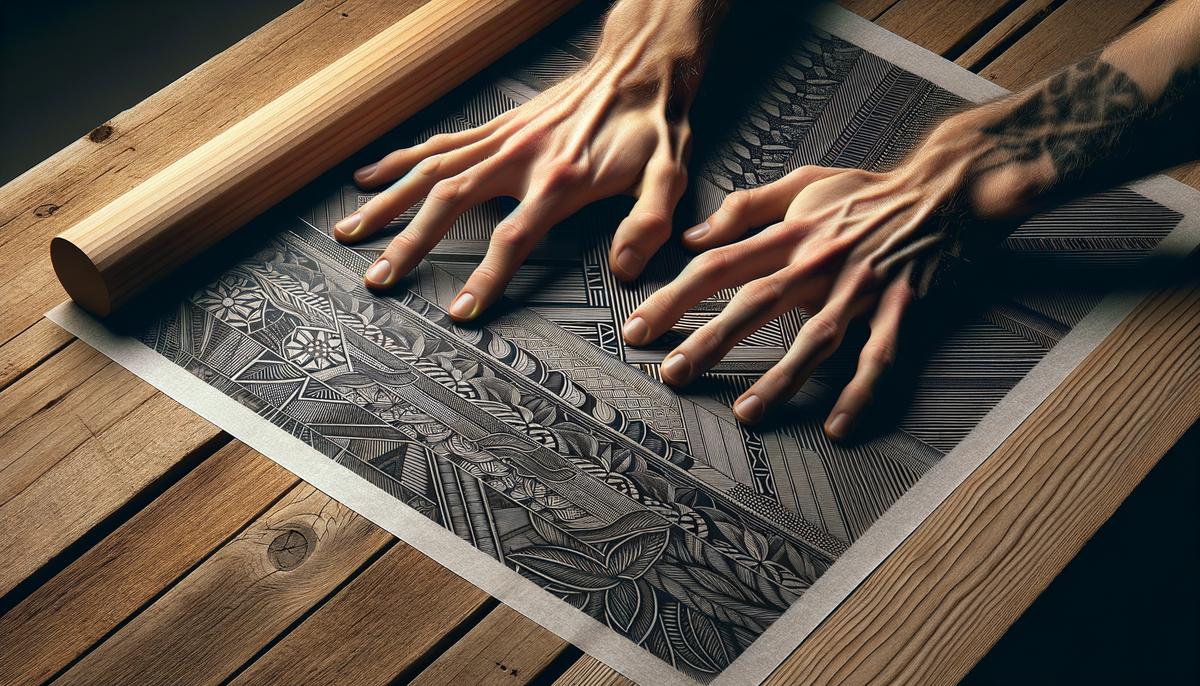
Transferring Designs
You can sketch directly onto the wood or use transfer paper for pre-drawn designs.
For freehand sketching, lightly draw your design using a soft pencil. Keep lines faint because burned pencil marks are hard to erase.
For using transfer paper:
- Prepare Your Materials:
- Graphite transfer paper
- Printed design
- Painter's tape or masking tape
- Stylus or ballpoint pen
- Position Your Design:
Place the transfer paper, graphite side down, on your wood. Position your printed design over the transfer paper. - Secure in Place:
Tape the edges to prevent shifting while tracing. - Trace the Design:
Using a stylus or ballpoint pen, carefully trace over the design lines. Apply enough pressure to transfer the graphite but avoid pressing too hard. - Check the Transfer:
Before removing the paper entirely, lift one edge to check if the design transferred correctly.
Tip: Practice using various designs and transfer methods on scrap wood to build confidence and skill.
Taking time during this stage can significantly improve your project's final outcome.
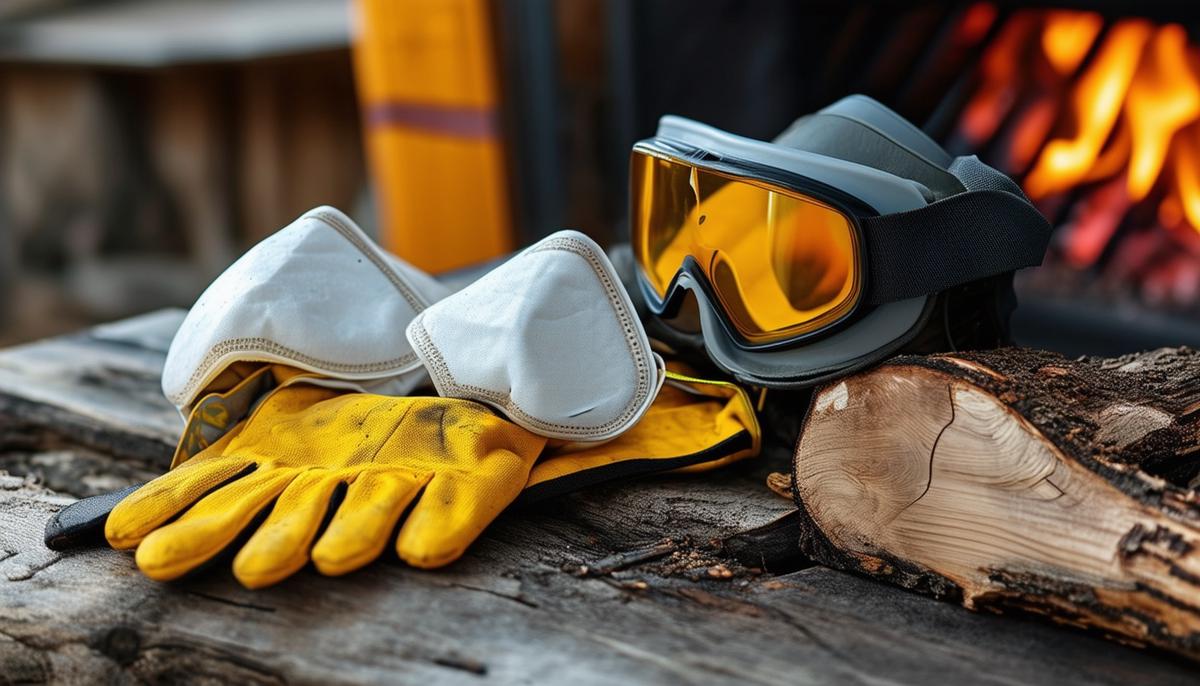
Safety Gear and Precautions
When dealing with high temperatures, safety is crucial. Always work in a well-ventilated area to prevent inhaling potentially harmful fumes. A small fan near an open window can help dissipate smoke and fumes effectively.
Essential safety gear includes:
- Respiratory mask
- Safety goggles
- Heat-resistant gloves
- First aid kit
Proper tool handling is vital:
- Use the provided stand or holder consistently
- Place the tool back in its stand immediately after use
- Switch off and unplug when not in use
- Maintain a loose but controlled grip
Remember: heat does the work, not pressure. Let the heat guide your movements.
Keep your workspace tidy and free from flammable materials. Wood shavings, paper, and cloth rags can quickly become fire hazards if they contact a hot pen.
Incorporating these safety precautions into your wood-burning routine is essential for creating a safe and productive environment.
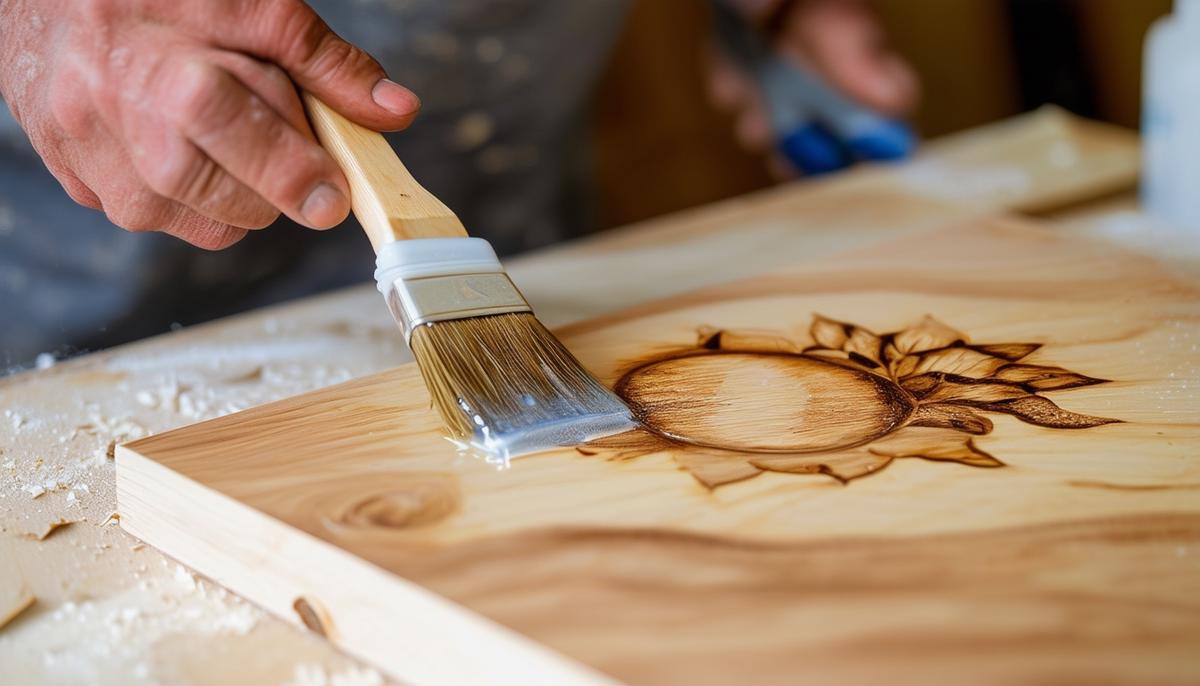
Finishing and Sealing Your Art
Once you're satisfied with your burnt design, seal and finish your artwork to preserve its quality. This process enhances the visual appeal and protects it from cracking and fading over time.
Preparation:
Clean the surface thoroughly with a soft, dry cloth to wipe away any residual ash or dust. A clean surface ensures your sealant will adhere properly.
For Food-Safe Pieces:
Use food-safe wood oil. Apply generously with a clean, soft cloth, rubbing in the direction of the grain. Let it soak for at least 20 minutes, then wipe off excess.
For Decorative Pieces:
Choose between clear varnish or spray sealer:
- Clear Varnish:
- Choose a high-quality, non-yellowing polyurethane
- Apply with a clean brush, following the wood grain
- Allow first coat to dry completely
- Lightly sand and apply a second coat
- Spray Sealer:
- Hold can about 12 inches from the surface
- Spray in a steady, sweeping motion
- Apply 2-3 thin coats, allowing drying time between each
Pro Tip: Regardless of method, apply sealant in thin, even layers for a smooth, protective finish without tackiness or uneven texture.
By sealing your wood-burning projects, you create a protective barrier that maintains the integrity and beauty of your art.
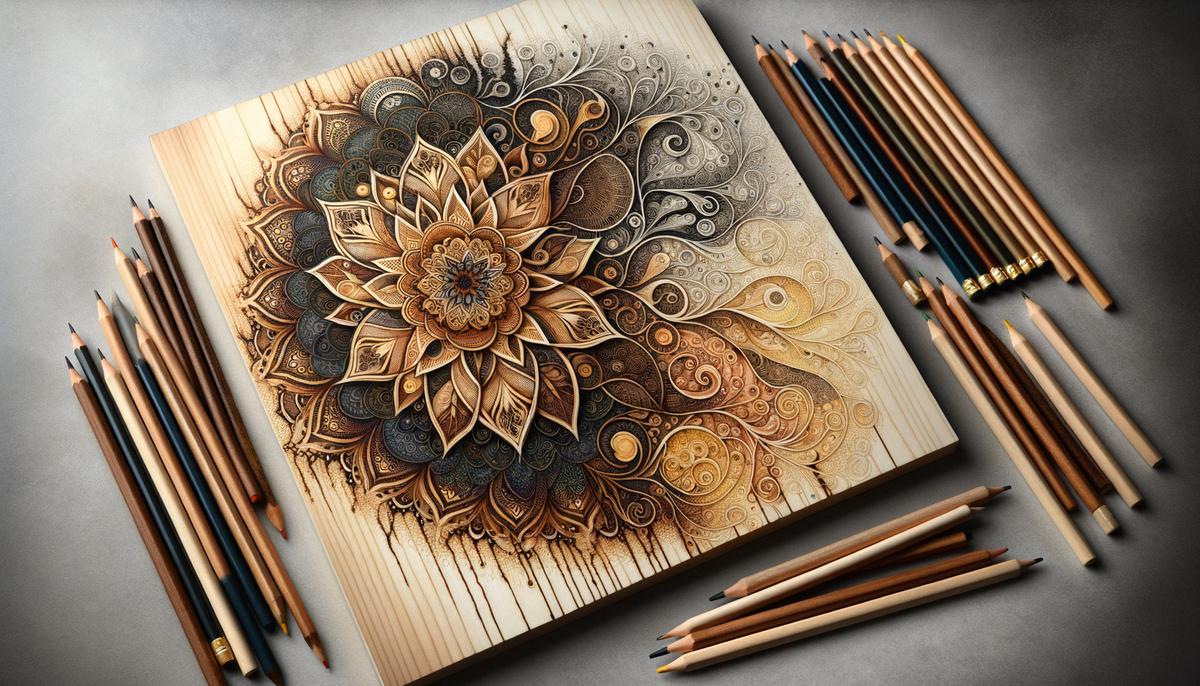
Experimenting with Mixed Media
Adding elements like paint, colored pencils, or gold leaf can elevate your wood-burned art. Always burn your design before adding additional materials to prevent unwanted reactions or hazardous fumes.
Popular Mixed Media Options:
- Acrylic Paint:
Versatile and quick-drying. Use fine brushes for details and broader brushes for larger areas. Try techniques like dry brushing or layering for different textures and effects.
- Watercolor Paint:
Requires more finesse. Seal the wood first with a primer or clear gesso. This preparation allows you to build up layers without the paint bleeding into unwanted areas.
- Colored Pencils:
Offer excellent control for adding fine details and subtle shading. Work well on smooth, fine-grain woods. Start lightly and build up color gradually. Blend colors directly on the wood or use a colorless blender to soften edges.
- Gold Leaf:
Adds striking contrast. Apply an adhesive specifically designed for gold leaf, then carefully lay down the leaf and gently press it onto the wood.
"Combining media opens up numerous artistic possibilities, allowing you to bring added vibrancy and texture to your wood-burned pieces."
Safety Note: Ensure paints, adhesives, or other materials are safe for wood and won't release toxic fumes if accidentally reheated.
Whether you're a beginner or looking to enhance your skills, these steps will help you create beautiful and lasting wood-burned art. Happy burning!