
Building the Foundation
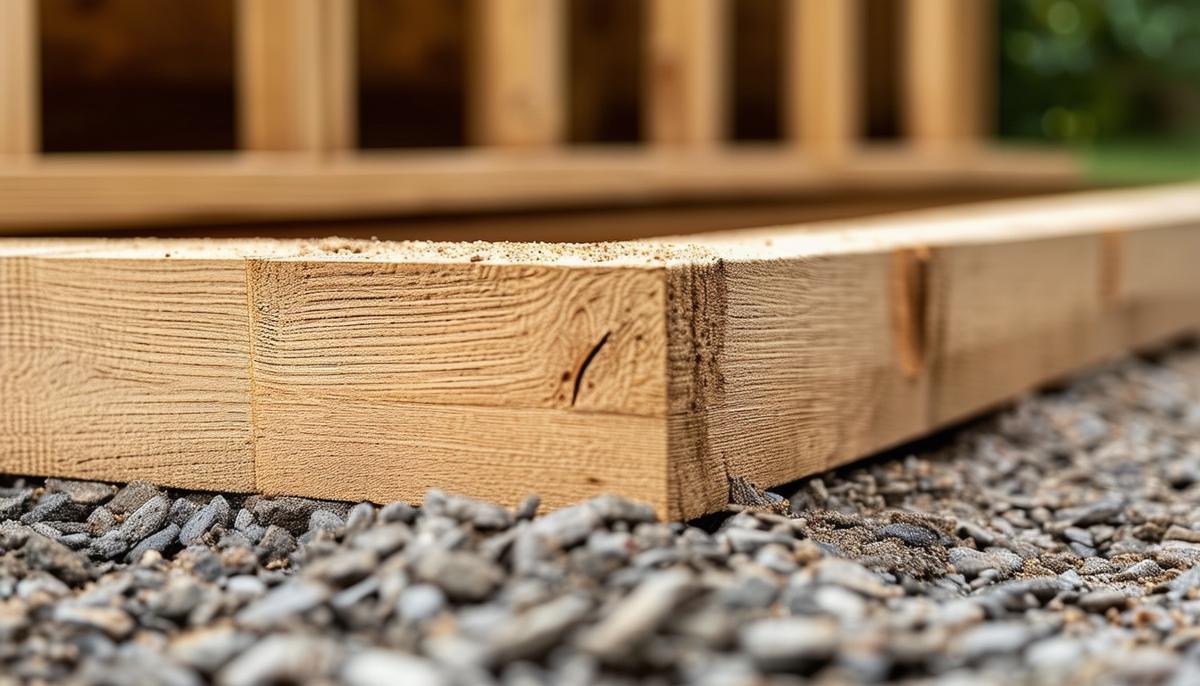
Cut treated 6×6 lumber to 12 feet. Place your cut 6x6s on the gravel, making sure they are centered with the outside edges 6 feet apart. Cover it all with treated 3/4-inch plywood to set the stage for your wall build.
Now, for constructing your end walls. Nail together the perimeter and add the center stud. Measure from this center stud to mark for the remaining studs. Use chalk lines for guidance.
When attaching flashing over the siding seam, nail your siding to the walls before raising them up. To keep water out, cover the horizontal seams with metal Z-flashing.
Align the bottom plate with a chalk line. Snap chalk lines on the plywood deck, 3-1/2 inches from the platform edges, to indicate the inside edge of the walls. Measure to make sure the lines are parallel and 89 inches apart. Chalk a line down the center to ensure the angled top plates align in the center. Snap lines for the peak, too. Fit 2x4s inside the lines and toe-screw them to the plywood. This locks them in place while you fill in the center studs and nail on the siding. Make sure the siding overhangs the framing on each side by 3-1/2 inches. Trim the top corner to follow the slope of the angled top plate.
For the roof frame, start by cutting out the rafters using a pattern. Skip the bird's-mouth for four rafters and use these at the ends. Cut the 2x4s for the ridge and subfascia to length. Mark the rafter positions on them. Line up the rafters with the marks and secure them with 16d nails through the ridge and subfascia.
To install the soffits, line up the subfascia with the chalk line on the platform and tack it with toe screws to keep the frame straight. Nail the soffit to the roof frame with 6d galvanized box nails.
Stand and nail the walls in place, starting with the back wall. Add the sides and front. Nail each wall to the platform as you go, locking the corners together by nailing through the overhanging siding.
To lift the roof into place, slide roof panels until the bird's-mouths drop over the wall's top plate. Align the 2×4 ridge with the peak of the wall. Secure roof panels with a pair of toenails through each bird's-mouth into the top plate of the wall. Complete the roof framing by nailing the 2×4 ridges together and adding two 2×4 collar ties, 4 feet apart.
Mark the gable end trim for the brackets by cutting the trim a little long and cutting the top angle. Tack it up parallel to the end rafter and mark the bracket notch.
Assemble the door frames next. Glue and clamp them to make a 1-1/2-inch-thick door. Use pocket screws to assemble each frame.
Install wood stops to hold the Plexiglas in place by setting the plywood and Plexiglas insert in the door's recessed area. Nail wood stops around the perimeter to hold them in place.
To route the door hinges, clamp the door and trim together before routing. Make sure the trim piece extends 1/8-inch above the door's top before clamping.
Attach the door trim by centering the door on the opening and screwing through the trim. Support the door with a temporary 2×4 screwed to the platform, then attach the opposite side trim and finally the top.
Build the door using two layers of 3/4-inch-thick boards that overlap at the corners for strength. Rip 1×6 boards to 4-1/2 inches for the outside layer. Complete the door frame. Cut the 4×8-foot grooved plywood to fit the lower recess and a piece of 1/4-inch acrylic sheet for the upper recess. Secure them with 1/2-inch x 1/2-inch moldings nailed to the inside. Sand the door edges flush.
Hang the door by using a hinge-mortising bit or a sharp chisel to cut the hinge recesses. Screw the hinges to the door and trim. Mount the door to a 1-1/2-inch-thick trim piece and screw the trim to the wall. Finish by adding the top and side trim pieces.
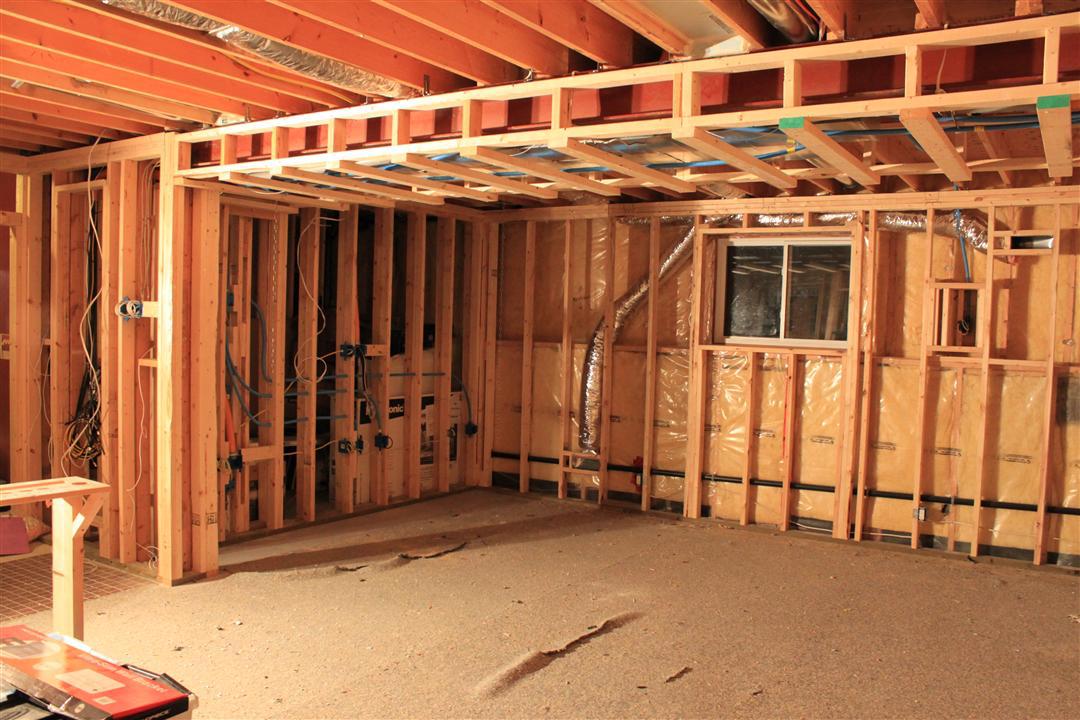
Assembling the Wall Frame
Nail together the perimeter first, making sure each piece is firmly attached. This strong foundation is crucial for the rest of the wall assembly.
Add the center stud to the frame, ensuring it's perfectly aligned. This central point will help guide your measurements for the remaining studs. Measure from the center stud to mark the positions for the other studs on the top and bottom plates.
Use chalk lines to keep everything straight. Snap lines on the bottom and top plates to properly align the studs. This step is vital – a well-aligned wall frame means a sturdier structure that will be able to withstand external forces more effectively.
As you place each stud, check for plumb and alignment. Use a carpenter's level to make sure your studs are perfectly vertical. Secure each stud to the top and bottom plates with nails, starting from the center and working your way out.
Toe-nailing can be particularly helpful here. By driving nails at an angle through the stud into the plate, you provide additional strength to the joints. This technique is especially useful in areas where space is tight or where extra support is needed.
Once all the studs are in place, reinforce the connections with additional nails, especially at the critical joints. This redundancy ensures that the frame is as strong and stable as possible.
Constantly check your work with a level and measure diagonals for squareness. Adjustments are easier to make during the assembly phase than later on.
Squaring and Siding the Walls
Squaring and siding your walls is the next important step. Start by squaring the walls on any flat surface, ideally the shed platform itself. To do this:
- Measure diagonally from corner to corner.
- If both diagonal measurements are equal, your wall is square.
- If not, adjust the walls by shifting the framing until the measurements match.
This ensures your walls are perfectly square and ready for the next steps.
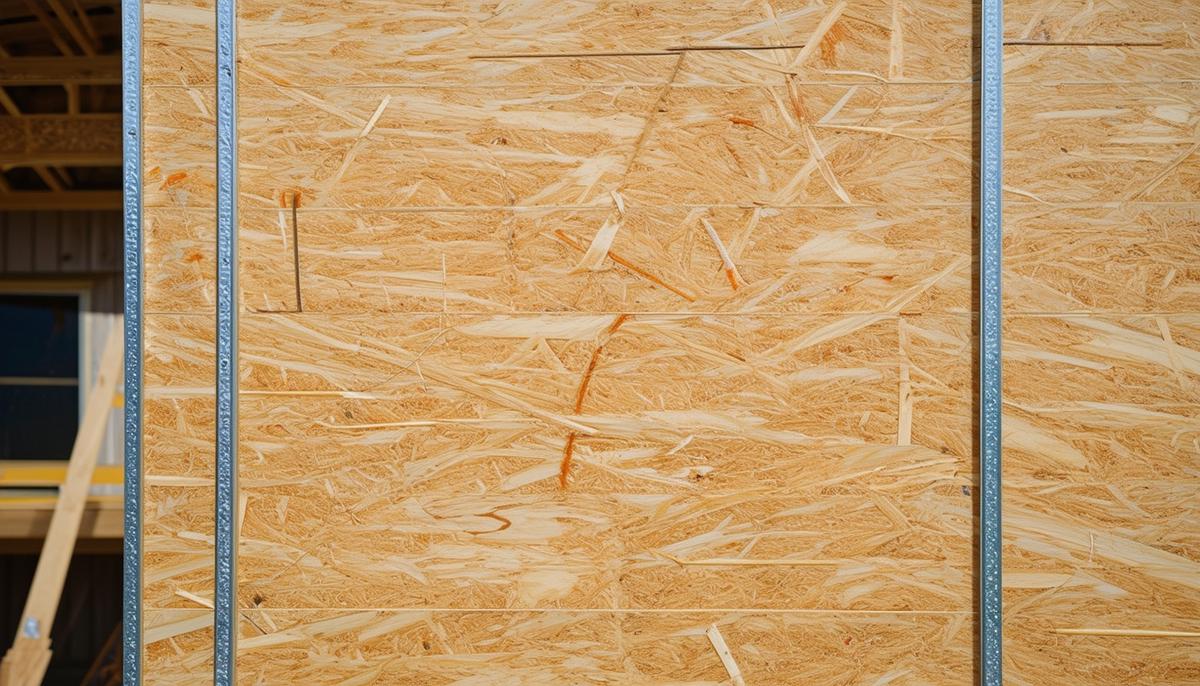
Once squared, it's time to sheathe the walls. Lay your OSB or plywood sheets flat against the frame. Start from one corner and work your way across, ensuring each sheet is flush with the edges of the frame. Secure the sheathing with 6d galvanized box nails, spaced about 6 inches apart around the edges and 12 inches in the field. This nailing pattern provides the necessary strength and stability for your walls.
Make sure your sheets overhang the framing by 3-1/2 inches on each side. This overhang helps with the alignment when you stand the walls up later. Continue adding sheets until the entire wall is covered. Remember to cut out any openings for windows or doors as you go along, using a saw to accurately follow your marks.
Now, cover the seams between the sheathing sheets with metal Z-flashing. This step is essential for keeping water out and ensuring durability. Align the flashing over each seam, and nail it into place with your 16d nails. The Z-flashing directs water away from the cracks, preventing damage over time.1
In summary, carefully assembling your wall frame, squaring it, and siding it properly sets the stage for a sturdy shed. Paying attention to these details ensures your structure will stand strong for years to come.
- Lstiburek, J. W. (2006). Water Management Guide. Building Science Press.