
Starting a trim project can seem daunting, but with proper preparation and approach, it becomes manageable. Let's walk through the steps to make your trim work look professional and polished.
Preparing the Work Area
Clear the room and stack furniture out of the way to create a clear path for your trim work. Clean the walls with a damp cloth to remove dust and dirt that could interfere with adhesives.
Check that your walls are level using a level placed horizontally and vertically. Note any particularly uneven areas for planning purposes.
Organize your workspace with easy access to tools like your saw and nail gun. Ensure you have adequate lighting to see where you're cutting and nailing.
- Place a drop cloth on the floor to help with cleanup later.
- Inspect your trim pieces for any warps or defects before beginning.
- Mark and measure everything, using a pencil to make small marks where each piece of trim will go.
- If installing multiple types of trim, label wall areas to avoid mistakes.
Prepare your tools by aligning saw blades, loading the nail gun, and checking level settings. Set up a cutting station, preferably outside or near a window for ventilation.
Keep caulk and filler handy for sealing gaps or seams. Have a trash bin ready for waste disposal to keep your workspace tidy and reduce tripping hazards.

Photo by dancristianpaduret on Unsplash
Selecting the Right Trim
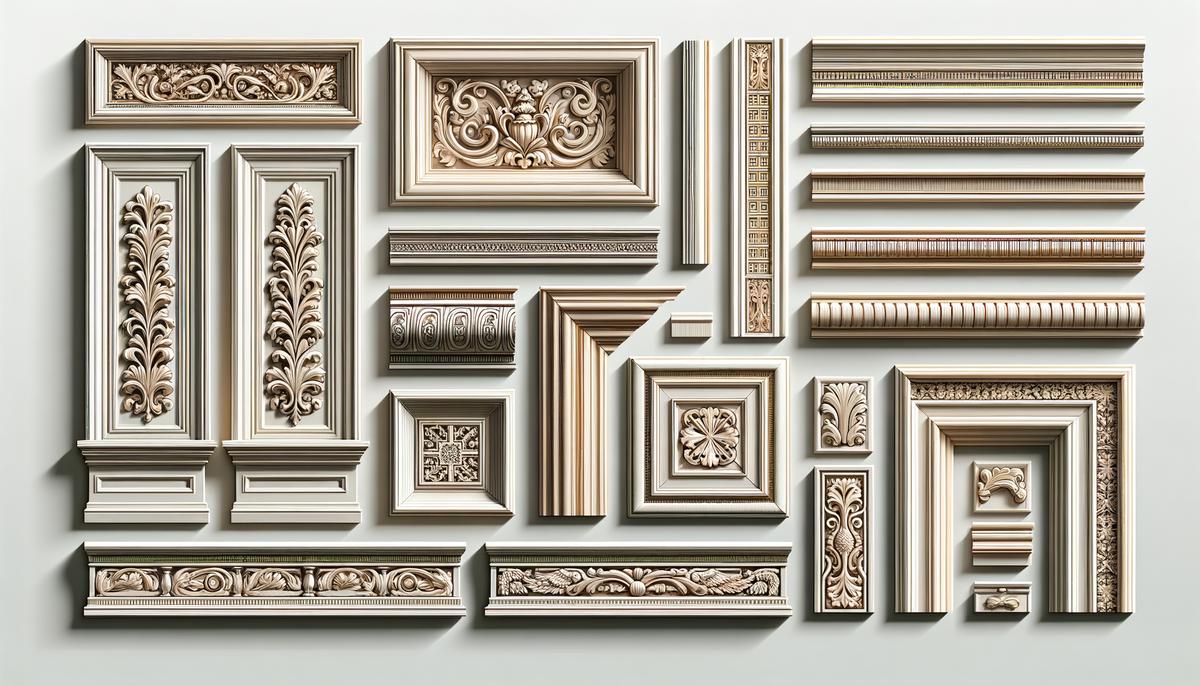
When selecting trim, consider different types to suit your needs and room aesthetics:
- Baseboards: Protect walls from scuffs and provide a finished look where walls meet floors. Choose heights between 3 to 5 inches, or taller for a dramatic effect.
- Crown Molding: Adds elegance at the wall-ceiling junction and can make a room appear taller. It's more intricate and may require custom cuts.
- Chair Rails: Run horizontally across walls, usually about three feet above the floor, to prevent chair damage and add visual appeal.
- Wainscoting: Covers the lower portion of walls, adding protection and charm. Comes in various styles like beadboard or flat panel.
Material options include:
| Material | Pros | Cons |
|---|---|---|
| Wood | Luxurious, natural appearance | Susceptible to moisture and warping |
| MDF | Versatile, cost-effective, takes paint well | Can swell if wet, best for dry areas |
| PVC | Moisture-resistant, low-maintenance | May lack natural wood aesthetic |
Consider how you want to finish the trim – paint or stain. Softwoods and MDF work best with paint, while hardwoods like oak or cherry shine when stained. Choose based on your room's aesthetic, budget, and functionality needs.
Measuring and Cutting the Trim
Start with accurate measurements from inside corner to inside corner. Mark your trim pieces with a pencil, slightly beyond your measured length for adjustments.
Use a compound miter saw for precise, angled cuts. Set it to the correct angle (typically 45 degrees for corners) and double-check your settings. Hold the trim firmly against the saw's fence, aligning the blade with your pencil mark.
"Measure twice, cut once" is the golden rule of trim work. Precision in your measurements and cuts will save time and materials in the long run.
For corner joints, cut one piece at a 45-degree angle (cope cut) and cut a matching piece to fit. This creates a snug fit that hides imperfections.
When working with crown molding, refer to a crown molding chart for correct angles. Remember to position the molding against the saw at the correct angle relative to the wall and ceiling.
Dry fit your pieces before installation to ensure proper fit at corners and edges. Label cut pieces according to their position on the wall for easier installation.
Keep your workspace organized and verify your cuts. Patience and precision now will lead to a professional finish later.

Installing and Finishing the Trim
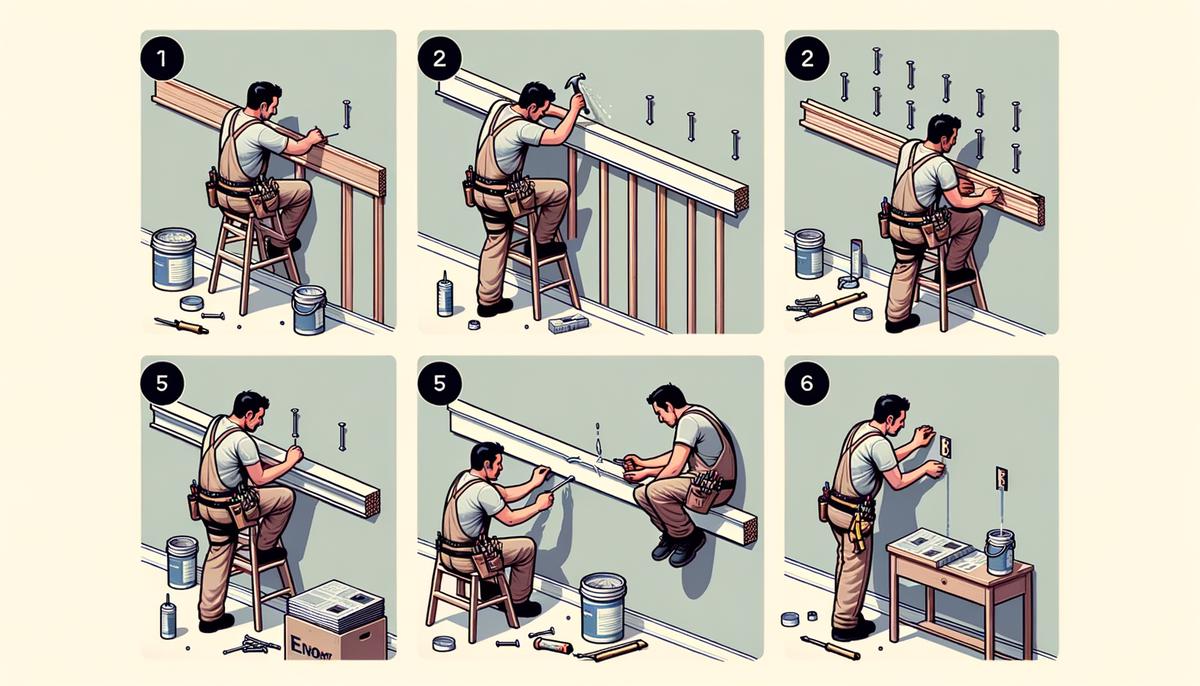
- Start with baseboards, lining up your first piece with the wall marks.
- Use a nail gun with 16-gauge finish nails for heavier pieces and 18-gauge brads for lighter trim.
- Space nails about 8-10 inches apart, aiming for studs when possible.
- For crown molding, hold it at the correct angle against both wall and ceiling before nailing. A helper can be useful, especially with longer pieces.
After installation, fill nail holes with wood filler. Once dry, sand smooth with a fine-grit sanding sponge. Use caulk to fill gaps where trim meets walls or ceilings. Apply a thin bead and smooth with your finger or a caulk tool.
For painting, apply primer first, then at least two coats of paint, allowing each to dry thoroughly. If staining, apply a pre-stain wood conditioner, then brush or wipe on your stain. Follow up with a clear coat for protection.
Your trim work now adds visual appeal and ties the room together, creating a finished and cohesive look.
With careful planning and attention to detail, you've transformed your space with elegant trim work. The effort you put into measuring, cutting, and installing pays off in a refined finish that truly stands out. Remember, proper trim installation can increase a home's value by up to 5%1, making it a worthwhile investment in your property.
- National Association of Realtors. Remodeling Impact Report. 2019.