
Woodworking demands attention to detail and a methodical approach. Whether sanding, staining, or finishing, each step plays a crucial role in your project's outcome. Understanding these processes can elevate your work from amateur to professional quality.
1. Hand-Sand the Curves
Sand curved surfaces and areas an electric sander can't reach by hand. Use the same progression of sandpaper grits for both hand and power sanding:
- Start with 80-grit to remove blemishes
- Progress to 120-grit
- Finish with 180-grit
While these exact grits aren't vital (100-150-180 works too), it's important to progress in steps, removing deeper scratches and leaving finer ones each time.
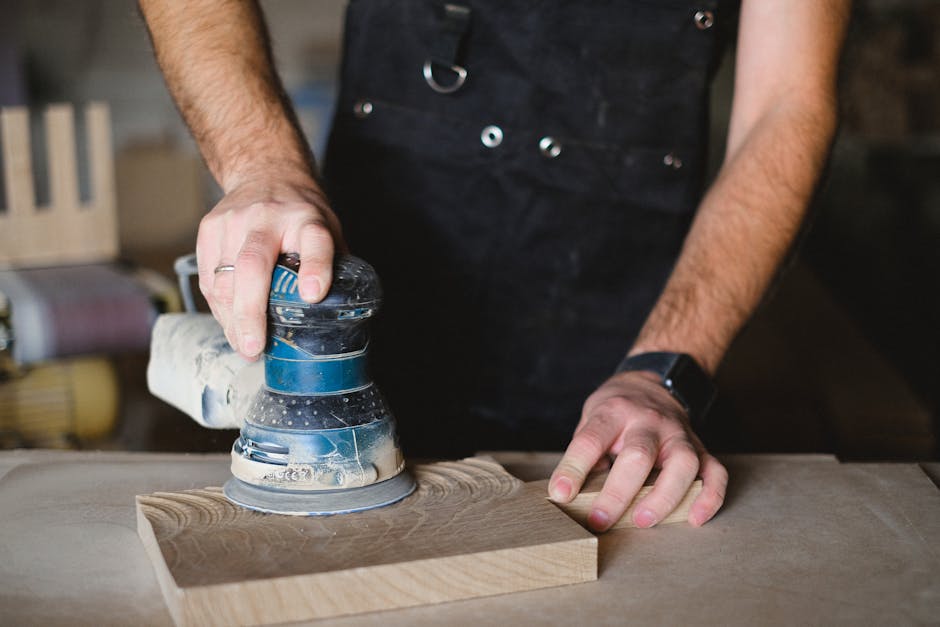
2. Sand Without Scratches
Use a random orbital sander for nearly invisible scratches. Move slowly—about 1 inch per second—and apply light pressure. Rushing or pressing too hard will result in swirl marks. Take your time and let the sander do the work for a cleaner, scratch-free finish that will enhance your project.
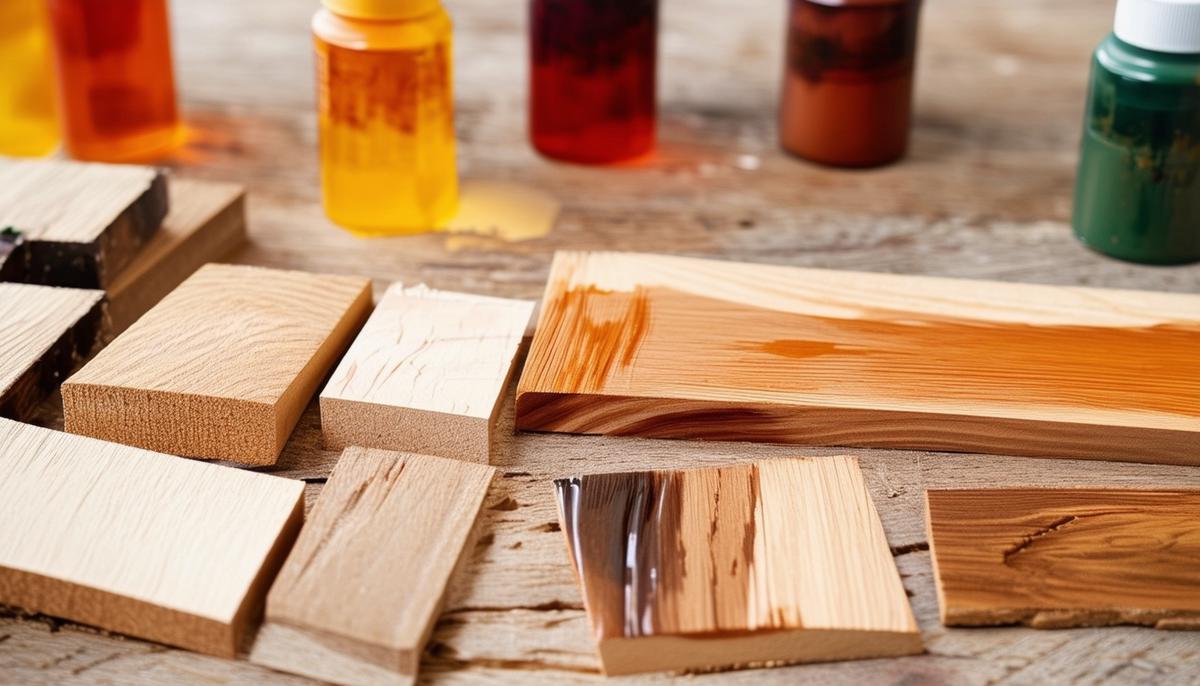
3. Test Stains Thoroughly
Always test stains on scraps from your project that have gone through the same sanding process. This ensures accurate results. Color can vary depending on wood type, grain, sanding, and application method. Don't rely solely on store samples—they can be misleading.
If you don't have scraps, test on an inconspicuous area like the underside of a table or back of a cabinet.
This way, you can assess the color without compromising your project's appearance. Taking time for these tests can prevent costly mistakes and ensure your project turns out as envisioned.
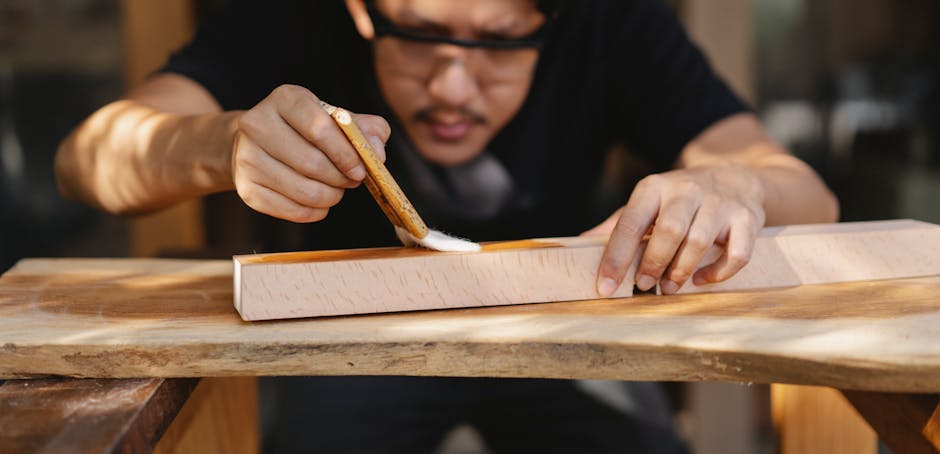
4. Apply Water-Based Finishes
Water-based finishes can maintain the wood's natural look and prevent the heavy amber tint of oil-based finishes. Sherwin Williams CAB-acrylic lacquer is a good choice, drying "water-white" to preserve the wood's inherent color1.
To achieve a professional, natural look:
- Avoid building up a thick film
- Apply thin, even coats following the wood grain
- Let each coat dry completely before the next
- Lightly sand with fine-grit paper between coats for a smooth finish
Remember: Test your chosen finish on scrap pieces first to fine-tune your technique and achieve the desired look.
5. Repair Surface Flaws
Address surface flaws like scratches, glue residue, and tearout before finishing. These issues can ruin your piece's appearance if left unchecked.
Scratches:
Use P220-grit wet-or-dry sandpaper to re-sand affected areas. Severe scratches may require working through a progression of grits. For persistent scratches, a chisel can help even out the surface.
Glue Residue:
Check for glue residue by wiping the wood with mineral spirits. Use a sharp chisel to remove dried glue from joints, and wrap sandpaper around a hard block to sand away residue without scratching adjacent surfaces.
Tearout:
Re-sand or lightly plane the affected area until smooth. Significant divots may need filling with wood fill sticks or wax crayons.
Addressing these flaws sets you up for a professional-quality finish, enhancing both the visual appeal and durability of your project.

- Flexner B. Understanding Wood Finishing: How to Select and Apply the Right Finish. Fox Chapel Publishing; 2010.