
Woodworking techniques blend tradition with innovation to create functional and beautiful pieces. From sturdy joinery to intricate inlay work, each method brings its own set of skills. Understanding these techniques can elevate your projects, adding both strength and aesthetic appeal.
1. Mortise and Tenon Joinery
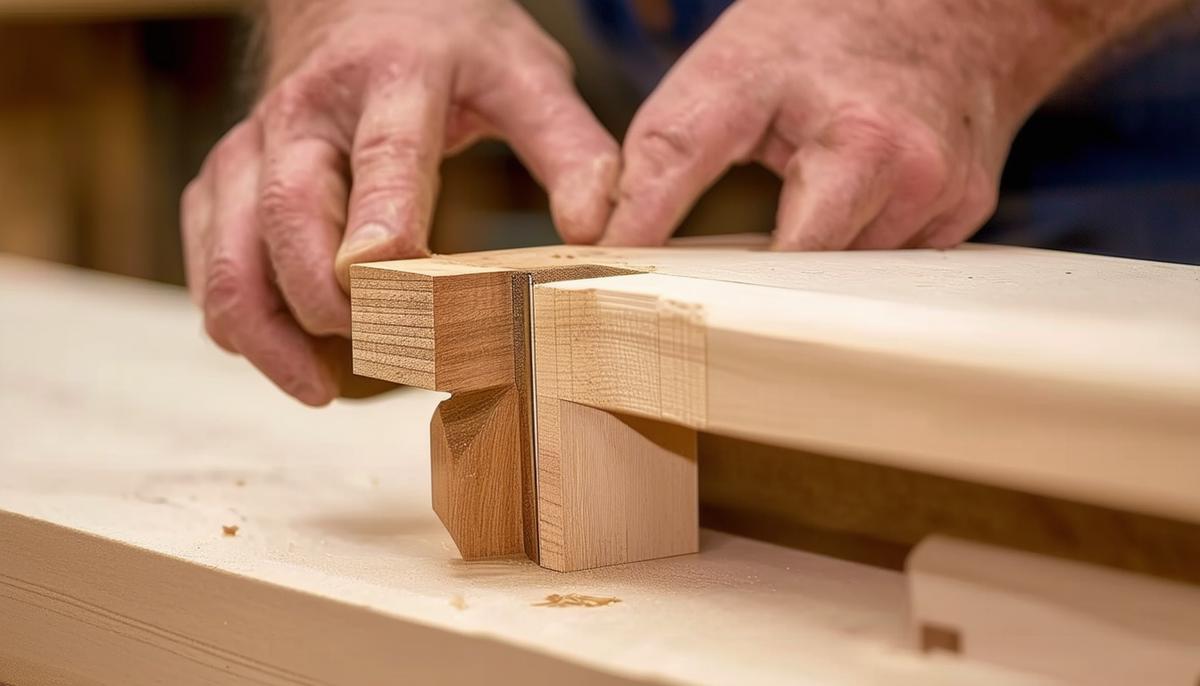
Mortise and tenon joinery is a cornerstone in advanced woodworking, offering a strong joint for furniture and timber framing. This technique joins two pieces of wood by inserting a tenon into a mortise, creating a secure connection.
Precision is essential when cutting the tenon and mortise. A tenon saw or band saw works well for tenon cuts, while a chisel and mallet handle the mortise. Start by marking the outline on the wood, using a marking gauge for consistent depth and width. Cut the tenon shoulders first, then the cheeks. Clean the mortise with a chisel, ensuring it's straight and uniform.
Wood grain direction and species affect the joint's performance. For intricate projects, create a test joint with scrap wood to check measurements. Practice helps hone the skill of fitting the tenon snugly into the mortise without gaps.
The mortise and tenon joint is ideal for:
- Door frames
- Tables
- Chairs
When used with adhesives and clamps, it enhances joint strength and longevity. Proper alignment during assembly ensures precise fit, avoiding any misalignment that could compromise the structure.
Mastering this technique requires diligent practice and attention to detail. Achieving a perfect fit translates to creating durable, visually appealing furniture that stands the test of time.
2. Dovetail Joinery
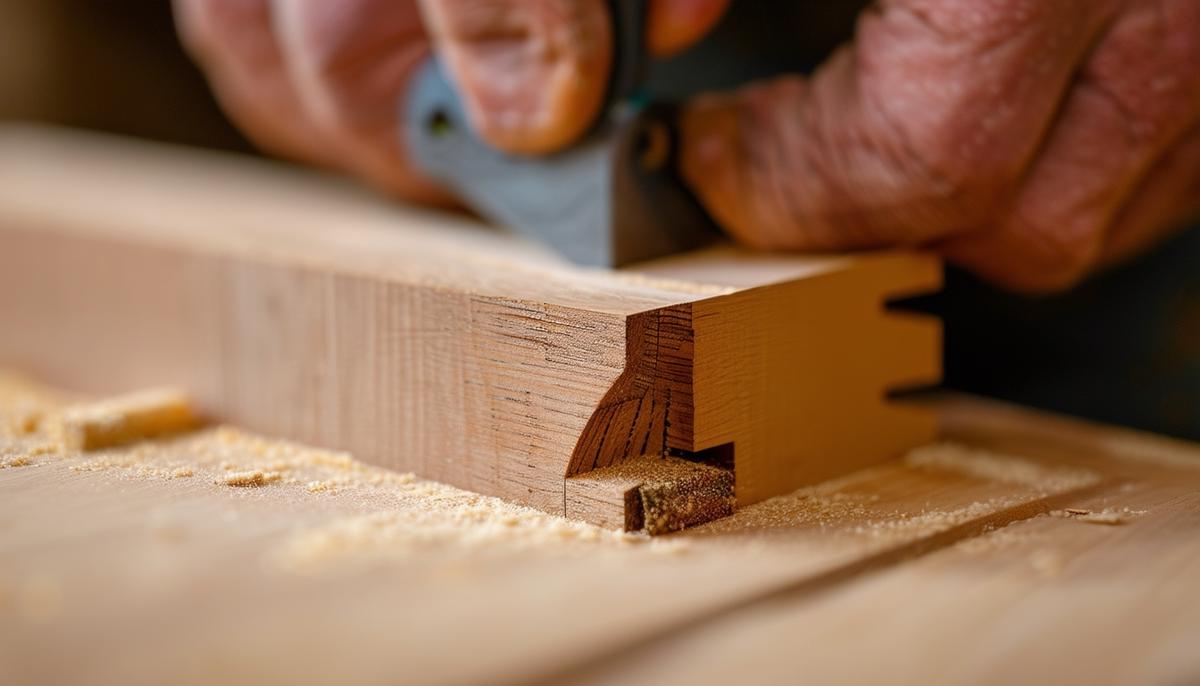
Dovetail joinery is known for its combination of strength and aesthetic appeal. This technique involves interlocking pins and tails, cut at matching angles, which fit together like puzzle pieces. The result is a joint that offers incredible durability and adds elegance to furniture.
Hand-cutting dovetails with a dovetail saw and chisel provides the greatest control over precision and fit. Start by marking out the tails on one piece of wood. A dovetail marking gauge or template can help maintain consistent angles. Use the tails as a guide to mark the pins on the mating piece.
When sawing, focus on maintaining a steady hand and straight lines. After cutting the tails, remove the waste with a chisel, working carefully to avoid damaging the wood fibers. The pins require greater accuracy for a perfect fit.
For those who prefer a mechanical approach, dovetail jigs used with routers can speed up the process and ensure consistent results. These jigs hold the wood in place and guide the router to cut precise angles for both tails and pins.
"A well-crafted dovetail joint not only reinforces the structure but also showcases the craftsman's skill, making it a true testament to woodworking artistry."
Dovetail joints are commonly found in:
- Drawers
- Boxes
- Cabinets
- Other casework
Start practicing with softer woods before moving on to hardwoods. Fine-tune your technique through numerous test joints until you achieve that seamless interlock with just the right amount of friction.
3. Veneering
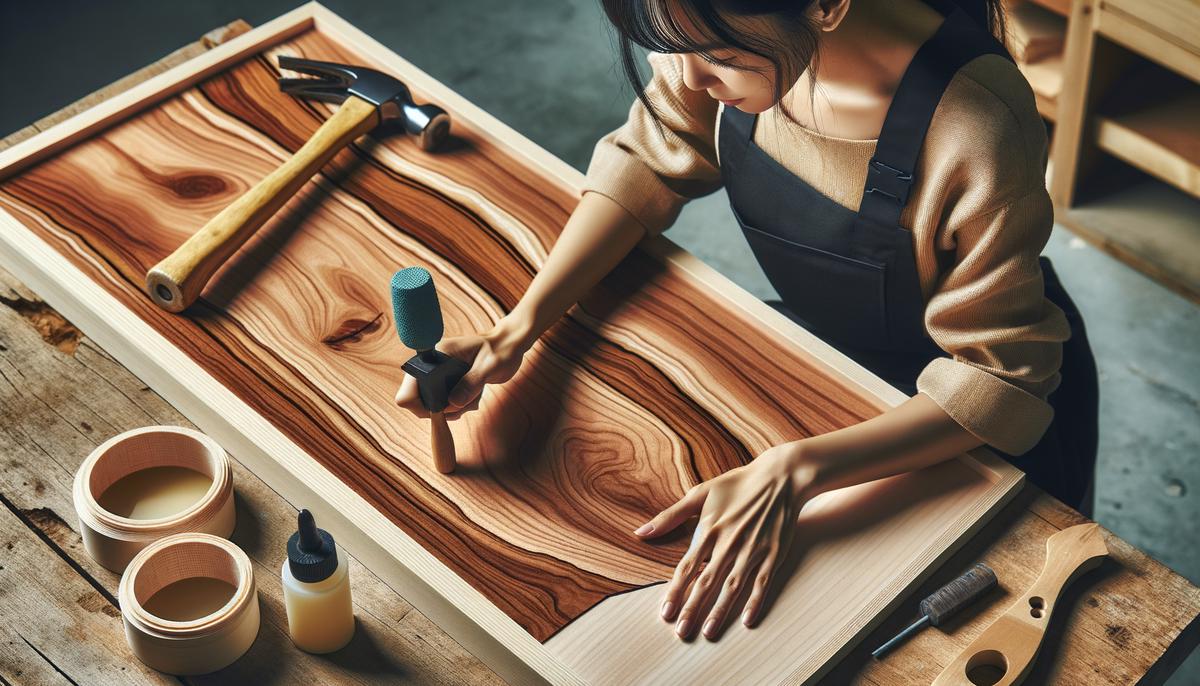
Veneering enhances the appearance of woodworking projects by covering a solid piece with thin slices of decorative wood. It's an excellent way to incorporate intricate patterns and superior wood grains that might be too costly to use in solid form.
Selecting the right veneer is crucial. Consider how the wood species will complement the underlying piece. The surface receiving the veneer must be smooth and clean—any imperfections can show through the thin layer. Sand the surface to remove bumps and ensure it's level.
Layout the veneer, aligning the grain to create the desired pattern. Techniques like bookmatching or slip-matching can create symmetrical, mirrored patterns that transform an ordinary piece.
Apply adhesive uniformly to both the veneer and the substrate. Modern woodworkers often prefer contact cement or specialized adhesives for their ease of use and strong bond. Be diligent in spreading it evenly to avoid bubbles or imperfections.
Clamping Methods:
- Flat surfaces: Veneer press or vacuum press
- Curved surfaces or edges: Flexible cauls and specialized clamps
After the adhesive cures, trim the veneer edges. A trim router with a flush-cut bit works well for cutting the veneer flush with the underlying surface. Sand any rough edges carefully to integrate the veneer seamlessly.
Veneering allows for the integration of rare and beautiful woods in a cost-effective manner, creating visually stunning pieces without compromising structural integrity. With practice and precision, your ability to select, apply, and finish veneers will enhance, turning projects into true works of art.
4. Bent Lamination
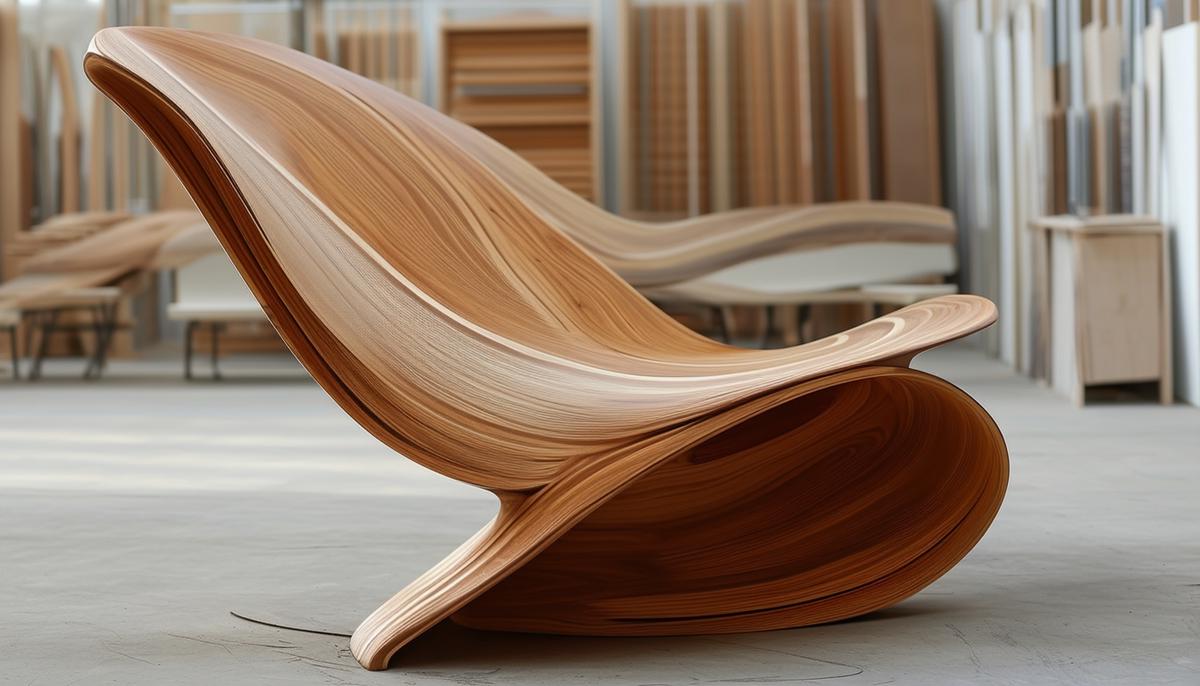
Bent lamination enables the creation of elegant curves and intricate shapes in woodworking projects. It involves layering thin sheets of wood and gluing them over a mold to form a unified, curved piece. This method is often used for chair backs, table legs, and architectural details.
Select flexible wood species like ash, oak, or walnut, which bend more easily. The wood grain should run along the length of the veneer for optimal strength and flexibility. Prepare the veneers by cutting them to the desired width and length, ensuring consistent thickness. Thinner veneers are easier to bend and minimize cracking risk.
Design and construct a sturdy mold that matches the desired curve or shape. Your mold must withstand clamping pressure and maintain the shape as the veneers dry. MDF or plywood are common materials for molds.
Adhesive Options:
- Traditional yellow wood glue
- Polyurethane glue
- Epoxy (for stronger bonds)
Apply a consistent layer of adhesive to each veneer, spreading it evenly to avoid weak spots.
Stack the veneers carefully in the mold, ensuring each layer aligns perfectly. Use clamps, cauls, and sometimes vacuum bags to apply even pressure, squeezing out excess adhesive and ensuring a tight bond. Allow the glued laminations to dry completely.
After removing the piece from the mold, inspect it for imperfections and sand for a smooth surface. Bent lamination adds aesthetic value and structural strength to the finished piece, allowing for complex curves and organic forms that would be difficult through traditional methods.
Start with simpler curves and gradually take on more ambitious designs as you become comfortable with the process. With practice, you'll be able to create stunning, unique pieces that showcase both technical skill and artistic vision.
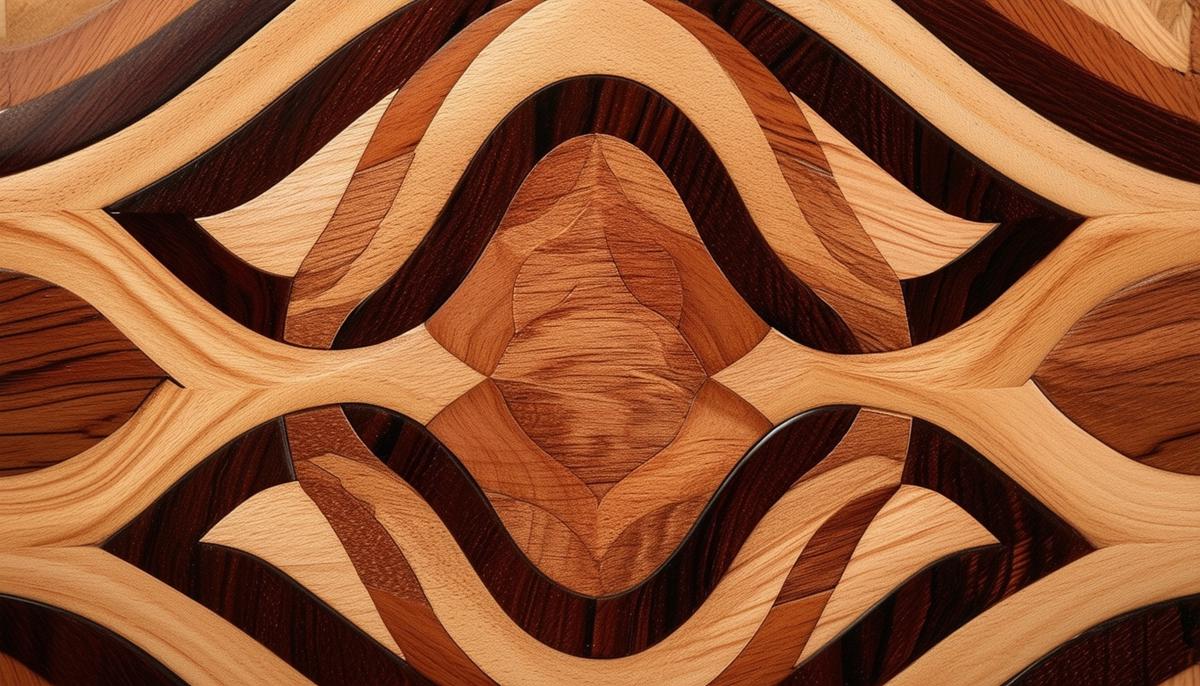
5. Inlay and Marquetry
Inlay and marquetry allow craftsmen to embed contrasting materials into wood surfaces, creating intricate designs and patterns. These techniques demand precision and artistic vision to transform a basic wooden canvas into a captivating masterpiece.
Choose materials wisely, selecting veneers or inlay pieces that stand out against the background wood. Lighter-colored woods like maple or holly contrast well with darker woods such as mahogany or walnut.
Plan your design carefully, sketching the pattern onto the wood surface or paper. For complex designs, consider using templates or stencils to ensure consistency and accuracy.
Inlay Process:
- Prepare recesses for the inlay
- Cut inlay pieces using fine tools
- Adhere inlay pieces with high-quality glue
- Sand the surface to level the inlay
- Apply a protective finish
Prepare recesses for the inlay by outlining the design and carefully removing wood with a sharp chisel or router. The recess depth should be slightly less than the inlay thickness to allow for sanding and finishing.
Cut inlay pieces using a fine saw, chisels, and knives. Each piece should fit snugly into the prepared cavity. Precision is key—any gaps or misalignments will detract from the final appearance.
Adhere the inlay pieces using high-quality woodworking glue or epoxy. Apply adhesive to both the cavity and the back of the inlay piece, then press into place. Clamping while drying helps avoid movement.
After the adhesive cures, carefully sand the surface to level the inlay with the surrounding wood. Begin with coarser grit sandpaper, then move to finer grits for a smooth finish.
Apply a finish that enhances and protects your inlay work. Oil, shellac, or lacquer can highlight the contrasts and seal the surface against wear.
Inlay and marquetry elevate woodworking projects from functional to extraordinary. These techniques allow you to infuse pieces with personal flair and intricate detail. With practice and patience, you can create striking pieces that showcase your skill and creativity.
- Feirer JL. Woodworking Techniques and Projects. Peoria, IL: Bennett & McKnight; 1988.
- Korn P. Woodworking Basics: Mastering the Essentials of Craftsmanship. Newtown, CT: Taunton Press; 2003.
- Tolpin J. The New Traditional Woodworker: From Tool Set to Skill Set to Mind Set. Cincinnati, OH: Popular Woodworking Books; 2011.
- Flexner B. Understanding Wood Finishing: How to Select and Apply the Right Finish. Newtown, CT: Taunton Press; 2010.
- Nagyszalanczy S. The Art of Fine Tools. Newtown, CT: Taunton Press; 2000.