
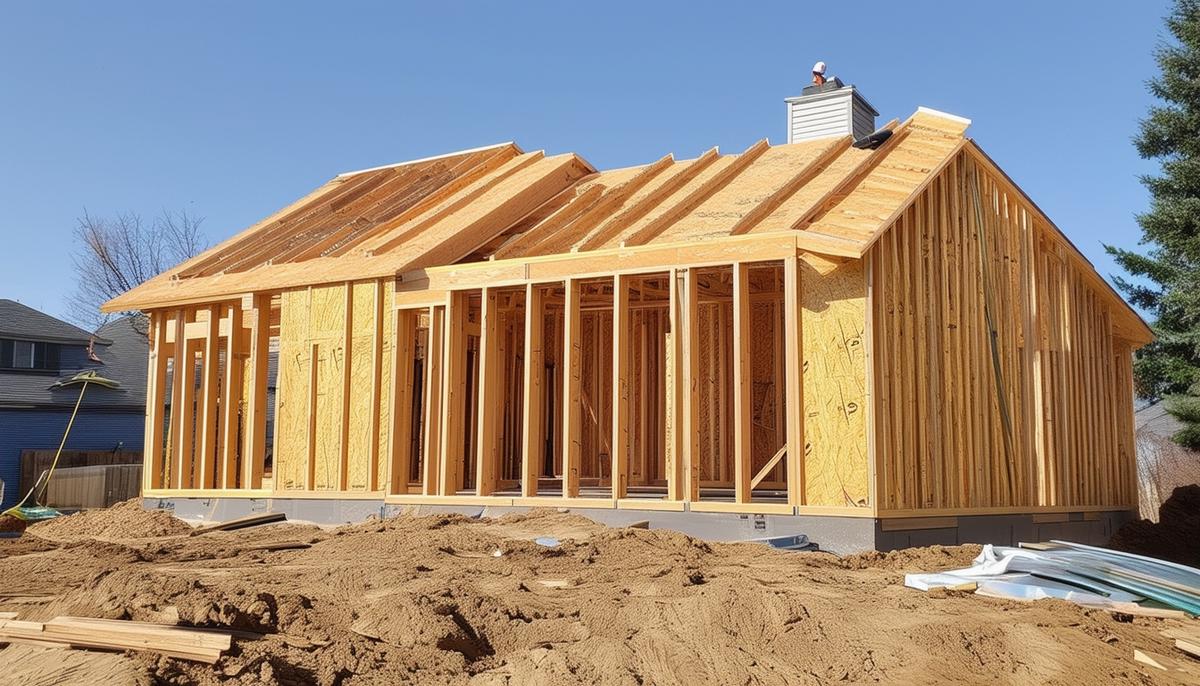
Framing a structure requires attention to detail and precision. Each step plays a crucial role in the building's integrity. Let's examine some common mistakes that can be easily avoided with careful planning and execution.
1. Sheathing Installed Incorrectly
Sheathing panels should lay perpendicular to framing members. Installing them incorrectly weakens the structure, reducing its load-bearing capacity. Panels should span at least three framing supports to avoid sag and buckling.
Consider the grain direction of the sheathing. Strength runs with the grain. If you install them parallel to the supports, you're missing vital support. Check for the orientation marks if you're unsure.
- Avoid ripping sheathing panels less than 24 inches without proper support.
- Narrow-width panels need additional backing or edge-support clips, especially in high-traffic areas like roof ridges.
- Expansion gaps are essential. Without 1/8-inch gaps between panels, expect buckling.
While this may not always be a structural failure, it's an obvious aesthetic flaw. Pay close attention to the details. Incorrectly installed sheathing impacts overall safety and durability.
2. Inadequate Support for Narrow Sheathing Panels
Ripping sheathing down to less than 24 inches without proper support can cause problems. Narrow panels are weaker and more prone to deflection, especially in high-traffic areas like roof ridges.
To avoid issues, ensure narrow panels have proper support:
- Install blocking
- Use specially designed edge-support clips
These steps provide extra strength where it's needed most. Remember, proper support isn't just about meeting code—it's about building a structure you can rely on. Support your narrower sheathing panels correctly to prevent unnecessary call-backs and improve the durability of the structure.
3. Incorrect Holes and Notches in Framing Members
Cutting holes or notches in the wrong places can drastically reduce the load-carrying capacity of framing members, such as glulam or LVL beams. Always refer to the manufacturer's guidelines or structural plans before making any cuts.
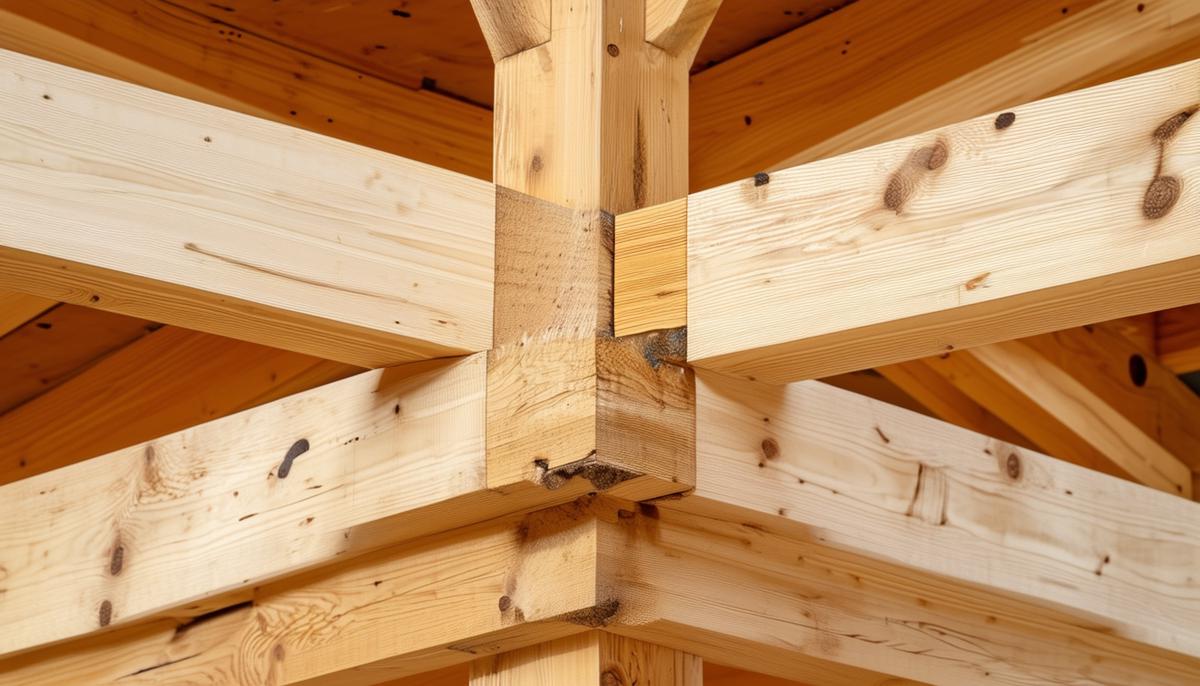
Here's a quick rule of thumb: the most critical part of any beam is the flange. In I-joists, for example, the flange handles most of the load.
Keep all holes within the web, and follow the specified sizes and locations closely. Use pre-punched knockouts for wiring and plumbing conduits whenever possible.
For glulam beams, the upper and lower zones handle different stresses due to bending. If your beam is stamped "Top," make sure it's installed with that side up.
Small holes away from the edges are a smart move. Don't place holes closer than the manufacturer's recommended distance from the ends or edges of the member. If you need to pass a duct or large pipe through a beam, consult with an engineer to ensure the integrity of your framing isn't compromised.
Stick to guidelines, pay attention to load-bearing zones, and never cut into critical areas like flanges.
4. Glulam Beams Installed Upside Down
Glulam beams are designed with designated compression and tension zones, meaning they have different bending stresses applied to the upper and lower sides. Installing them incorrectly can have serious consequences.
The "Top" stamp on a glulam beam is not just a suggestion; it's a vital instruction. Installing the beam upside down shifts the stresses to the wrong areas, leading to potential structural failures.
- Always double-check the orientation before securing a glulam beam.
- Look for the "Top" stamp and ensure it's facing upwards.
- Handle glulam beams with care during transportation and installation.
- Avoid dropping or twisting them, as excessive handling can damage the structural integrity.
Correctly installed glulam beams help distribute loads and maintain the structural integrity of the entire building. It's a straightforward task that requires minimal effort but pays dividends in structural reliability and longevity.
5. No Gaps Between Floor, Roof, and Wall Sheathing Panels
One often overlooked mistake in framing is neglecting to leave an expansion gap between floor, roof, and wall sheathing panels. That crucial 1/8-inch gap allows wood-based materials like plywood and OSB to expand and contract with changes in moisture levels. Skipping this step can lead to squeaks, creaks, and serious buckling issues.
To avoid these problems:
- Always maintain that 1/8-inch gap.
- Use a common 10d box nail as a spacer between panels.
- Utilize H-clips in roof sheathing where spans can be wider, helping maintain the gap while adding extra support.
Properly spaced sheathing panels will stay flat and secure, keeping both the structural integrity and the aesthetic appeal of your project intact. Remember: don't skip the gap! That 1/8-inch of foresight could save you a lot of trouble later on.

In framing, getting the details right is paramount. By focusing on these key areas, you build strong structures and trust with your clients. 1
- Allen E, Thallon R. Fundamentals of Residential Construction. 4th ed. Wiley; 2017.