
Woodworking blends skill, patience, and creativity. From cutting intricate designs with a scroll saw to shaping wood on a lathe, each technique offers its own challenges and rewards. Veneering, hand sanding, and other methods can transform simple pieces of wood into works of art.
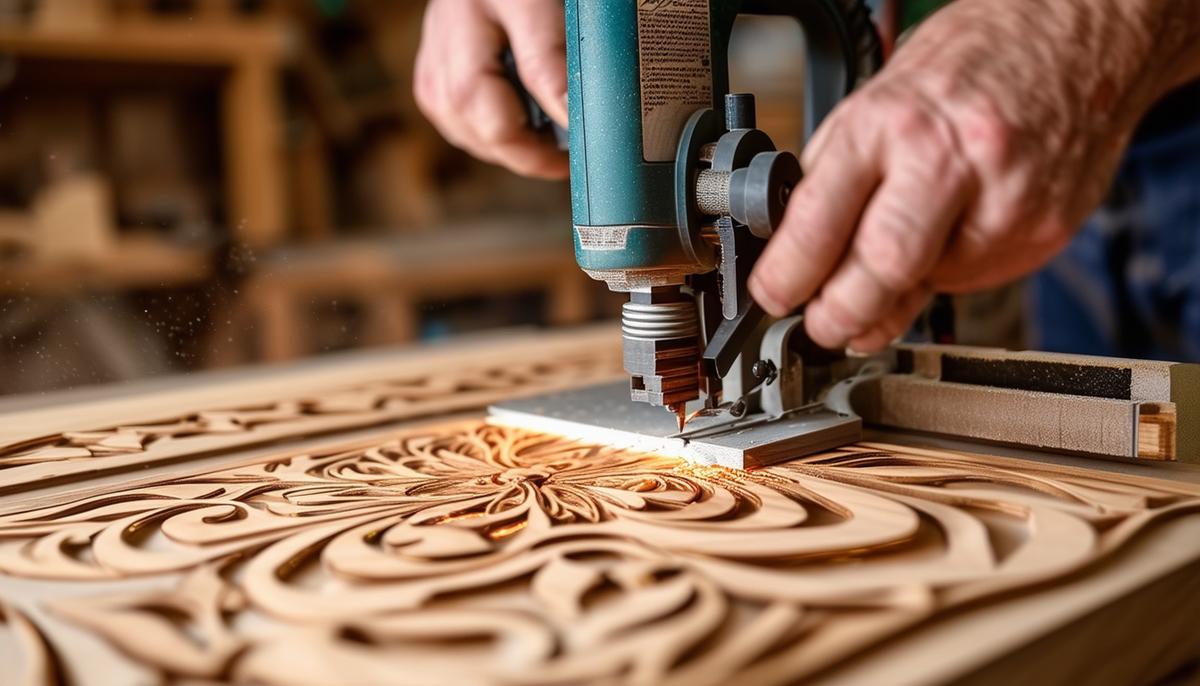
1. Scrollwork
Scrollwork uses a scroll saw to create intricate designs in wood. This tool allows for fine, detailed cuts, perfect for decorative elements. You can make ornamental shapes like letters, patterns, or figures. The versatility of scrollwork makes it ideal for both furniture embellishments and standalone pieces.
To begin, ensure your scroll saw blades are sharp and suited to the wood you're using. Different woods require different blade types. Start with simple designs to get a feel for the saw's control before moving on to more complex patterns.
Scroll saws operate by moving the blade up and down quickly. Always secure your wood firmly before beginning. A lightly sanded surface prevents the wood from shifting during cutting.
Choosing the right blade depends on the intricacy of your design. Fine teeth are better for detailed work, while coarser blades handle thicker wood. Adjust the saw's speed according to the wood type—slower speeds for harder woods and faster for softer ones.
Safety is important. Wear safety glasses and keep your fingers away from the blade. Using clamps can provide additional stability. Practice common cuts like curves and edges first, gradually working your way up to more intricate pieces.
Whether you're decorating a frame, making a custom sign, or adding flair to furniture, mastering scrollwork can elevate your woodworking projects with elegance and detail.
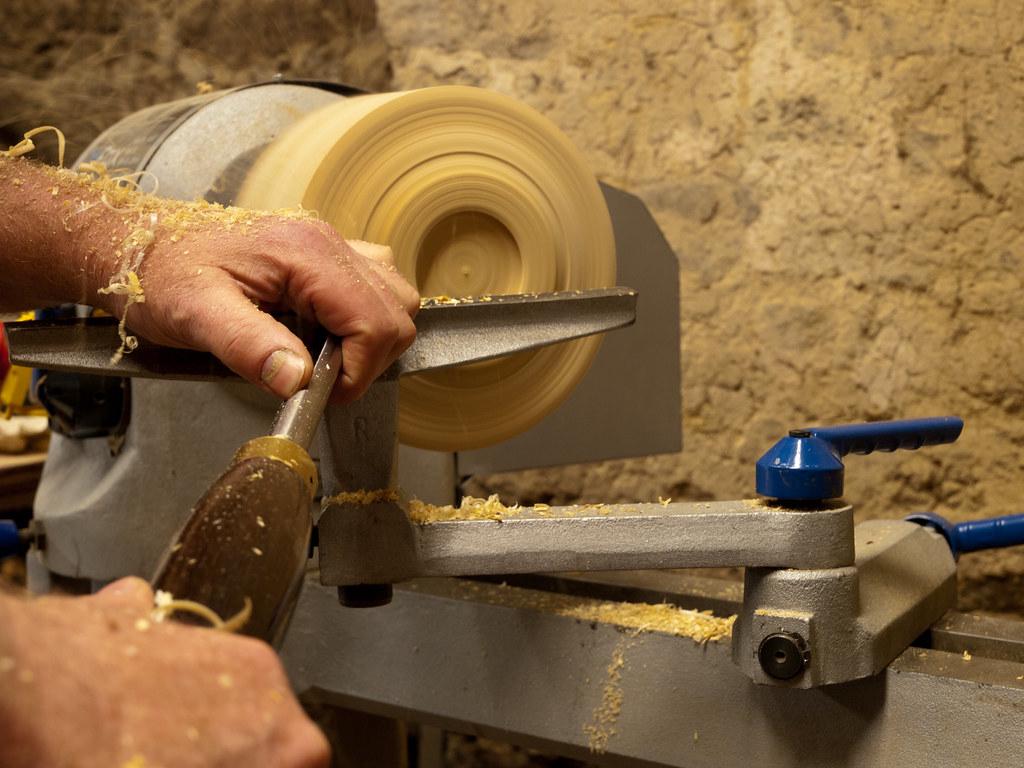
2. Lathe Turning
Lathe turning, or woodturning, shapes wood into cylindrical objects like bowls, mallets, or table legs. It's rewarding but requires a good grasp of the basics and careful preparation.
Understanding your lathe and its components is essential. Familiarize yourself with parts like the headstock, tailstock, and tool rest. Always secure your wood blank firmly between the headstock and tailstock for safety.
Choose the right piece of wood. Hardwoods like maple or walnut are good for beginners due to their stability. Ensure the wood is properly dried and free of significant knots or cracks.
Use a range of turning tools, including:
- Gouges
- Chisels
- Skews
Gouges are versatile for both rough shaping and fine detailing. Skews are excellent for smooth cuts but require more practice to master.
Keep your tools sharp to avoid tear-out and frustration. Regularly sharpen using a bench grinder or honing stone, maintaining a consistent bevel angle.
Start by roughing out your wood blank into a rounded shape using a spindle roughing gouge. Then switch to finer tools to add details and refine the design.
For finishing, sand the piece starting with coarser grit sandpaper and working down to finer grits. Consider using sanding sealer before the final finish to close up the wood grain. Choose a finish that enhances your project, like oil to bring out the wood's natural beauty or lacquer for a protected, glossy surface.
Woodturning opens up many possibilities, from creating custom furniture components to crafting decorative items. Keep practicing, maintain your tools, and prioritize safety for productive and enjoyable results.
3. Veneering & Lamination
Veneering and lamination can elevate your woodworking projects significantly. Let's explore what each involves.
Veneering covers a solid piece of wood with thin slices of decorative wood. This allows you to use stunning hardwoods economically and experiment with exotic woods and intricate patterns.
To start veneering:
- Select a veneer that complements your project
- Ensure the substrate (the wood you're covering) is smooth and clean
- Apply adhesive evenly on both the substrate and the veneer
- Use a veneer roller to smooth out bubbles or wrinkles as you press the veneer into place
Secure the veneer with clamps or a vacuum press until the adhesive cures. For large pieces, consider working in sections. Once set, trim the edges and finish by sanding lightly and applying a protective finish.
Lamination involves gluing multiple layers of wood together to create stronger, more stable pieces. It's useful for creating curves and shapes challenging to achieve with solid wood.
For lamination:
- Choose flexible woods like birch or maple
- Cut your wood into thin, uniform strips
- Apply glue between each layer, stack them together, and clamp securely over a mold
- Leave clamped until the glue fully cures, typically 24 hours
- After removing from the mold, sand the piece smooth
Both techniques expand what you can achieve in woodworking, from incorporating rare woods economically to forming complex curves and robust structures. Practice and patience will improve your skills over time.
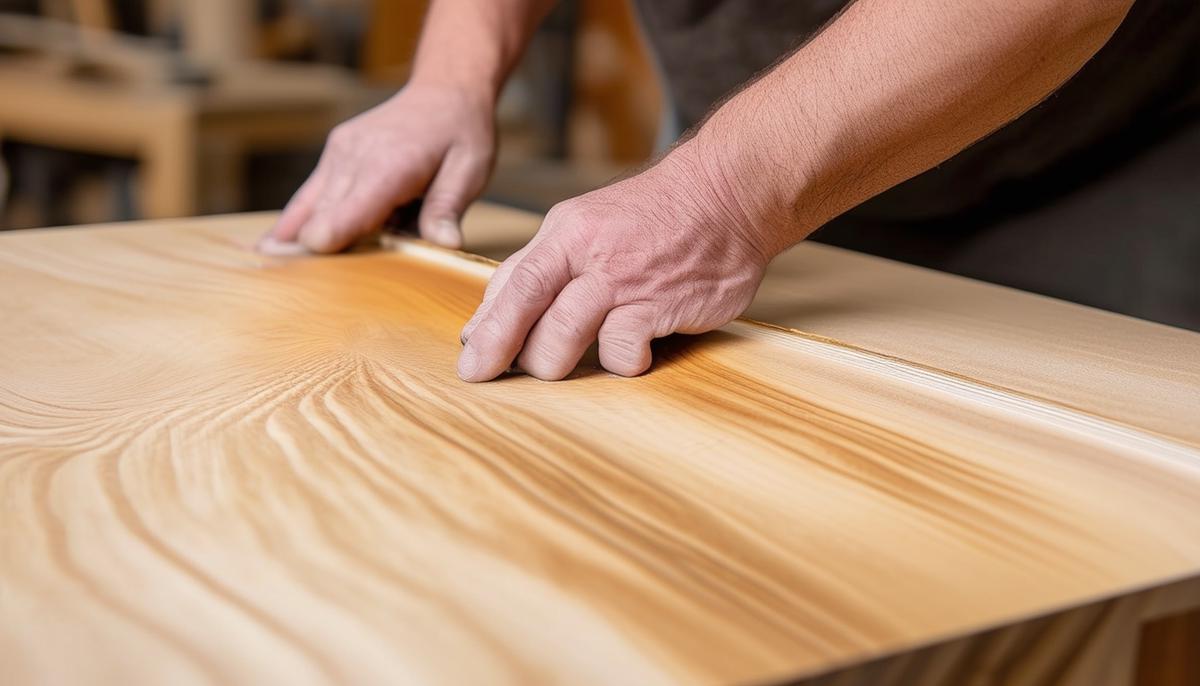
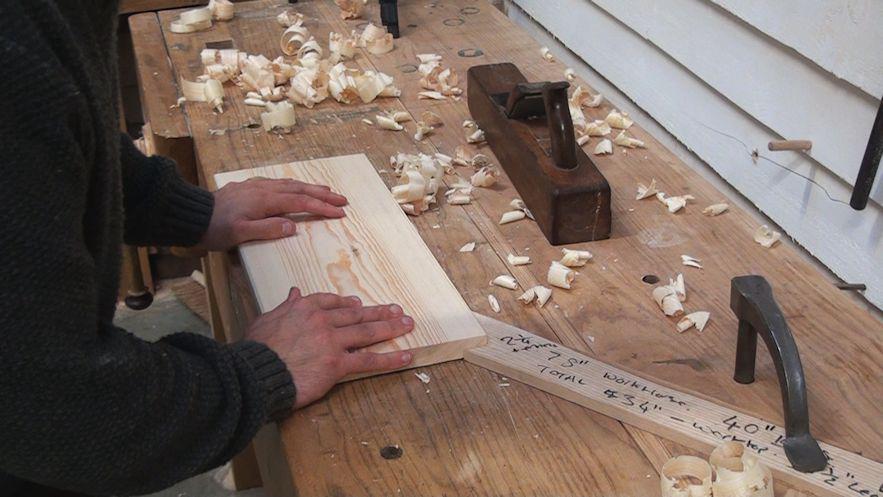
4. Hand Sanding
Hand sanding is crucial in woodworking, often making the difference between a rough piece and a polished masterpiece. The key lies in the details.
Always sand with the grain to avoid hard-to-remove scratches. Start with coarser grit sandpaper (80 or 100) to smooth rough surfaces and remove major imperfections. Be thorough to avoid extra work later.
Use a sanding block for flat surfaces to ensure even pressure and control. For curved parts or detailed edges, flexible sanding pads work well, conforming to the shape of your workpiece.
Progress to finer grits (150, 220, and beyond) to create a smoother surface. Be patient and avoid rushing or skipping stages. Use consistent, overlapping strokes with even pressure.
For hard-to-reach areas, use folded sandpaper or sanding sticks for precision. After your final grit, wipe the piece with a tack cloth to remove dust.
Hand sanding is also important between coats of finish. A light sanding with fine grit (320 or 400) smooths imperfections and helps the next coat adhere better.
With the right technique and patience, hand sanding transforms rough projects into polished, professional-quality work. It ensures your pieces not only look their best but feel smooth to the touch.
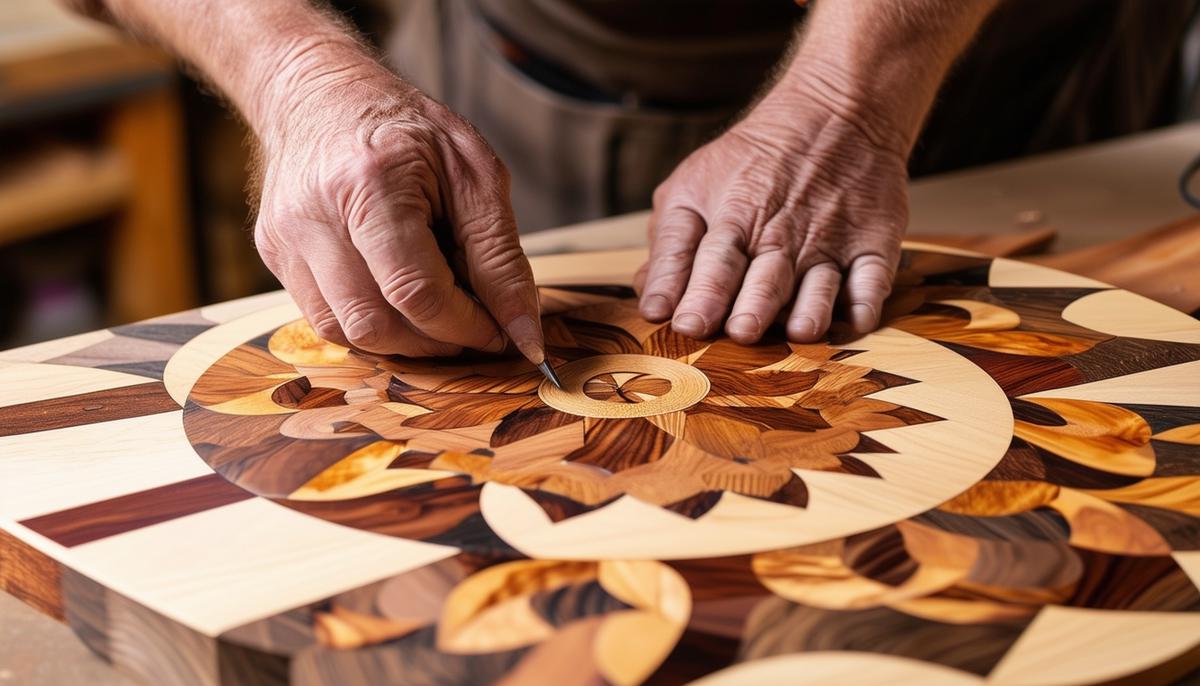
5. Marquetry
Marquetry is an artistic woodworking technique that involves creating intricate designs using small pieces of veneer. It can transform furniture and accessories into detailed works of art.
To start, you'll need:
- A sharp utility knife or marquetry saw
- A cutting mat
- A steady hand
Begin with a detailed design sketch as your blueprint. Choose veneers with a range of colors and textures to bring your design to life.
Cut each veneer piece carefully to the required shape. Precision is key, as even small mistakes can alter the final look. Dry-fit everything on your substrate before gluing to ensure a perfect fit.
Glue each piece into place, avoiding gaps between veneers. Use traditional wood glue or veneer adhesive for quicker bonding. Once set, apply even pressure with weights or clamps while drying.
After the glue dries, lightly sand the surface to level the veneers and smooth out rough edges. Use fine-grit sandpaper to avoid damaging the thin veneer. Clean with a tack cloth before finishing.
Apply a clear finish like lacquer or polyurethane to protect your work and enhance the wood's beauty. Use multiple coats, sanding lightly between each, for a polished result.
Marquetry allows for great creativity, from floral patterns to complex geometric shapes. As you gain experience, your ability to handle delicate veneers and create detailed designs will improve, resulting in unique, personalized pieces.
Mastering techniques like scrollwork, lathe turning, veneering, and marquetry can elevate your woodworking projects. The key lies in practice and attention to detail. As you refine your skills, you'll create beautiful pieces that showcase both craftsmanship and artistry.
- Phillips S. The American Woodshop. PBS; 2021.
- Dutchess Millwork. Decorative Woodwork Technique: Everything You Need to Know. 2023.
- American Woodworker. Essential Woodworking Techniques. 2024.