
Preparing Furniture for Sanding
Before sanding, thoroughly wipe and clean your furniture. Use Simple Green or Mineral Spirits to break down grease and oil without damaging the wood. Any leftover grime or adhesive can gum up your sandpaper or harm the wood grain.
Remove all door and drawer hardware, hinges, knobs, handles, nails, staples, and screws. These need to be removed to avoid damaging your sandpaper or the wood grain when sanding.
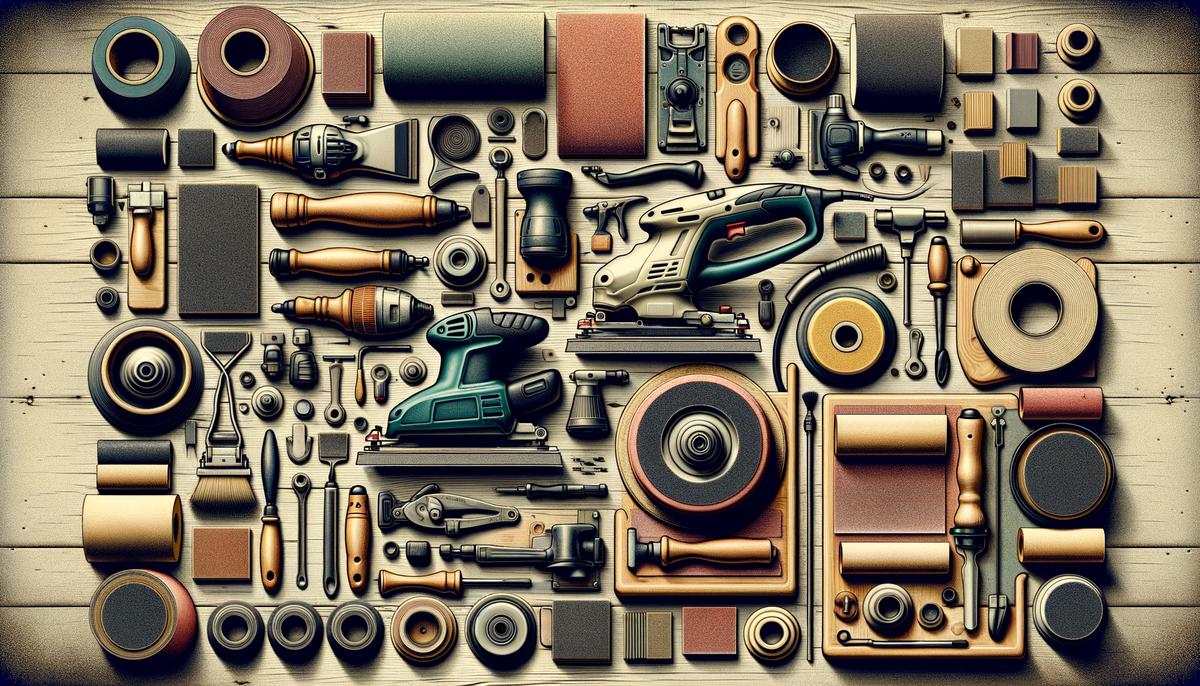
An orbital sander is your best friend for sanding furniture. It's small, easy to control, and perfect for beginners. But don't forget the Corner Cat sander for tight spaces where an orbital sander can't reach.
- Lower grit sandpaper (40-60) is coarse and for removing old paint or stain.
- Medium grit (80-150) is for general sanding jobs.
- Fine grit (180-220) ensures the wood is smooth before painting.
- Extra fine sandpaper (320-400) provides that final, polished look.
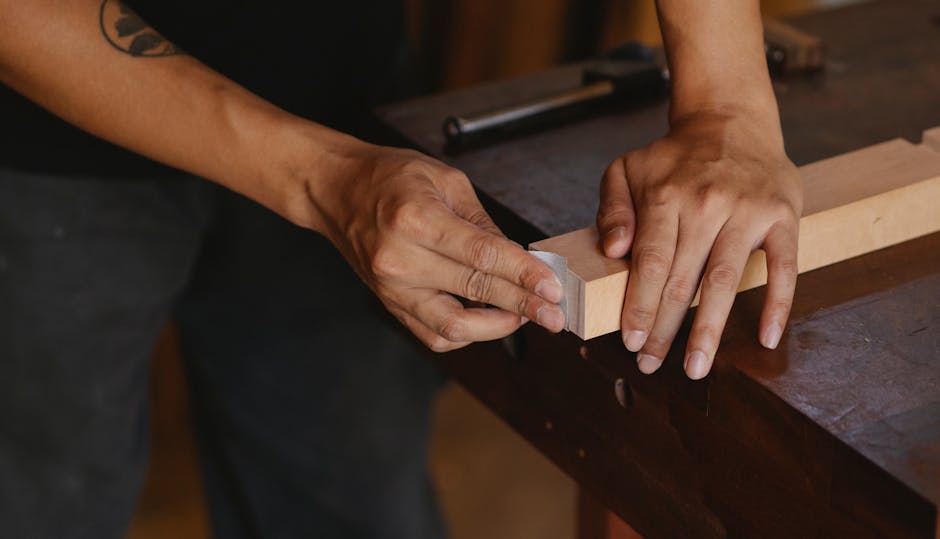
Sand with the grain. Rushing and going against the grain can leave scratches worse than the ones you started with.
Set up in a space where cleanup won't be a nightmare. Cover the floor and workspace to catch debris.
Choosing the Right Sander
An orbital sander is your go-to tool for most sanding tasks, thanks to its manageable size, versatility, and user-friendly control. It's your workhorse, taking care of the majority of your sanding needs with ease, precision, and without too steep of a learning curve.
The Corner Cat sander is the unsung hero, allowing you to get into those nooks and crannies effortlessly. It's a fine-tuning device, perfect for the detail work that transforms a project from "nearly there" to "spot on."
Orbital sanders work best with a range of grits for different sanding stages:
- Start coarse (40-60 grit) to strip old finishes or smooth major imperfections.
- Step up to medium (80-150 grit) for general surface preparation.
- Use fine (180-220 grit) for a smooth finish before applying paint or stain.
- For the ultimate smoothness, extra fine (320-400 grit) will give you that fine, polished look.
The orbital sander's random motion ensures you won't leave swirl marks, while the Corner Cat's pointed shape is perfect for hard-to-reach spots. Together, they're a dynamic duo that can handle almost any sanding task.

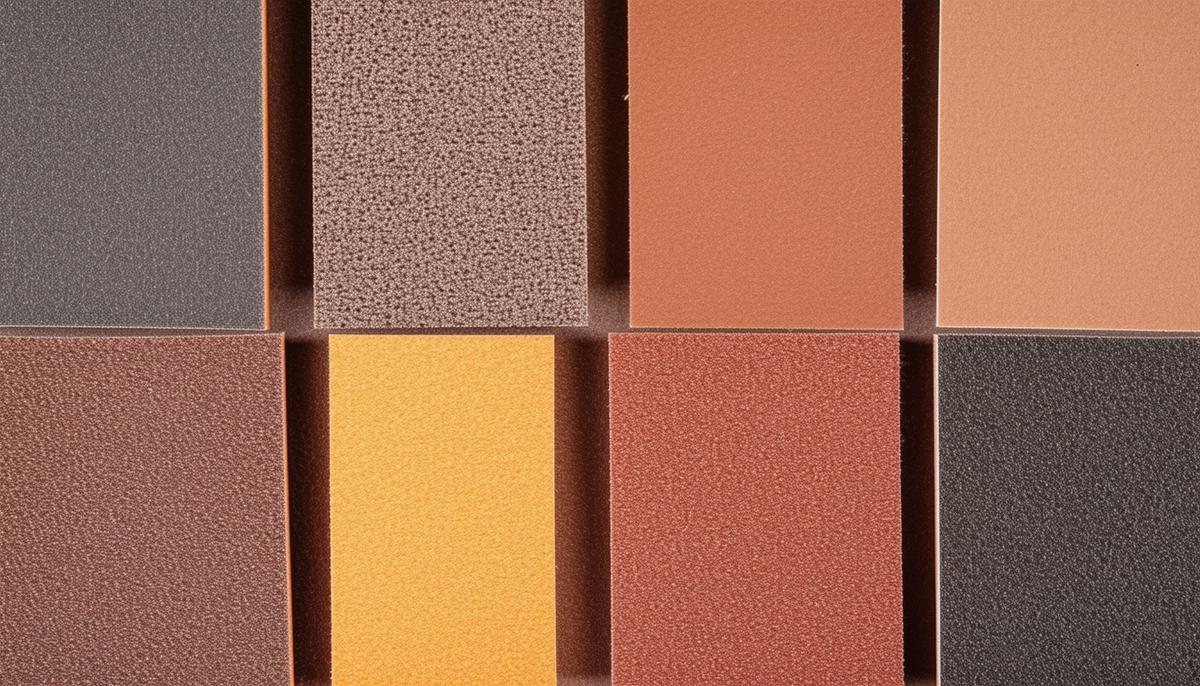
Selecting Sandpaper Grits
Choosing the right grit sandpaper is critical for achieving a professional finish:
- Lower grit (40-60) is coarse and used for removing tough paint or shaping wood.
- Medium grit (80-150) is ideal for general sanding and removing old paint.
- Higher grits like fine (180-220) and extra fine (320-400) are used for smoothing out the surface and between coats of finish.
Sanding Techniques
Start with coarse 40-60 grit sandpaper to remove old paint, stubborn spots, and deep scratches. This is your heavy artillery for tackling rough surfaces.
Move to medium grit sandpaper (80-150) to smooth out the surface and address any moderate imperfections left from the coarse sanding, preparing the wood for the final stages.
For the fine sanding stage (180-220 grit), your goal is to achieve a smooth surface before applying any paint or stain. For the most refined finish, especially on high-end pieces, use extra fine sandpaper (320-400 grit) for a flawlessly polished look.
Always sand with the grain of the wood. Going against the grain is a fast track to unsightly scratches and more work later on.
Maintain even pressure while sanding to avoid swirl marks. If using power sanders, let the machine do the work; pressing harder won't speed things up but might leave you with uneven surfaces.
Use a vacuum or dust extraction system to keep the surface clean. Less dust means better sandpaper-to-wood contact, making your sanding more efficient.
Sand larger pieces of wood before cutting them to size for a uniformly sanded surface.
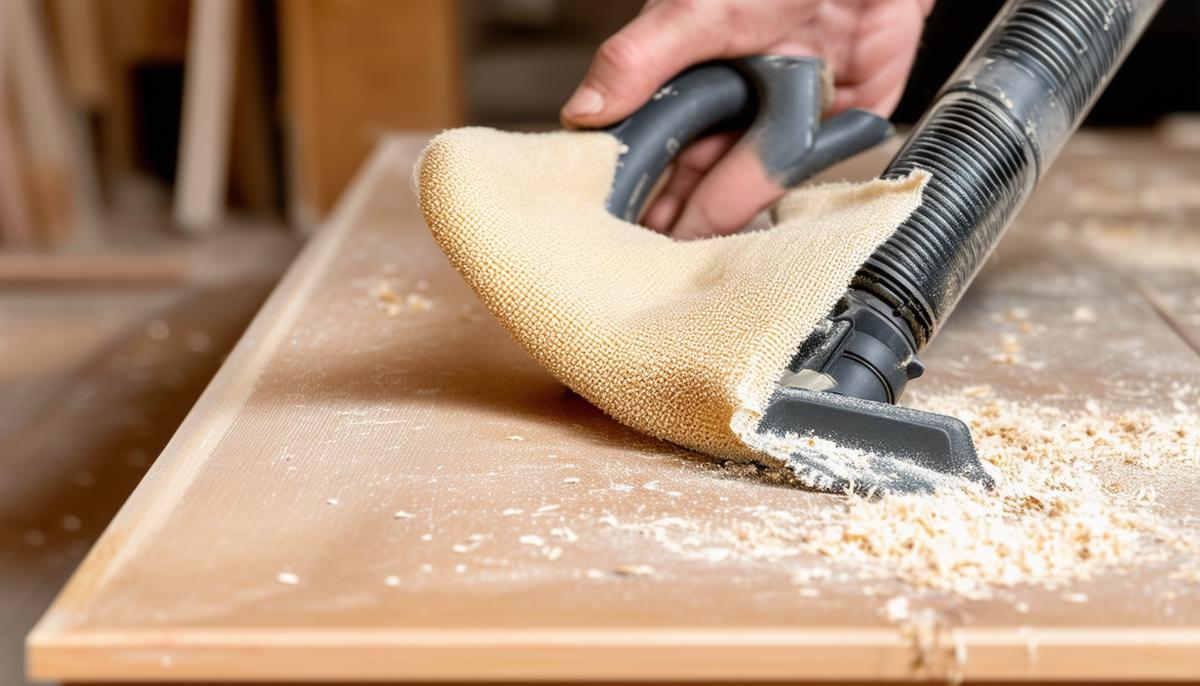
Removing Sawdust
Once your sanding is done, it's time to tackle the sawdust. If not properly removed, it can mess up your staining or painting job by creating an uneven finish.
- Grab a shop vac to suck up most of the sawdust lingering on your project, using a soft bristle attachment to avoid scratching the wood surface.
- Next, lightly dampen a microfiber or lint-free cloth and gently wipe down the entire piece to pick up any remaining fine dust particles without leaving fibers behind. Just make sure the cloth isn't too wet to avoid raising the grain.
- Finally, use a tack cloth, designed specifically for picking up fine dust and debris. Gently run it over the surface, and watch as the tiniest particles cling to it, leaving you with a pristine surface ready for finishing. Wearing latex gloves can help you handle the sticky tack cloth without transferring residue.
Combining these methods usually yields the best results. Vacuum first, then follow up with the damp cloth, and finish with the tack cloth for an ultra-clean surface. Taking these steps is worth it for a smooth, professional finish.
References:
- Flexner S. Understanding Wood Finishing. 3rd ed. Fox Chapel Publishing; 2010.
- Grote NA, Deck PK, Thomas CJ. Hazard Evaluation for Wood Products Finishing. Toxicol Ind Health. 1994;10(6):1-27.
- Salthammer T, Schwill A, Frisse U, Tunga R. Emission Rates of Wood Materials in Furniture Manufacturing. Holz als Roh- und Werkstoff. 1998;56:401-408.