
Scroll sawing is an art that requires precision, patience, and the right tools. This guide provides practical advice on choosing materials, preparing patterns, drilling accurately, cutting efficiently, and finishing your work.
Tool and Material Selection
Choosing the right scroll saw is crucial. If buying used, ensure the blade runs smoothly without blurring. A good rule of thumb: if the blade looks like a thin black line, you're in the clear; if it's a blur, move on.
For blades, decide between pin-end and plain-end:
- Pin-end blades: Change quickly and automatically set tension, but are thicker and limit finer details.
- Plain-end blades: Allow for more intricate cuts and tighter spaces—preferred by most scroll saw artists for their versatility.
Good lighting and magnifying glasses are essential. Consider mounting an adjustable flexible light on your saw and investing in head-mounted magnifying glasses or a mounted lens for precision cutting.
For wood selection, stick to solid wood or plywood with a void-free core like Baltic birch. Wood quality can't be overstressed—superior input equals superior output.
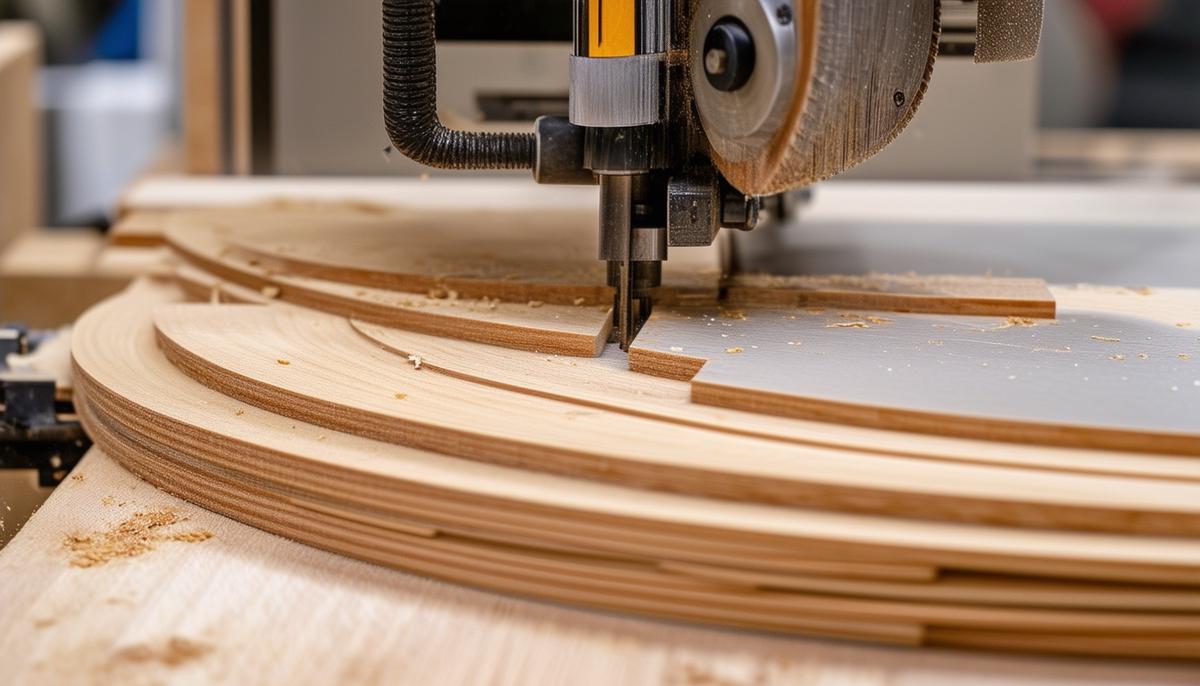
Stack cutting increases efficiency. Stack multiple pieces of wood together to cut several at once, reducing production time significantly. Use double-sided tape, wrap tape around the outer layers, glue, or insert toothpicks or small nails to keep the stack from shifting during cutting.
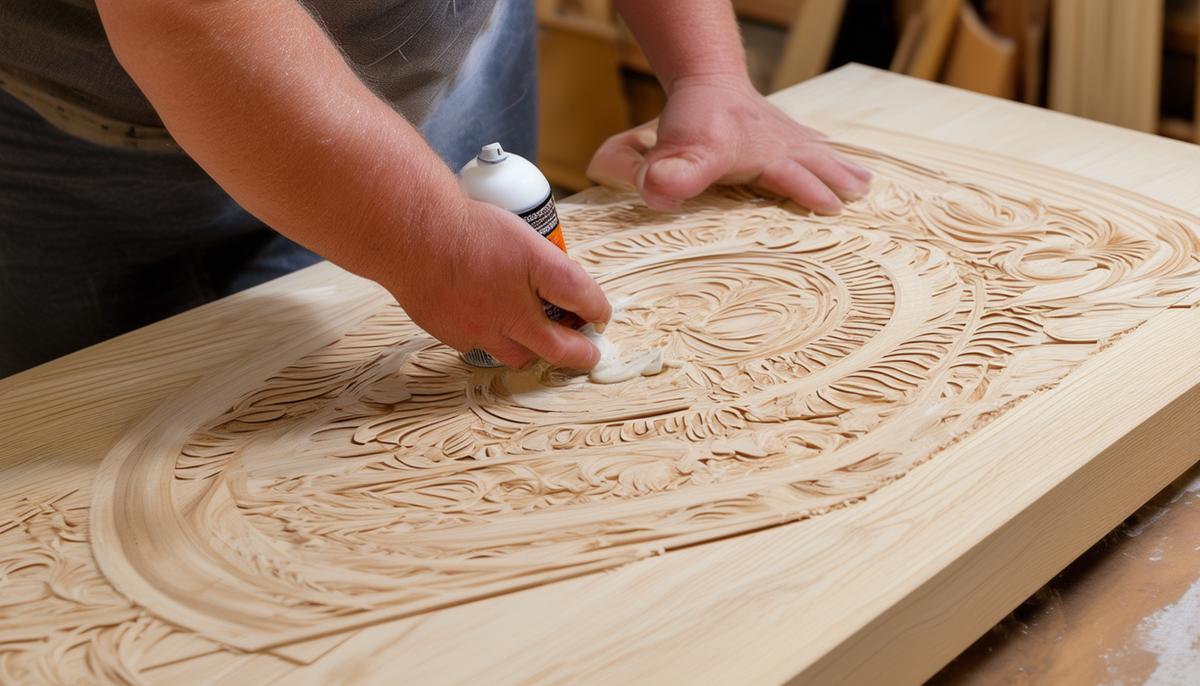
Spray adhesive simplifies applying patterns. Glue a photocopy of the pattern directly onto your workpiece, then cut through both paper and wood simultaneously. Remove the paper with mineral spirits afterward.
Compound sawing allows for three-dimensional cuts, adding depth to your work. Apply patterns to two sides of the wood block, ensuring it's perfectly square.
Don't forget safety. Use clamps for smaller parts to keep your fingers safe, and release the blade tension when not in use to extend your saw's life. Mark the blade with a blue tip as a reminder for blade direction: blue for sky, sky for up.

Pattern Preparation and Adhesion
Convert artwork into a black-and-white vector image for clarity and scalability. Using a vector program like Inkscape can simplify this process. Vector software replaces pixels with points or dots that connect, letting you scale your artwork to any size without losing clarity.
For adhesion, 3M Super 77 spray adhesive is a popular choice. Apply an even coat to the backside of your pattern, avoiding excess to prevent a sticky mess.
To remove the pattern after cutting:
- Saturate it with low-odor mineral spirits
- Let it soak for about five minutes until the paper turns translucent
- Peel off the pattern
- If residue remains, apply more mineral spirits and gently rub
- Clean thoroughly to prep for finishing
Drilling and Cutting Techniques
Plan your cuts carefully before drilling. Start your work close to the center, focusing on areas most likely to break if mishandled.
For precise holes, use a #68 bit. Keep your drill bit perpendicular to the wood to avoid misaligned cuts. For intricate maneuvers, Flying Dutchman Spirals are excellent for complex curves and tight corners.
Maintain proper blade tension for successful scroll sawing. Find a tension setting that offers enough resistance without overstretching the blade—around a 4 to 4.5 setting on a DeWalt is a solid bet.
When tackling long, straight cuts, change direction frequently to avoid breakout pieces. You can trace along the lines without necessarily following them all the way through, crossing into the waste area, making an essential cut, and then resuming the line.
Speeding up your feed rate can help maintain a straighter line on longer cuts. Let the blade guide smoothly through the wood without forcing it.
For extra stability on fragile or intricate cuts, consider wrapping the piece top and bottom with clear packing tape.

Finishing and Framing
After cutting, prepare your piece for dust removal:
- Use an air compressor at about 40 PSI to blow off lingering dust
- Place the piece on an old window screen for support
Deal with fuzzies using a plumber's torch:
- Keep the flame low and move briskly across the back of your piece
- Cover the entire back with scrap wood to avoid scorch marks on the cutouts
- Use 220-grit sandpaper to gently touch up any minor charring on the front side
Choose a backer that complements your work. Felt is popular for its texture and the contrast it provides. Apply Aleene's tacky glue carefully to mount the backer, avoiding glue in the cutouts.
Frame your work to protect and enhance its appeal. Select a frame that matches both the art style and home decor where it will be displayed.

Advanced Techniques: Stack Cutting and Spiral Blades
Stack cutting allows you to cut multiple pieces at once, significantly reducing production time. Use blue painter's tape to secure the layers, wrapping the edges tightly. For extra security, use small nails in the waste areas or apply glue between layers.
Spiral blades offer 360-degree cutting capability, allowing for unparalleled maneuverability. They're ideal for complex patterns and intricate designs. To ease into using spiral blades, stack an extra piece or two of wood with your cutting to slow down the blade's aggressiveness, or use a smaller blade than usual.
Spiral blades excel at creating extremely tight inside corners and are perfect for larger projects that exceed your scroll saw's throat depth. Be prepared to deal with "fuzzies," especially on the bottom piece in a stack. Use reverse spirals that cut on both upstroke and downstroke to mitigate this issue.
Remember to release blade tension when the saw is not in use to extend the life of your blades and saw.
By focusing on careful tool selection, precise pattern preparation, thoughtful cutting techniques, and thorough finishing, you can create exceptional scroll saw projects. With practice and patience, you'll be able to tackle increasingly complex designs and create truly stunning pieces of art.
- Dixon C, Burchett R, Leigh R. Nightwing #66. DC Comics; 2002.
- Taylor T. The Carriage House Scroll Saw Shop. Dresden, OH; 2018.
- Mcquistion J. Personal communication. 2018.