
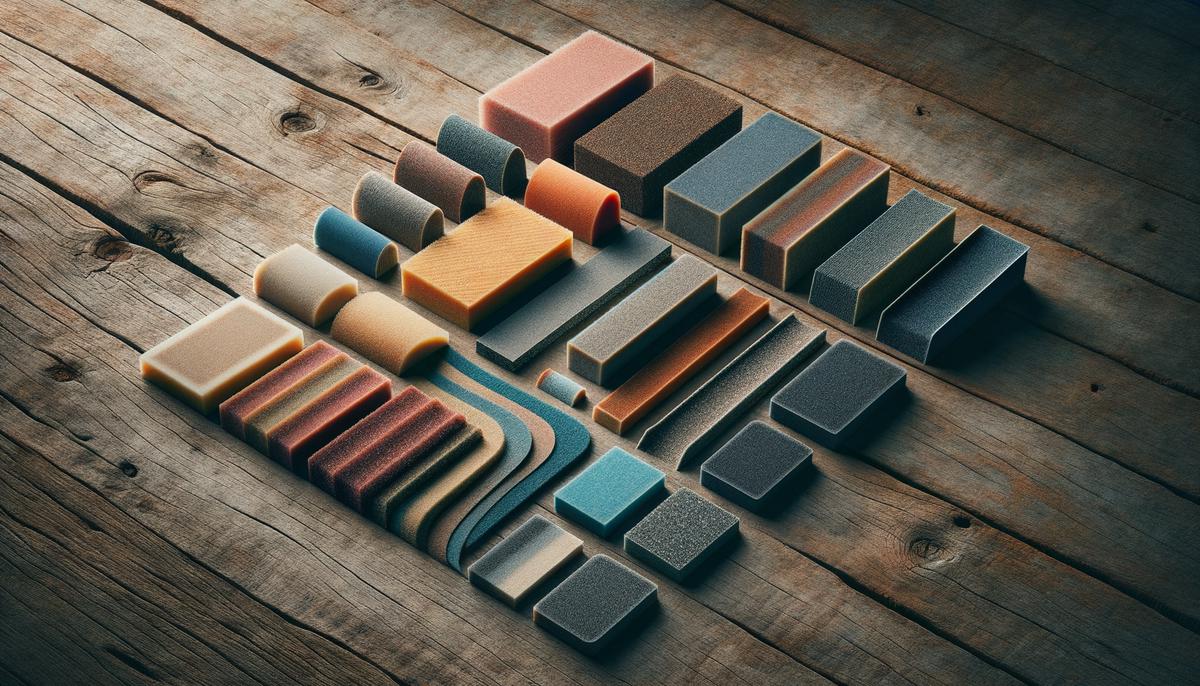
Selecting the Right Sandpaper
Choosing the right sandpaper is crucial for effective woodworking. Here's a guide to grit selection:
- Coarse grit (40-60): For rough surfaces, to remove material quickly.
- Medium grit (80-150): Smooths out the roughness left by coarse sandpaper.
- Fine grit (180-320): Prepares the surface for staining or painting.
- Extra-fine grit (400-2000): Achieves a glass-like finish.
Always sand with the grain, using steady pressure to avoid unwanted grooves. Clean your workpiece between grit changes to prevent dust build-up. Following these steps will ensure a smooth finish on your wood project.
Handling a Power Sander
Power sanders are efficient tools for various woodworking tasks. Different types serve specific purposes:
- Belt sanders: Ideal for heavy-duty work on rough surfaces.
- Random orbital sanders: Versatile and suitable for most sanding jobs.
- Finish sanders: Perfect for delicate, final touches.
Before starting, ensure your sander is loaded correctly. Apply medium pressure and let the tool do the work. Move the sander with the wood grain, maintaining consistent speed and pressure. Work in overlapping strokes for even coverage.
Safety first: Always sand in a well-ventilated area and wear protective gear, including safety glasses, a dust mask, and ear protection. With practice, you'll master power sanding techniques for professionally finished wood projects.

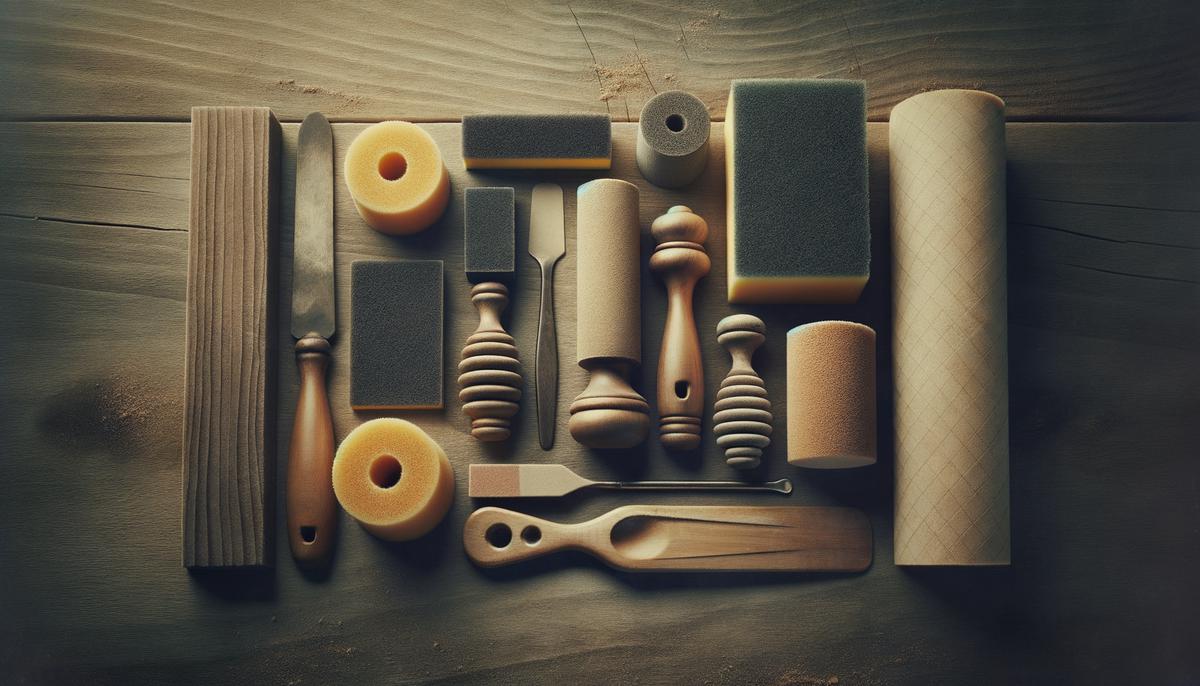
Hand Sanding for Detail Work
Hand sanding is essential for precision work on detailed areas. Use sanding blocks for flat surfaces and sponges for curves and intricate details. Start with coarse grit (80-120) and progress to finer grits (180-220) for a smoother finish.
For tight corners, wrap sandpaper around a dowel or pencil. Use consistent, gentle pressure and frequently check your progress by touch. Clean off sawdust regularly with a damp cloth to better see and feel the surface.
"While hand sanding takes more time, it offers greater control and precision, ensuring a high-quality finish on your woodworking projects."
Remember to wear a dust mask and safety glasses to protect yourself during the sanding process.
Removing Dust Before Finishing
Thorough dust removal is crucial before applying finish to your woodwork. Follow these steps for optimal results:
- Compressed air: Start by blowing off dust from hard-to-reach areas. Hold the nozzle at a slight angle and use moderate pressure.
- Damp cloth: Wipe the surface clean to raise the wood grain. Let the wood dry completely before proceeding.
- Tack cloth: Use this to pick up the smallest particles. Wear latex gloves and use gentle strokes to avoid leaving residue.
Take your time with these steps to ensure a clean surface for a flawless finish. Research has shown that proper dust removal can significantly improve the quality and longevity of wood finishes1.
Remember, thorough preparation is key to achieving a smooth, professional finish. Take your time with each step for the best results. By following these guidelines, you'll be well on your way to creating beautifully finished woodworking projects.
- Williams RS, Knaebe MT, Feist WC. Finishes for exterior wood: selection, application, and maintenance. Forest Products Laboratory; 1996.