
Drawing Plan and Elevation Views
Creating detailed plan-view and elevation drawings on plywood helps visualize irregular roof geometry. It allows for accurate angle and offset determination for complex roof sections such as bastard hips and valleys, ensuring all calculations and measurements align.
Start by laying out the lines 2 inches in from each edge of the plywood to define the outside edge of the fascia. Mark the fascia thickness and its half-width to create the plane point where the sheathing meets the fascia. Measure back from the face of the fascia for the full overhang depth to create the plate lines representing the outside of the building.
For hips, start at the fascia corner's centerline, measuring distances to set the sides of the hip rafter tail. Use the plan-view drawing to determine the exact offset needed for each hip or valley rafter, finding the plumb-line shift. Mark the birdsmouth location as well.
Drawing out the different pitches helps set the HAP for irregular roofs. Establish the birdsmouth cut on each rafter by finding the right height above the plates. Use the HAP of each common rafter to draw out the birdsmouth for the hip or valley rafters.
Plot the tail cuts for jack and common rafters too. Transferring these measurements to the actual rafters prevents confusion later. Pre-marking and pre-cutting parts using the full-scale drawing allows you to build before the house walls are up, saving time and avoiding fixes in awkward spots.
Double-check your drawn dimensions on plywood before cutting. Aligning drawings on square-edged plywood keeps every detail precise, ensuring the roof assembly is right the first time.
Calculating and Marking Birdsmouths
To maintain equal, level overhangs with different roof pitches, you need to adjust birdsmouth cuts accordingly. This involves drawing out fascia, building lines, and rafter heights to ensure the birdsmouths are cut precisely, adhering to codes and providing structural integrity.
Lay out your fascia and building lines on the plywood. Use the framing square to mark the thickness and half-width of your fascia. Measure from the fascia face the full depth of the overhang, creating plate lines indicating the outside edge of your building.
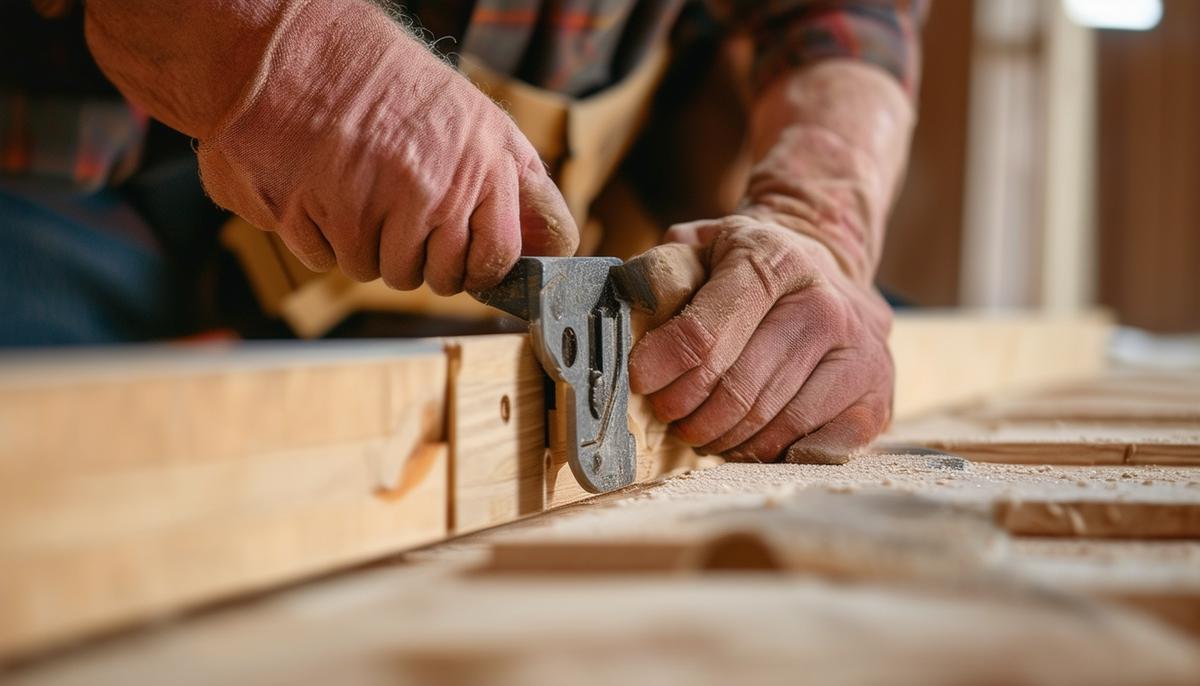
Having determined the run of each common rafter, begin marking the birdsmouth cuts. The birdsmouth cut consists of the seat cut and the heel cut. Each cut needs to balance structural integrity with fitting neatly onto the wall plate.
Use your adjusted HAP (Height Above Plate) for precise birdsmouth cuts. First, mark the heel cut's plumb line using your framing square set to match the roof's pitch. Measure up from the heel cut to mark the seat cut's horizontal line. Ensure this line is square to the rafter's bottom edge.
Transfer these marks to the rafter using the full-scale drawing. Each birdsmouth must be positioned correctly, ensuring it matches the rafter's HAP, maintaining consistent rafter alignment across the entire roof.
Consider relevant building codes when marking and cutting the birdsmouth. Many codes specify limits on the depth of a birdsmouth cut relative to the rafter's thickness, ensuring the rafter's strength isn't compromised.
Employing careful calculating and marking, you can make birdsmouth cuts like a pro. The goal is simple: precise, structural, and level roof framing that stands the test of time.
Establishing Overhangs and Centerlines
Setting correct overhang depths and centerlines ensures symmetry in the roof's fanned-out design. This involves careful measurement and marking to accommodate the irregular angles and varying rafter pitches.
Start by accurately setting your overhang depth. Measure back from the established fascia line to get the consistent overhang depth. Use a tape measure and make clear marks on the fascia and rafter tails to guide your cuts and placements.
Next, work on the centerline by identifying the correct layout lines where your rafters and joists meet. Start by marking a definitive centerline on your plan-view. This acts as the anchor point, ensuring your roof remains balanced despite varying pitches and configurations.
Begin at the roof's fascia corner, marking the hip or valley's precise alignment using 'plane points'. From these plane points, measure the exact placement of the centerline and ensure it's perfectly square to your building.
Account for your roof's specific pitches. Different pitches require adjustments to maintain symmetry. Utilize a framing square or specialized tools like a construction calculator to figure these angles correctly.
Where hips and valleys meet, set the centerline accurately by marking perpendicular lines and transferring them onto your rafters, ensuring these lines guide your cuts and structural placements.
Using markers or chalk lines helps maintain visibility for these critical points during construction. Always double-check these lines before any cut to prevent mistakes that could affect the entire roof structure.
Remember: If you're working with complex angles or multiple pitches, breaking the task into smaller sections can help. Work methodically, one overhang or section at a time, always referencing your full-scale drawing.
By patiently setting correct overhangs and centerlines, you ensure every inch of your roof contributes to a unified, solid framework. It's about turning that detailed plan into a reality that stands tall and stands the test of time.

Shifting Hip Locations and Plumb-Line Shifts
Using the French scribe technique helps in shifting the hip rafter location for uniform overhangs. To begin, locate the hip or valley rafter on your full-scale plan drawing. Identify the roof planes and set the framing square to the corresponding pitch. Use distances measured perpendicular to the plumb line on the plan-view to accurately shift the hip rafter position.
Establish the centerline of the hip rafter by marking equal distances from the fascia's front plane. These measurements create a "plumb-line shift," helping to balance the two sides of the hip rafter. Use a framing square or straightedge to connect these marks, aligning the rafters' bottom edges seamlessly.
When you need to move along the roof's edge to adjust the hip's placement, precise measurement is key. Typically, you measure the offset required, then mark it on both the drawing and the actual hip rafter. This ensures that the rafter's edge aligns perfectly with the overhang, creating a uniform depth across the roof's entirety.
From these marks, draw the shoulder lines for the hip rafter, taking the measurements directly from your plywood plan. This ensures your rafter sits correctly, allowing for uniform sheathing and avoiding unevenness.
When establishing main and secondary centerlines, remember to keep them orthogonally aligned to maintain symmetry over the hip rafter. This minimizes structural issues downstream. Accurate marking prevents misalignment during actual assembly, saving time on rework.
Align your birdsmouth cuts against these marked lines to ensure they exactly account for the shifted hip rafter positions. Adjust the cuts by sighting along the edge of the rafter, further ensuring consistency between drawing and reality.
Understanding these plumb-line shifts and marking accurately will ensure that each rafter aligns correctly. When done properly, this step-wise approach using the French scribe technique guarantees that your roof framing remains consistent and stable, ultimately contributing to a structurally sound roof.
Calculating Plan Angles and Rafter Backing
Calculating plan angles and rafter backing ensures rafters fit snugly against the roof plane, especially critical for irregular elements like hips and valleys.
Start by referencing your full-scale drawing on the plywood. Using your framing square set to the specific roof pitch, determine the acute angle where each rafter intersects the hip or valley.
For example, if your common rafter has an 8:12 pitch, align the framing square on your full-scale plan. The 8 rises on the blade while the 12 inches of run define the angle. Mark this on the plywood. Repeat this for each pitch transition.
If you're using a construction calculator, enter the pitch to find the exact degree of the intersection. For the 8:12 pitch example, plug in '8' as the rise, '12' as the run, and the calculator will give you the precise angle.
Transfer this data to the actual rafters. Use a ruler or a straightedge to extend these lines from the full-scale drawing onto the physical materials. This creates cut lines reflecting the exact plan angle you've calculated.
Next, focus on the rafter backing. Backing cuts are essential for making sure the roof sheathing lies flat against the hip or valley rafter. This means shaving off a slight bevel, which matches the slope of the intersecting roof planes.
Using your framing square and the hip's unit rise and run, lay the square across the rafter edge to mark the bevel angle. This cut is called the backing cut.
Always transfer your calculated backing angles from the plywood drawing to the lumber. This visual guide ensures your saw follows the correct path.
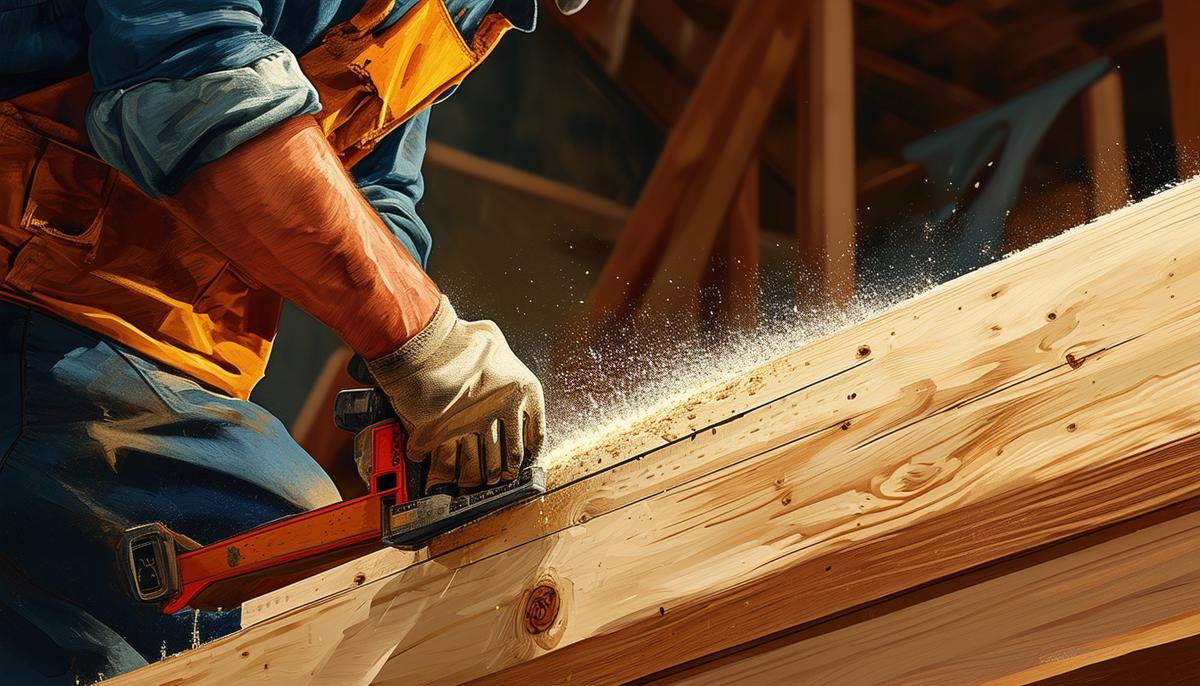
To back-cut a hip rafter:
- Clamp it securely to a flat surface
- Adjust your saw to the calculated angle
- Follow your marked lines carefully; any deviation can throw off your rafter's fit and disrupt the sheathing process
After the initial cuts, double-check them by placing the rafter in its intended spot on the roof framing. Ensure the cut edges sit flush against the intersecting rafters. Lay a piece of sheathing on top to confirm fit before securing anything permanently.
When handling valleys, the process is similar. Calculating accurate backing cuts ensures the valleys don't cave under weight loads or warp the roof structure over time. A precise 2x shoulder cut improves contact surface and load distribution, notably during seasonal weather changes affecting roof dynamics.
By carefully laying out, calculating precise angles, and marking your cuts, your roof will not just stand but stand the test of time, proving your craftsmanship and planning prowess.
By focusing on precision and careful planning, you can transform complex roof framing into a seamless process. Accurate measurements and detailed drawings ensure that every piece fits perfectly, making your construction project efficient.
- Siegele HH. Roof Framing. Craftsman Book Company; 1980.
- Siegele HH. The Steel Square. Craftsman Book Company; 1969.
- International Code Council. International Residential Code. 2015 ed.
- American Wood Council. Wood Frame Construction Manual. 2018 ed.