
Assessing the Furniture
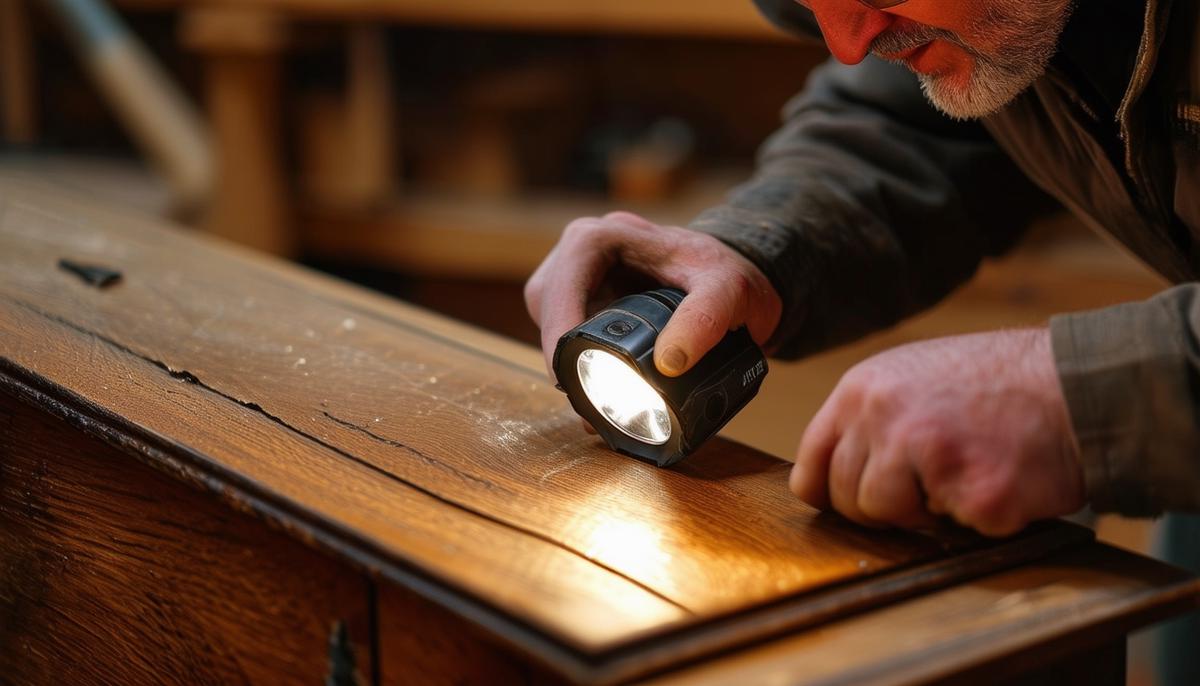
First order of business: look for any damage. Scratches? Dents? Structural issues? Those need your attention before anything else. Grab a flashlight and get up close. Miss even the tiniest flaw, and you'll regret it later. Find a loose joint or a split? Mark it down, you're going to tackle that first. Loose joints can be a bigger problem than they appear.
Identify the type of wood. Is it oak, mahogany, or maybe pine? Each wood type has its quirks. Pine is soft and dents easily whereas oak is tough. Look for grain patterns and shades to make an educated guess. Mahogany, for instance, has a deep reddish-brown hue and fine grain.
What's the existing finish? Is it varnish, shellac, lacquer, or just paint? A quick test with mineral spirits can tell you a lot. If it gets gummy, it's varnish. If it flakes off, it's likely shellac. Knowing this helps choose the right stripper or method.
Pay special attention to veneer layers. Veneer can be challenging. Real wood on top, but a less desirable material underneath. Gently scrape a hidden edge to determine thickness. If it's paper-thin, go easy on the sanding or you'll go right through.
Found a shallow scratch? Use wood filler or wax sticks in appropriate colors. Deeper scratches might need a light sanding. But don't get trigger-happy with the sander. Always go with the grain and avoid circular motions. Use sandpaper grits in succession: start with coarse, move to fine.
Missed a dent? Swell out small dents using moisture. Dab water onto the dent, then cover with a wet cloth. Apply heat with an iron and watch the wood fibers swell back into shape.
Check if there are any layers to strip off. Old paint or varnish needs removing before you start refinishing. Chemical strippers work for thick finishes, but sanding might be your best bet for light work. Choose your method based on the finish.
Got loose handles or knobs? Remove them. Clean thoroughly, brass can be polished, wood can be stained. Reattach after you've completed the finish.
Identifying the right approach can save a ton of sweat later. Proper assessment is half the battle in furniture restoration.
Stripping the Old Finish
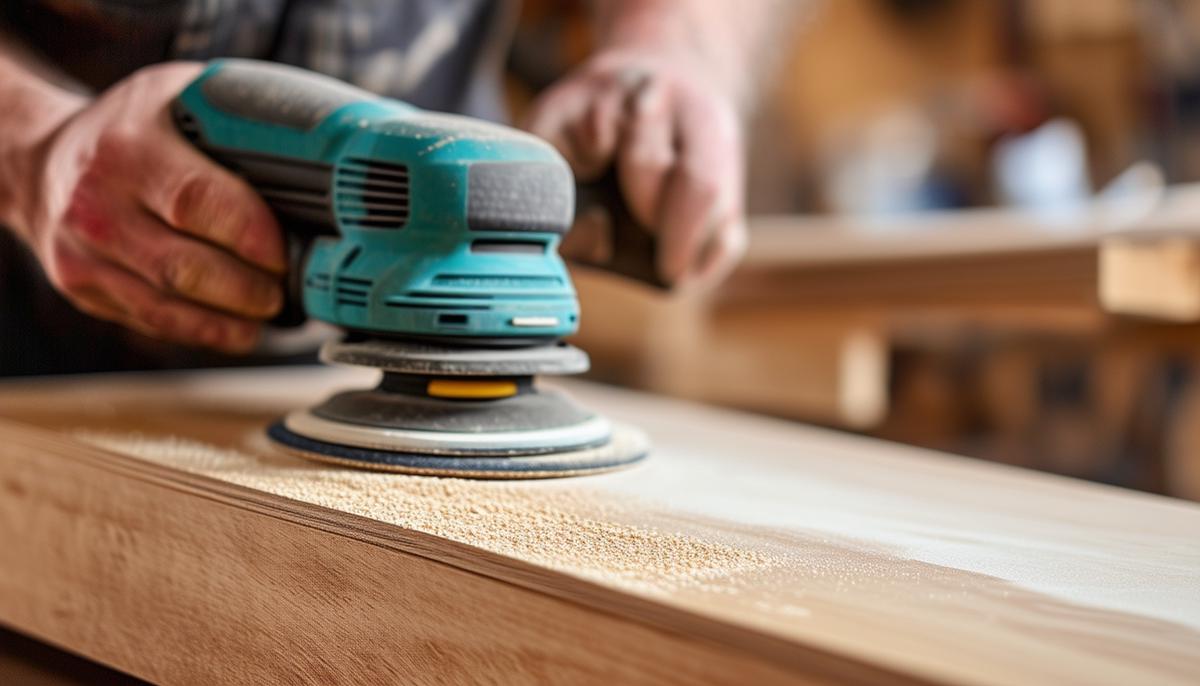
Sanding is the go-to method for many woodworking projects, but be warned: it's time-consuming. Start with a coarse grit like 80 to strip the old finish, and gradually move to finer grits. For large flat surfaces, use an orbital sander. For intricate details or curves, hand sanding is still your best friend. Remember, always sand with the grain.
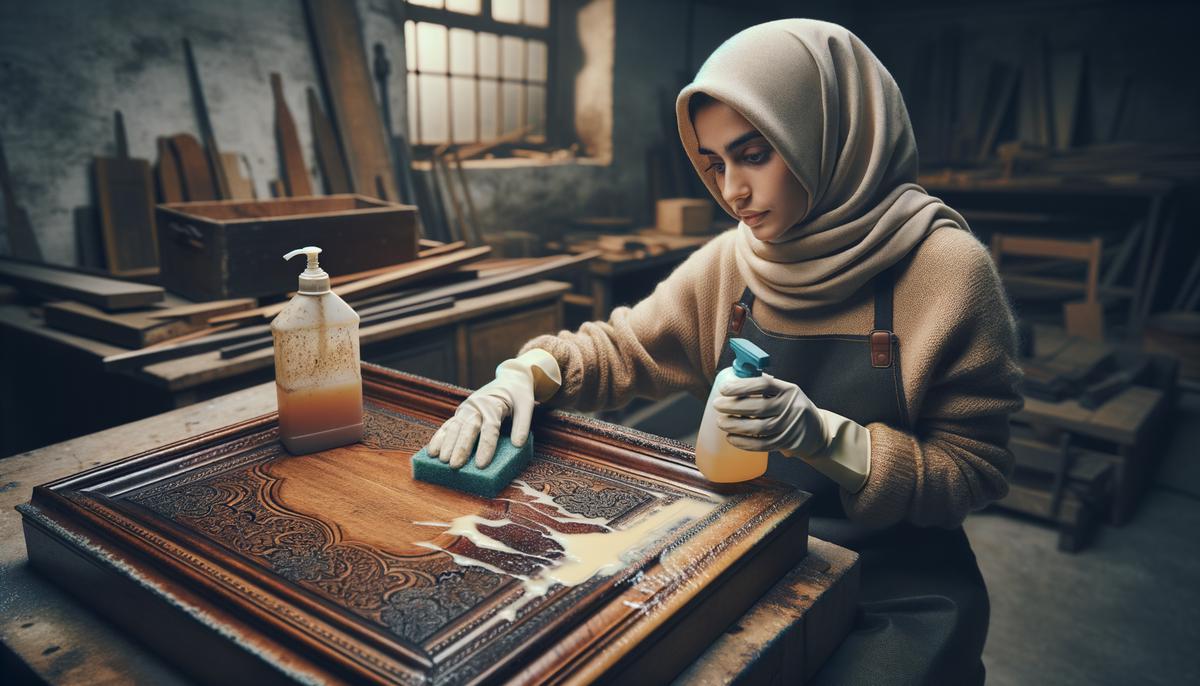
If your piece has several layers of old finish, chemically stripping might be the way to go. Apply the stripper liberally, let it sit, then scrape off with a plastic scraper. Follow up with steel wool and denatured alcohol to remove any residue. Opt for a citrus-based stripper if you're wary of harsh chemicals. Keep safety measures like gloves, protective eyewear, and good ventilation in mind.
Heat guns can be effective in removing old finishes, especially thick paint layers. Heat the surface just enough to soften the old finish and scrape it off with a putty knife. Be cautious not to scorch the wood, and keep the heat gun moving. Safety is crucial; wear heat-resistant gloves and work in a well-ventilated area.
Each method has its own challenges and perks. Weigh the pros and cons based on your piece's condition and experience. The goal is to remove the old finish efficiently without compromising the wood's integrity.
Sanding and Smoothing
Start with coarse grit sandpaper, around 80 grit, to remove any lingering remnants and flatten out the surface. Grab your orbital sander for large flat areas, but avoid pressing down hard or staying in one spot for too long.
Once you've tackled the bulk, move onto finer grits. Switching to 150 grit will eliminate scratches from the first pass. Then, gradually shift to 220 grit and finally up to 320 grit for a smooth, even finish. Always sand with the wood grain, never against it.
For tricky corners and intricate details, use sanding sponges, blocks, or detail sanders. They conform to unique shapes, ensuring you don't leave rough patches behind.
Keep the surface clean as you sand. Dust can clog your sandpaper, making it less effective. Use a vacuum attachment, tack cloth, or damp rag to frequently wipe away dust. This helps you see where you still need to sand.
Inspect your work with a flashlight, which will reveal any missed scratches or imperfections. Better to find and fix them now than after applying the finish.
Patience is key in this stage. Rushing through sanding can lead to imperfections that will haunt you later. Trust the process, keep checking your work, and you'll have a pristine canvas for finishing.
Staining or Painting
If you're leaning towards staining, you're probably aiming to preserve and enhance the natural wood beauty. Staining is a great choice if your piece has attractive wood grain or a unique pattern. Give your furniture one last clean with a tack cloth before staining. Select a stain that complements your decor.
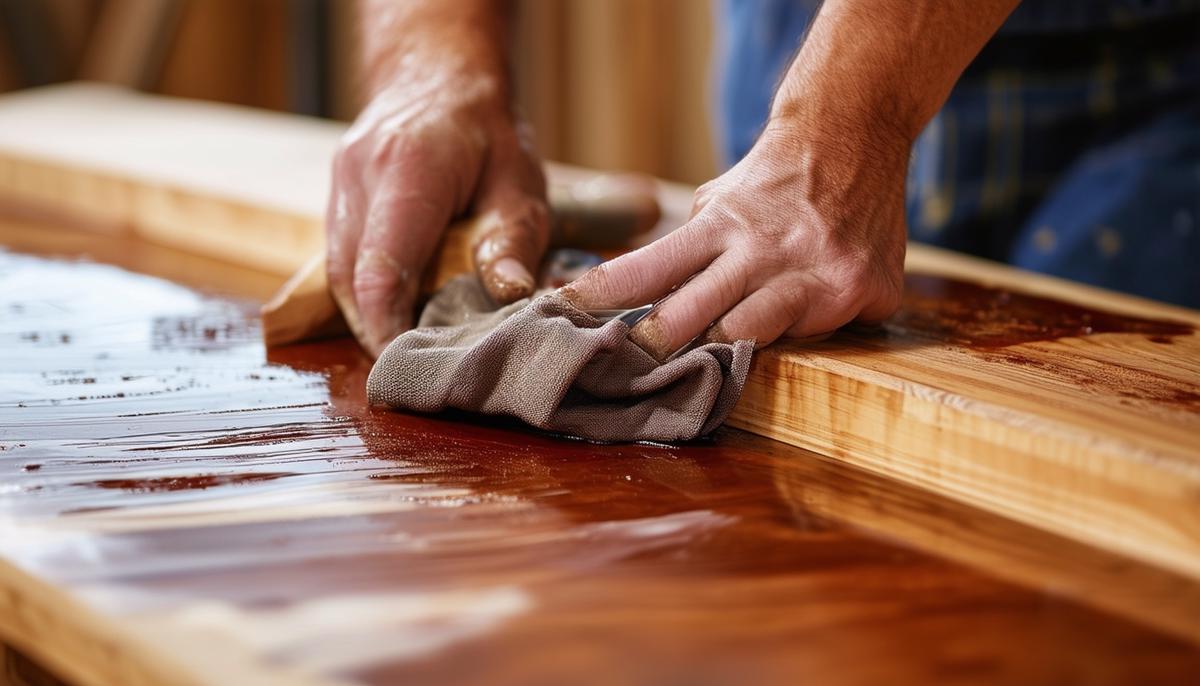
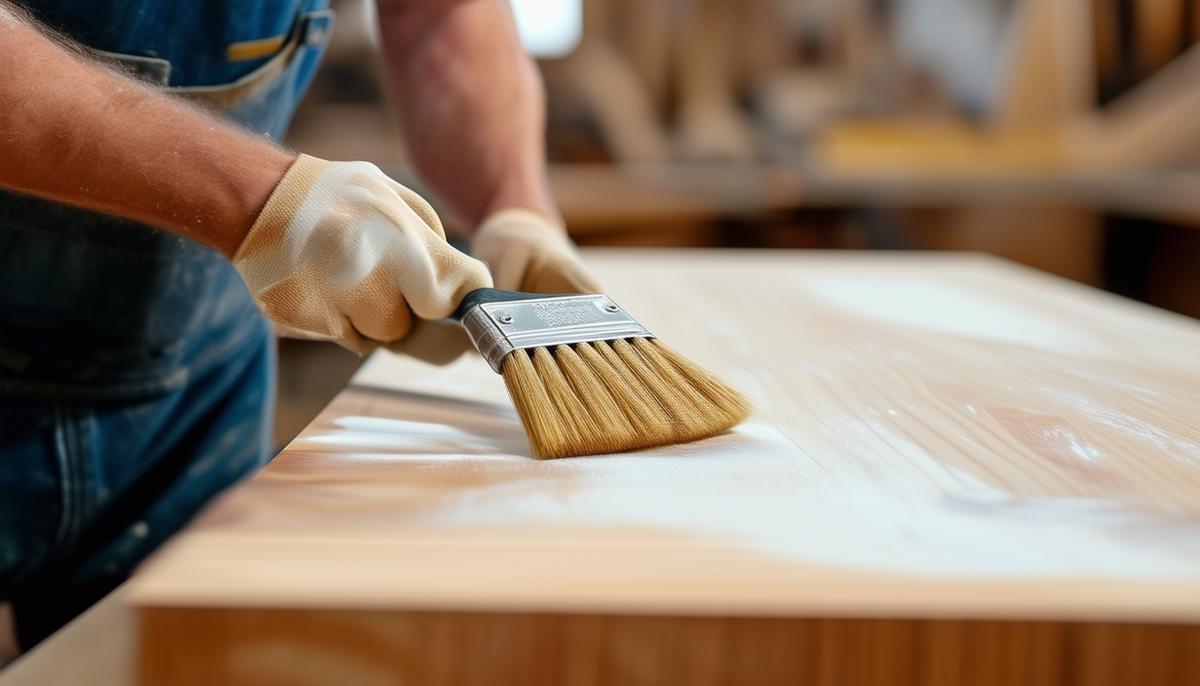
Apply the stain with a clean, lint-free cloth or brush, working in manageable sections. Wipe off any excess; timing is crucial. Follow the manufacturer's guidelines – multiple thin coats are better than a single thick one. Build up color gradually.
If you're aiming for a more customized look, painting might be the way to go. Painting transforms a dated piece into something fresh and modern. It can hide imperfections and give your piece an entirely new life. First, ensure the surface is clean and dry. Applying a good primer is key, especially if you're covering dark wood with a lighter color.
Choose a paint formulated for furniture. Apply in thin, even coats using a high-quality brush or foam roller. Avoid overworking the paint. Let each coat dry thoroughly before adding another for a smoother, more durable finish.
Pay attention to detail. Use painter's tape to create crisp lines or protect areas you don't want painted. This is useful if you're combining paint and stain for a two-tone effect.
Think about your piece's style and how it fits into your decor. A classic item might benefit from a rich, wood-enhancing stain, while a modern room could use a pop of color through paint.
Once you've completed staining or painting, allow the piece to dry completely in a dust-free environment. Enjoy the satisfaction of seeing your hard work pay off. Your piece is inching closer to its final form, and your patience will be rewarded with a stunning, refreshed piece of furniture.
Sealing and Finishing
Sealing and finishing your refinished furniture is the crucial final step that protects your work and gives the piece its polished appearance. Choosing the right sealer depends on your finish and the intended use of the furniture.
Polyurethane and Polyacrylic are high-durability options that are moderately easy to apply. They come in water-based and oil-based formulations. Oil-based polyurethanes add a warm, amber hue, perfect for darker woods and a traditional look. Water-based versions dry quicker and keep the wood's natural color, ideal for lighter woods or a modern finish. Apply using a high-quality synthetic or foam brush. Three to five thin coats typically ensure adequate protection. Sand lightly with 320-grit sandpaper between coats to improve adhesion. Allow ample dry time.
Lacquer offers a high-gloss finish but is tricky to apply. It's usually best sprayed on, as brushing can cause streaks or brush marks. It's great for intricate pieces with carvings, as it flows out smoothly. Keep your workspace well-ventilated due to strong fumes. Apply multiple thin coats, allowing each layer to dry completely.
Shellac is a fast-drying sealer but less durable than lacquer or polyurethane. It's versatile and user-friendly. Shellac gives a beautiful sheen and works well on antiques, adding a rich luster. It's perfect for low-traffic pieces like display cabinets. Apply with a natural bristle brush. Remember, shellac is sensitive to water and alcohol.
Oil finishes, such as tung oil or linseed oil, penetrate the wood and provide a warm, natural finish. They require more upkeep and can scratch or wear easier than poly or lacquer finishes. Apply with a lint-free cloth, rubbing in the direction of the grain. You'll need several coats, allowing each one to dry thoroughly and buffing between applications for a deep, rich finish. Oils are great for bringing out grain patterns but not for high-traffic pieces unless you're okay with regular maintenance.
Wax is often used as a final topcoat over other finishes. It gives a soft, satin sheen and is easy to apply with a cloth or steel wool. Wax enhances wood but doesn't protect it from serious wear and tear. Ideal for decorative pieces or items that won't see rough usage. Reapply wax periodically.
Varnish combines durability with ease of use and comes in oil-based and water-based varieties. It's a solid choice for outdoor furniture as it offers excellent protection against elements. Apply with a high-quality brush, ensuring thin, even coats. It can yellow slightly over time, adding warmth to the wood. Varnish is durable but takes longer to dry.
Application tips:
- Start in an unobtrusive spot to ensure the finish applies evenly.
- Don't overload your brush or cloth; thin, even coats prevent drips and bubbles.
- Let each coat dry thoroughly before adding the next.
- Maintain good ventilation, especially with oil and solvent-based products.
After applying the final coat, give your piece ample time to cure completely. Resist the urge to use or place items on it until it's fully cured. The effort you put into sealing and finishing transforms your project into a stunning, professional-quality piece ready for your home.
Reassembling and Final Touches
Once your sealer has fully cured, carefully reattach any disassembled parts. Ensure each part fits snugly and securely. Test everything for sturdiness and make any necessary adjustments.
Consider new or refurbished knobs and handles – they're like jewelry for your furniture. For a modern look, consider sleek, stainless-steel handles. Antique brass handles can give a vintage feel. Installing hardware requires precision; measure carefully and use a template if necessary.
Personalizing the piece doesn't stop with exterior hardware. Add drawer liners for a pop of color or pattern, or paint the interiors for an extra-special touch. Measure drawers accurately for liners, and seal painted interiors with a clear coat for durability.
Consider minor additions like soft-close mechanisms for drawers or felt pads under legs to protect your floors. These little things can significantly enhance functionality and longevity.
Step back and appreciate your work – every detail adds up to a piece of furniture that's uniquely yours, with a story and a new lease on life thanks to your effort and craftsmanship. Your space is about to look more stylish and personalized.

Tools and Materials
Let's gather the primary tools for furniture restoration.
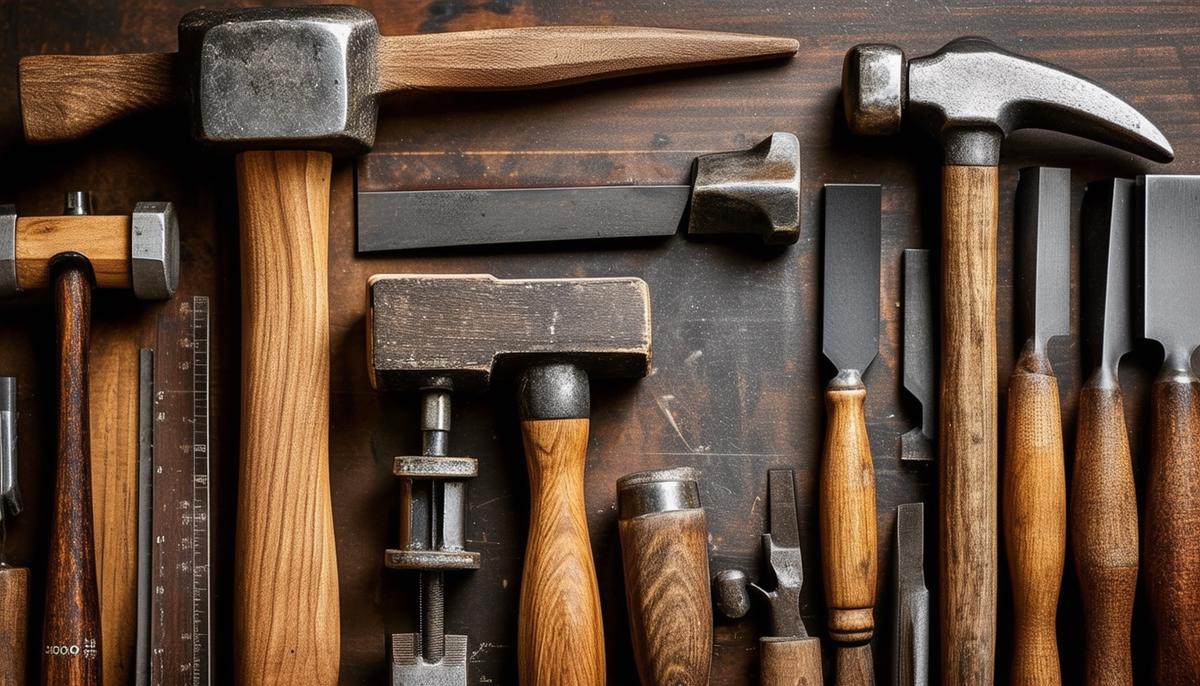
Scrapers are essential for removing old finishes. A stiff-bladed putty knife works wonders in cramped spaces and for applying wood filler, while a pull scraper is crucial for getting rid of old finish down to bare wood. You'll also need a smooth-cut file to keep your scrapers' edges sharp.
Hammers are indispensable. A 13-ounce claw hammer is lighter and easier to handle than the standard 16-ounce. A ball-peen hammer is versatile for metal work, and a rubber or wooden mallet is gentle on wood – great for tapping components into place.
Measuring tools like a combination square, steel ruler, and tape measure ensure accuracy. A combination square does double duty as a depth gauge, angle setter, ruler, and straightedge.
For sanding, a set of padded or foam sanding blocks is a must. A rotary sanding attachment for your electric drill can handle hard-to-reach spots without flattening the wood. Use specialized shapes for curved surfaces.
A variable-speed electric drill is a workhorse. With an assortment of drill bits and attachments, it's versatile. Electric drills can make precise holes quickly and serve double duty with screwdriver attachments.
Secondary tools like a magnetic tack hammer, jack plane, jointer plane, spiral ratchet screwdriver, wrench assortment, locking pliers, nail sets, dividers, rasp and file assortment, and a saber or jigsaw can make your job easier and faster.
Investing in quality tools leads to better results and fewer replacements. Good tools feel better in your hand, perform more accurately, and can last a lifetime with proper care.
In the end, patience and attention to detail transform a restoration project from good to great. By carefully assessing, stripping, sanding, staining or painting, sealing, and reassembling your piece, you create something beautiful that stands the test of time. Enjoy the satisfaction of bringing new life into an old piece of furniture.