
Wood burning, or pyrography, combines precision and creativity. From selecting the right tools to mastering essential techniques, each step plays a crucial role in achieving professional results. Whether you're just starting out or looking to refine your skills, understanding the basics can make all the difference.
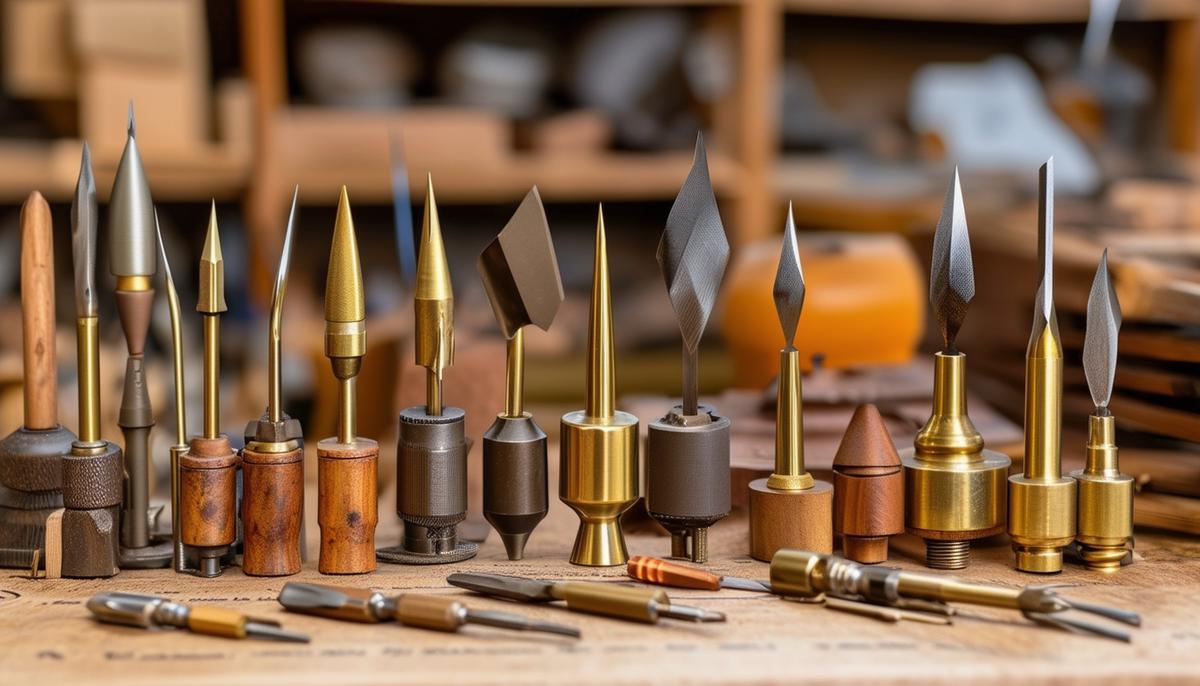
Choosing Wood Burning Tools
Selecting wood-burning tools comes first. You've got two main choices: solid brass tip burners (craft style) or wire nib burners. Solid brass tips, like those in kits from Truart and Walnut Hollow, make excellent starting points. These craft-style tools are essentially soldering irons with solid brass tips. They heat up slower but hold a steady temperature, making them beginner-friendly.
Wire nib burners heat quickly and allow for intricate detailing. These give you the finesse needed for fine artwork, speeding up your craft. The TruArt Professional Dual-Pen Tool and models from Razertip are go-tos for this category. Despite their higher cost, they're investments that pay off by saving time and delivering consistent heat.
Focus on lightly colored, smooth-grained, and knot-free wood like birch, basswood, and maple. Woods like pine are problematic because of their soft and hard grain variations, leading to uneven burns. Prepping the wood by sanding it to a smooth finish is crucial.
Start with a lower heat setting and test your burner on a scrap piece of wood. Adjust the heat until you find the sweet spot. Keep it moving – never pause. Dark blotches appear when there's a buildup of heat from pausing too long.
Blot the pen tip on scrap wood before making contact with your main piece. This avoids those pesky dark spots. Uniform strokes yield the best results for a consistent look. Pull-away strokes work wonders for gradient shading. If you want a texture that mimics fur or water, zigzags are your friend. Circular motions help with areas requiring a smooth tonal variety, like fluffy clouds or soft shadows.
Having a few different tips at hand can expand your capabilities:
- Ball tips are great for stippling and texture
- Writing tips are perfect for cursive and fine details
- Skew tips offer sharp, defined lines
Safety gear isn't optional; it's essential. Work in well-ventilated areas, and consider using a fan or smoke extractor. Wear a respirator with organic filters if you're going to be burning for extended periods.
When working on a design, sketch it out first. Transfer it to your wood using carbon paper or by freehand if you're confident in your drawing skills. Starting lightly is key. You can always make lines darker, but lightening them is tough.
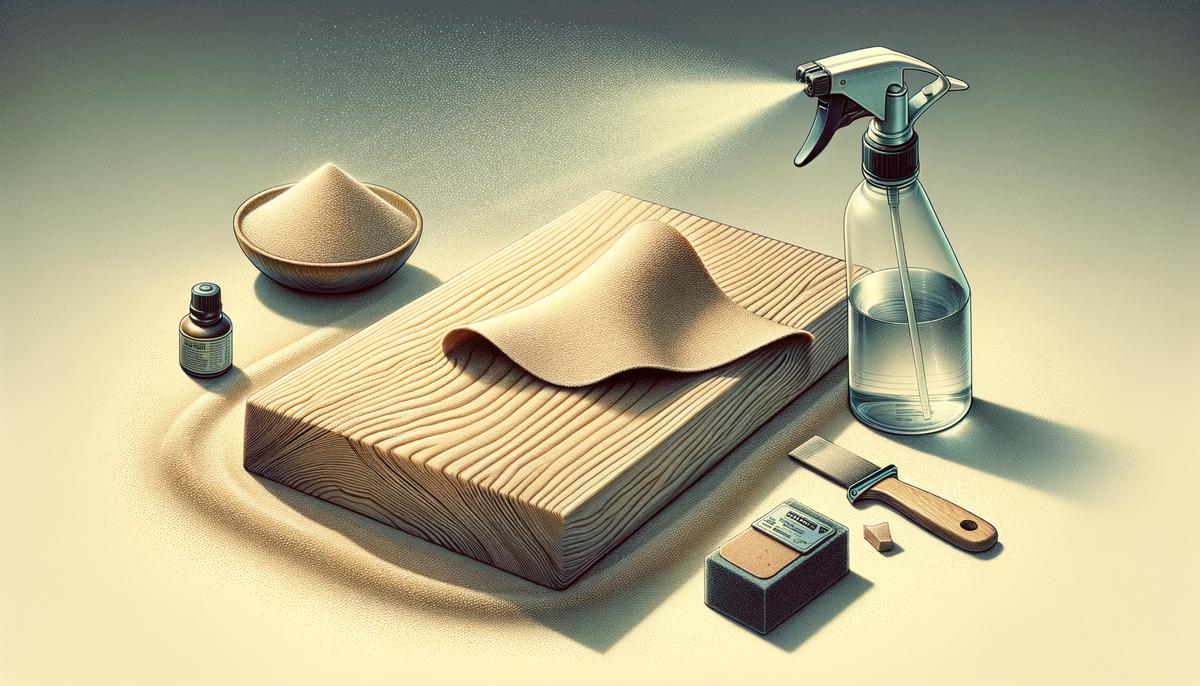
Preparing Your Wood Canvas
Choose light, smooth-grained wood like basswood or birch. Avoid pine and cedar. Start by sanding the wood thoroughly with fine-grit sandpaper, around 220 grit works best. This removes any surface blemishes and gives your wood a clean slate.
Next, wet the wood to raise the grain. Use a spray bottle filled with water to lightly mist the surface, or use a damp cloth to wipe it down. Allow the wood to dry completely. You'll notice a fuzzy texture once it dries—this is the grain that has been raised.
Now, grab that fine-grit sandpaper again and give it another sanding to knock down the fuzz. This second sanding makes the wood ultra-smooth, which is what you're aiming for. Smooth wood allows for precise, clean burns and reduces the risk of your pen tip catching on rough spots.
Once your wood is prepped, you're ready to bring your design to life. Transfer your sketch onto the smooth surface using carbon paper, or draw lightly freehand.
Don't skip on the prep work. A smooth, clean canvas is key to a professional-looking final product. It might take an extra 10 minutes, but it's worth every second when you see the results.
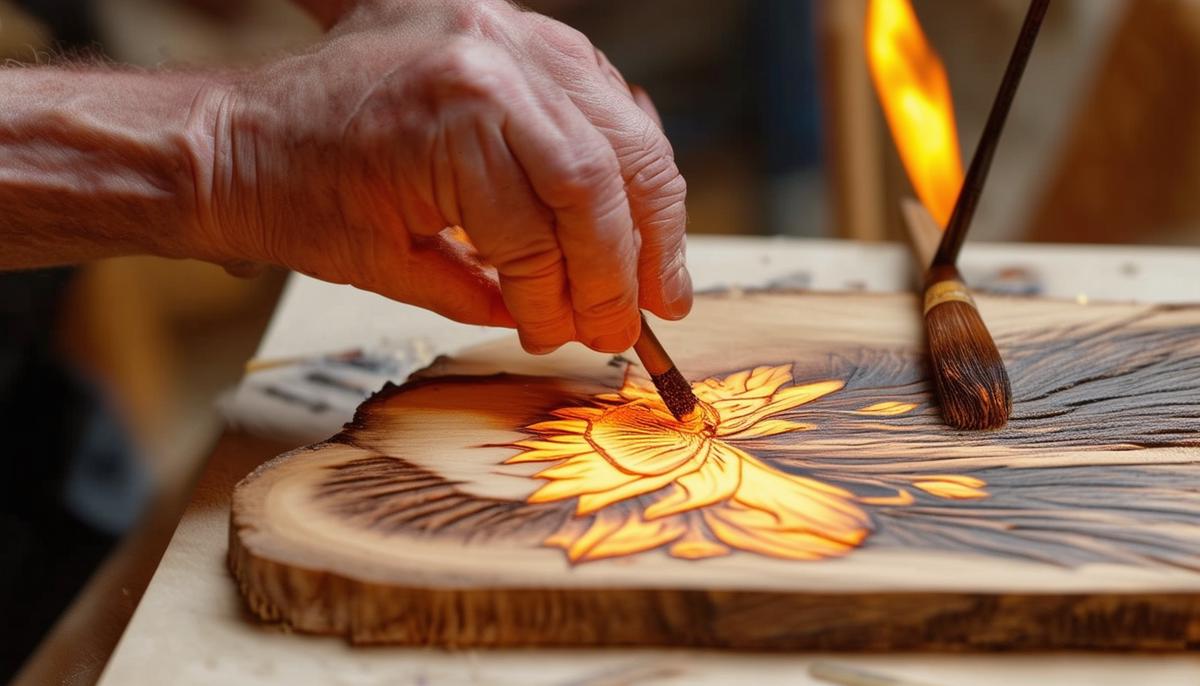
Essential Burning Techniques
Start with uniform strokes. These are your go-to for creating consistent, solid areas of color. To achieve a uniform look, hold the pen at a steady angle and apply light, even pressure. Practice this technique on a scrap piece of wood, aiming for smooth, even lines without any dark spots or inconsistencies.
Circular motion is great for creating smooth, tonal variations and is particularly useful for areas like clouds or soft shadows. The trick here is to keep your hand moving in small, continuous circles, overlapping slightly. Open circular motions leave light gaps, perfect for softer textures, while closed circular motions create denser, more saturated areas.
Pull-away strokes are excellent for shading and creating gradient effects. Start with the pen tip in one spot, then pull away quickly to create a line that starts dark and fades out. This technique mimics natural shading and is ideal for giving your artwork depth and dimension.
Zigzags are versatile for adding texture and detail. They work well for fur, water, or foliage. These strokes involve moving the pen in a back-and-forth motion to create a zigzag pattern. Adjust the width and angle of the zigzags based on the texture you aim to replicate.
Practicing these techniques on scrap wood is indispensable. Each type of wood burns differently, so testing on various scraps helps you understand how your tool reacts. As you practice, you'll notice how different woods influence the final look of your burn, and you can adjust your technique accordingly.
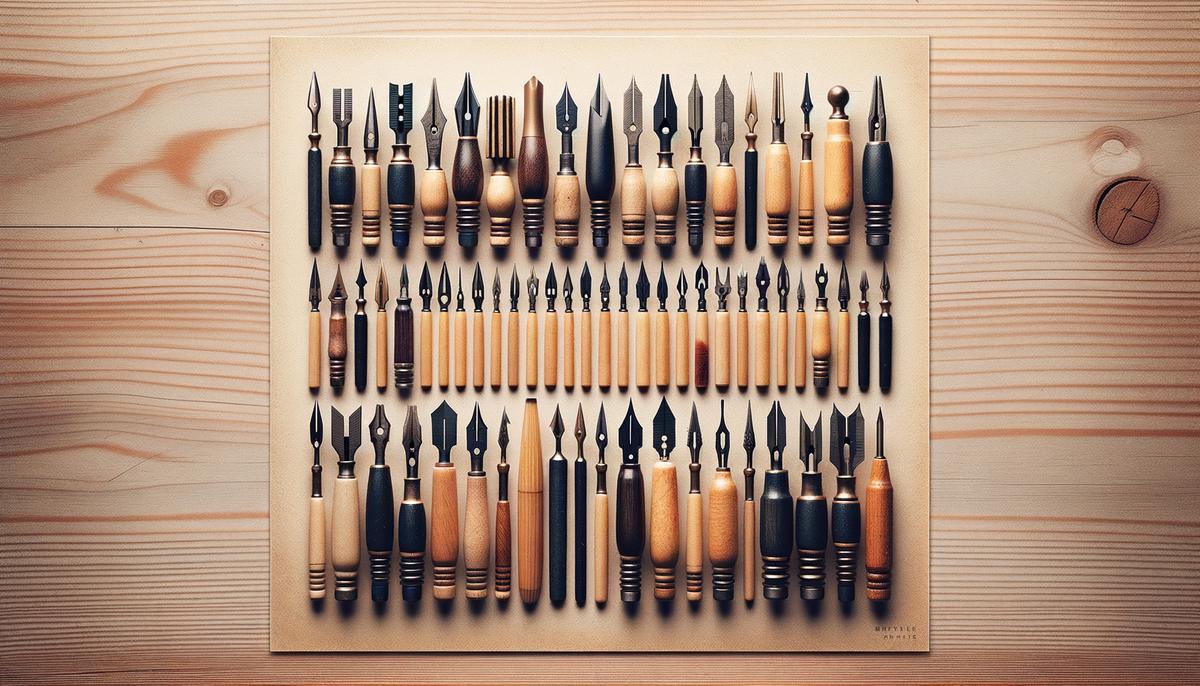
Working with Different Nibs
Various projects require different nibs, and knowing their specific functions can significantly improve your wood-burning results.
- Writing Tips are your go-to nibs for creating lines, curves, and intricate details. They're fantastic for making precise outlines and adding textures. Whether you're inscribing letters or detailing fur on an animal, writing tips give you the control needed for delicate work.
- Ball Tips are great for stippling and adding texture. Stippling can add depth and interest to your piece, creating different shades and textures just by varying the density of the dots. This technique is particularly useful for shading areas or adding a textured finish to natural elements like leaves or tree bark.
- Shader Tips are ideal for shading and achieving smooth, tonal values. When using the shader, think of gently sweeping a paintbrush across the wood. Light, even pressure and a consistent hand movement will help you achieve those subtle shades that give your artwork a three-dimensional appearance.
- Skew Tips are perfect for straight lines and edges. They're indispensable when you need to outline an object clearly or add fine details with precision. Use them at an optimal angle to control the depth and clarity of your lines. This nib is excellent for boarders, geometric shapes, and any application where neat, defined lines are a must.
Experimenting with each type of nib is key to finding what works best for your style. Try using different tips on scrap wood first, and take note of how each one behaves under various heat settings and pressures. Always remember to clean your tips regularly; carbon buildup can affect the quality of your burns.
Safety Precautions
Ensure your burning pen is always placed securely and away from flammable materials. Use a soldering-iron stand or another type of pen holder that keeps the tip elevated and secure when not in use.
Use a well-ventilated space to carry out your pyrography. Consider setting up near an open window with a fan to help disperse the smoke. Even better, invest in a smoke extractor specifically designed for indoor crafting.
Wear a respirator with organic filters. It might feel a bit awkward at first, but it's a small price to pay for long-term health.
Never leave your burner unattended. Always turn off and unplug your wood-burning tool if you need to step away, even if it's just for a minute.
Keep your work area clean and clutter-free. Remove any paper, fabric, or other flammable items from your workspace. It helps to lay out a non-flammable mat or board to work on, adding another layer of safety between your artwork and your tabletop.
Wear heat-resistant gloves to protect your hands from accidental burns. Even the most experienced burners can slip up, and a simple pair of gloves can save you from a painful injury.
Following these guidelines ensures you can enjoy your craft without risking your health or safety.

- Carver A. Personal communication. 2023.
- Wood-Database. Wood Allergies and Toxicity. The Wood Database. 2023.
- Razertip Industries. Product manual: Razertip SS-D10 Pyrographic Burner. Martensville, SK: Razertip Industries; 2022.