
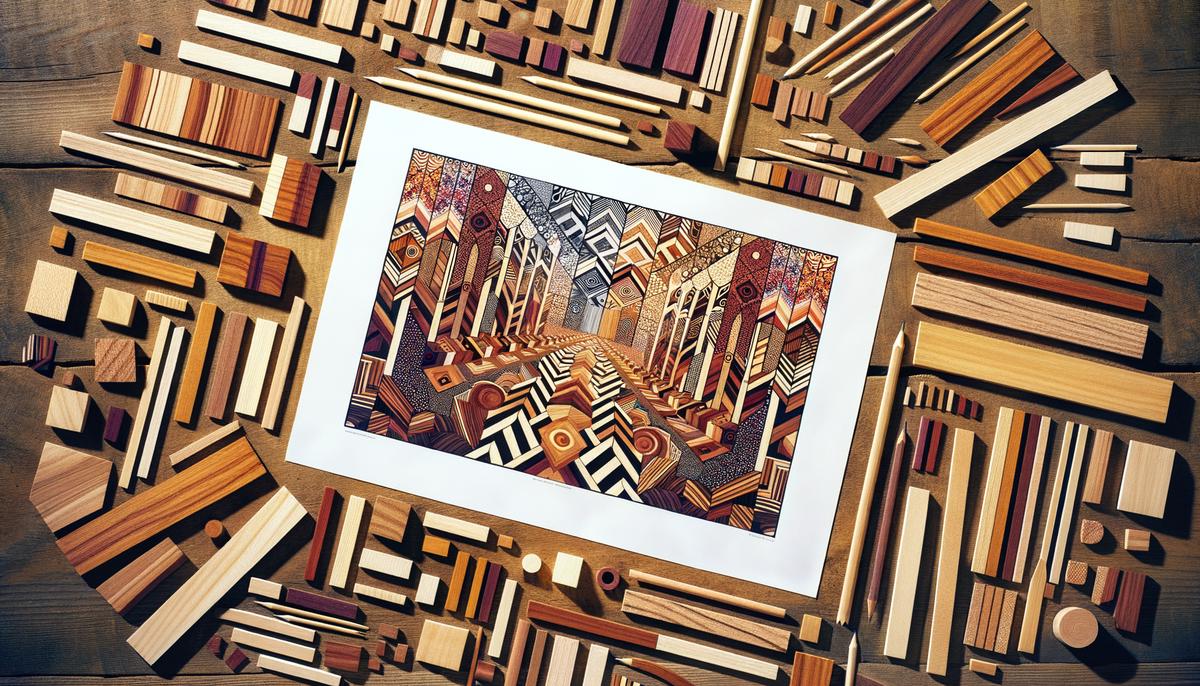
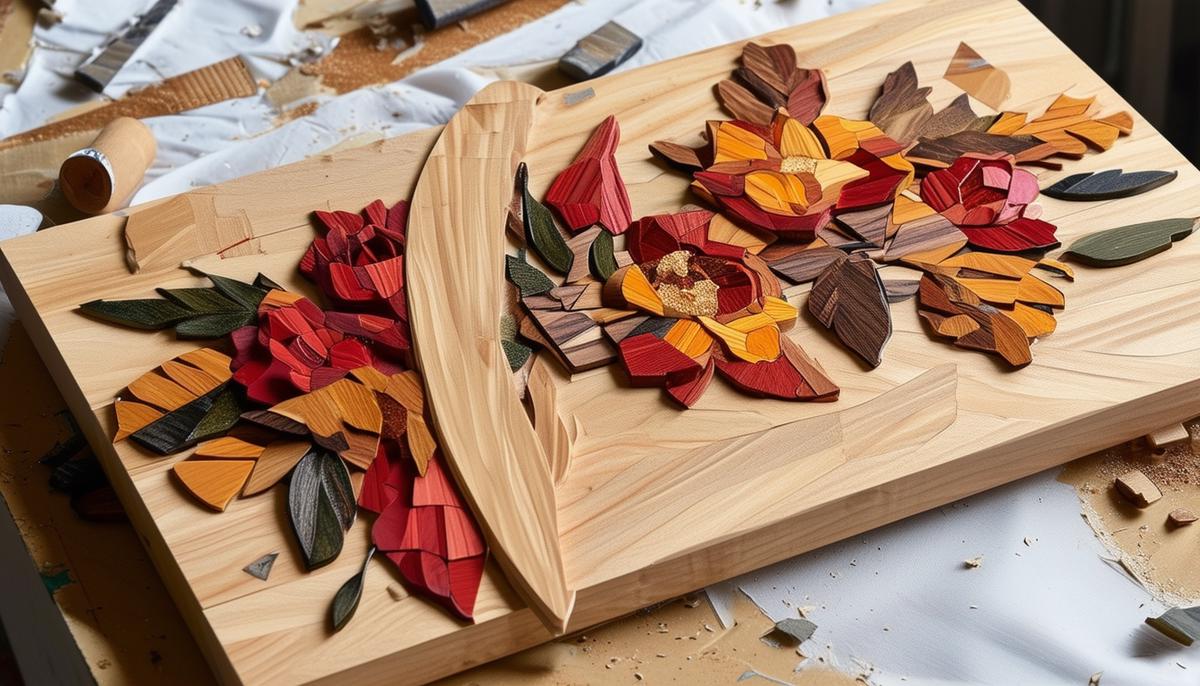
Choosing the Pattern and Wood
Select an appealing design, whether purchased online or created from a photo. Coloring books, stained glass patterns, or traced photographs can work. Use fine lines for easier following. Make multiple copies, keeping a master and a spare. The number of copies depends on the project's pieces.
Wood choice is vital. Consider:
- Color: Match colors and ensure they work together.
- Thickness: Thicker wood allows for more curves but is harder to cut.
- Species: Dense wood is difficult to cut, and grain patterns can be too busy.
Pay attention to the wood grain and pattern design; a knot or grain can enhance the final result. When sawing, choose a blade based on wood thickness. Dense wood dulls blades quickly, so have extras. Ensure the blade is perpendicular to the saw table.
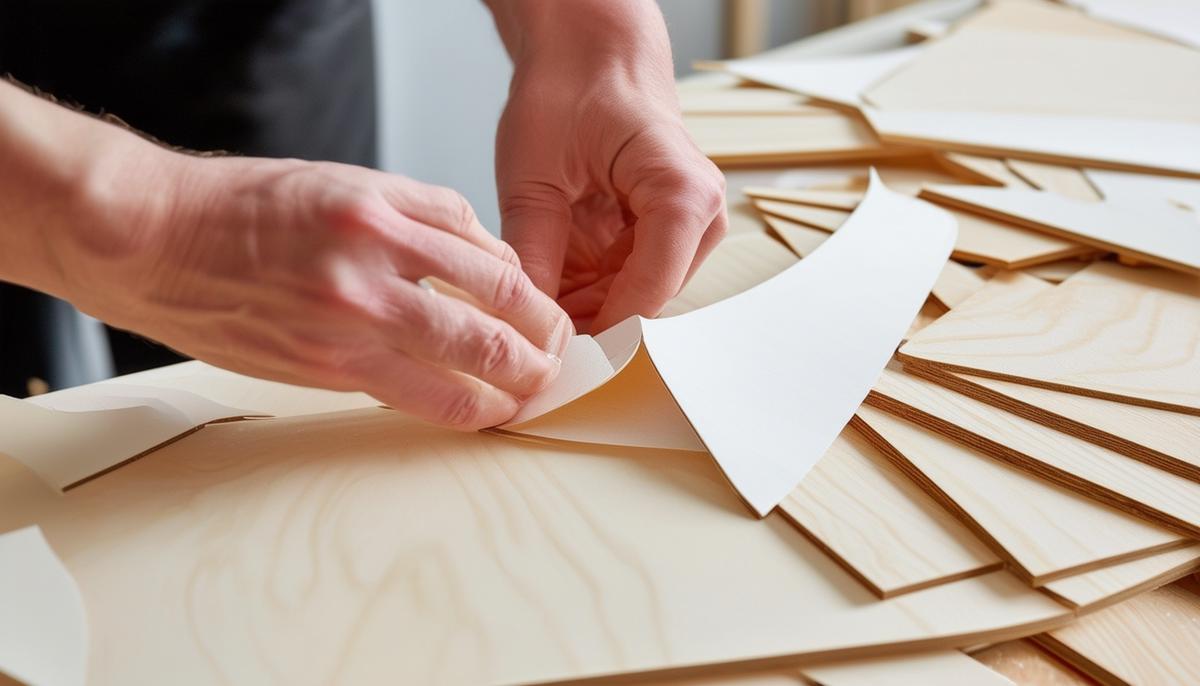
Attaching the Pattern to Wood
Cut and organize your paper pattern pieces by color and attach each to the corresponding wood piece using repositionable stick glue or blue tape with glue on top. Align the grain direction with the design for added visual appeal. Number the pieces if they aren't already.
Pro tip: Consider the grain direction when attaching the paper to the wood. A knot or unique grain pattern in the right spot can enhance your project's look.
Arrange the pieces on your workspace, keeping them grouped by color. This will streamline the next steps and keep your workspace organized.
Ensure your saw blades are sharp and appropriate for the wood thickness. Dense woods can dull blades quickly, so keep extras on hand. The blade must be perpendicular to the saw table to avoid gaps in your pieces.
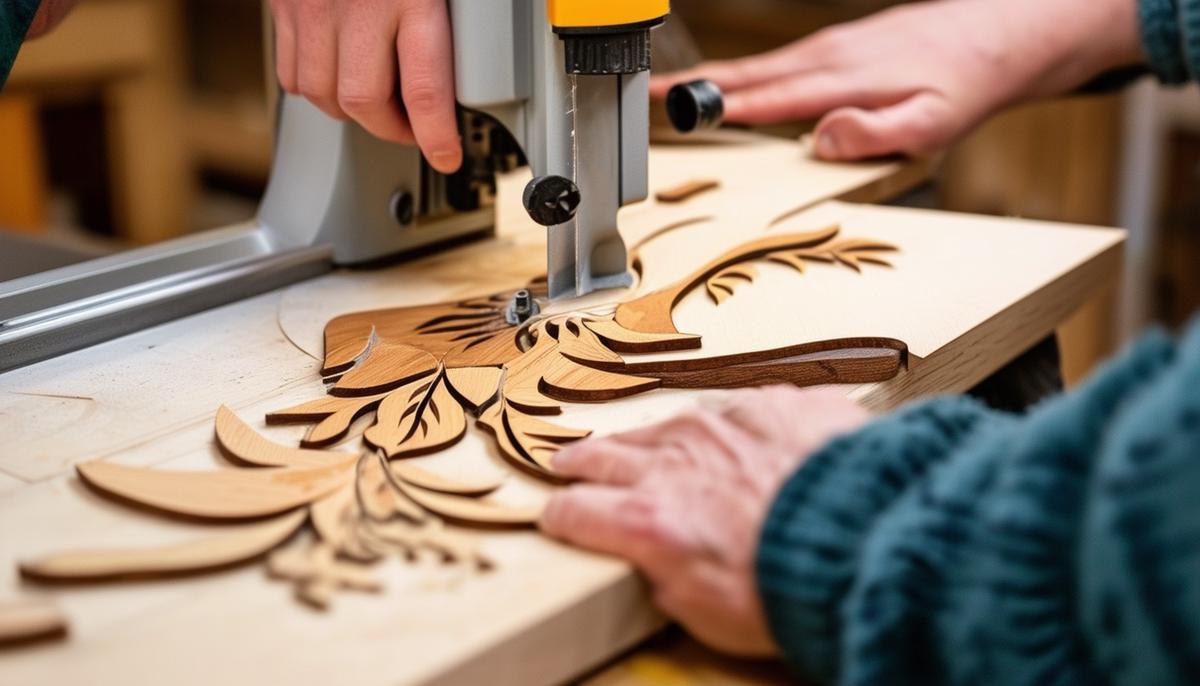
Sawing the Project Pieces
With your pattern pieces affixed to the wood, it's time to start sawing. Select a suitable scroll saw blade for your wood thickness. Ensure the blade is perpendicular to the saw table for accurate cuts and snug-fitting pieces.
As you saw along the pattern lines, you'll develop a preference for cutting on, inside, or outside the line. Don't worry about fuzzies on the underside; they can be sanded off later. If fuzzies appear on the top surface, your blade might be upside down.
"I like to set the pieces on the master pattern as I cut them out. You can check the fit of neighboring pieces as you go and either adjust the pieces if need be, or cut a new piece." – Intarsia expert
Once all pieces are cut and fitted, you're ready for shaping.
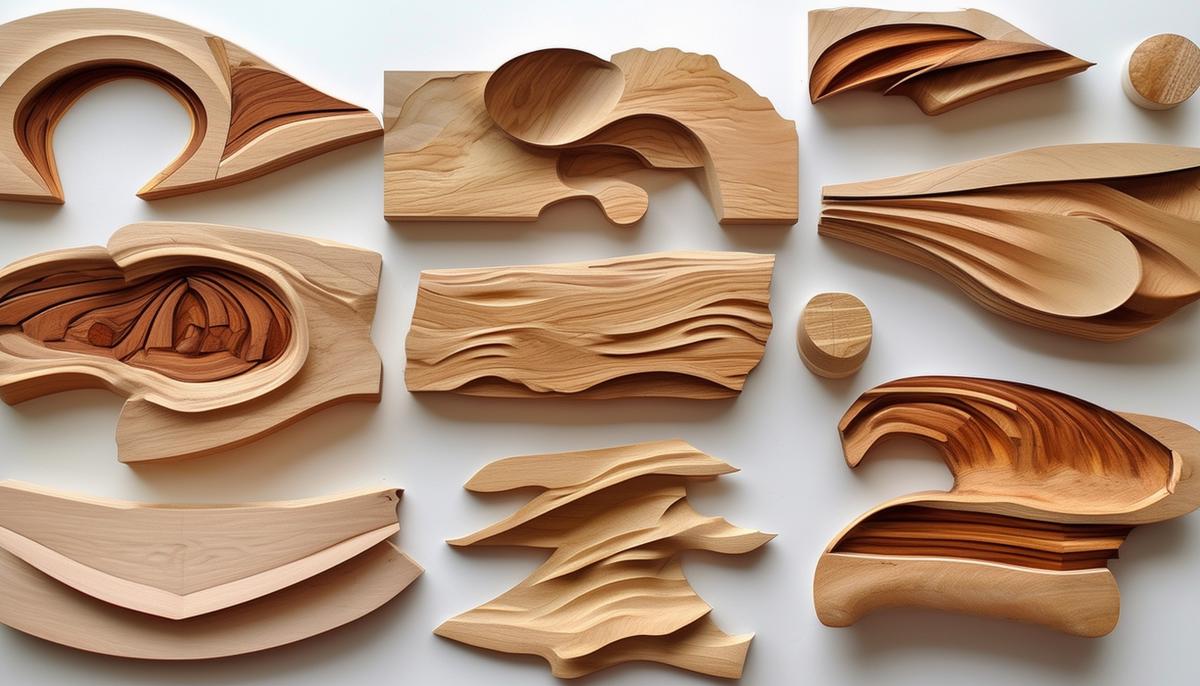
Shaping and Sanding
- Begin rough shaping with 80-grit sandpaper on a pneumatic or spindle sander.
- Contour the pieces to create a preliminary 3-D form.
- Mark adjacent pieces' heights with a pencil to ensure consistency.
- Avoid sanding entire sides to maintain solid contact between pieces.
- Move to 100-grit sandpaper to refine shapes and fine-tune details.
- Use 150-grit to smooth out remaining rough spots.
- Finally, use 220-grit for the smoothest possible surface.
Tip: Rolling up sandpaper sheets creates a firm yet flexible surface for sanding, perfect for reaching small areas. Taking time with each sanding stage will result in beautifully fitting pieces and smooth, contoured surfaces.
Gluing and Finishing the Project
Before gluing, consider adding hanging hardware or a signature. Choose a ¼ inch plywood or hardboard backer. To match the project shape, trace the outline using an assembled copy of the pattern. For a different shape, trace around the assembled project directly.
Apply a thin coat of wood glue to each piece and the backer board. If you've tack-glued the pieces together, lift the entire assembly onto the glued backer. For individual pieces, apply glue and place them one by one, ensuring a snug fit.
Allow the glue to dry overnight. After curing, sand any glue residue with 220-grit sandpaper. Remove dust with compressed air and a tack cloth before finishing.
Apply your chosen finish, such as polyurethane, in two to three coats. Allow each layer to dry thoroughly, sanding lightly with 400-grit between coats if needed. This process will result in a polished, professional-looking intarsia piece ready for display.
- Roberts JG, Booher J. Intarsia Woodworking Projects. Fox Chapel Publishing; 2007.
- Wise K. Intarsia Woodworking for Beginners. Fox Chapel Publishing; 2010.
- Johnston B. The Art of Intarsia. Woodworker's Journal. 2018;42(3):44-49.
- Waller J. Intarsia: A Modern Revival of an Ancient Art. Fine Woodworking. 2019;274:62-67.