
Acclimate the Flooring
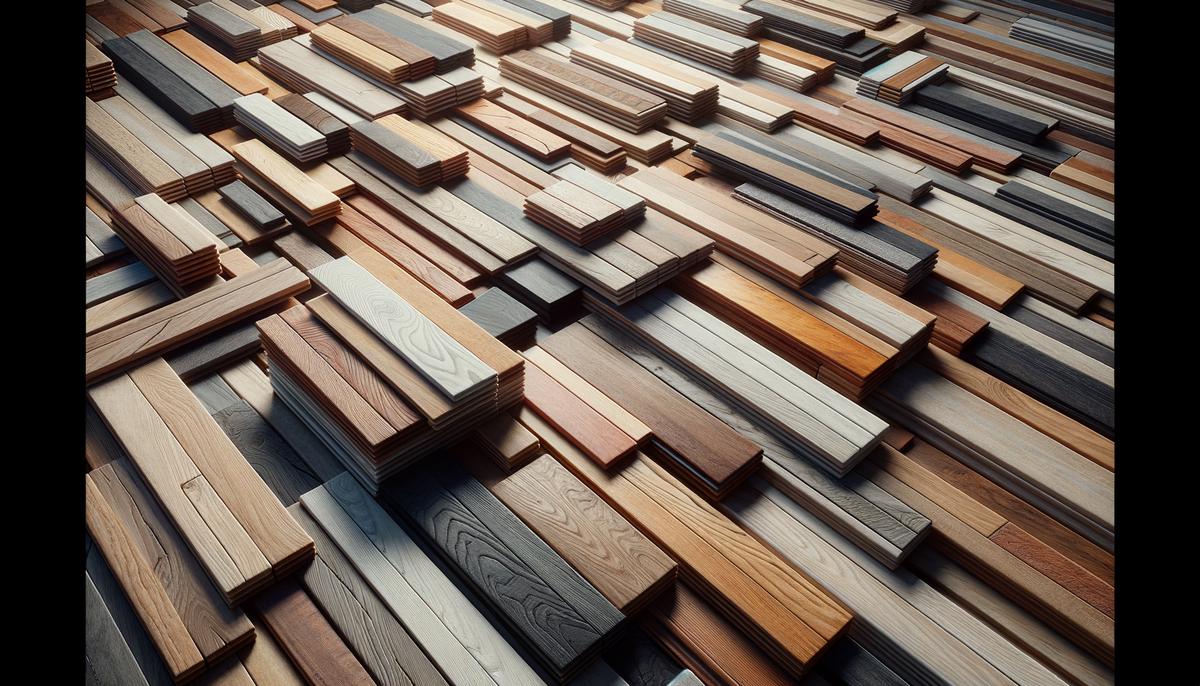
Let the flooring acclimate to room temperature and humidity for three to five days. This step is crucial – you don't want your beautiful new floors to buckle or gap. While the planks sit, arrange boards from several cases, mixing them up. This ensures variations in shade and length, giving your floor a natural look.
Pick the straightest boards for the first rows. Lay them out on the floor to create a visual before installation. This also allows you to weed out any warped or damaged pieces. Keep these rejects – they may be useful for shorter cuts or hidden sections.
Inspect every board for warping, cracking, or imperfections. Set aside any questionable boards for use in less visible areas. Meanwhile, remove old flooring, baseboards, and any leftover nails or screws. Vacuum up any residue.
After acclimation, arrange the boards on the subfloor as you plan to install them. This helps identify any pattern or spacing issues before the real work begins. Notice a problematic board? Now's the time to cut it to size. Ensure the first and last rows can be nailed through the face, and pre-drill holes for nailing. Take a final look – are the rows staggered and is there a ¾-inch expansion gap? If everything looks set, you're ready for installation.
Prepare Your Subfloor
Use the acclimation period to prep your subfloor. Remove any old flooring, carpet strips, and baseboards with a pry bar. Vacuum the subfloor to remove dust and debris.
Inspect the subfloor – it should be level and smooth. Address any uneven spots or leftover nails. Sand down high spots and use a leveling compound for low areas. If there's no subfloor, install a ¾-inch plywood or OSB board for a stable base.
- Locate the floor joists by tapping the floor with a hammer and marking their positions on the wall.
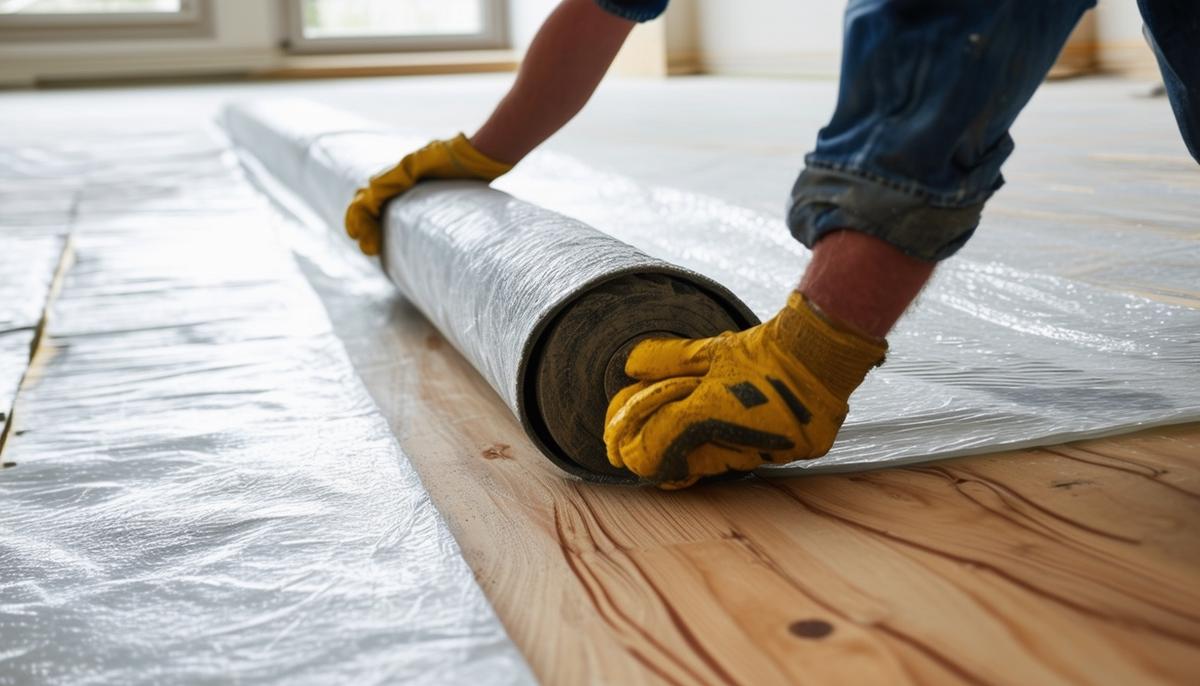
- Cover the subfloor with a 15- to 30-pound asphalt-saturated felt or silicone moisture shield, rolling it out carefully without overlaps or gaps.
With your subfloor prepped and protected, you're ready to install your hardwood on a solid foundation, safeguarded against moisture and uneven surfaces.
Install the Boards
- Snap a chalk line for your first row, ensuring it's straight. Align your first board along this line, with the groove facing the wall. Secure it with nails along the pre-drilled holes, maintaining a ¾-inch expansion gap using spacers.
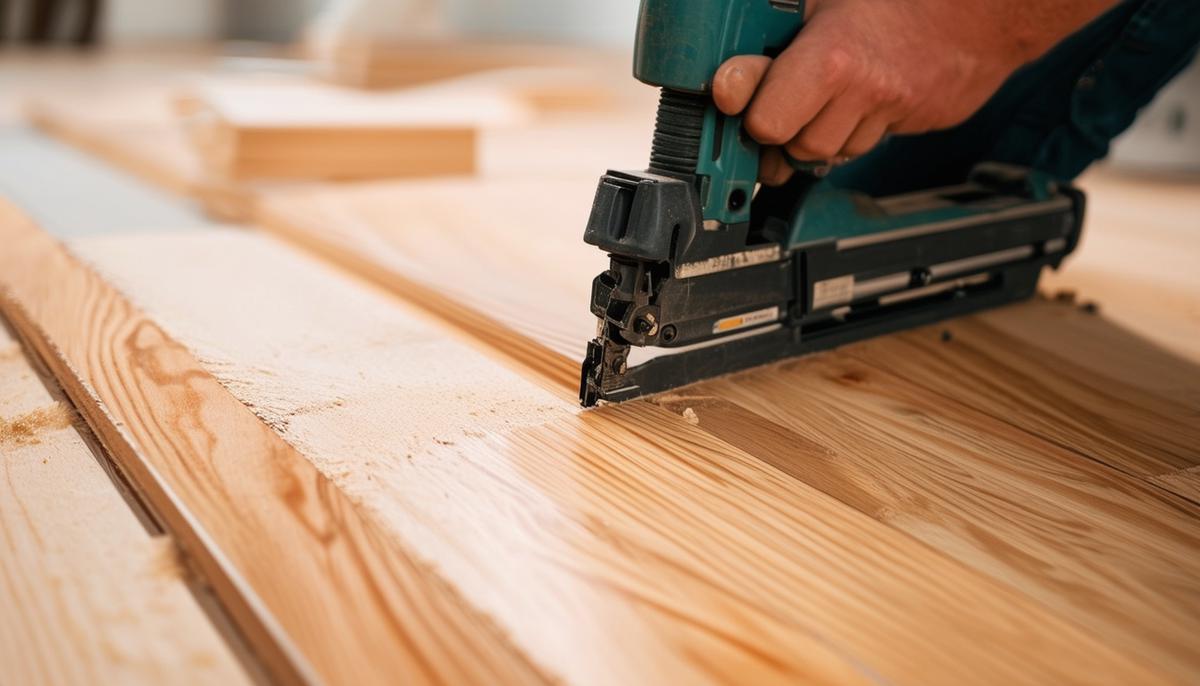
- Gently tap the next board's tongue into the groove using a mallet and tapping block, creating a snug fit. Blind nail through the tongue at a 45-degree angle, countersinking the nails to avoid interference with the next board's groove.
- Stagger the joints by at least 6 inches, enhancing stability. Use shorter boards where necessary, and switch up planks from different boxes to avoid color clumping.
- Keep checking your progress against the chalk line and joist markings. When reaching the end of a row, cut the last board to fit while maintaining the expansion gap.
As you continue, you might find a pneumatic floor nailer easier. But concentrate on getting those first few rows perfect – they're the foundation for the rest.
Finish and Replace Baseboards
Cut the excess underlayment using a utility knife, keeping it snug against the hardwood edge for a clean look.
Replace the baseboards, positioning the lower edge flush with the floor's top. Nail the baseboard to the wall, not the floor, allowing the hardwood to expand and contract freely.
If using shoe molding, nail it to the baseboard, not the floor.
Install thresholds or transition strips where the hardwood meets other flooring types, covering the edges for a smooth transition.
Face-nail the final rows by driving nails directly through the board's face. Drill pilot holes and countersink the nails.
Fill nail holes with matching wood putty, leveling it flush with the floor. Sand if necessary to smooth imperfections or wood putty.
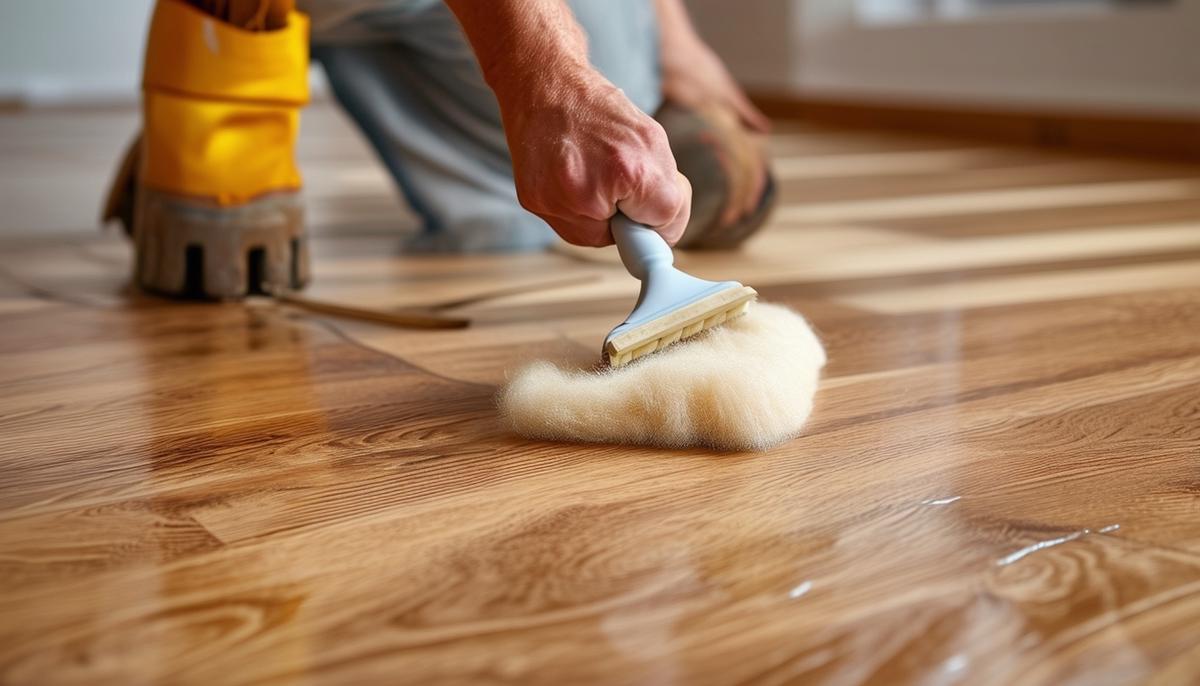
If desired, apply a stain to update the color, followed by a protective finish for durability and sheen.
Step back and admire your stunning new hardwood floor, an investment you'll enjoy for years.
- Hardwood Flooring Installation Guide. National Wood Flooring Association.
- Hardwood Flooring Installation and Care. Consumer Reports.
- Jones, T. Hardwood Flooring: Installation, Finishing, and Refinishing. Taunton Press, 2018.