
Plan Your Deck Construction
When preparing for deck construction, the first step is getting necessary permits and consulting the local building department. Make sure to call 811 to have your underground utilities marked. You don't want to hit a gas line.
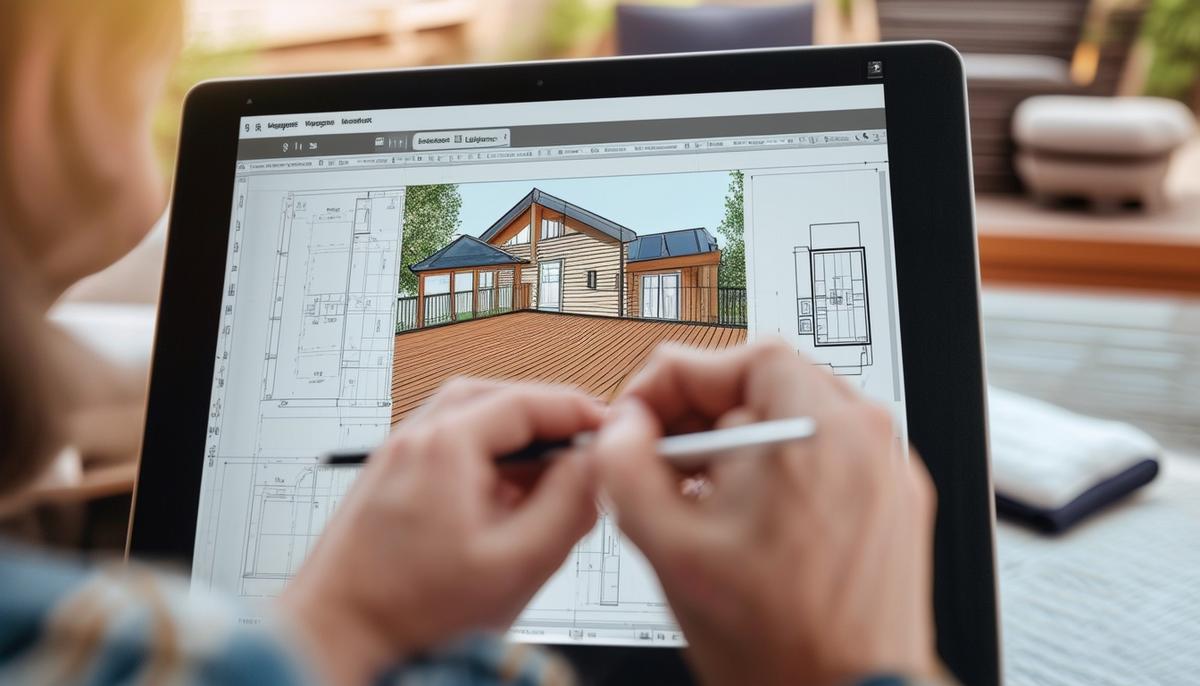
Take advantage of online deck design tools. These allow you to draft a plan, estimate costs, and build a list of materials. It's wise to have a clear picture of what you're getting into before you start.
When planning the deck's size, consider your outdoor furniture and how much space you'll need to move around comfortably. Additionally, plan the size to avoid awkward narrow boards at the ends.
As you draft your plans, consider where the railings will go. You don't want them blocking windows or doors that swing outwards.
For a budget-friendly build, pressure-treated wood is a solid option, and you can stain it any color you like. Alternatively, composite decking boards are low-maintenance and give a clean look with hidden fasteners.
You'll need:
- Posts
- Gravel
- Batter boards
- Mason's string lines
- Circular saw
- Chalk line
- Tape measure
- Level
- Power drill
- Shovel
- Post hole digger
- Nail gun
- Orbit sander
- Concrete mix
- Nails
- Deck hardware
If water drainage is a concern, placing gravel under the deck can help.
Lay Out The Deck Area
Position batter boards beyond each corner of your planned deck. Attach mason's string lines to the batter boards, defining the outer edges of your future deck.
Use the 3-4-5 triangle method to create a right angle at one corner. Measure 3 feet along one string and mark it. Then, measure 4 feet along the perpendicular string and make another mark. Adjust until the diagonal between these marks reads exactly 5 feet. Repeat for each corner, ensuring both sides are square and the same dimensions as your plans.
Run your mason's lines to mark the perimeter. Draw a diagram or take a photo; you don't want to lose this reference.
Mark the post locations on the ground based on your design and local building codes. Post positions should provide adequate support for your beam and joist spans, typically at intervals of 6 to 8 feet, depending on the lumber size and weight capacity.
Use a posthole digger or power auger to create holes deep enough to meet code requirements, usually down to the frost line. Each hole should accommodate the concrete forms, which you'll need to level and secure, letting the tops stick out about one inch above ground level.
Build the Foundation
Dig your footing holes, following local building codes and digging below the frost line to prevent your deck from heaving in the winter.
Position the concrete tubing forms in the holes, making sure they're level and stick up about an inch above the ground. This elevation helps keep your wooden posts away from direct soil contact, preventing rot.
Backfill around each form with soil and use a tamper to compact the soil firmly around the form, ensuring it won't shift when you pour the concrete.
Mix your concrete according to the manufacturer's instructions, aiming for a consistency that isn't too runny but still pourable. Pour the concrete into the forms, filling them up to the top. Use a shovel to work out any air bubbles and a trowel to smooth the top surface.
With your concrete still wet, position each post anchor bolt in the center of the form, embedding it into the concrete so it stands straight up. Leave enough of the bolt exposed above the concrete to secure the post base later, around a couple of inches.
Let the concrete cure for at least a week. Once cured, set your post bases over each anchor bolt, keeping the nuts a bit loose for now. You'll tighten them up once you've adjusted the posts and beams to be perfectly level.
"This solid foundation ensures your deck will withstand the test of time, weather, and countless gatherings."

Frame the Deck
Secure your posts into the post bases. Measure and cut your posts to length, aiming a little longer than the final deck height – you'll trim them flush later. Ensure each post is level and plumb before driving fasteners through the post base brackets. Use treated hardware specific to your post base model to prevent corrosion. Tighten everything down, but leave room for minor adjustments.
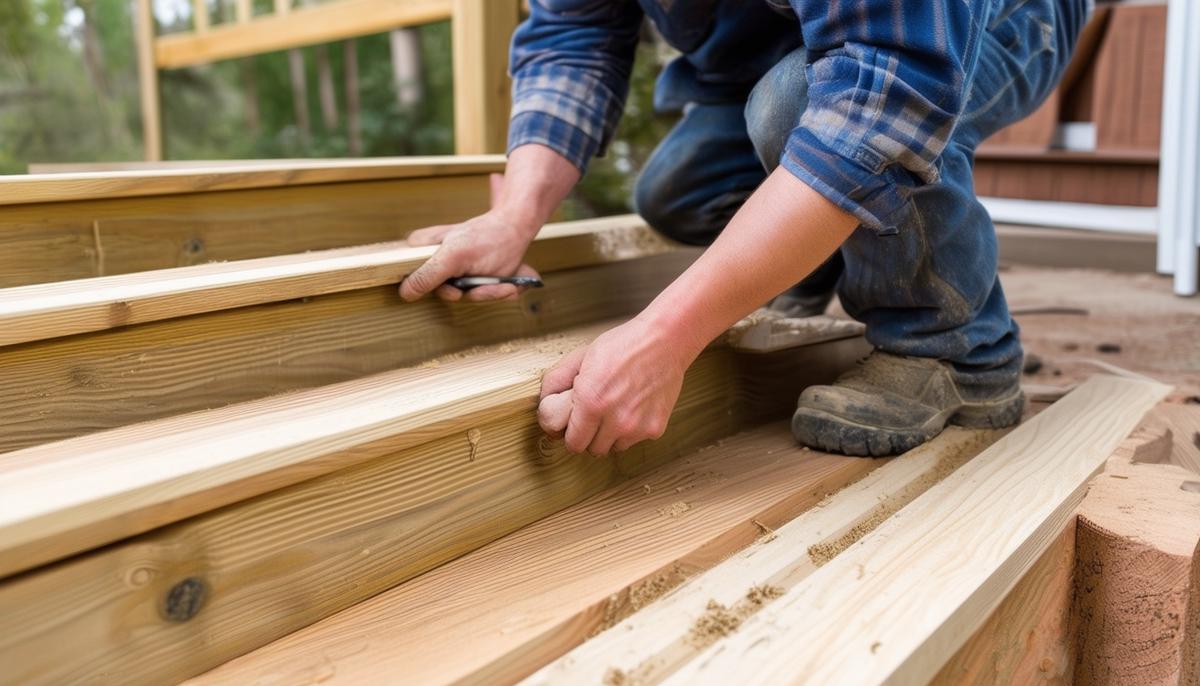
Lay the rim joists on the ground around the perimeter. Double-check that each piece is straight and free of significant defects. Lift each rim joist into place, securing them to the posts with galvanized fasteners. Each corner should be squared for solid 90-degree angles, keeping the deck true.
Install the interior joists, spacing them 16 inches apart on center, or as specified in your plan. Use joist hangers, ensuring the "crown" of each joist faces up. Secure the hangers flush with the top of the rim joist and ledger board. Drop each joist into the hanger, ensuring a snug fit. Fasten with the specified nails or screws, ensuring they're secure.
Ensure the spans for beams and joists meet the requirements to prevent sagging or bouncy decks. Use span tables or online calculators if needed.
Inspect the frame, ensuring all fasteners are tight, nothing is wobbling, and the deck frame is solid. Visually check that the joists are level and parallel. Make any necessary adjustments before laying the decking boards.
With the perimeter and interior joists in place, you've established a rock-solid frame that will support your deck for years to come, ready to stand the test of time and weather.

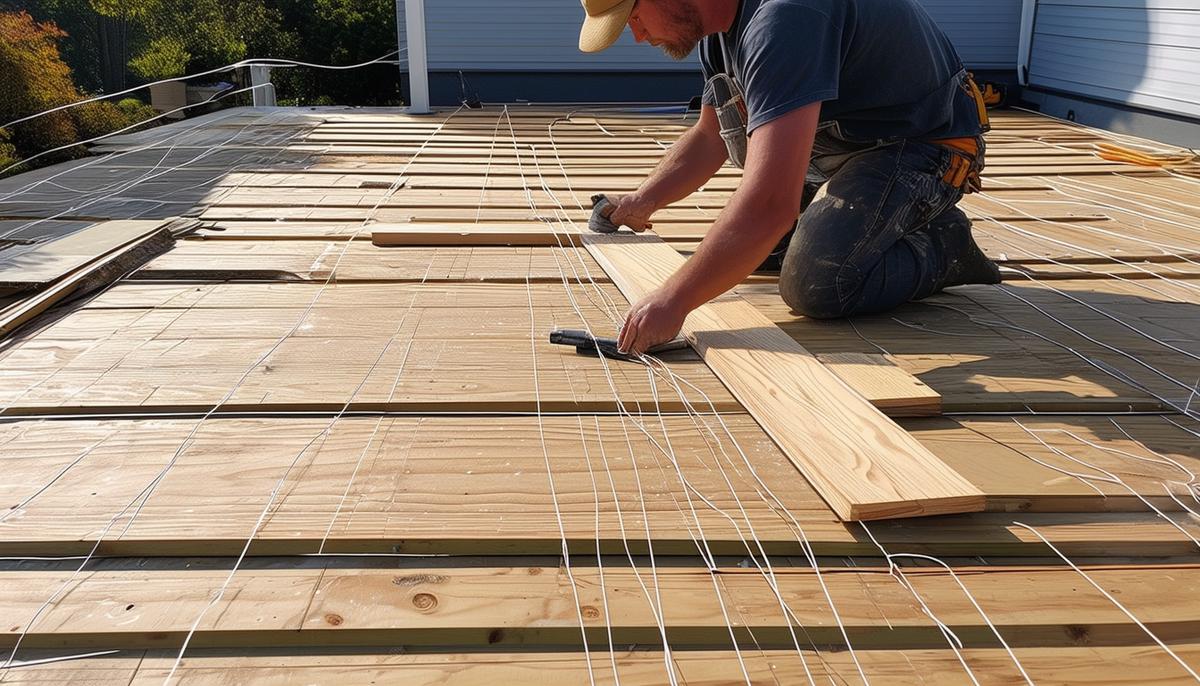
Install Deck Boards
Lay out your deck boards, leaving a 1/8-inch gap between each one for proper drainage and expansion. Begin at one end of your deck, ensuring the first board is perfectly aligned and square with your rim joist.
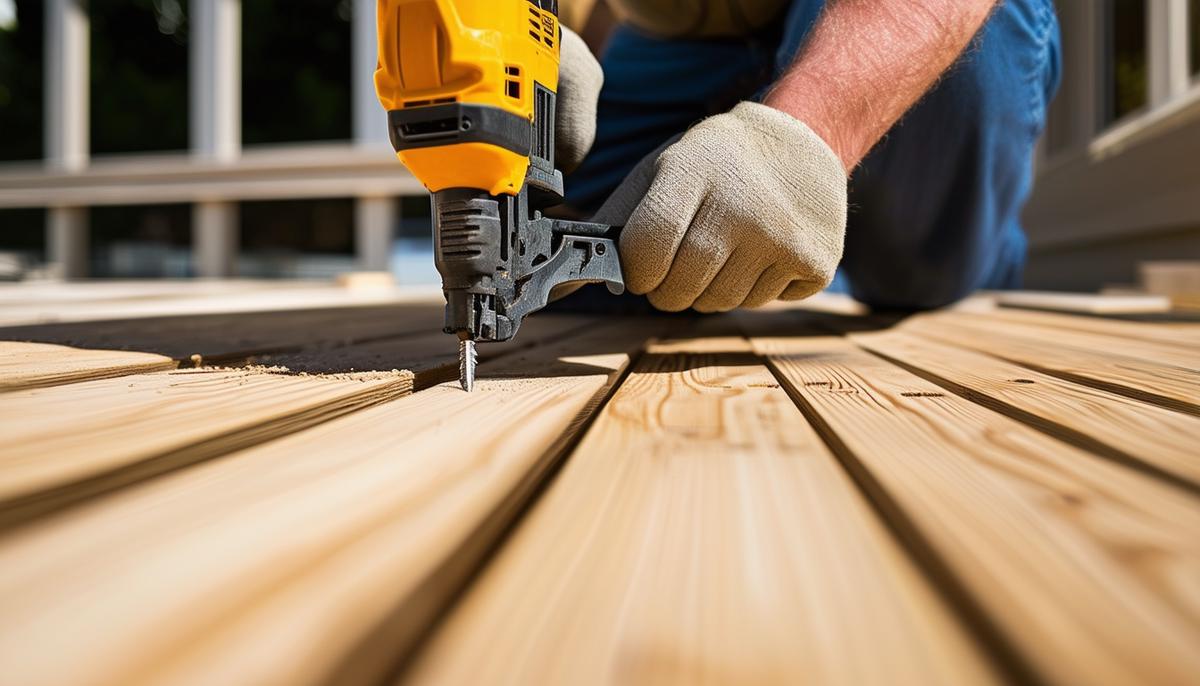
Use polymer-plated screws, which are more resistant to rust and corrosion compared to standard screws. If using nails, opt for hot-dipped galvanized or stainless steel for longevity. Position your first board, checking for any bowing and straightening minor bends with a deck board straightener tool. Use spacers or off-cuts to maintain the 1/8-inch gap between boards.
Drive the polymer-plated screws into the face of the wood, about 3/4 to 1 inch from the board's edge, using two screws per joist to secure each deck board properly. Ensure they're countersunk slightly below the surface to prevent tripping hazards.
Continue adding boards, periodically checking alignment to ensure they're running straight. Adjust as necessary. When you reach the end of a row, rip-cut the final board to fit, accounting for the 1/8-inch spacing. Sand the cut edge for a smooth fit.
After all boards are laid and fastened, double-check each screw for proper depth. Raised screws can be unsightly and present a potential hazard. Give your handiwork a final inspection to ensure everything is sitting as it should.
With the deck boards securely in place, you're standing on what will soon become a cherished gathering spot. Next, plan and install railings if your deck's height demands it.
Add Stairs to Your Deck
Measure the total rise, which is the vertical distance from the ground to the top of the deck landing. Rest a straight piece of lumber on the deck and level it over to the landing point. Measure from this line to the ground to get your total rise, which we'll call "X."
Divide "X" by the ideal step height, typically around 7 inches. Round the result to determine the number of risers you'll need. The ideal riser height should range between 6.5 and 8 inches. If your calculation falls out of this range, adjust the riser height and recalculate.
With the number of risers determined, subtract one to get the number of treads. Multiply the number of treads by the ideal tread depth, usually around 10-1/4 inches, to get the total run. Lay out this distance from the edge of your deck to find the perfect landing spot.
Measure the exact riser height by dividing the total rise by the number of risers. This riser height should fall between 6.5 and 8 inches if you've calculated correctly.
- Layout and cut the stair stringers using a carpenter's framing square and stair gauges.
- Test-fit the first stringer and adjust as necessary before cutting the others.
- Ensure a solid landing for your stairs, such as a concrete slab, paver patio, small deck, or treated 2×12 leveled over a gravel base.
- Position your stringers on the landing and attach skirt boards, outlining the pattern using your original stringer as a template.
- Fasten the stringers to the skirts and deck's rim joist using 3-inch deck screws.
- Add treads and risers to your prepared stringers, beginning with the riser boards, then the treads.
- Position deck screws to maintain a 1/4-inch gap between decking boards for water drainage.
Double-check everything for stability and levelness, ensuring the stairs are firmly anchored to the deck and landing for maximum safety. Patience and precision here will ensure a professional, safe finish.
Congrats! You've now built a solid set of stairs for your deck, enhancing both its accessibility and functionality. Your deck is ready for countless gatherings, BBQs, or simply a peaceful outdoor retreat.
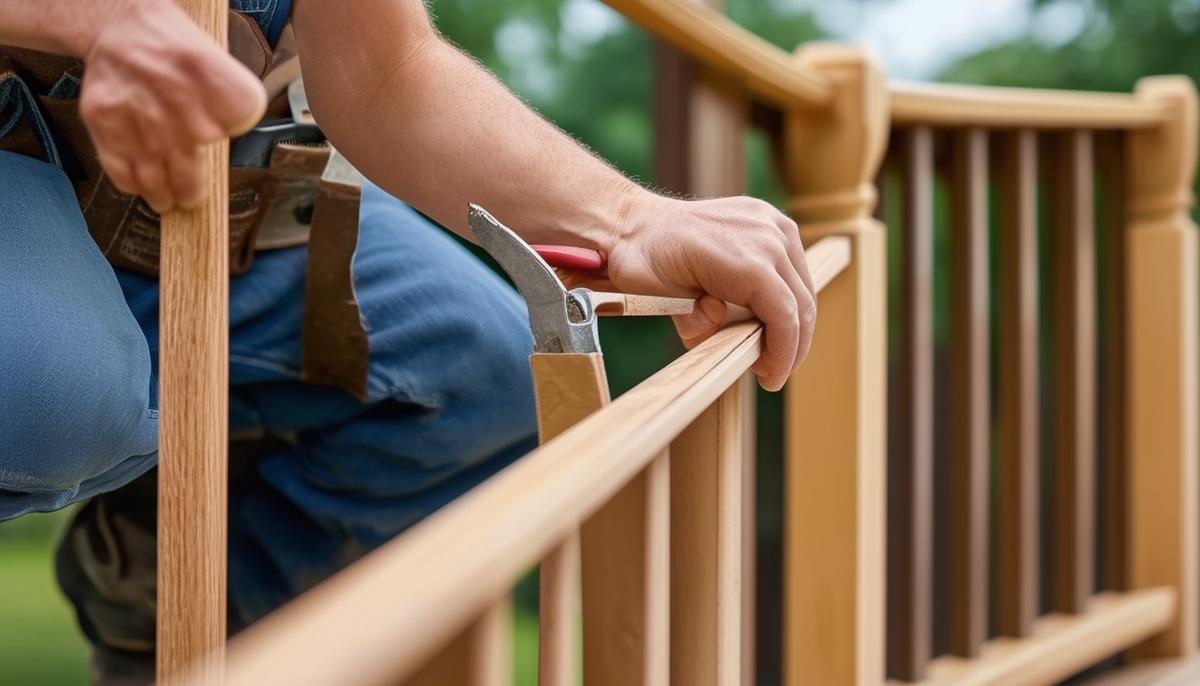
Finish with Railings and Accessories
Safety is paramount, especially if your deck is elevated. Install railings to prevent accidental falls, as they might be mandatory based on the deck's height and local building codes. Even if not required, railings contribute to the deck's aesthetic and provide peace of mind.
Choose materials that complement your deck. Vinyl or composite materials are excellent low-maintenance choices, resistant to weathering and requiring no regular painting or staining. They can give your deck a polished, unified look.
Mark the location of your railing posts on the rim joists, evenly spaced no more than six feet apart for adequate support. Use specialized screws and brackets for composite or vinyl materials, or hot-dipped galvanized or stainless steel fasteners for wooden posts to prevent rust.
Drill pilot holes and secure the posts by screwing them into the rim joists, ensuring they are plumb before tightening all fasteners. Attach the top and bottom rails, measuring the distance between posts and cutting the rails accordingly. If using vinyl or composite rails, they often come in kits with pre-measured balusters and rail sections.
Insert the balusters, spacing them evenly about four inches apart for a classic look and to meet most building codes. Secure them using provided brackets or screws, ensuring they're vertical and evenly spaced for a uniform appearance.
Consider adding a handrail on top for extra detail and grip, especially useful on stairs. Lattice screens can add privacy and charm, while planters with flowers or shrubs can soften the look and create a welcoming atmosphere.
If your deck is elevated with stairs, add solar-powered lighting along the steps and railings for safety and ambiance during evening gatherings.
With your new deck complete, you've created an inviting space for relaxation and gatherings. The attention to detail in planning, framing, and finishing ensures this addition will stand the test of time. Enjoy your handiwork—your backyard has never looked better.