
Laying Out Top and Bottom Plates
Choose two straight 2x4s for your top and bottom plates. Place them side by side on a flat surface, aligning their ends perfectly. Mark stud positions every 16 inches, using a square to transfer marks to both plates.
Use a chalk line to ensure plates are straight. Snap the line to mark the inside edge of the wall at each corner.
Stack the 2x4s on their edges. Mark every 16 inches for stud placement, starting at 15-1/4 inches to ensure plywood or drywall breaks in the middle of a stud when installed.
Dry fit the studs on top of the plates, checking for crowns or curvatures. Replace any noticeably different studs now.
Lay out window and door locations. Find the center of proposed openings, then mark out the rough opening, accounting for trimmer studs, king studs, and headers.
For partition walls, add 'T's for nailing sheetrock edges.
Label everything clearly. Proper setup now ensures smooth progress later.
Cutting and Installing Studs
- Measure between the top and bottom plates at each layout mark to determine the exact length of each stud.
- Cut accurately to ensure proper alignment.
- Toenail the studs into place:
- Set each stud between the plates at its marked location.
- Drive two 8d nails at an angle from one side of the stud into the plate.
- Drive a third nail at an angle from the other side.
- Check each stud with a level as you nail it in. Adjust as needed to maintain a perfect plumb line.
- Verify that each stud is firmly in place and aligns with its designated layout mark.
This approach ensures the overall structural integrity and straightness of your wall.

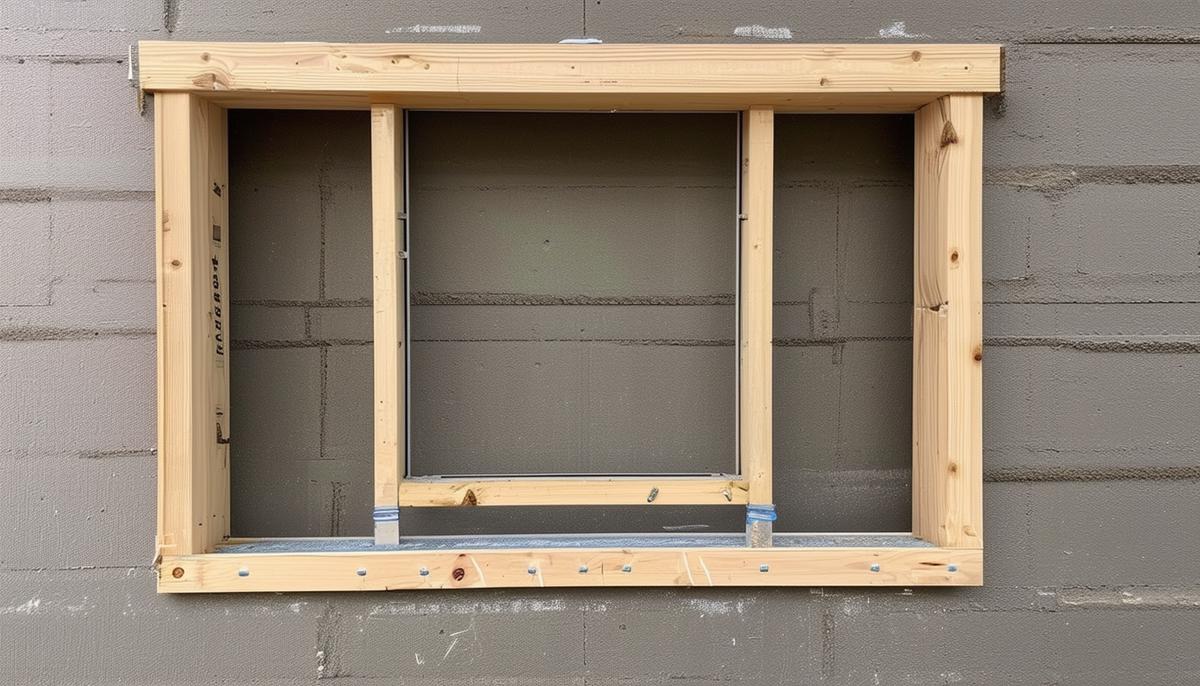
Framing Around Openings
Mark the rough opening for doors and windows on the top and bottom plates. Find the center of each opening, then measure half the opening dimension to the left and right to mark the full width.
Attach jack studs (trimmer studs) next. Nail them into place directly on either side of your rough opening marks, flush with your top and bottom plates.
Constructing Headers
- Use two 2×8 boards with a 1/2-inch thick plywood spacer between them.
- Cut these to the width of your rough opening plus the width of the two king studs.
- Nail the header components together, ensuring perfect alignment.
- Place the header within your rough opening, on top of the jack studs.
- Secure it by nailing through the king studs on either side.
Add cripple studs above and below windows and doors. Measure the space between the top of the header and the top plate, then cut your cripple studs to fit. Nail them into place, maintaining the same 16-inch spacing used for your main studs.
Below the window sill, nail in bottom cripples to support the window frame's weight. Measure from the bottom plate to the underside of the window sill and cut the studs accordingly.
Framing requires precision. By focusing on accurate measurements and correct nailing techniques, you're building a foundation for a solid, reliable structure. Each step contributes to the strength and durability of your project.
"Measure twice, cut once" – Old Carpenter's Proverb
Remember, the quality of your framing work directly impacts the overall structural integrity of your building. A well-framed wall can withstand significant loads and provide a stable base for finishing materials1.
- Allen E, Thallon R. Fundamentals of Residential Construction. 3rd ed. Hoboken, NJ: John Wiley & Sons; 2011.