Getting the right floor joists and setting them up correctly is fundamental to any building project. Whether you're working with wood, engineered wood, or steel, each material has its own advantages. Proper layout and installation techniques are key to creating a stable and durable floor system.
Joist Selection and Layout
Choosing the right size and material for your floor joists is crucial. Wood is common for residential builds due to availability and cost-effectiveness. Engineered wood offers greater uniformity and longer spans. Steel provides unmatched strength and is often used in commercial projects.
Floor joists are typically set at 16 inches on center (OC). This spacing works well with standard 4×8 sheets of plywood or OSB, minimizing waste. Precise placement is essential for a solid foundation.
- Start by laying out the joist positions on the mudsill.
- Mark every 15 ¼ inches instead of 16 to account for the width of the first joist.
- Transfer these measurements to the opposite supporting structure.
- Snap chalk lines where the ends of the joists will sit.
- Make a small V or arrow at each layout point for better precision.
At corners or points where joists overlap, plan your nails and screws wisely. Use appropriate fasteners for your selected material, following manufacturer's guidelines for engineered products.
Don't overlook blocking or bridging. These supports between joists prevent twisting and improve load distribution.
Pro tip: Double-check everything before laying down the subfloor. Make sure joists are level and properly aligned. Any adjustments made now will save work later.
Installing Ledger Boards and Joist Hangers
Installing ledger boards and joist hangers requires precision. The ledger board attaches to the existing structure and supports the joist ends. Use pressure-treated lumber for the ledger board to resist decay and moisture.
- Measure twice and mark the location.
- Ensure the ledger board is level.
- Pre-drill holes for the bolts to prevent wood splitting.
- Use lag screws or bolts to secure the ledger board, ensuring fasteners penetrate at least 1½ inches into solid framing or masonry.
- Space fasteners about every 16 inches along the length of the ledger.
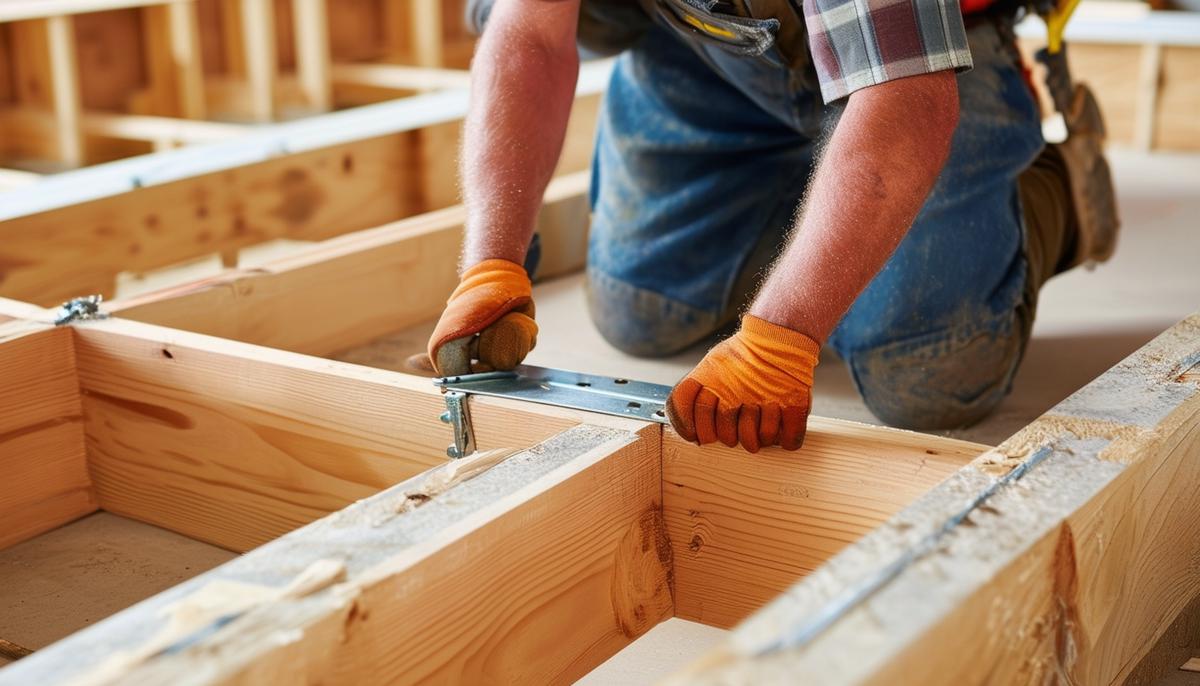
For joist hangers, select the right size to fit snugly around the joist ends. Hold each hanger in place against the ledger board and use special hanger nails to secure it. Follow the manufacturer's instructions for proper installation.
Ensure the top edge of each hanger is level with the top surface of the ledger board. After installing all joist hangers, fit the joists into them. Slide each joist into its hanger, ensuring it fits snugly and is properly seated. Use hanger nails to fasten the joist to the hanger, placing nails in all available holes as specified by the manufacturer.
Double-check each hanger to ensure it's fully nailed and that the joists are level and secure. Proper installation of ledger boards and joist hangers forms the backbone of a strong, stable floor frame.

Setting and Securing Joists
Position each joist into its hanger or onto its ledger board. Ensure they seat properly and are level. Use a long level or laser level to check for evenness, adjusting with shims or by repositioning hangers if necessary.
Attach each joist securely using appropriate fasteners. For traditional wood joists, 16d nails work well. For engineered wood or steel, consult the manufacturer's guidelines. Place nails or screws in all pre-drilled holes in the hangers.
"Work systematically from one end to the other. As you attach each joist, double-check the previous ones for alignment."
After securing all joists, walk along them to feel for any high spots or uneven sections. Fix any inconsistencies before moving on.
Don't skip the blocking or bridging. These pieces prevent future movement and add rigidity to your floor system. Position them between joists at intervals specified by building codes or plans.
Perform a final inspection before moving on to the subfloor. Check every joist and connection to catch any issues that could worsen over time.
Adding Blocking and Bracing
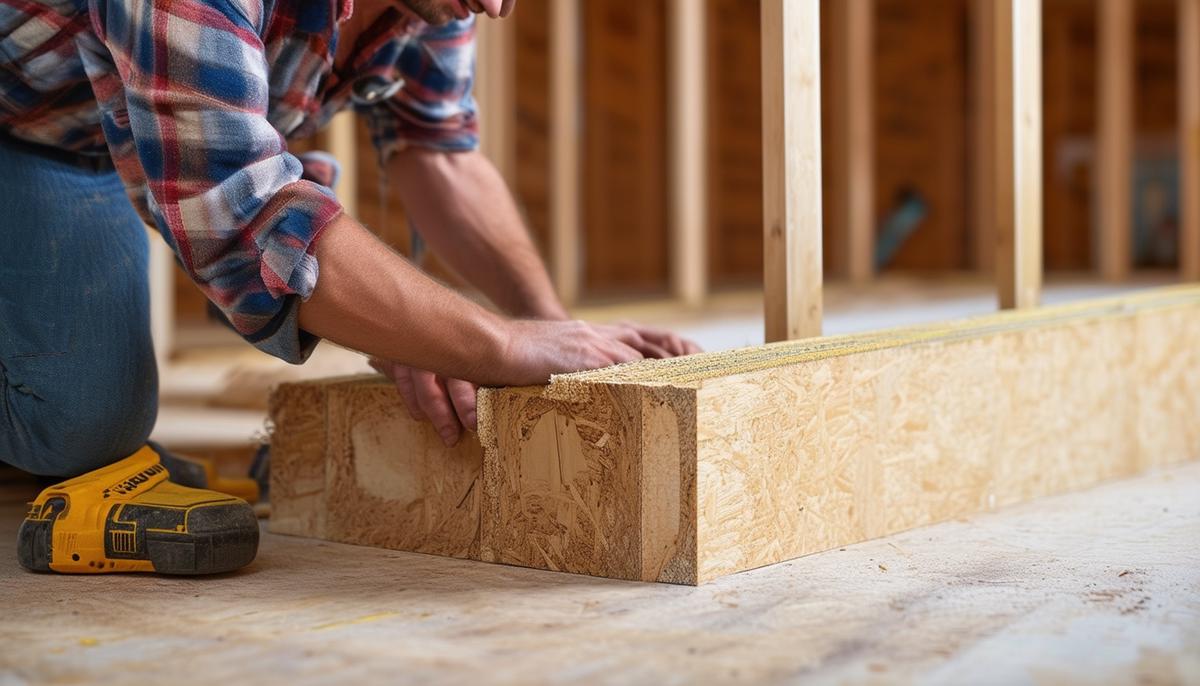
Blocking and bracing between joists prevent twisting and provide additional support. Measure and cut blocking to fit snugly between joists, using the same size lumber as the joists for consistency.
Typically, install blocks every 4 to 6 feet, but check local codes or your building plan for specific requirements. Position blocking perpendicular to the joists, staggering blocks in adjacent rows for added strength.
Secure blocks using 16d nails or 3-inch structural screws. Toenail for maximum hold, driving nails or screws at an angle through the joist into the end grain of the blocking.
- Install blocking row by row, checking for alignment as you go.
- Use a straightedge or chalk line across the tops of your joists as a guide.
- Consider adding bridging for longer spans.
- Use metal X-bracing or solid wood bridging as appropriate for your project.
After installation, check that all blocks are snug and secure. Properly blocked and braced joists ensure a strong, supportive, and long-lasting floor.
Ensuring Structural Integrity
Adhering to local building codes and guidelines is crucial for a sturdy, safe floor system. These codes ensure buildings can withstand everyday use and potential emergencies. Before starting, familiarize yourself with the building codes specific to your area. Check your local building authority's website or call your city or county building department for information.
Consulting with a structural engineer is vital, especially for complex or heavy-load structures. Engineers can help calculate load requirements accurately and recommend the best materials and techniques. This step is particularly important for:
- Long spans
- Heavily trafficked areas
- Unique architectural details
Regular checks during the building process are essential. Verify levelness, alignment, and secure fastening at several stages:
- Check the levelness of ledger boards and joist hangers using a long spirit level or laser level.
- Ensure each joist sits perfectly in its hanger or ledger position.
- Use the manufacturer's recommended fasteners and fill every nail or screw hole in joist hangers.
Perform a final walkthrough to inspect every connection and fastener after setting joists and installing blocking or bridging. If you encounter unexpected challenges or something doesn't look right during installation, don't hesitate to seek professional advice.
By following these guidelines, you'll create a strong and stable floor system that ensures safety and longevity. Take your time, pay attention to detail, and build it to last.