
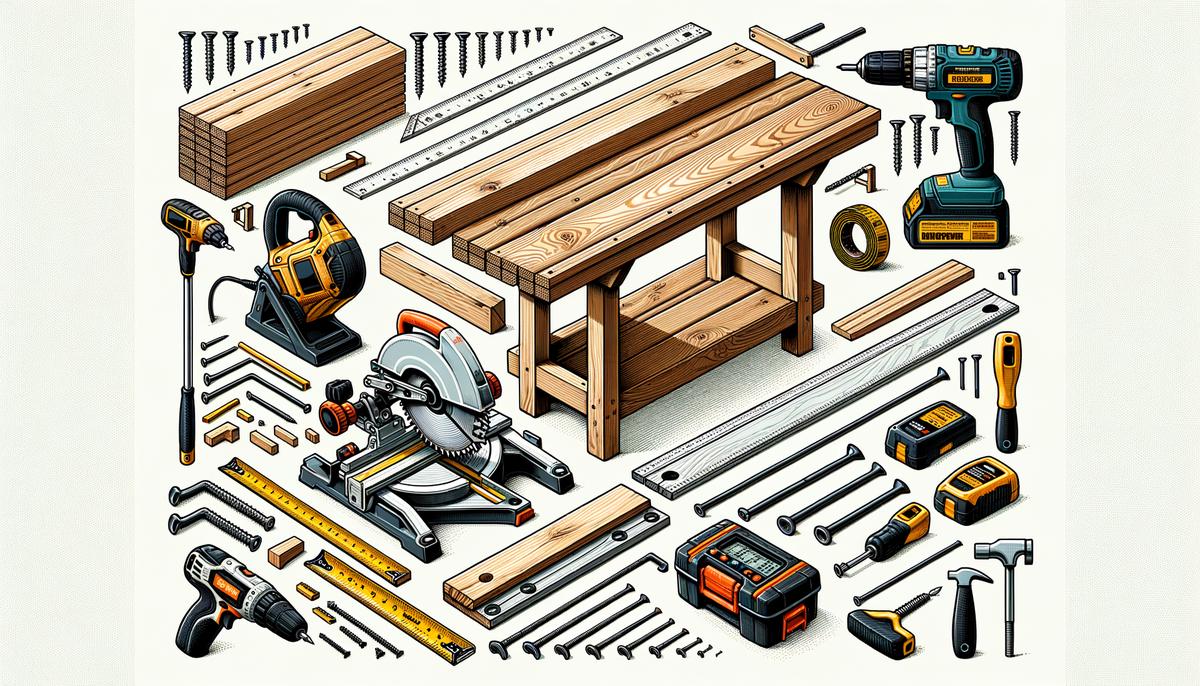
Materials and Tools Needed
To build your DIY workbench, gather these materials and tools:
Lumber and Screws
- Seven 2x6x12s: Main frame and surface
- Three 2x8x8s: Additional frame support
- Two 2x4x8s: Legs and stretches
- 3-inch screws: For heavy-duty fastening
- 1 1/4-inch screws: For finer attachments
- Plywood (optional): For extra storage shelf
Hardware
- Six angle brackets: Secure top to the frame
Tools
- Power miter saw: For cutting lumber to size
- Cordless screw gun and drill: For fastening and pre-drilling
- Tape measure and carpenter's square: For accurate measurements
- Clamps: To hold pieces in place while working
Preparing the Workbench Top
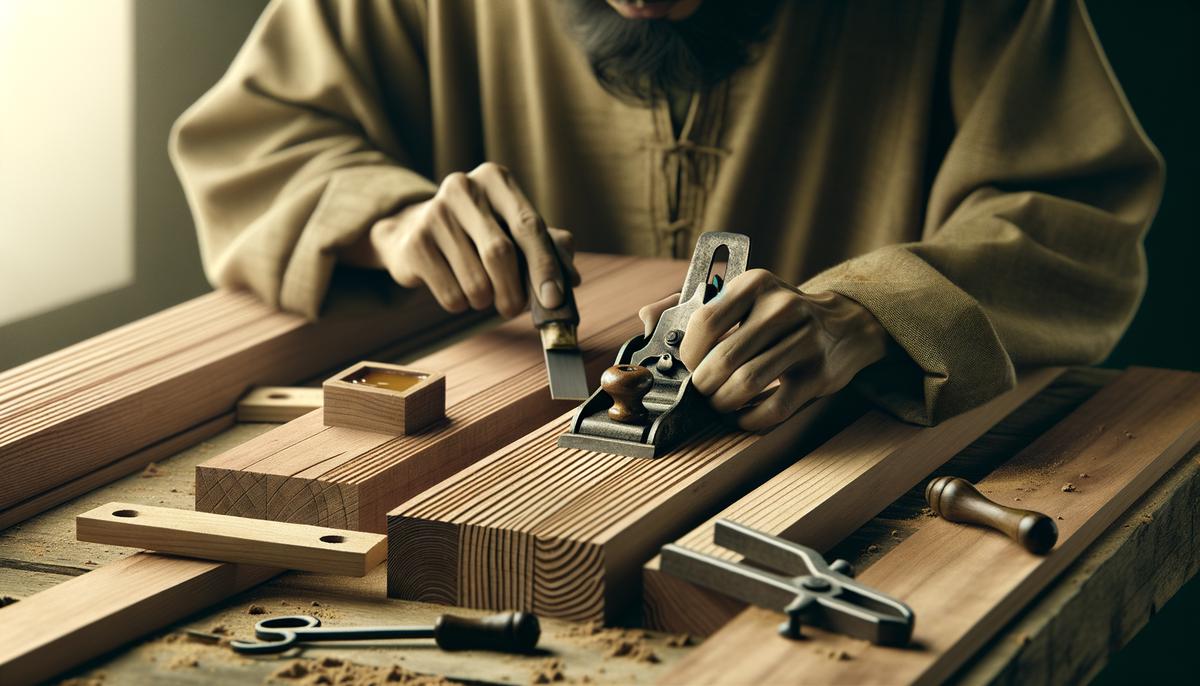
Select boards for the top, checking each for straightness and absence of defects. Cut them to the desired length using the power miter saw. For a standard 64" x 36" work surface, measure and mark each board carefully.
Plane each board for a smooth, even surface. This step ensures better adhesion during gluing and gives your workbench a polished look.
For multiple-board tops, glue up in sections:
- Arrange boards side by side to visualize the layout.
- Apply wood glue to the edges.
- Use quick clamps to hold boards in place.
- Apply parallel clamps for a tight bond.
After the glue sets (about 24 hours), plane the sections again for uniform thickness. Check that sections are flush using a long level. Use a hand plane or belt sander to smooth out any seams or high spots.
Finally, sand the entire top for a smooth finish. Your workbench top is now ready to attach to the base.
Constructing the Base
- Cut 2x4s to length for the base frame. Create two identical rectangular sides with legs and stretchers.
- Assemble legs by gluing and nailing 2x4s together. Use clamps while the glue sets, then reinforce with finishing nails.
- Attach stretchers to legs:
- Lay out two legs parallel on a flat surface.
- Position stretchers at the top and bottom.
- Ensure everything is square and flush.
- Pre-drill holes and attach with 3-inch screws.
- Repeat for the other side of the base.
- Add support pieces to connect both sides:
- Cut supports to length.
- Pre-drill holes and secure with 3-inch screws.
- Ensure supports are level and square.
- Check all corners with a carpenter's square and adjust as needed.
- Sand the base to smooth rough edges.
- Optional: Add a lower shelf using plywood cut to fit between lower stretchers.
- Attach the prepared workbench top:
- Center the top on the base with equal overhang on all sides.
- Secure with 3-inch screws and angle brackets.

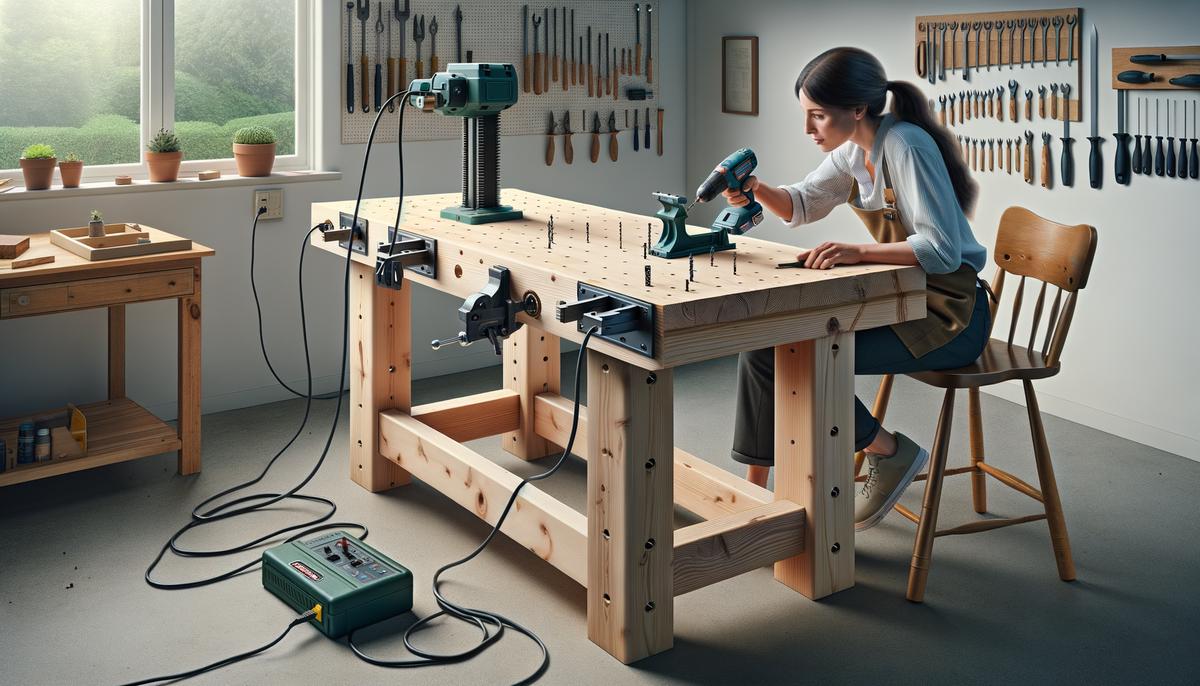
Finishing Touches and Add-ons
- Check the top's levelness with a long level. Adjust or use shims if needed.
- Add dog holes for better clamping:
- Plan positions carefully, avoiding support beams or leg junctions.
- Space them 6-8 inches apart.
- Use a drill press or spade bit to create clean, vertical holes.
- Sand rough edges to prevent splinters.
- Install a power strip on a leg for easy access to electricity.
- Consider adding a bench vise for extra versatility:
- Position it in a corner for maximum utility.
- Drill pilot holes for secure mounting.
These enhancements will transform your workbench into a well-designed workspace, ready for any project. Remember, a proper workbench is the cornerstone of any efficient workshop, increasing productivity and precision in your woodworking endeavors1.
- Schwarz C. Workbenches: From Design And Theory To Construction And Use. Popular Woodworking Books; 2007.