
Materials and Tools
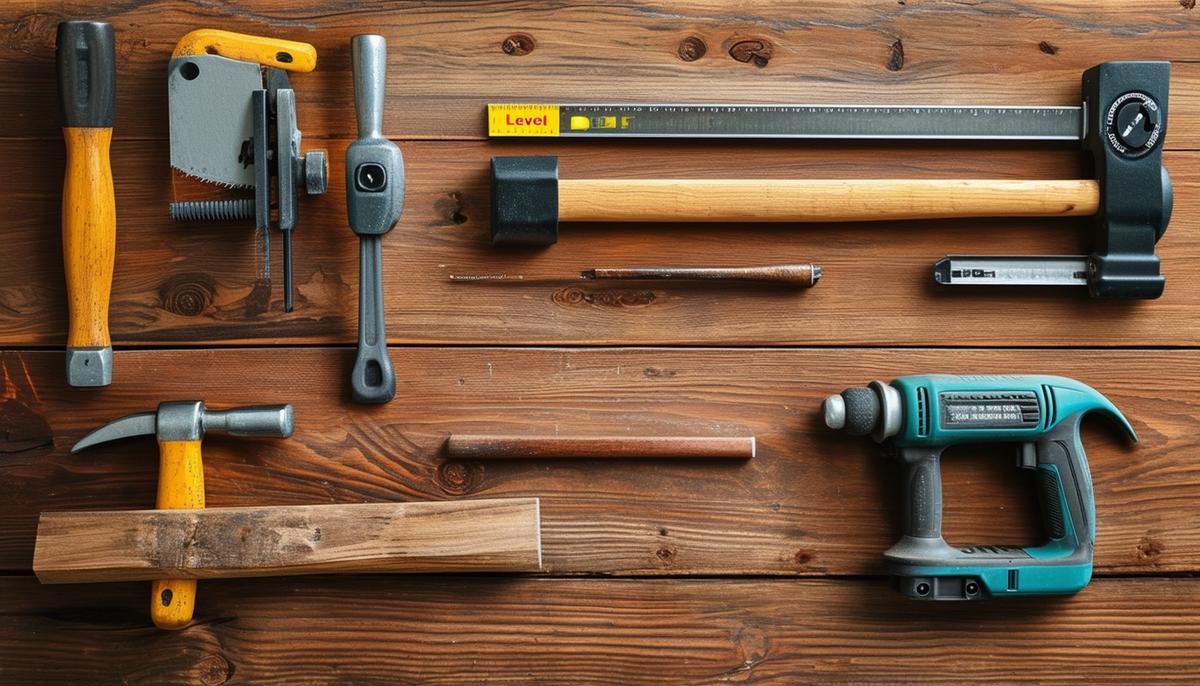
Before starting, gather the required materials and tools. You'll need treated lumber for durability, screws, wood glue, a miter saw, and a nail gun. If using cedar or another alternative wood, ensure you have the proper sealant. Using suitable materials and tools will make your planter boxes sturdy and weather-resistant.
Materials
- 1×6 lumber: 12 boards, each cut to 16 inches for the planter box sides
- 2×3 lumber: 4 boards, cut to 16 inches for the inside supports
- Nail gun or brad nails with a hammer
- Level
- Stain (optional) and spar varnish for added weather protection
Tools
A miter saw makes cutting pieces precise and easy. If you don't have one, borrow from a neighbor or friend. A nail gun or brad nails with a hammer is crucial for attaching boards snugly.
Cutting the Lumber
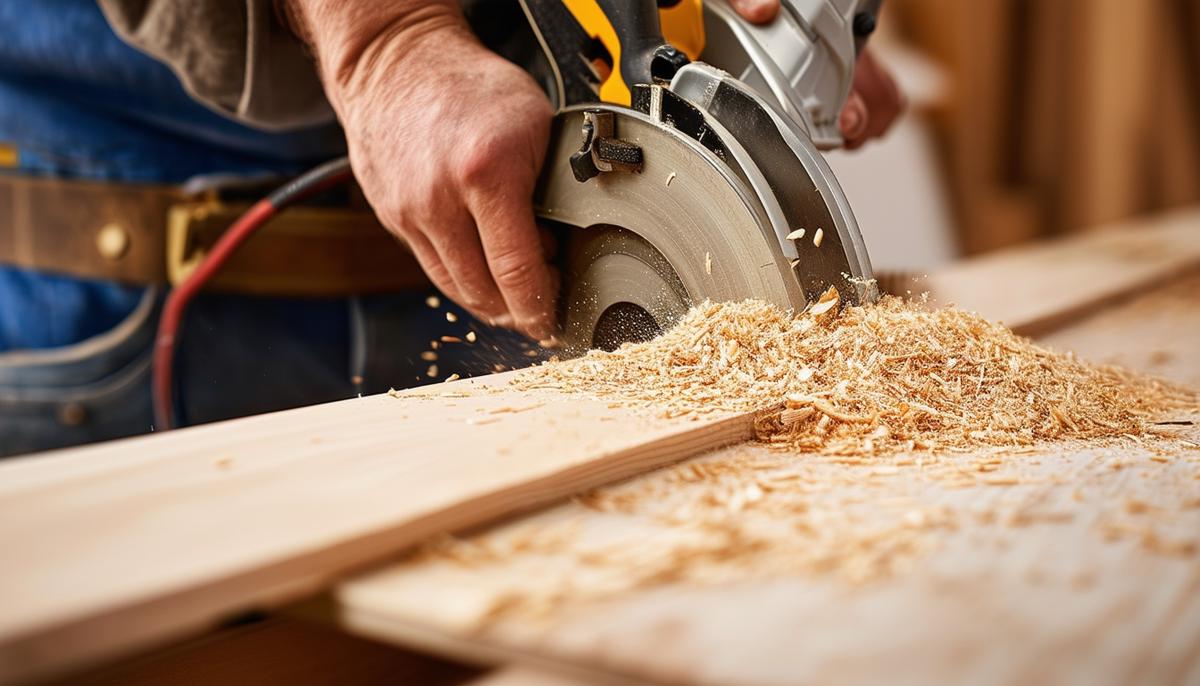
Carefully measure and cut the lumber according to your cut list. Precision is crucial here, and a miter saw is the ideal tool. The accuracy you achieve in this step forms the foundation for a well-aligned, professional-looking planter box.
Measure and cut the 1×4 and 2×2 boards according to your cut list. Ensure each board is precisely marked at the desired lengths. For angled pieces, take extra care to ensure the 45-degree cuts are precise.
When cutting the 2x2s for the legs, interior supports, and bottom platform, ensure all cuts are clean and straight. Accurate cuts will make assembly much smoother and maintain the structure's integrity. If unsure about any measurements, double-check. Measure twice, cut once.
Keep your workspace clean and free of sawdust. This enhances safety and ensures clear measurements and cuts. Regularly check the sharpness of your saw blade; a sharp blade leads to clean cuts, making your project look polished.
Careful measuring and cutting may seem tedious, but it's worthwhile. Accurate cuts will result in a straightforward assembly, a structurally sound, and aesthetically pleasing planter box.
Assembling the Planter
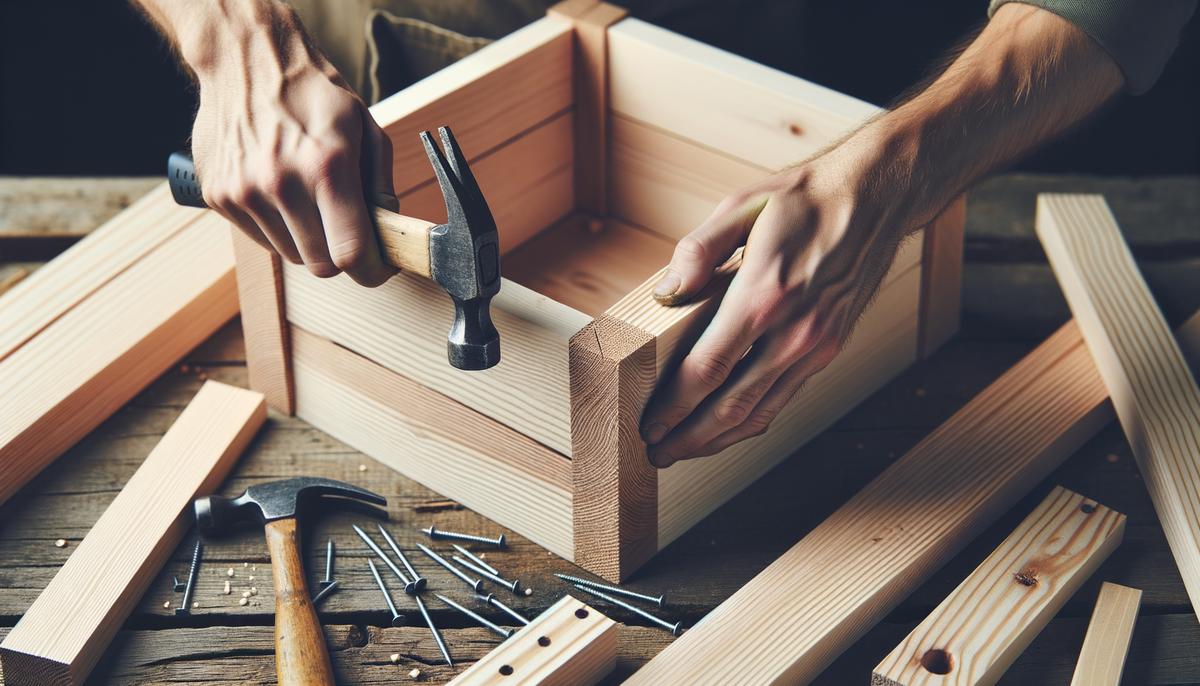
Begin with the sides. Lay five of the 16-inch 1×4 boards together with their long edges touching. Place one of the 16-inch 2x2s on top at each end. Ensure the ends are flush and the boards are straight, using your level. Apply wood glue and firmly nail or brad nail the 2×2 into the 1x4s. Repeat for the second side.
For the front and back panels, repeat the process. Lay out five more 16-inch 1×4 boards, and place the remaining two 16-inch 2x2s at the ends, gluing and nailing.
Bring the sides together to form the box. Stand one long side panel upright and align it with a short side panel. Apply wood glue where they meet, hold together, and nail through the 2x2s into the 1x4s. Repeat on the opposite end with the other long side panel, then attach the remaining short side panel.
Reinforce each joint for stability, nailing or screwing into the sides from multiple angles. Ensuring your planter box is perfectly squared is vital. Use your level and a carpenter's square to check each corner forms a true 90-degree angle. Adjust as needed before the glue sets.
With a solid frame, you can feel confident your planter will stand the test of time and the elements. This careful attention results in a strong, durable planter you'll be proud to display.
Finishing and Strengthening
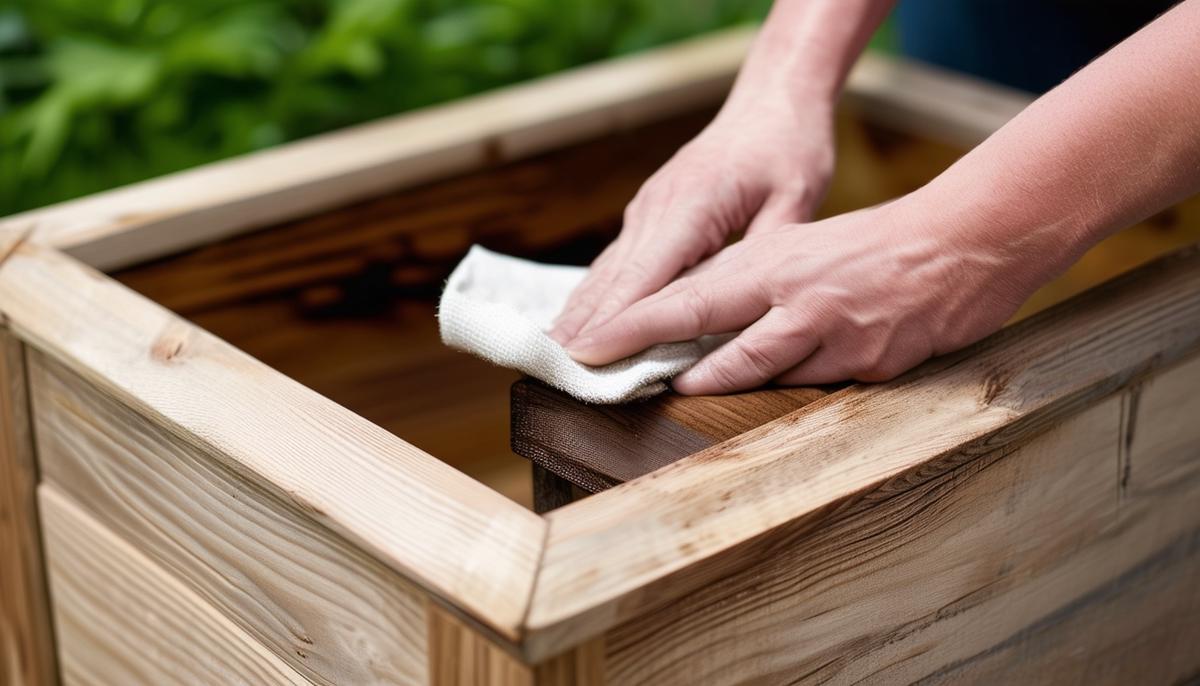
Sand any rough edges to prevent splinters and give your planter a smooth finish. Use medium-grit sandpaper first, then switch to a fine-grit paper for a final touch.
Apply a stain to enhance the wood's natural beauty and protect it from moisture and UV rays. Ensure uniform coverage and wipe off any excess.
Next, apply at least two coats of a water-resistant spar varnish for optimal protection, allowing each coat to dry completely and lightly sanding between coats.
Reinforce the planter with additional nails or screws, focusing on joints and corners. Use stainless steel or galvanized fasteners to prevent rust. Drill pilot holes first to avoid splitting the wood.
Incorporate metal brackets at the interior corners for additional support, attaching them with screws recommended for your wood and project.
Periodically check squareness and alignment, ensuring all corners remain at 90-degree angles for integrity and appearance.
Let everything dry fully before moving on to planting. With its smooth finish, rich stain, protective sealant, and added reinforcements, your planter will look fantastic and stand up to weather and time.
With your planter box complete, you can enjoy seeing your hard work come to life. The careful assembly and finishing touches ensure it will be a sturdy and attractive addition to your outdoor space. Happy planting!
- American Psychological Association. (2020). Publication manual of the American Psychological Association (7th ed.).
- Black, D. G., & Decker, R. L. (2021). Building wood outdoor projects: The complete guide to striating, laying, and fastening wood. Taunton Press.
- Fortmeyer, R., & Stein, B. (2015). Do-it-yourself planter boxes: Modern and functional projects for indoor and outdoor gardens. Crestline Books.